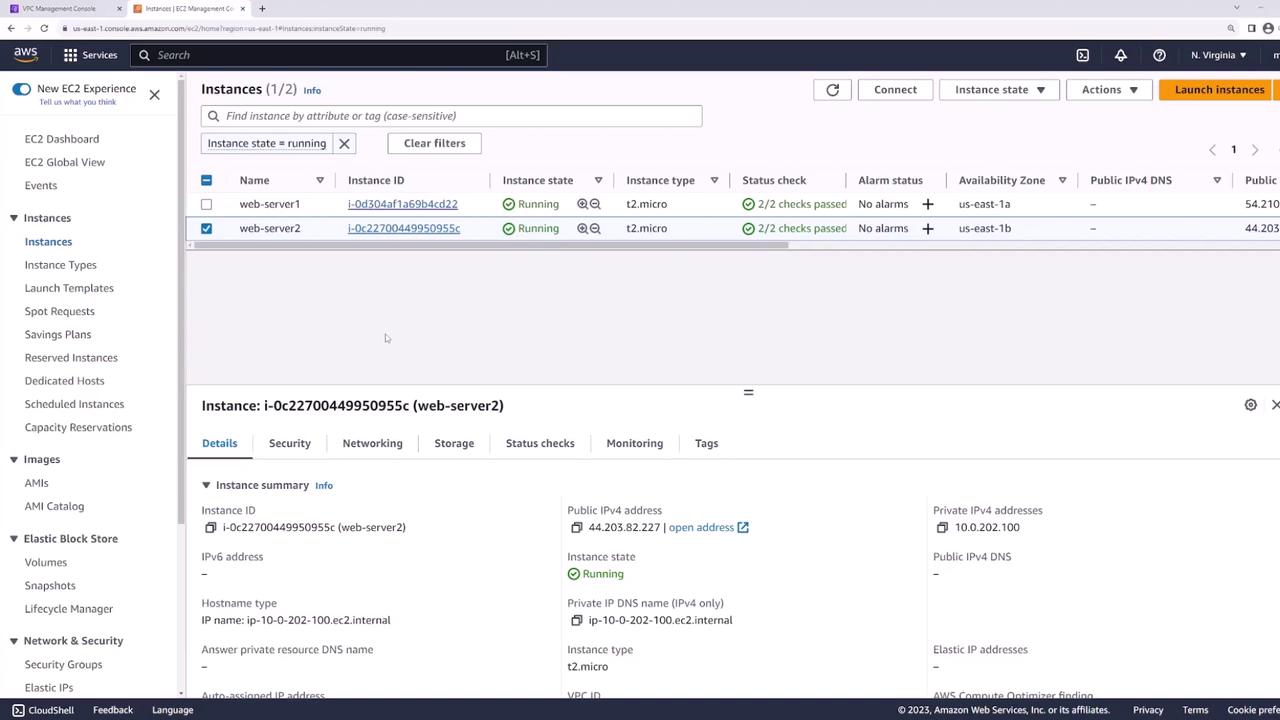
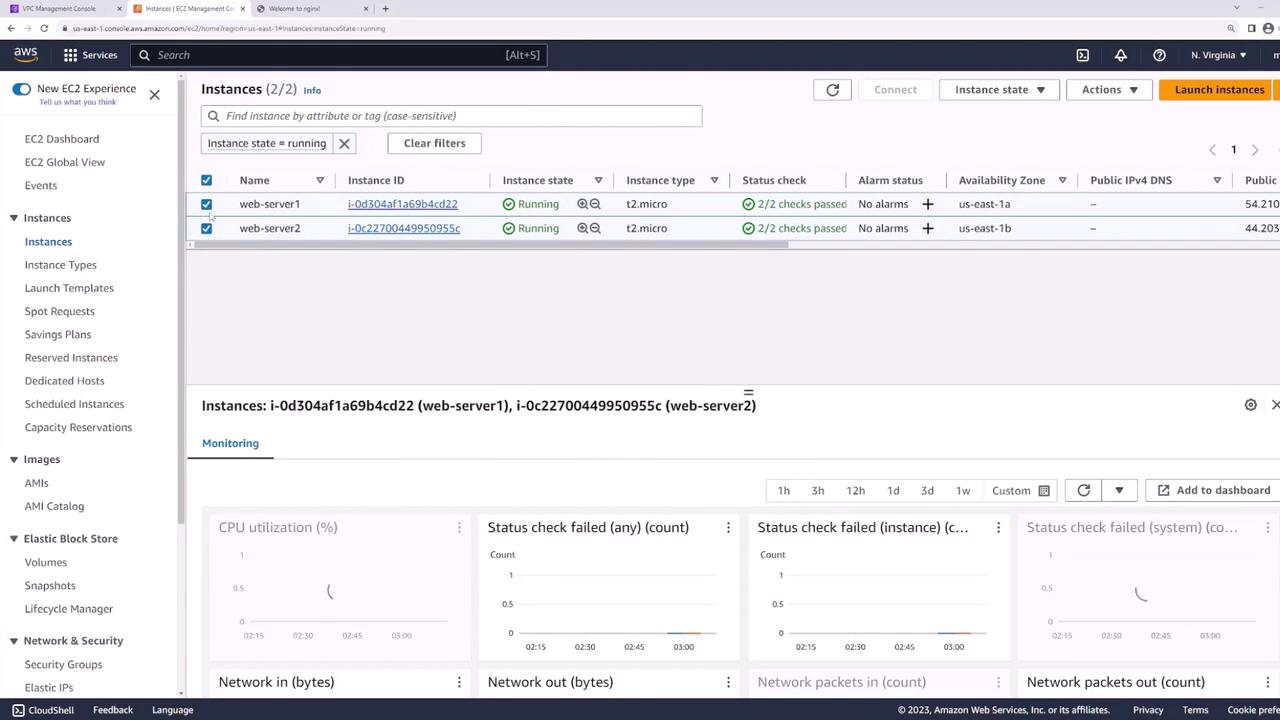
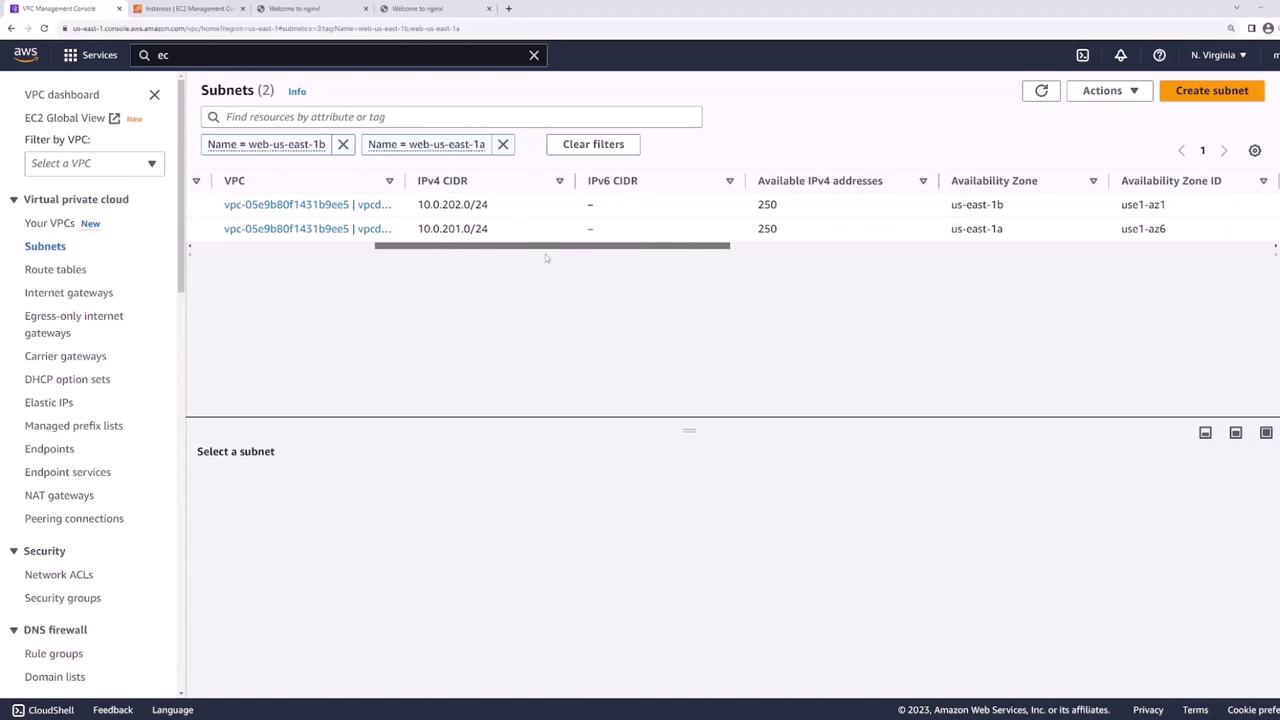
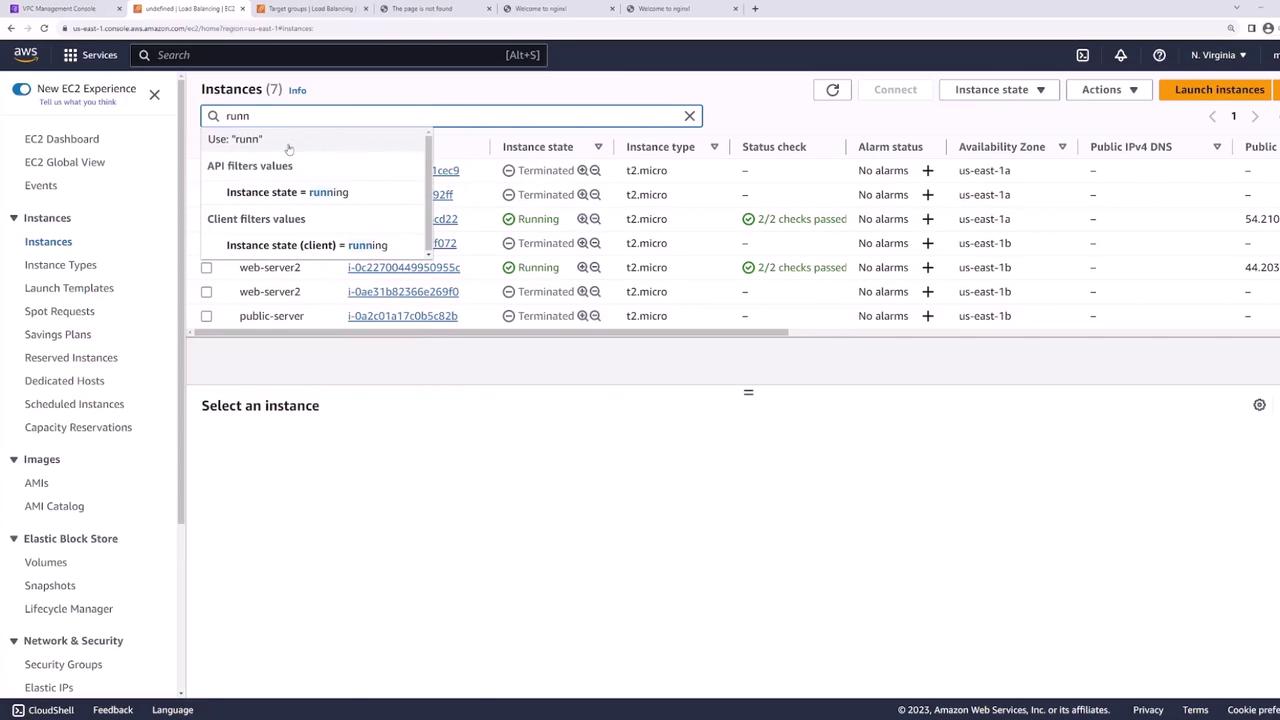
- Subnet one (10.0.201.0/24) in US East 1a: Hosts web server one.
- Subnet two (10.0.202.0/24) in US East 1b: Hosts web server two.
Configuring the Load Balancer
To provide a unified DNS name and add redundancy to your application, you will create an Application Load Balancer that forwards incoming requests to the two web servers. The process includes configuring dedicated subnets for the load balancer nodes, ensuring public accessibility, and setting up target groups.Creating Dedicated Load Balancer Subnets
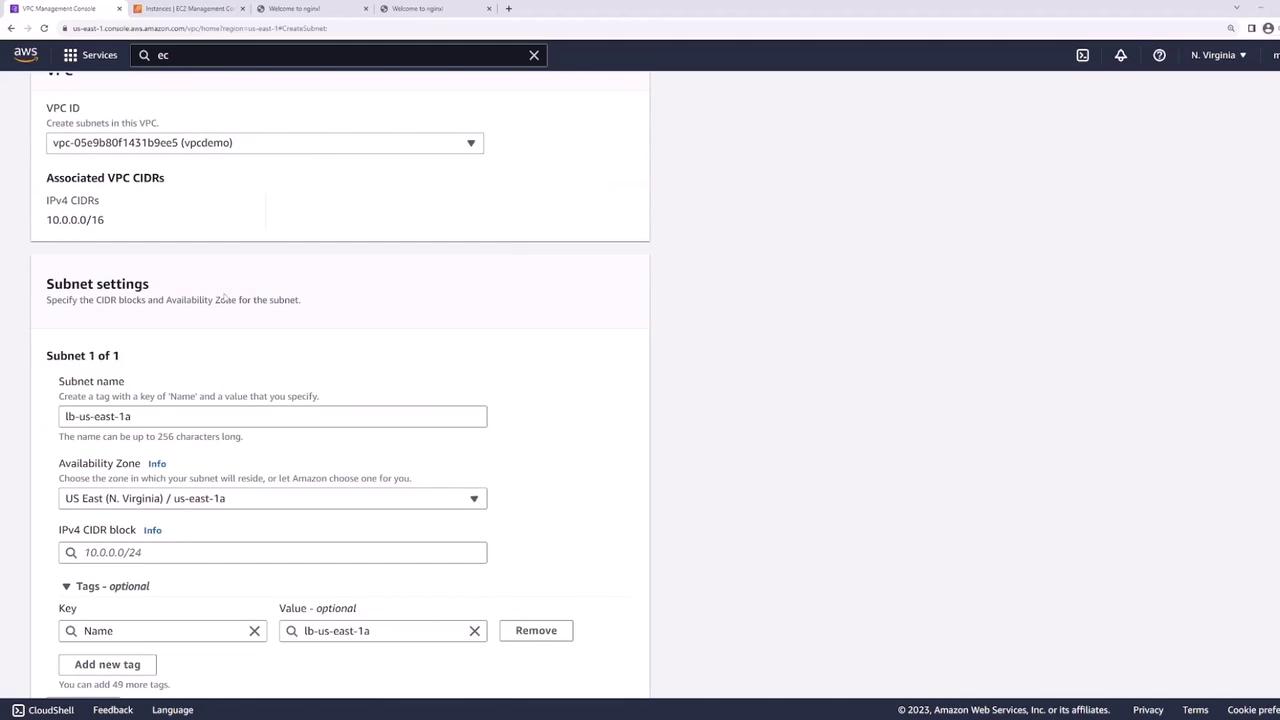
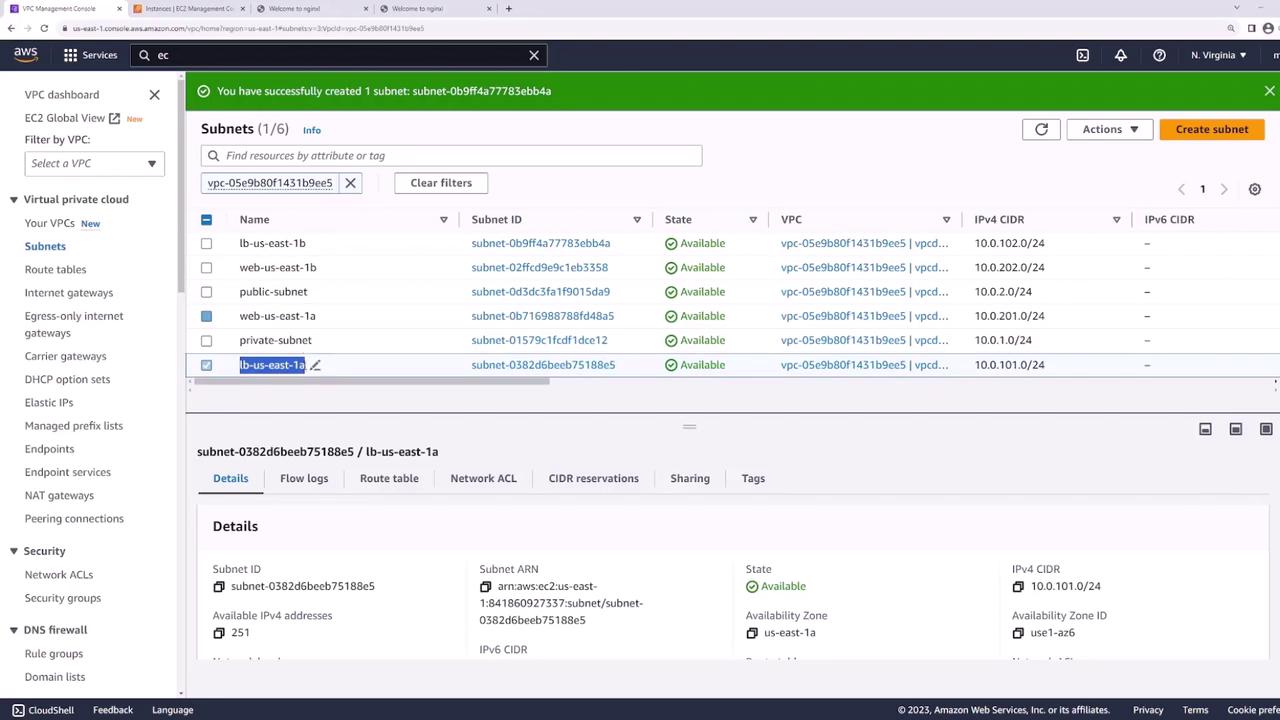
The load balancer will handle traffic across both US East 1a and US East 1b. For this purpose, you need to create two additional subnets:- US East 1a: Create a subnet named “LB” with CIDR 10.0.101.0/24.
- US East 1b: Create a subnet named “LB” with CIDR 10.0.102.0/24.
- Web US East 1a
- Web US East 1b
- LB US East 1a
- LB US East 1b
Ensuring Public Accessibility
Before setting up the load balancer, confirm that the LB subnets (LB US East 1a and LB US East 1b) are configured as public subnets. Check that the route table has a default route pointing to an Internet Gateway.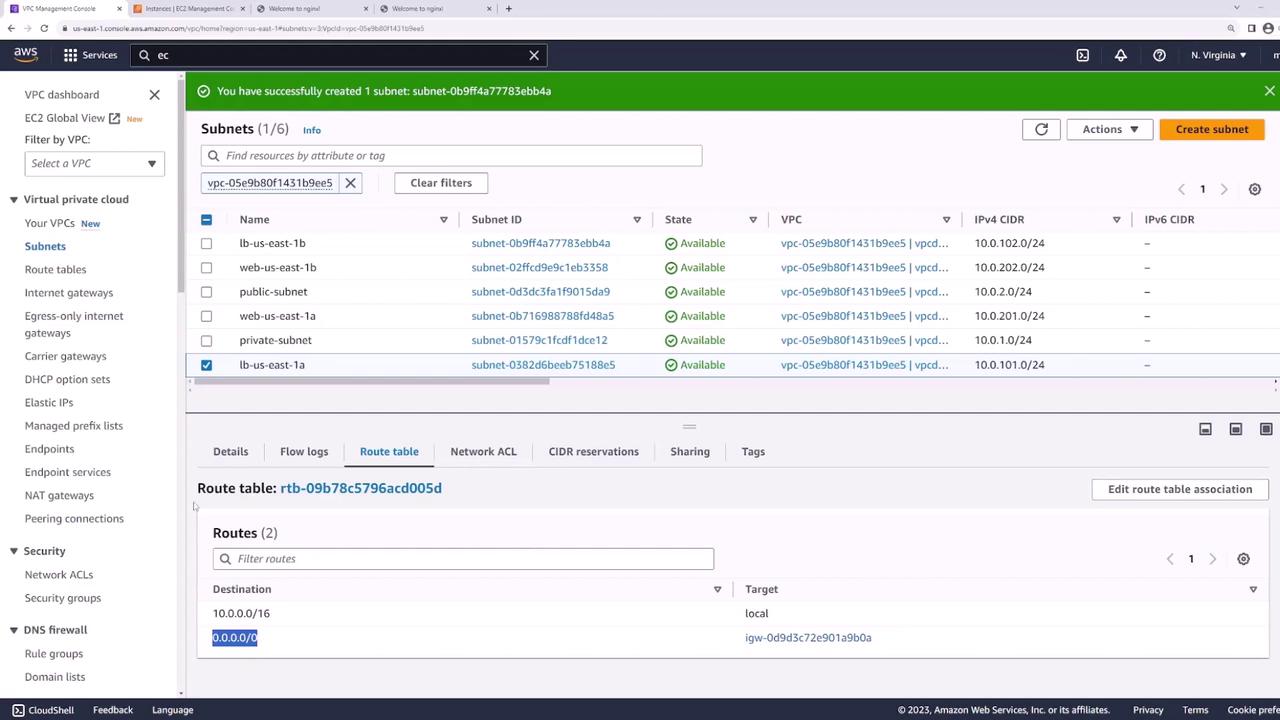
Ensure that the route table for your LB subnets has a default route (0.0.0.0/0) directing traffic to the Internet Gateway.
Setting Up the Application Load Balancer
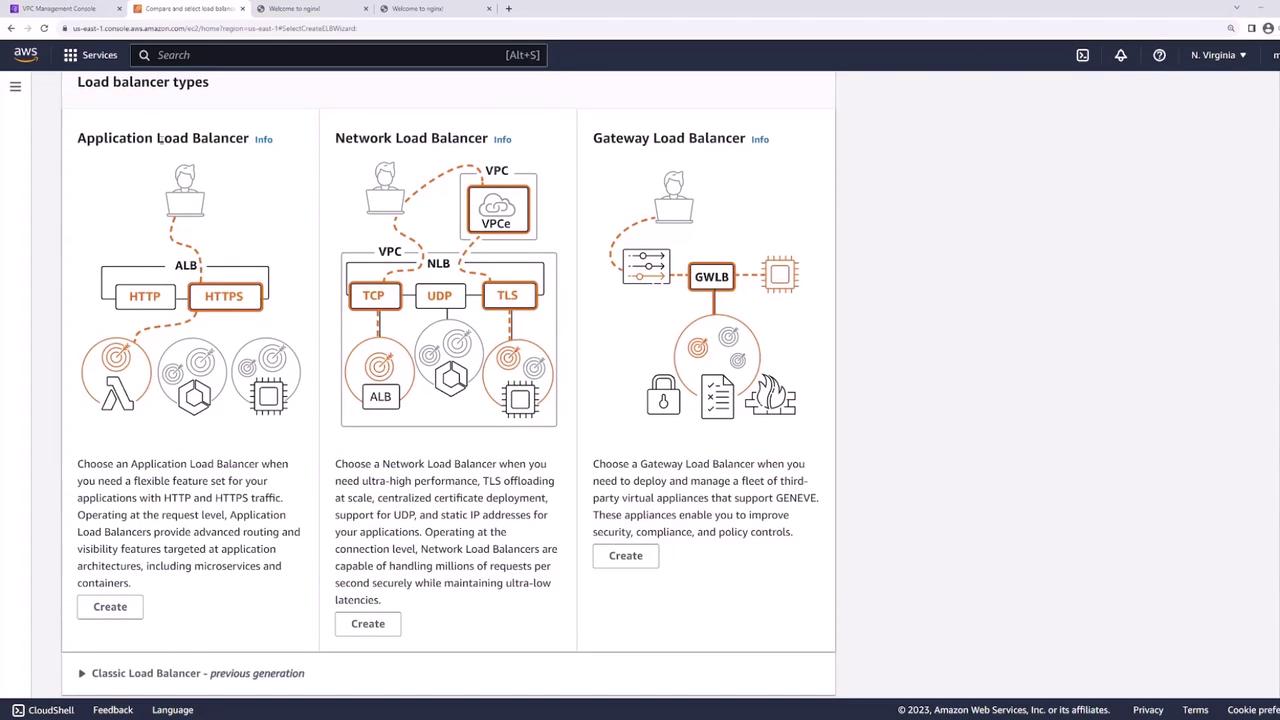
Follow these steps to configure your Application Load Balancer:- Navigate to the EC2 dashboard and select “Load Balancers.”
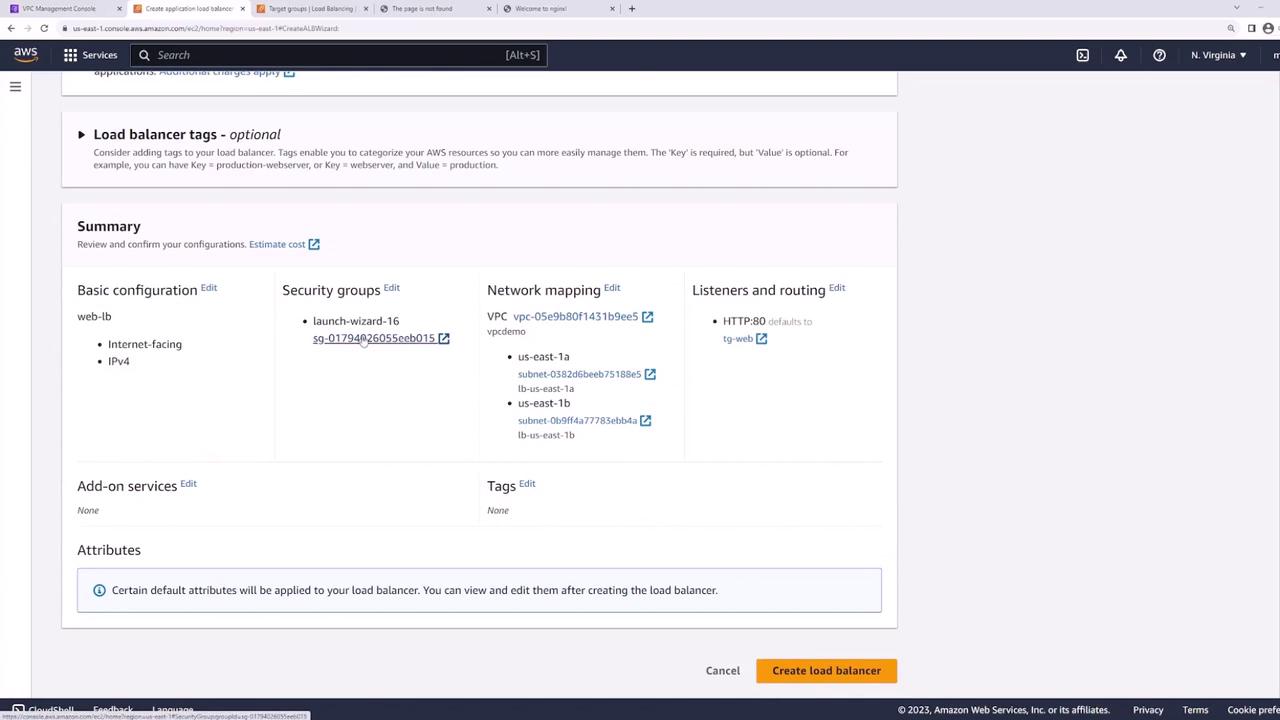
- Create a new Application Load Balancer named “web load balancer.”
- Choose the internet-facing option with IPv4 (or dual-stack if needed) and select the appropriate VPC.
- For Availability Zones, select the LB subnets in US East 1a and US East 1b. (Avoid using the web server subnets.)
- Choose or create a security group that permits web traffic (ports 80 and 443).
- Set up a listener for HTTP traffic on port 80.
Configuring Listener and Target Groups
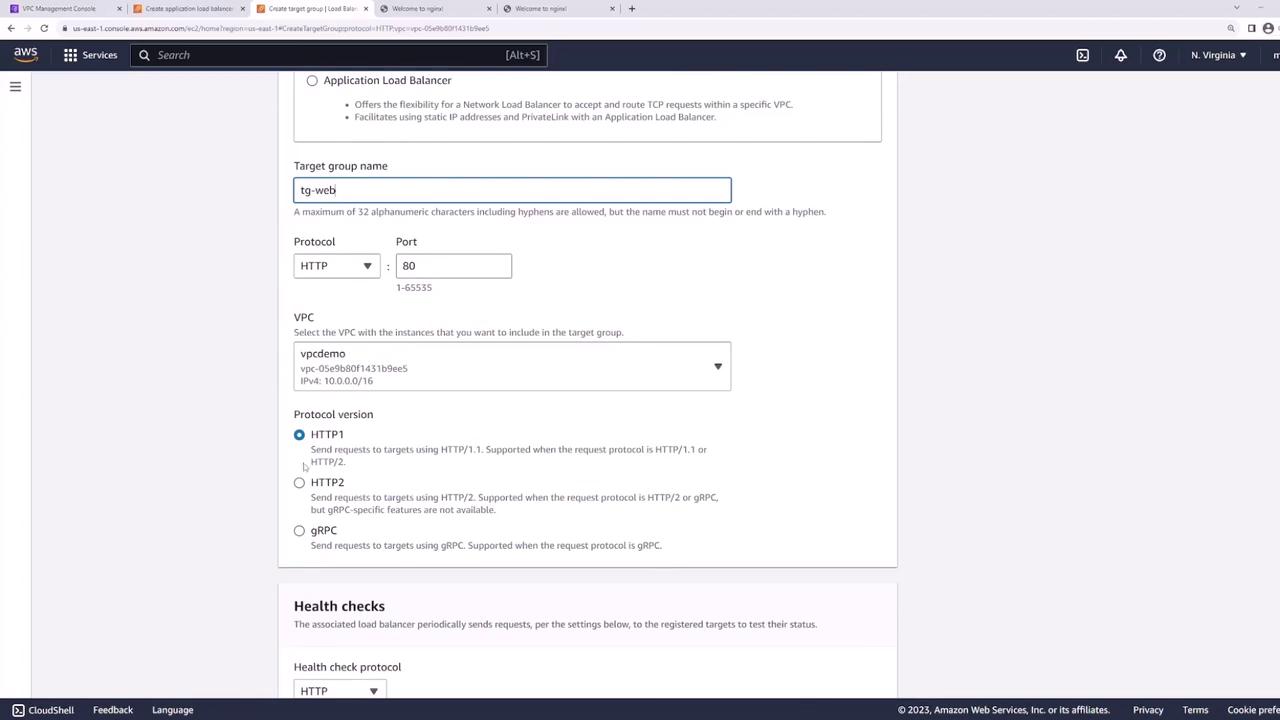
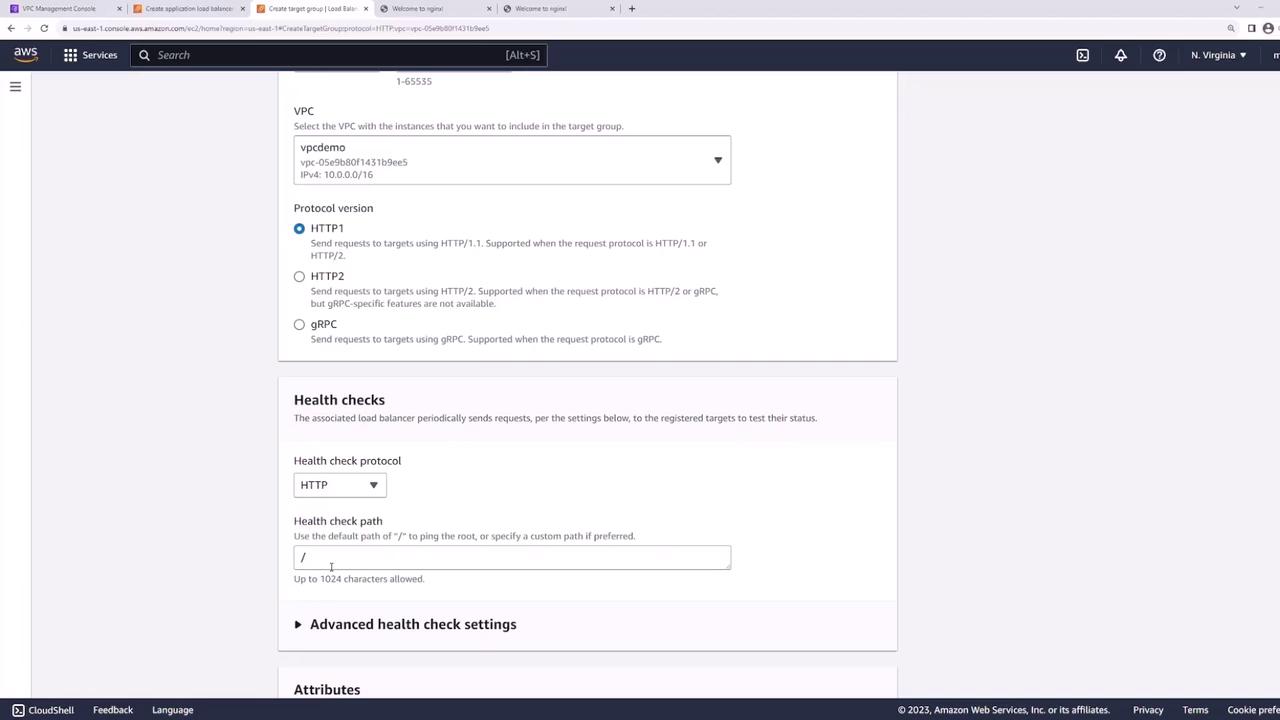
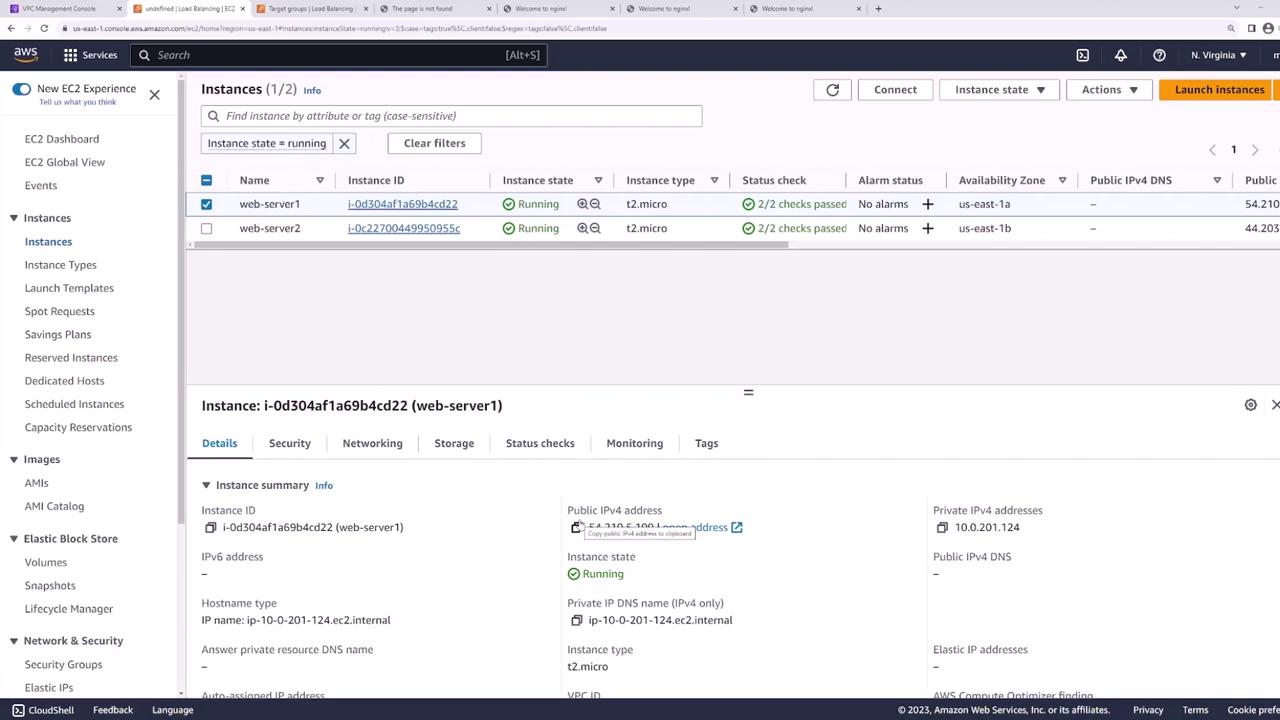
After creating your load balancer, configure a listener to forward HTTP requests on port 80 to a target group. Create a target group (named “web”) with the following settings:- Target Type: Instances
- Protocol: HTTP
- Port: 80 (matches the web server configuration)
- VPC: Select your demo VPC
- Health Checks: Set to the default path (”/”) or use a custom health check if required
Testing the Load Balancer
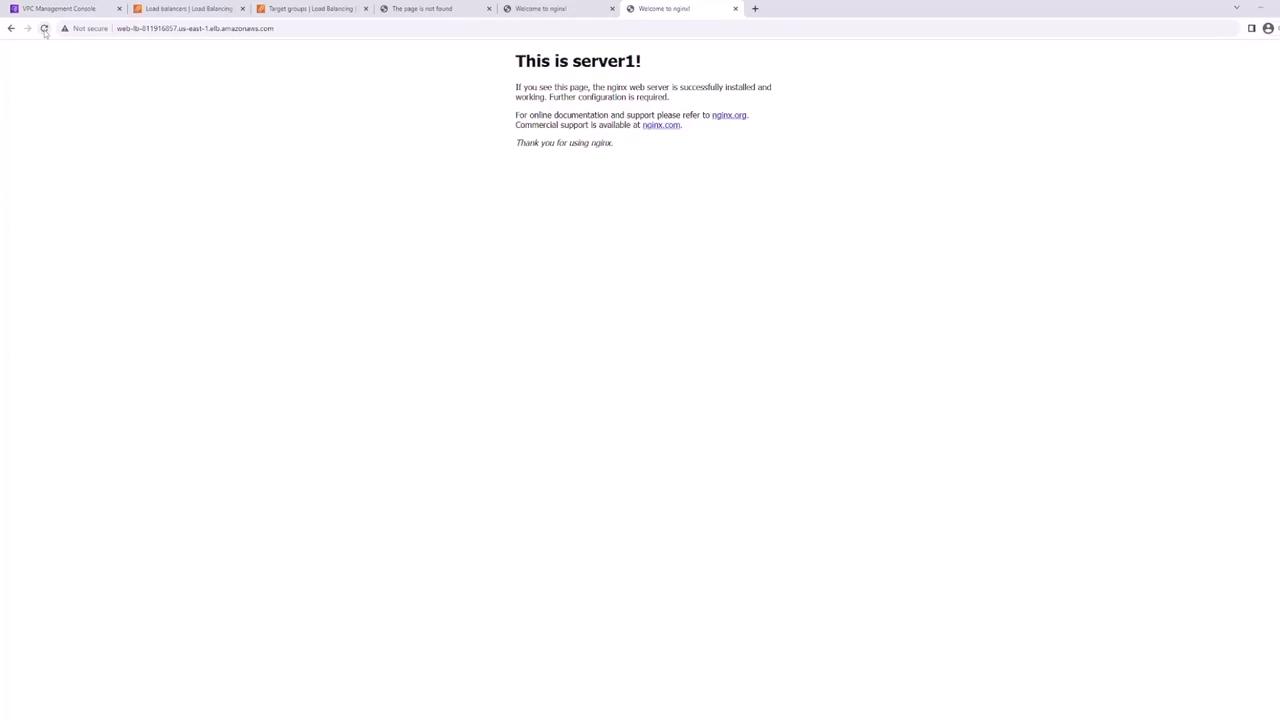
Once the Application Load Balancer becomes active, its details screen will show a DNS name that users can utilize to access your application. Copy this DNS name and open a new browser tab to send an HTTP request.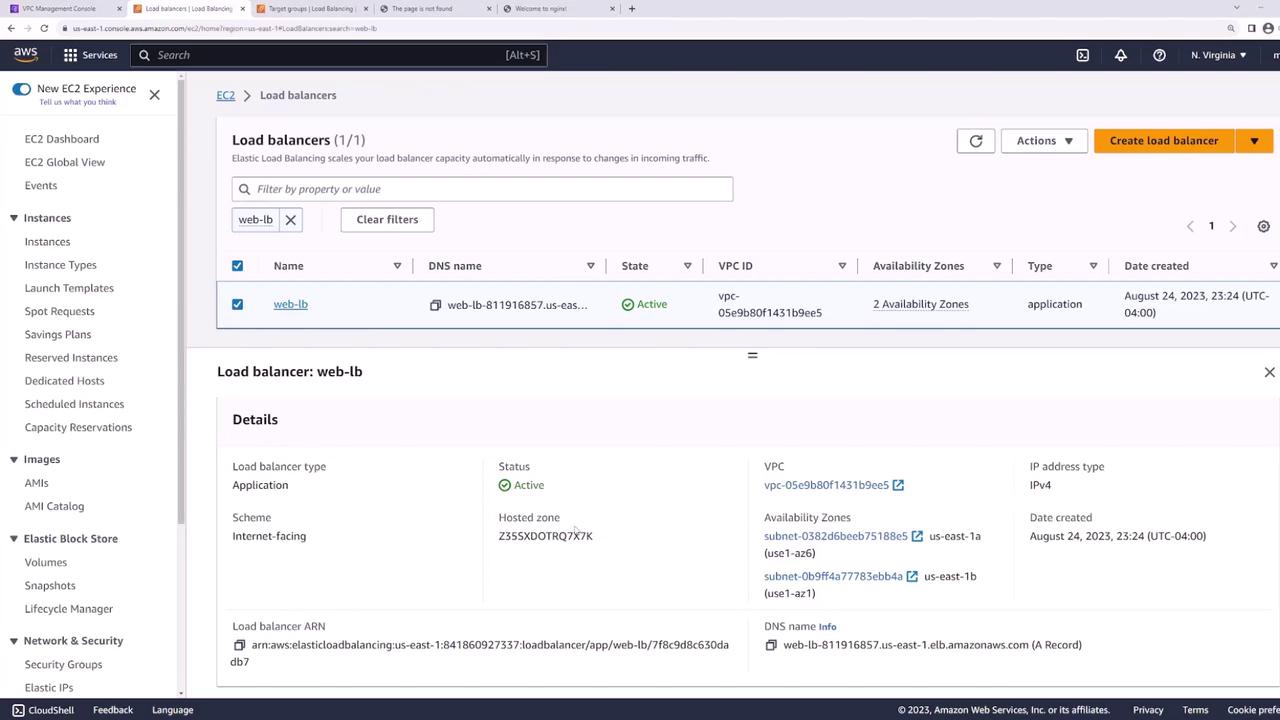
Important Security Considerations
Direct access to the EC2 instances is possible because each server has a public IP address. In a production environment, it is recommended to enhance security by:- Placing the web servers in private subnets to eliminate direct internet exposure.
- Using security groups or firewall rules to allow traffic only from the load balancer to the web servers.
For enhanced security, consider configuring your architecture so that the web servers reside in private subnets, and only the load balancer is directly exposed to the internet.