This guide details the process of setting up, deploying, updating, and cleaning up an ECS-based application.
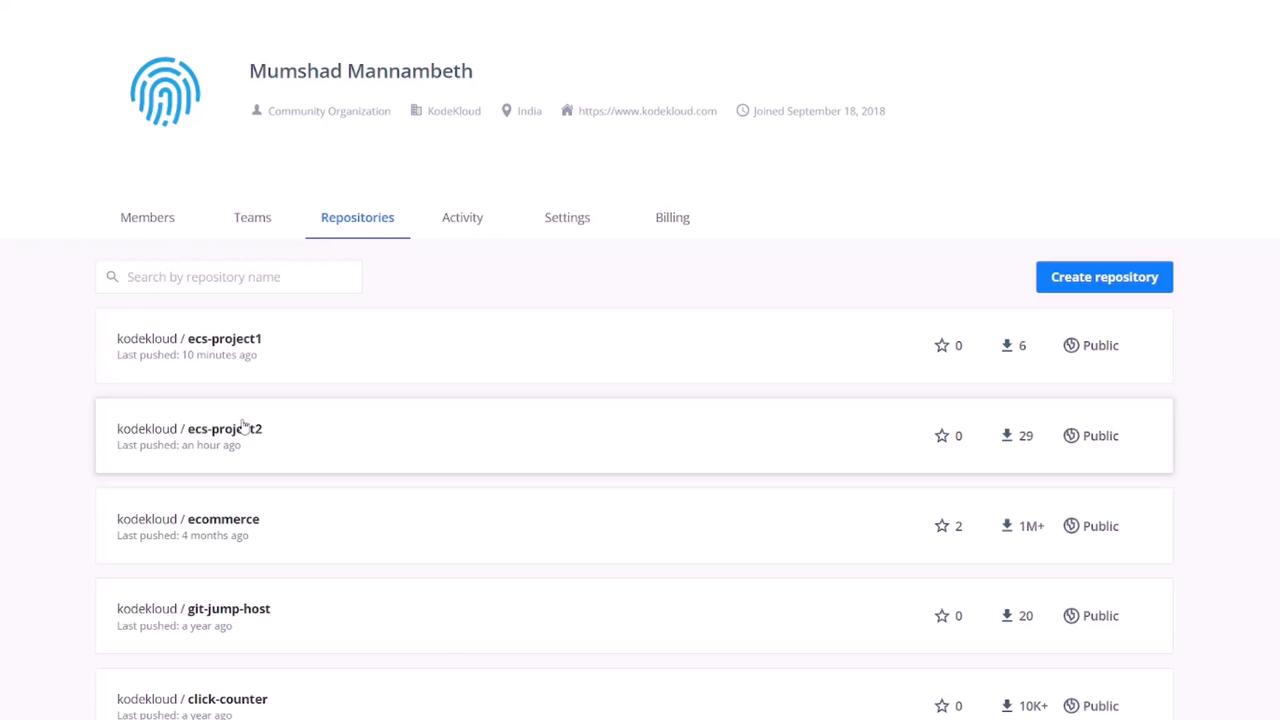
Before working with Amazon ECS in the AWS Console, visit Docker Hub and review the two images that form the basis of our demo projects. These public repositories—available at kodekloud.com/ecs-project1 and kodekloud.com/ecs-project2—contain the project images we will use.
Project One uses a simple Node.js application powered by an Express server. When a GET request is sent to the root path, the server responds with a basic HTML file. Below is the HTML file delivered by the application:
Log in to the AWS Console, search for “ECS”, and select Elastic Container Service.
If you’re new to ECS, a quick start wizard will guide you. Although sample applications are available, select the custom option to configure your container manually.
In the container configuration:
Container Name: For example, “ECS-Project1”.
Image: Use “KodeKloud/ECS-Project1”. If your image resides in a private repository, provide your credentials; otherwise, leave it as is.
Port Mapping: Set to 3000/TCP to match the Express application.
Below is a recap of the Dockerfile content referenced earlier:
For traditional Docker deployments, an external port can be mapped to an internal port like this:
Copy
Ask AI
# Example (not applicable for ECS)docker run -p 80:3000
In ECS, however, the external and internal ports must match (e.g., both being 3000). The advanced container configuration also allows you to set up health checks, environment variables, and volumes through a graphical interface. Click “Update” when the container configuration is complete.
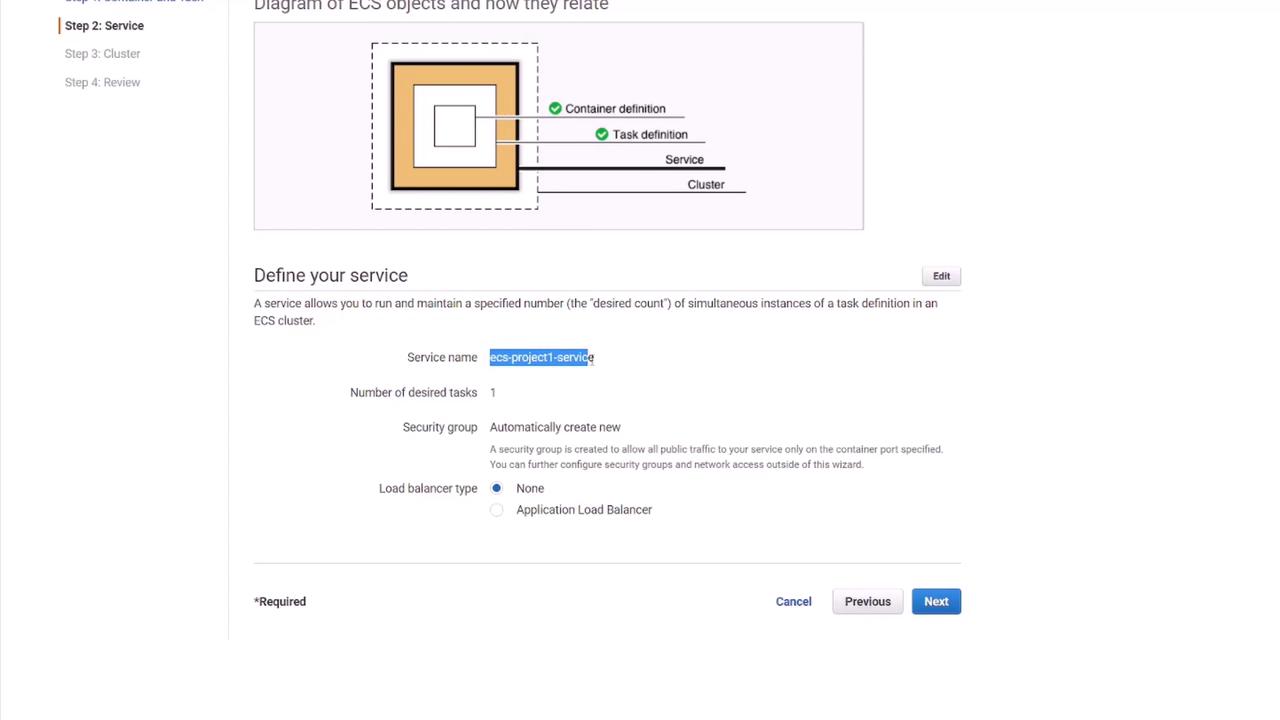
Service Name: For instance, “ECS-project1-service”.
Load Balancer: Optionally add one—select “none” for now.
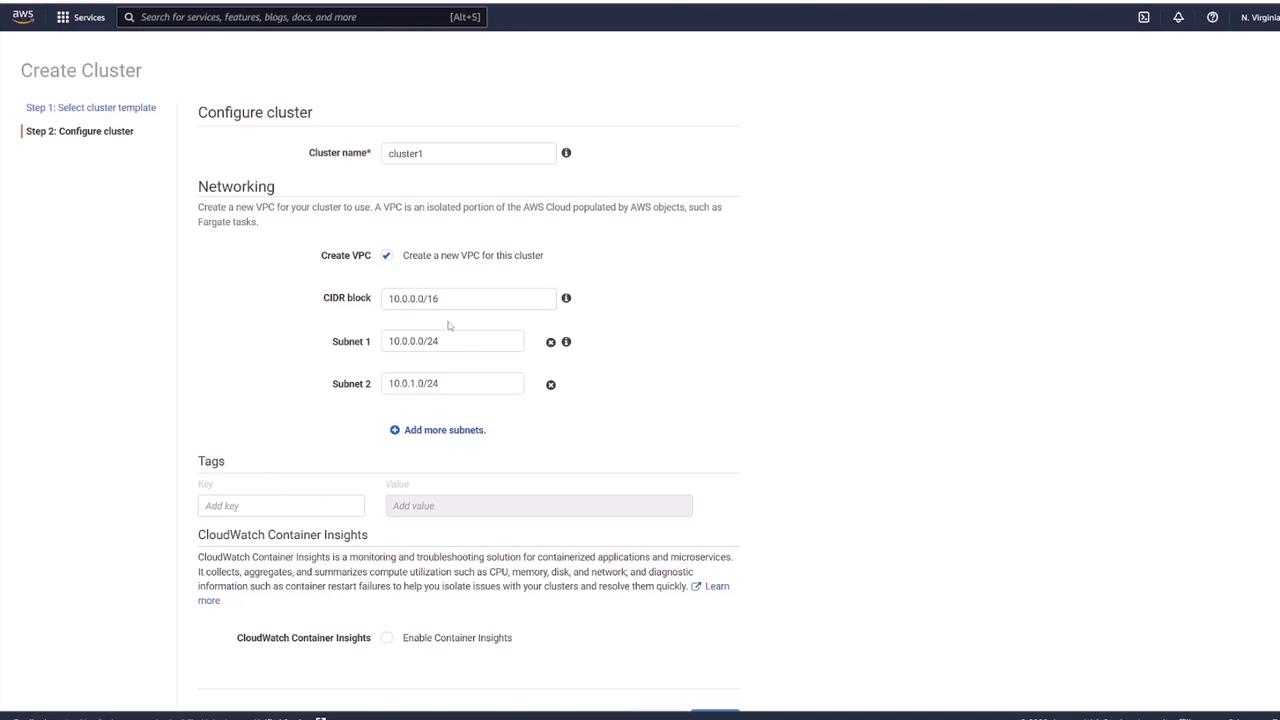
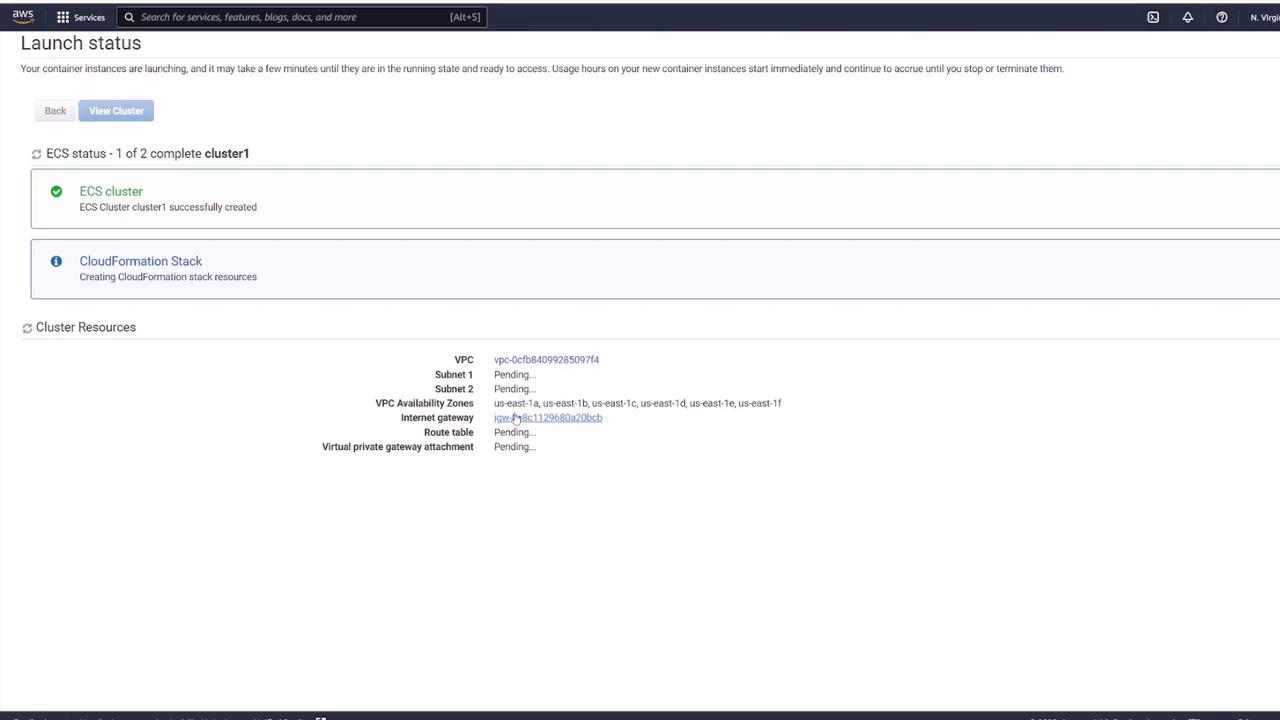
The wizard creates a cluster that groups all underlying resources, provisioning a new VPC along with subnets automatically.
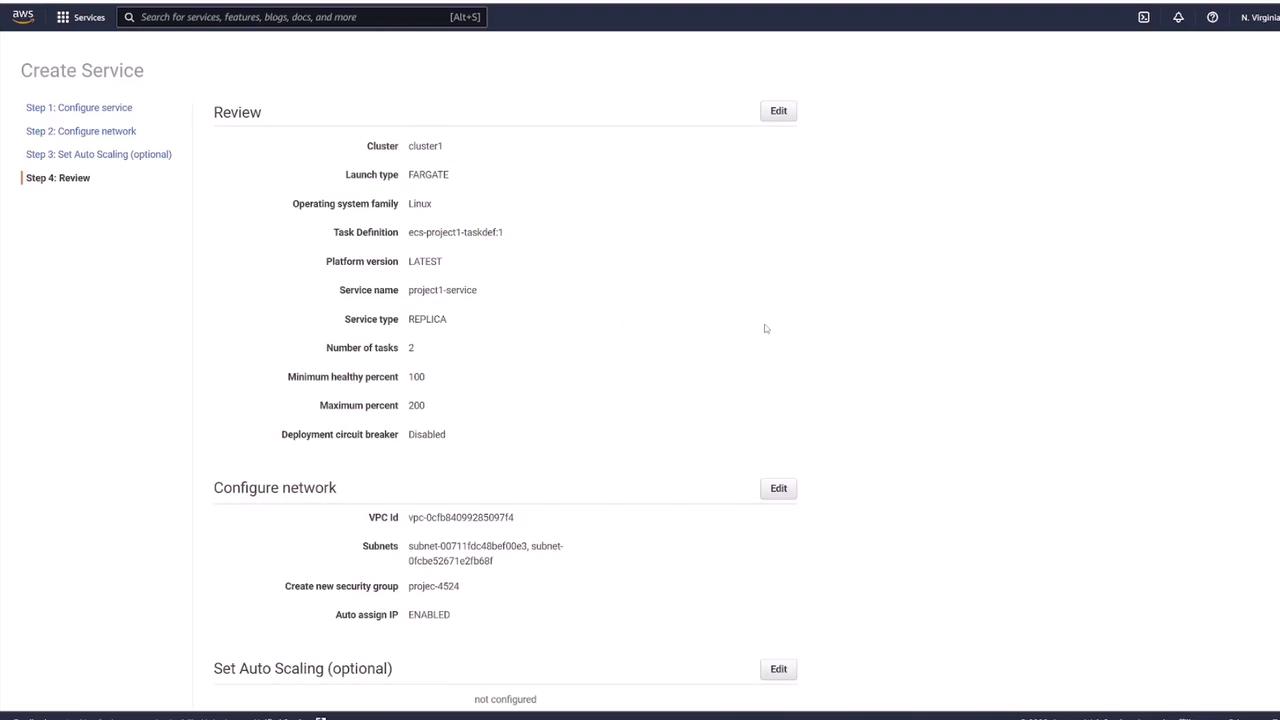
Review the configuration details including container definition, task definition, service details, and cluster settings. Then click “Create.” Wait a few minutes for provisioning and click “View Service” when ready.
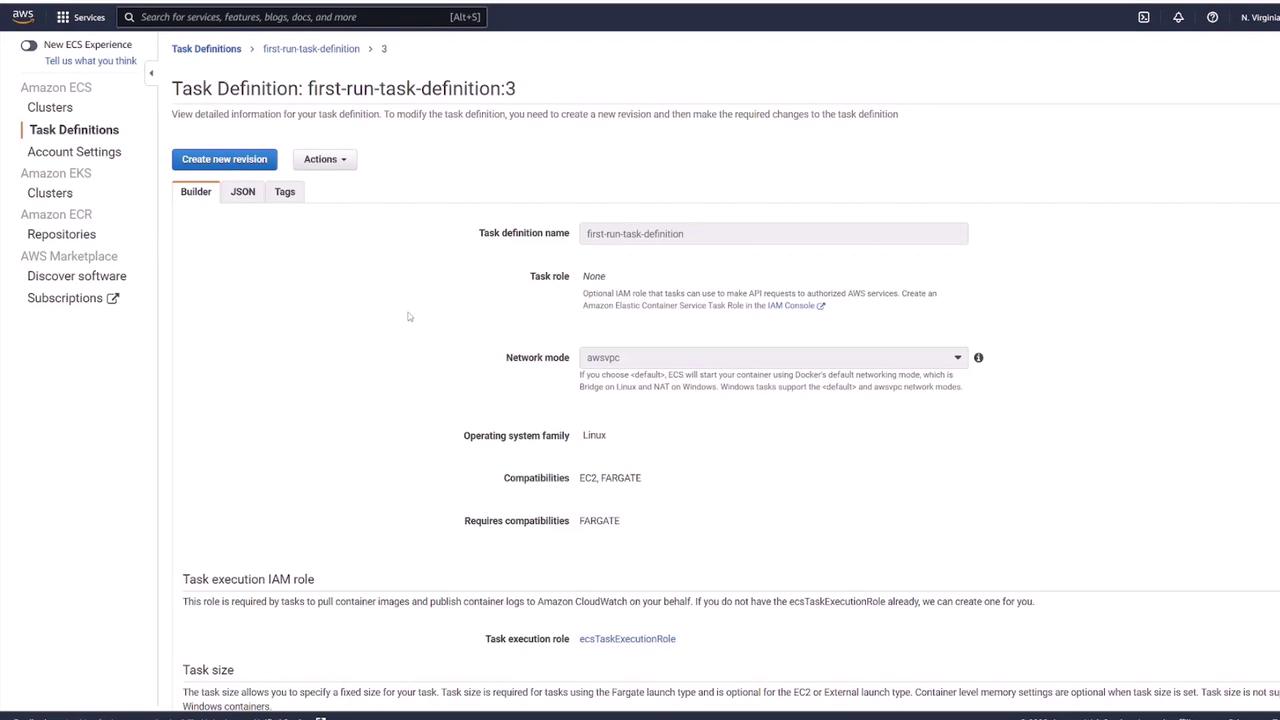
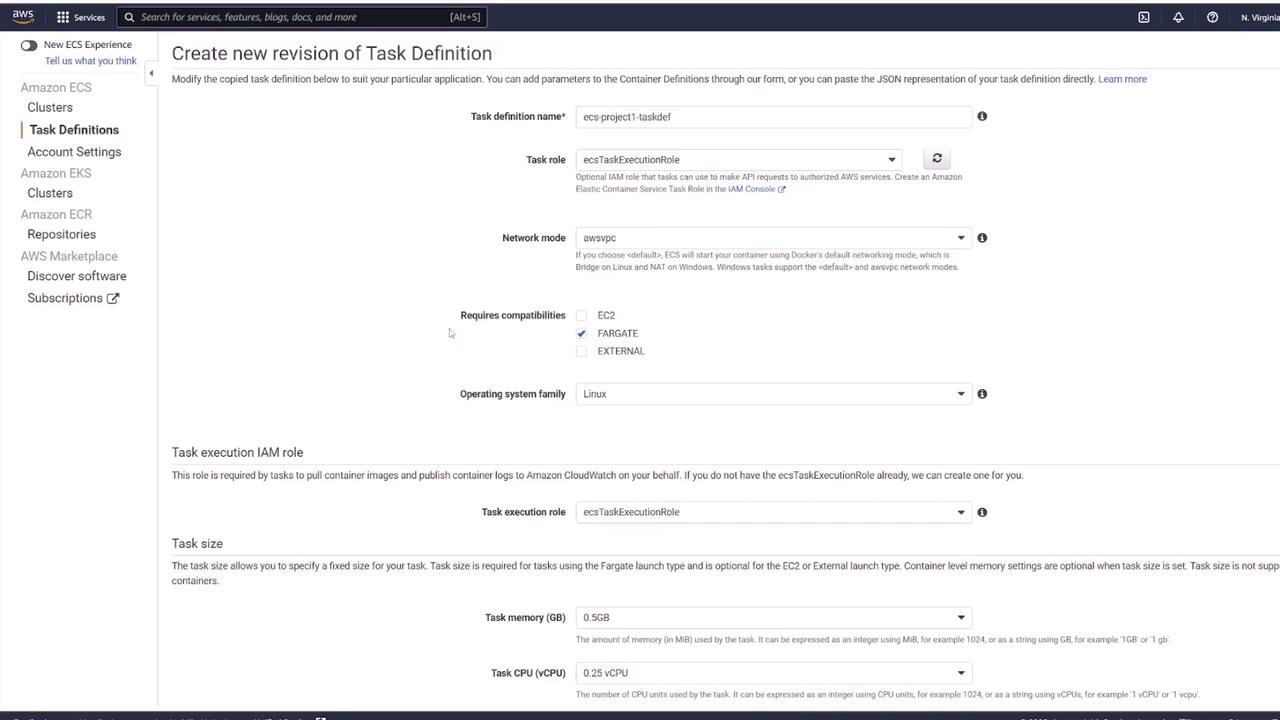
Task definitions store all container configurations, including port mappings, volumes, and environment variables. Revision numbers help track changes, with the latest revision reflecting the current configuration.
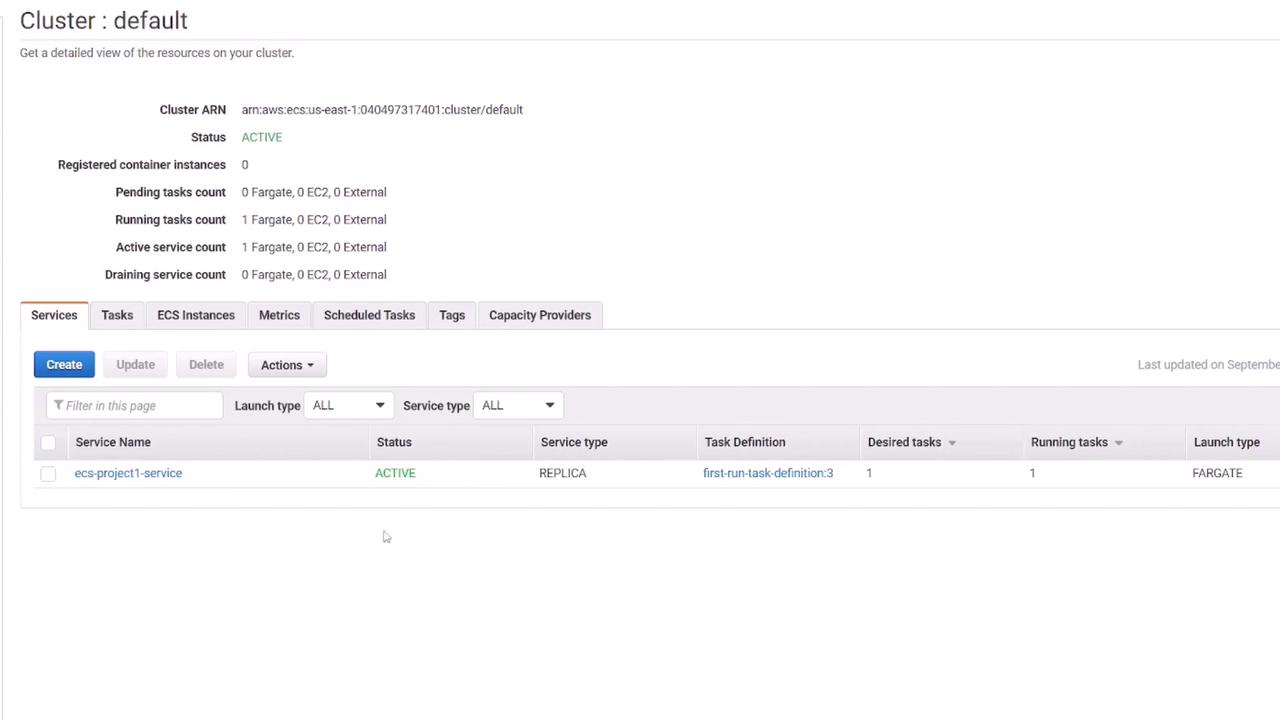
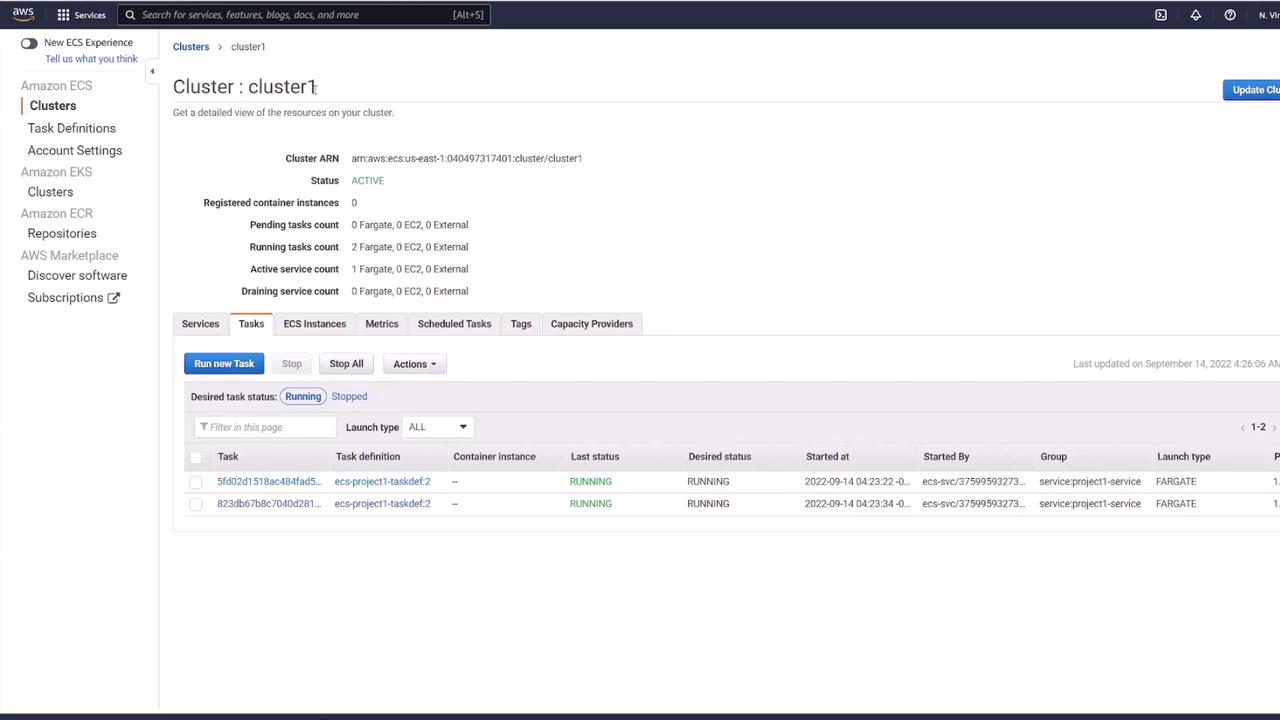
The ECS cluster represents the infrastructure—whether EC2 instances when using the EC2 launch type, or a managed Fargate environment. The default cluster, set up by the wizard, includes a newly created VPC and subnets.
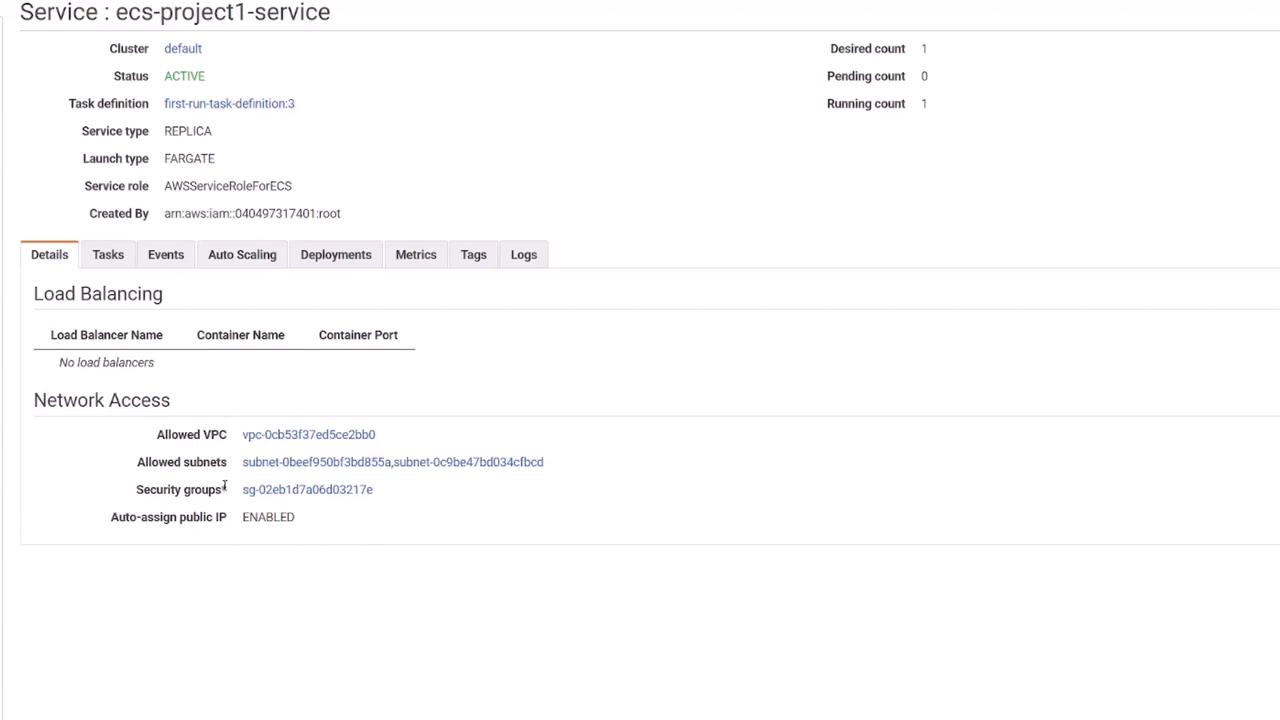
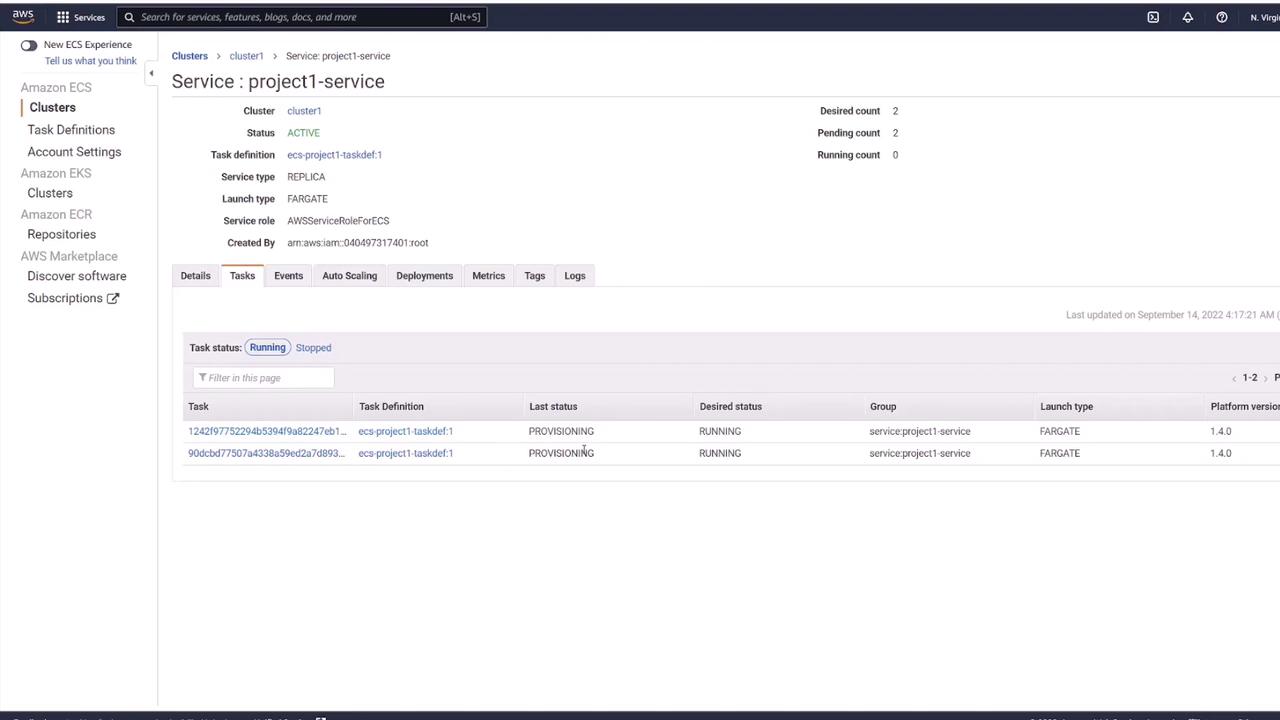
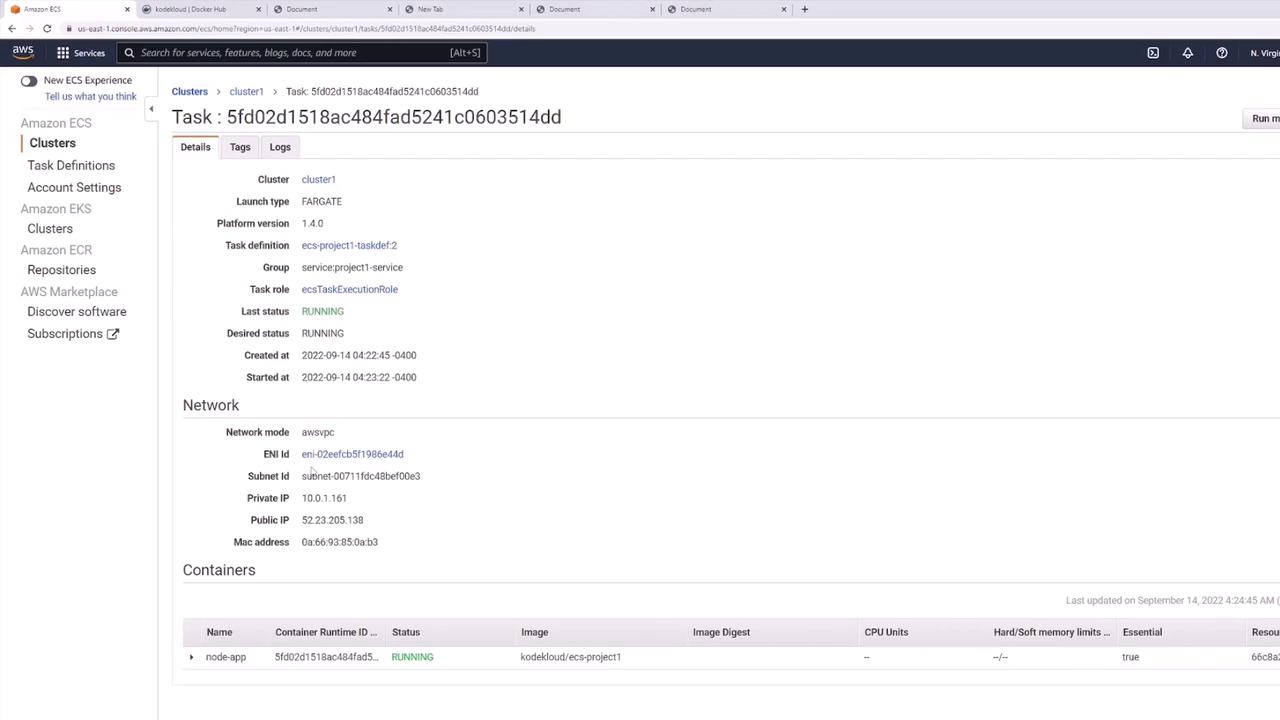
The service, “ECS-project1-service”, is created with a desired task count (initially one). You can inspect network settings, including VPC, subnets, and security groups. The running task receives a public IP address which you can use to access the deployed application.
After obtaining the task’s public IP address and accessing it in a browser, you should see the demo HTML page served on port 3000, confirming the application deployment.
Number of Tasks: For demonstration purposes, choose 2 tasks.
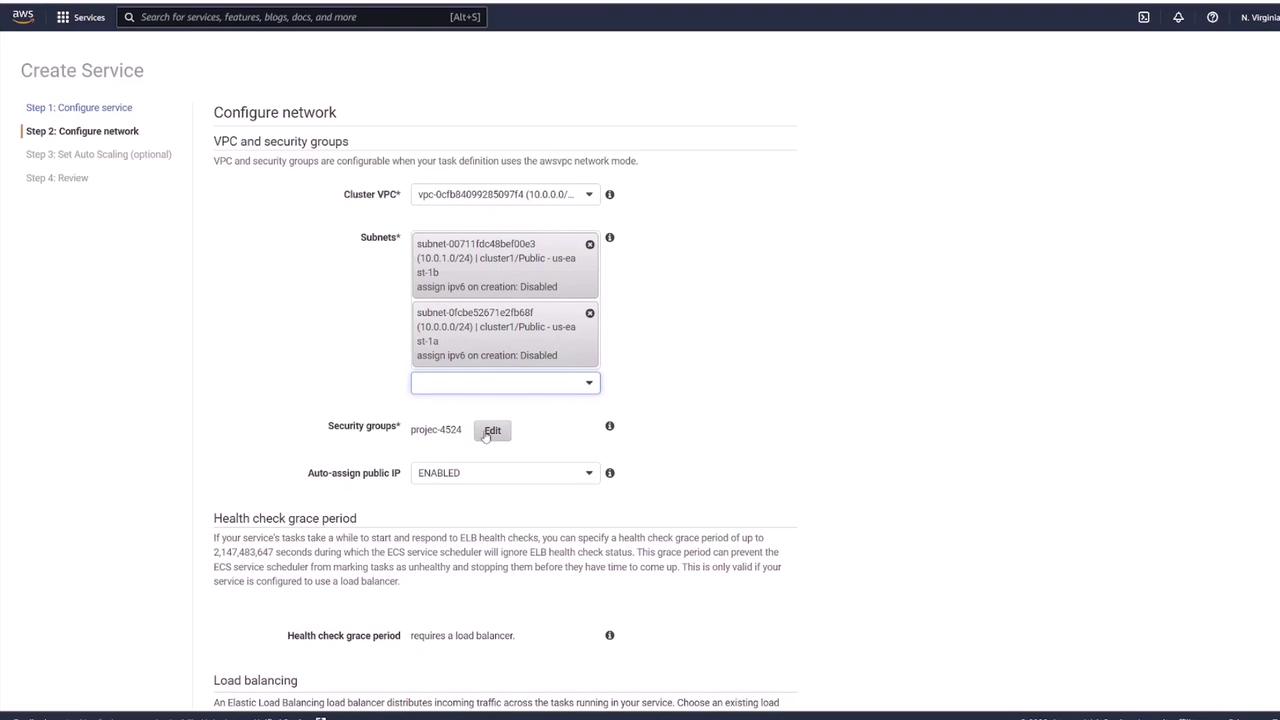
Set up networking:
Select the VPC created earlier.
Choose the appropriate subnets.
Configure the security group: Change the default setting (typically allowing traffic on port 80) to allow Custom TCP traffic on port 3000 from anywhere.
Proceed without a load balancer by selecting No load balancer (this will be discussed later).
Optionally configure auto scaling, then click Next to review all configurations.
Finally, click Create Service.
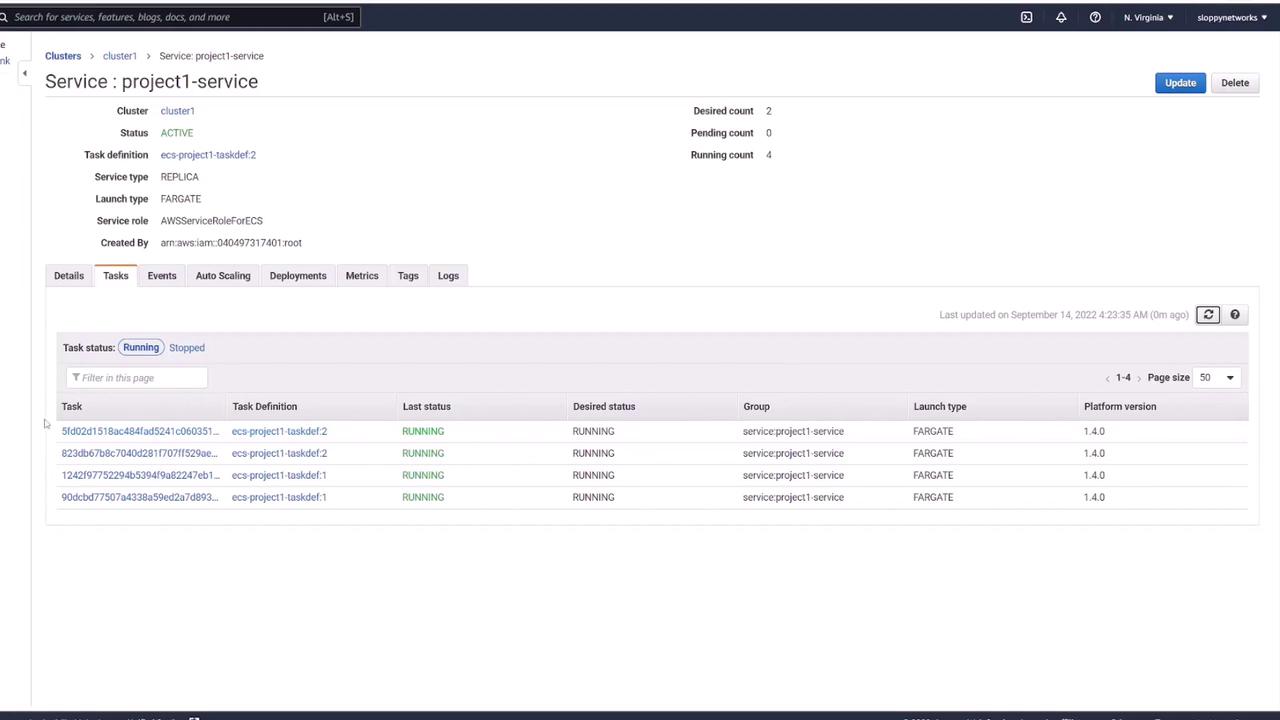
Initially, the console may show no tasks until refreshed; you should then notice two tasks being provisioned. Each task receives its own public IP address which requires tracking if not behind a load balancer. A load balancer is recommended for production environments to provide a consistent endpoint and handle traffic distribution.
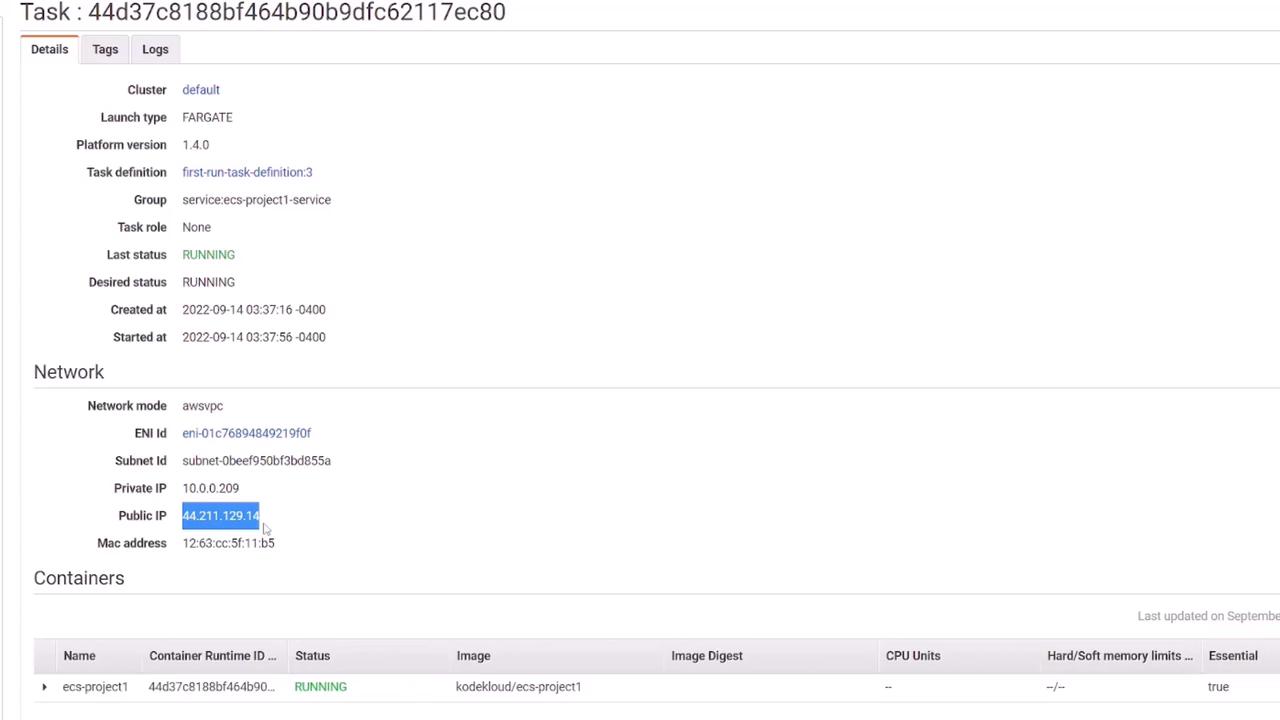
Click on a task to view its details, then copy its public IP address and open it in your browser at port 3000. The expected output is the simple HTML page served by the application. Note that each new deployment generates new public IP addresses, which underscores the importance of using a load balancer in production.
To build and push the changed Docker image, use the following commands:
Copy
Ask AI
docker build -t KodeKloud/ECS-project1 .
Copy
Ask AI
docker push KodeKloud/ECS-project1
Even after pushing the updated image, the running ECS service continues to use the old image until you force a new deployment. To do this, go to the ECS Console, select your service in the cluster, click Update, and then choose Force new deployment. This instructs ECS to pull the latest image and deploy updated tasks.Alternatively, if you update the task definition, create a new revision (e.g., revision 2) and update the service to use it. ECS will then start tasks with the latest configuration, and once health checks pass, the old tasks are terminated.
When new tasks are deployed, they will obtain new public IP addresses. While this confirms the update, it also illustrates why a load balancer is essential—it provides a stable endpoint and manages traffic distribution automatically.
Refresh the ECS console to verify that only the desired number of tasks (in this example, two) are running, and that the deployment process has gracefully terminated the old tasks.
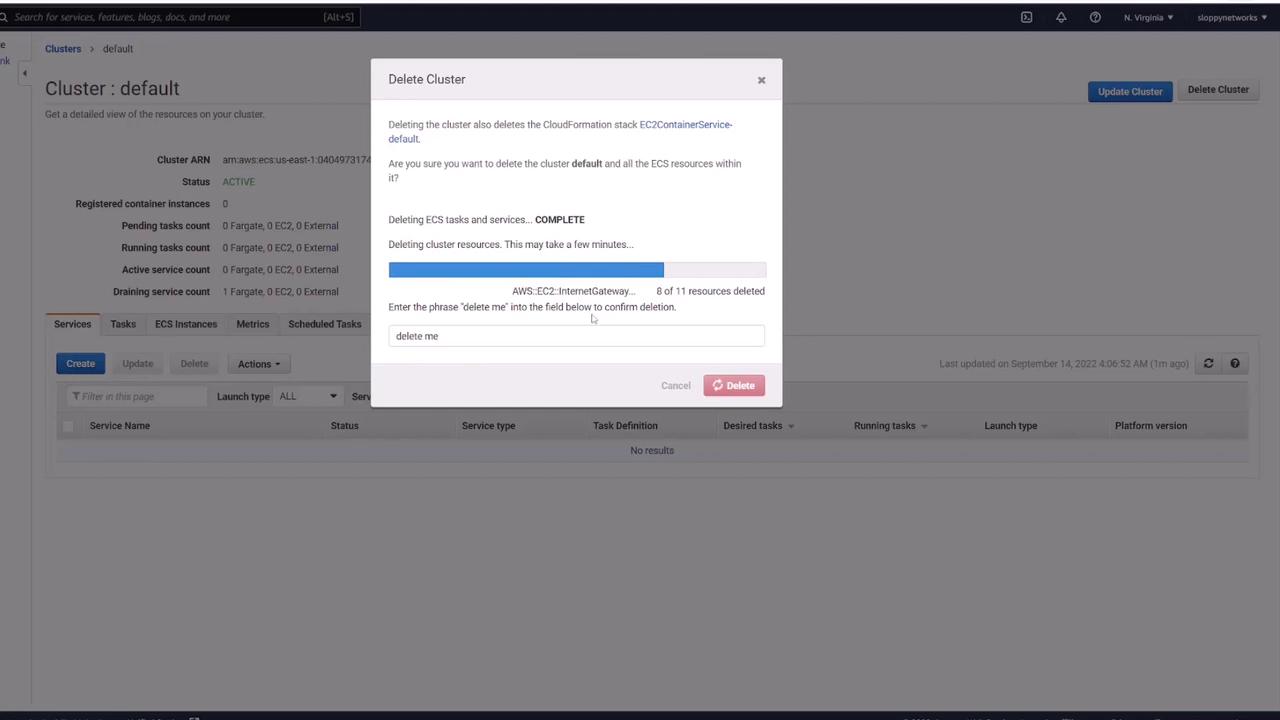
This demonstration has shown how to deploy and update a basic application on ECS using both the quick start wizard and manual configuration. Although each ECS task gets a unique IP address, a load balancer is recommended for production to provide a single, stable endpoint and to manage IP changes seamlessly.After completing the demo, remember to delete the entire service before moving to more complex environments that involve databases, volumes, and load balancing.
Delete the service and confirm that all tasks are removed. The cluster will remain, allowing you to deploy your next application.
This guide detailed the process of setting up, deploying, updating, and cleaning up an ECS-based application. For production-grade deployments, always consider integrating a load balancer to manage traffic effectively.