Step 1: Select and Edit the API Stage
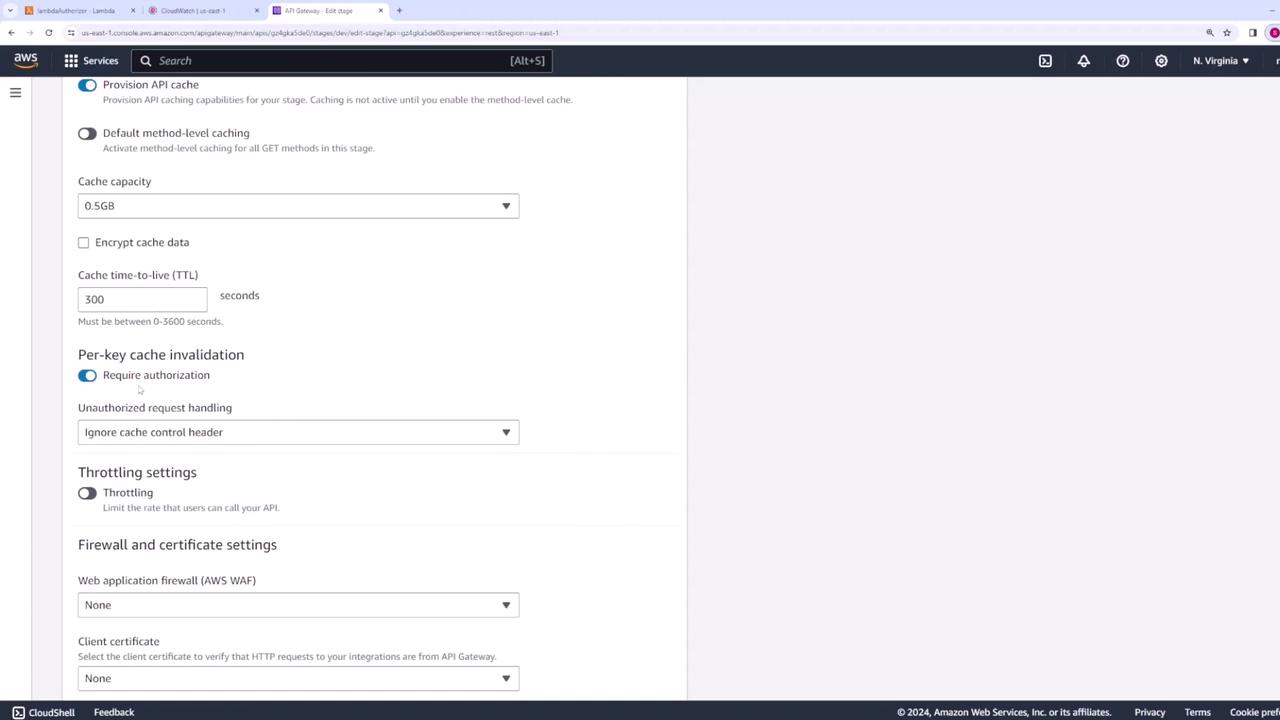
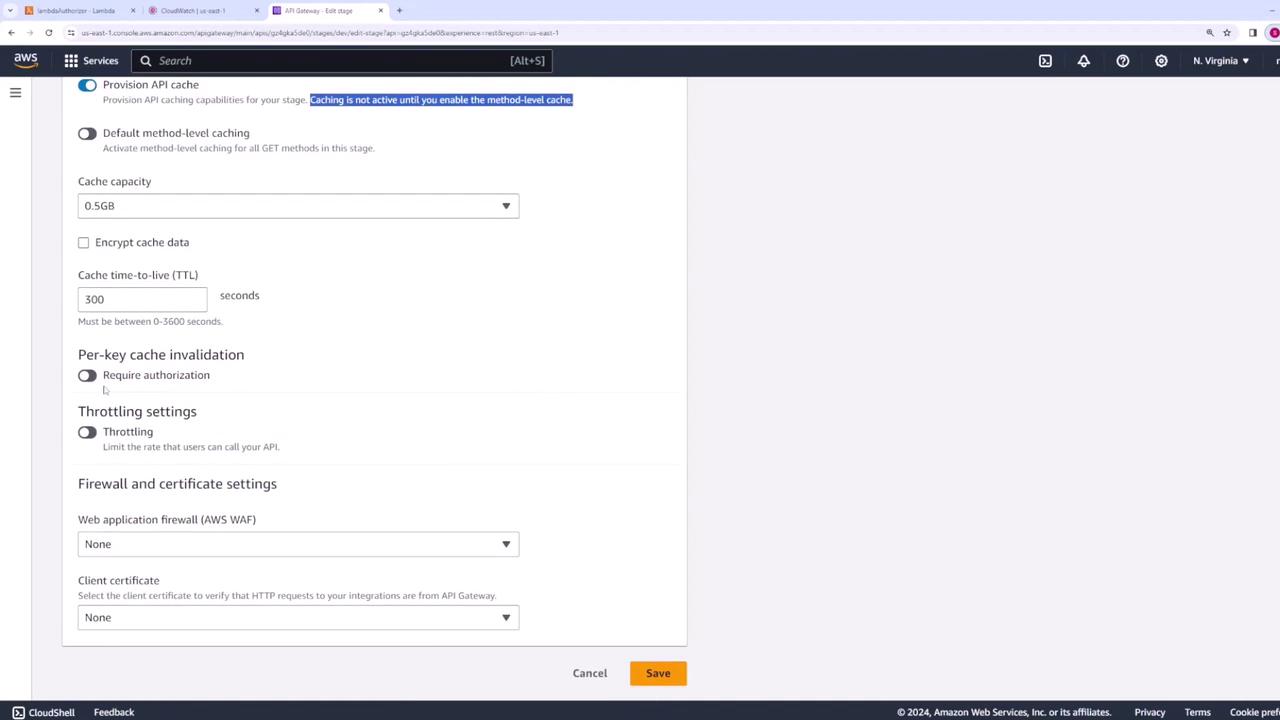
Begin by navigating to your API and choosing the specific stage for which you want to configure caching. Remember, each stage can have its own unique configuration settings. Once you have selected the correct stage, click Edit to access the stage configuration. Within the stage configuration, locate the cache settings. Activating these settings provisions a cache for your API. However, note that caching remains inactive until you explicitly enable method-level caching. Even when stage-level caching is configured, you must enable it for each API method individually. Alternatively, you may opt to activate caching automatically for all GET methods.Step 2: Customize Caching Parameters
You have the flexibility to adjust several caching parameters at the stage level:- Define the cache capacity.
- Enable data encryption to secure your cached data.
- Set the TTL (Time-To-Live), which determines how long cached responses remain valid.
- Activate authorization in the cache to manage interactions with unauthorized requests.
When cache authorization is enabled, you can configure the response for unauthorized invalidation attempts. Options include ignoring the header, issuing a warning, or returning a 403 status code.
Step 3: Configure Caching for Individual API Methods
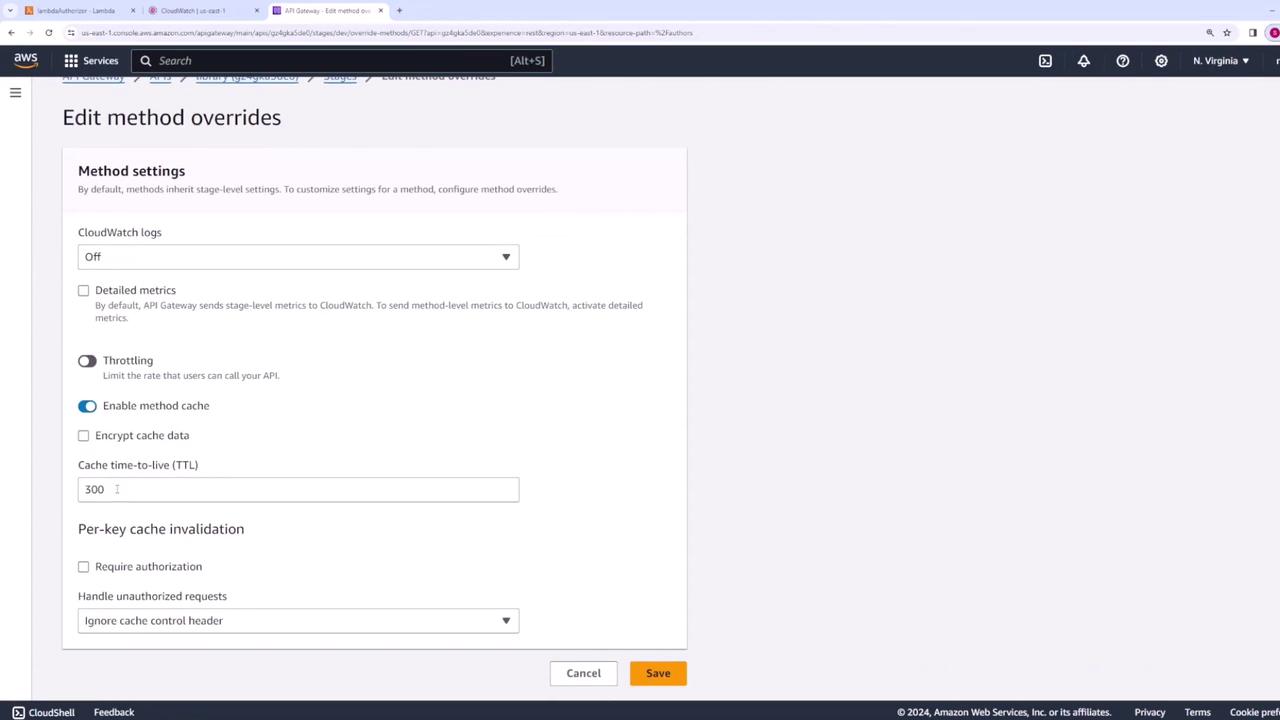
Caching can also be tailored for individual API methods. To enable this:- Navigate to the specific method and click Edit.
- In the method configuration page, enable method-level caching.
- Adjust parameters such as TTL or cache capacity to override stage-level settings if necessary.