- A running Jenkins controller (version 2.x or later).
- Shell access to the Jenkins host machine.
- Administrative privileges to install plugins.
1. Verify Node.js on the Jenkins Host
SSH into the Jenkins server and confirm that Node.js and npm are installed:node and npm directly. Agents without Node.js will fail unless you provide a managed installation.
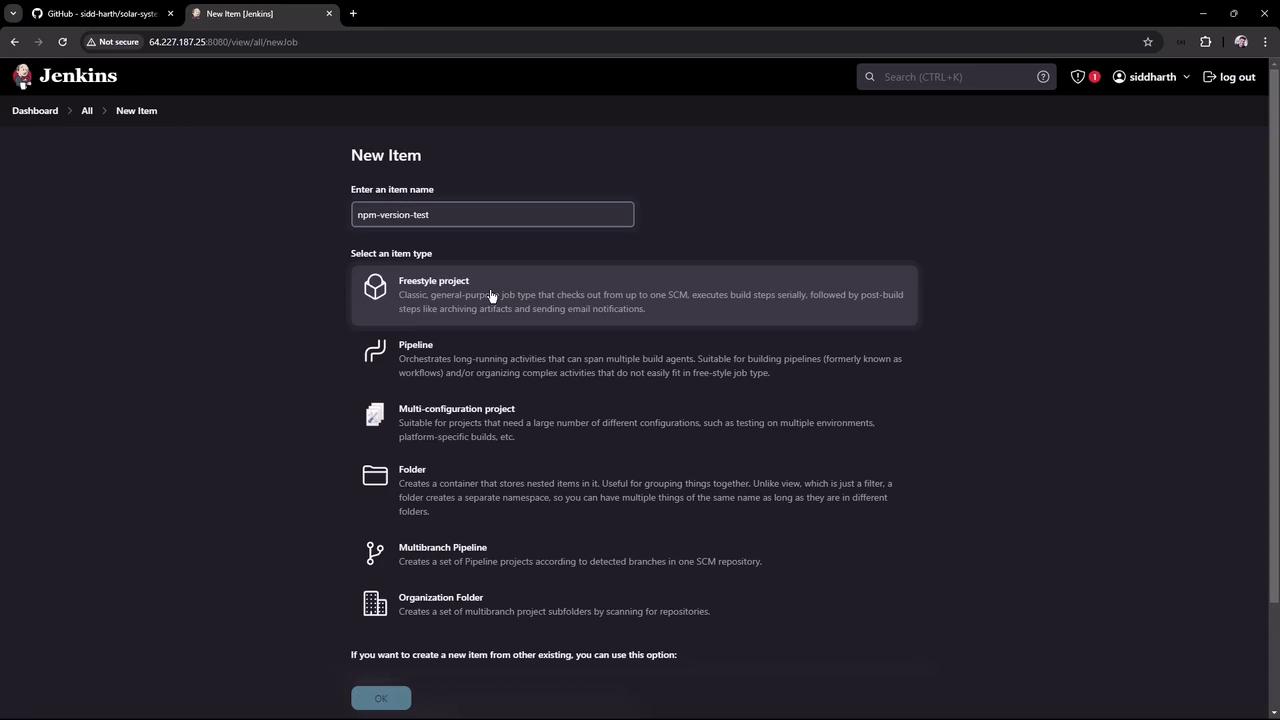
2. Test Node.js in a Freestyle Project
-
In Jenkins, click New Item, enter
npm-version-test, choose Freestyle project, then OK. -
Under Build → Execute shell, add:
-
Save and run the job. You should see:
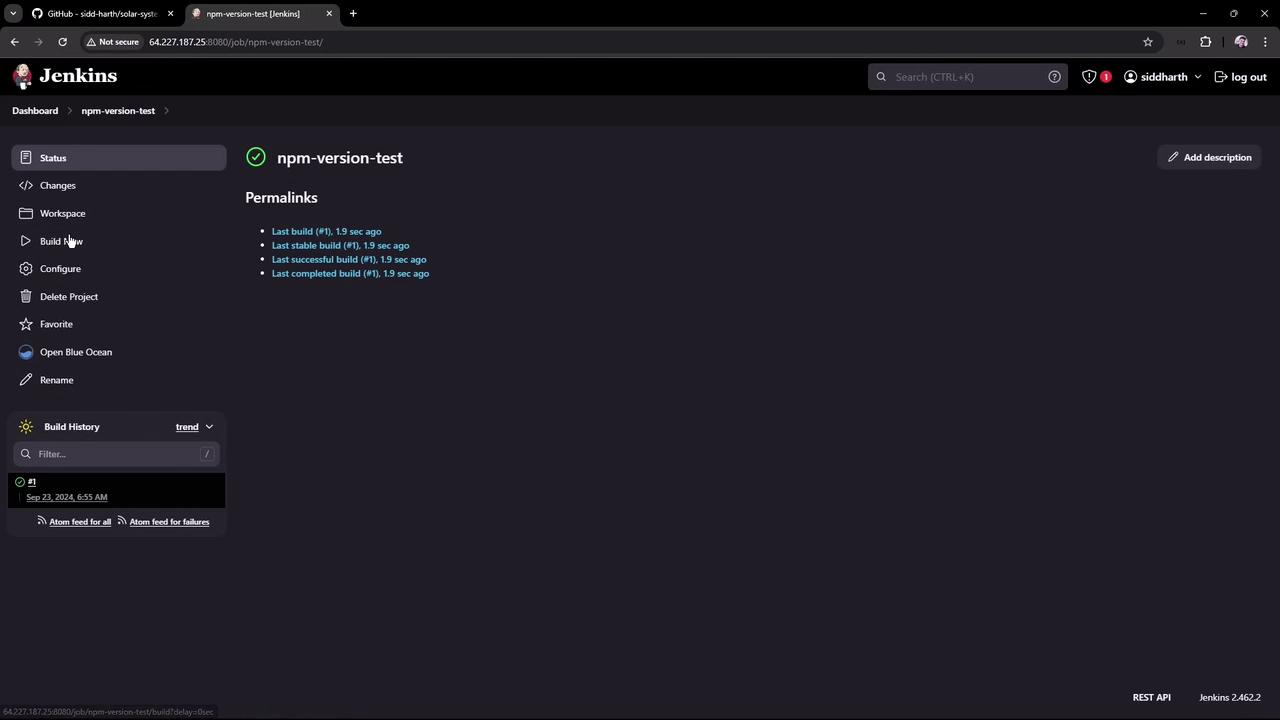
If your builds run on agents without Node.js, this job will fail. To ensure consistency, use Jenkins-managed tools.
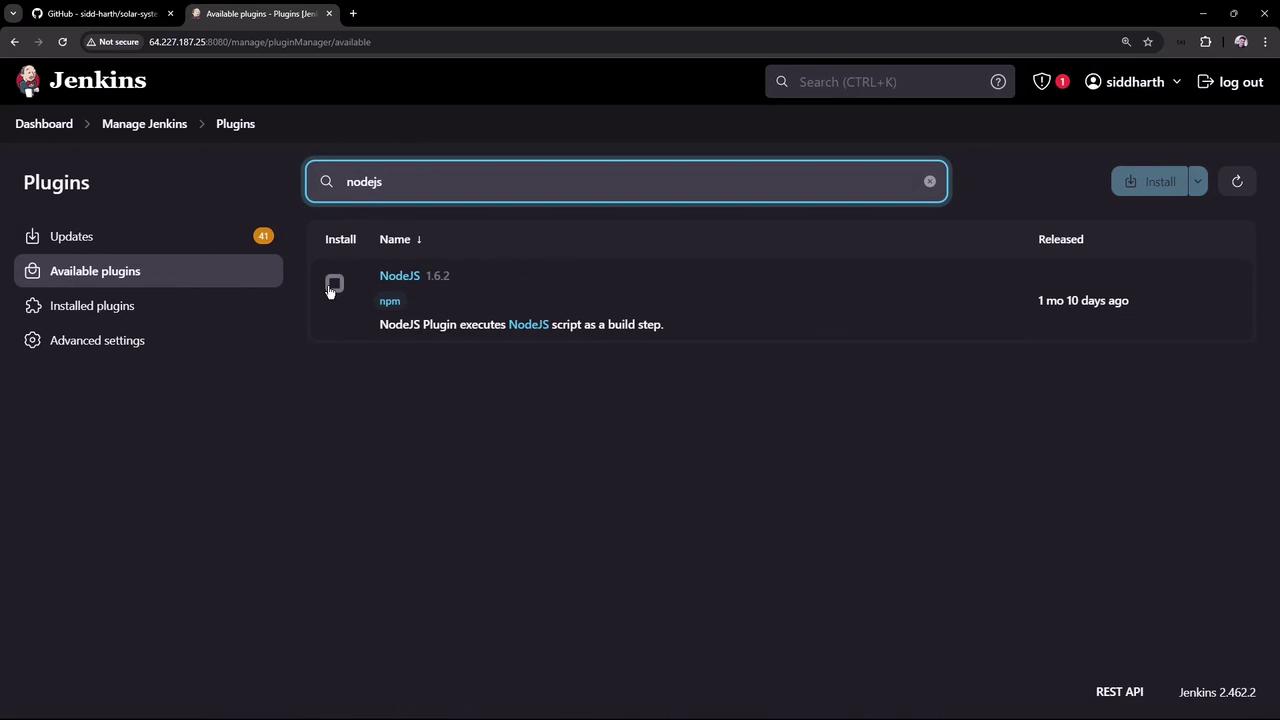
3. Install the NodeJS Plugin
Add Node.js as a managed tool in Jenkins:- Go to Manage Jenkins → Manage Plugins → Available.
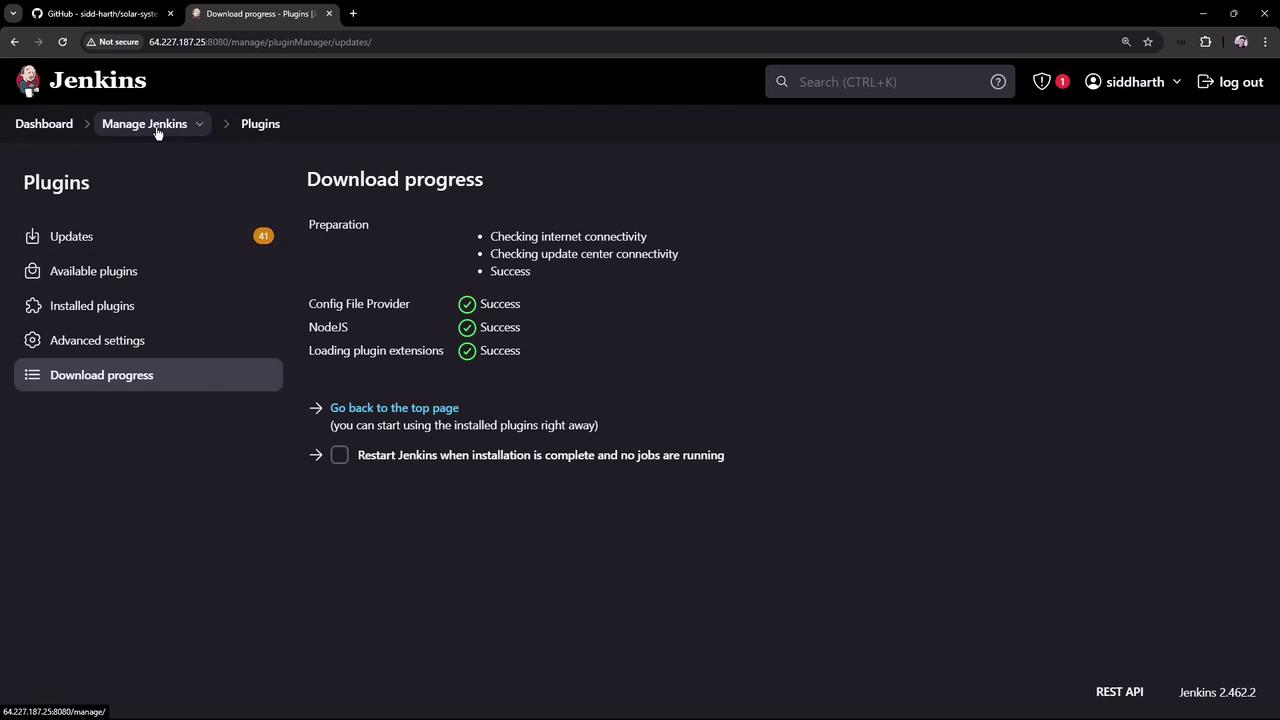
- Search for NodeJS, select NodeJS plugin (v1.6.2), then Install without restart.
4. Configure Node.js as a Global Tool
- Navigate to Manage Jenkins → Global Tool Configuration.
-
Under NodeJS installations, click Add NodeJS, then fill in:
- Name:
Node.js 22.6.0 - Install automatically: checked
- Version:
22.6.0
- Name:
- Click Save.

5. Use the Managed Node.js in a Freestyle Job
- Open the npm-version-test job and click Configure.
- In Build Environment, enable Provide Node & npm bin/ folder to PATH, then select Node.js 22.6.0.
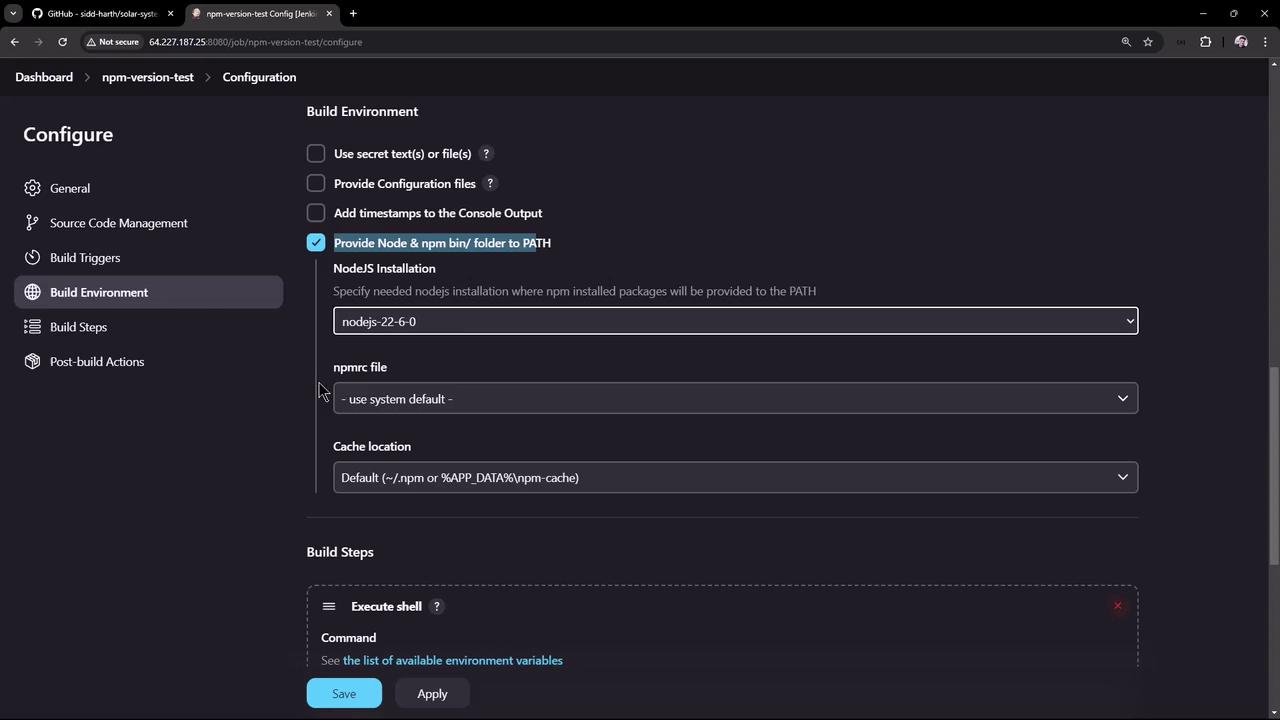
-
Save and trigger the build. The first run installs Node.js on the controller:
Summary
| Step | Description |
|---|---|
| Verify Host Installation | Check node -v and npm -v on the Jenkins controller. |
| Freestyle Project Test | Run a basic freestyle job using host-installed Node.js. |
| Install NodeJS Plugin | Add NodeJS plugin via Manage Plugins. |
| Global Tool Configuration | Define Node.js under Global Tool Configuration. |
| Use Managed Node.js | Enable Node.js in Build Environment of a freestyle job. |