http://<host>:9000.
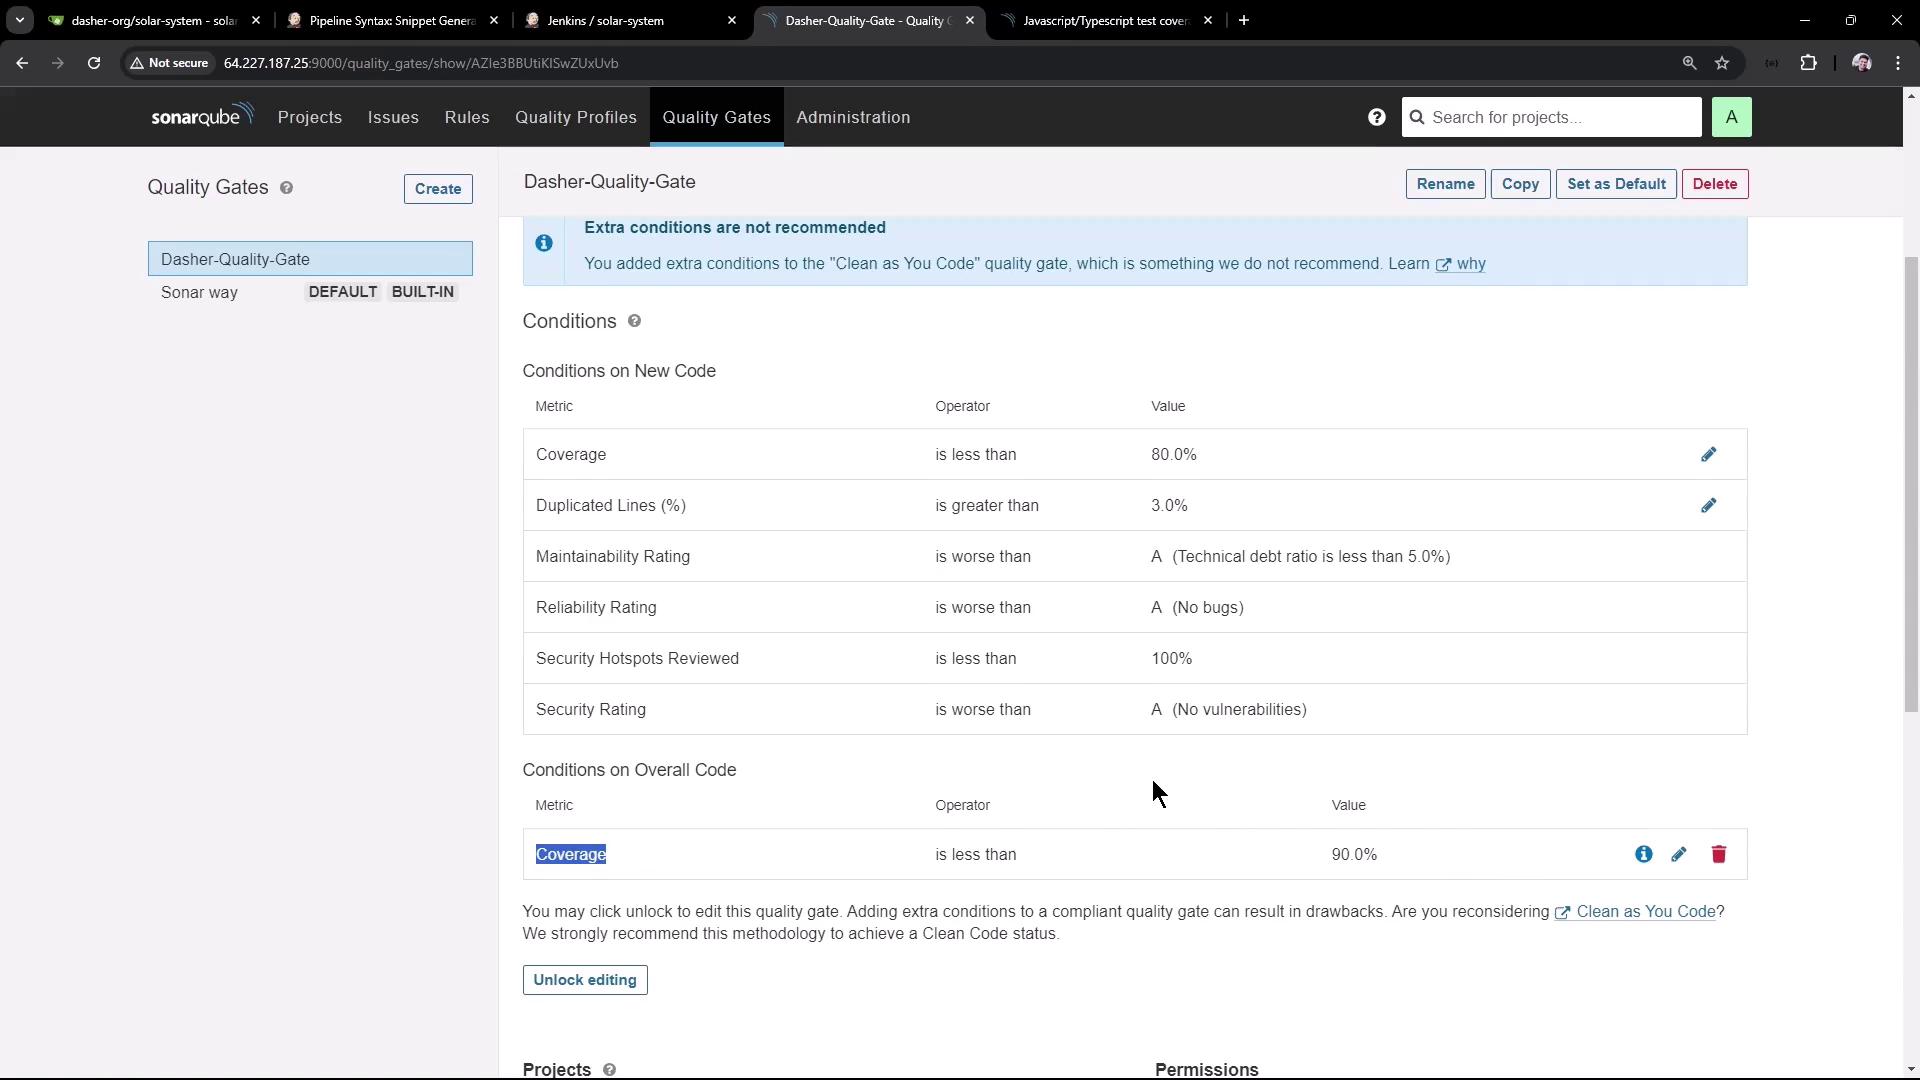
1. Configure the Default Quality Gate
- Log in to SonarQube and navigate to Quality Gates.
- Select Dasher-Quality-Gate and click Set as default.
- Verify the key condition: Overall Coverage < 90%.
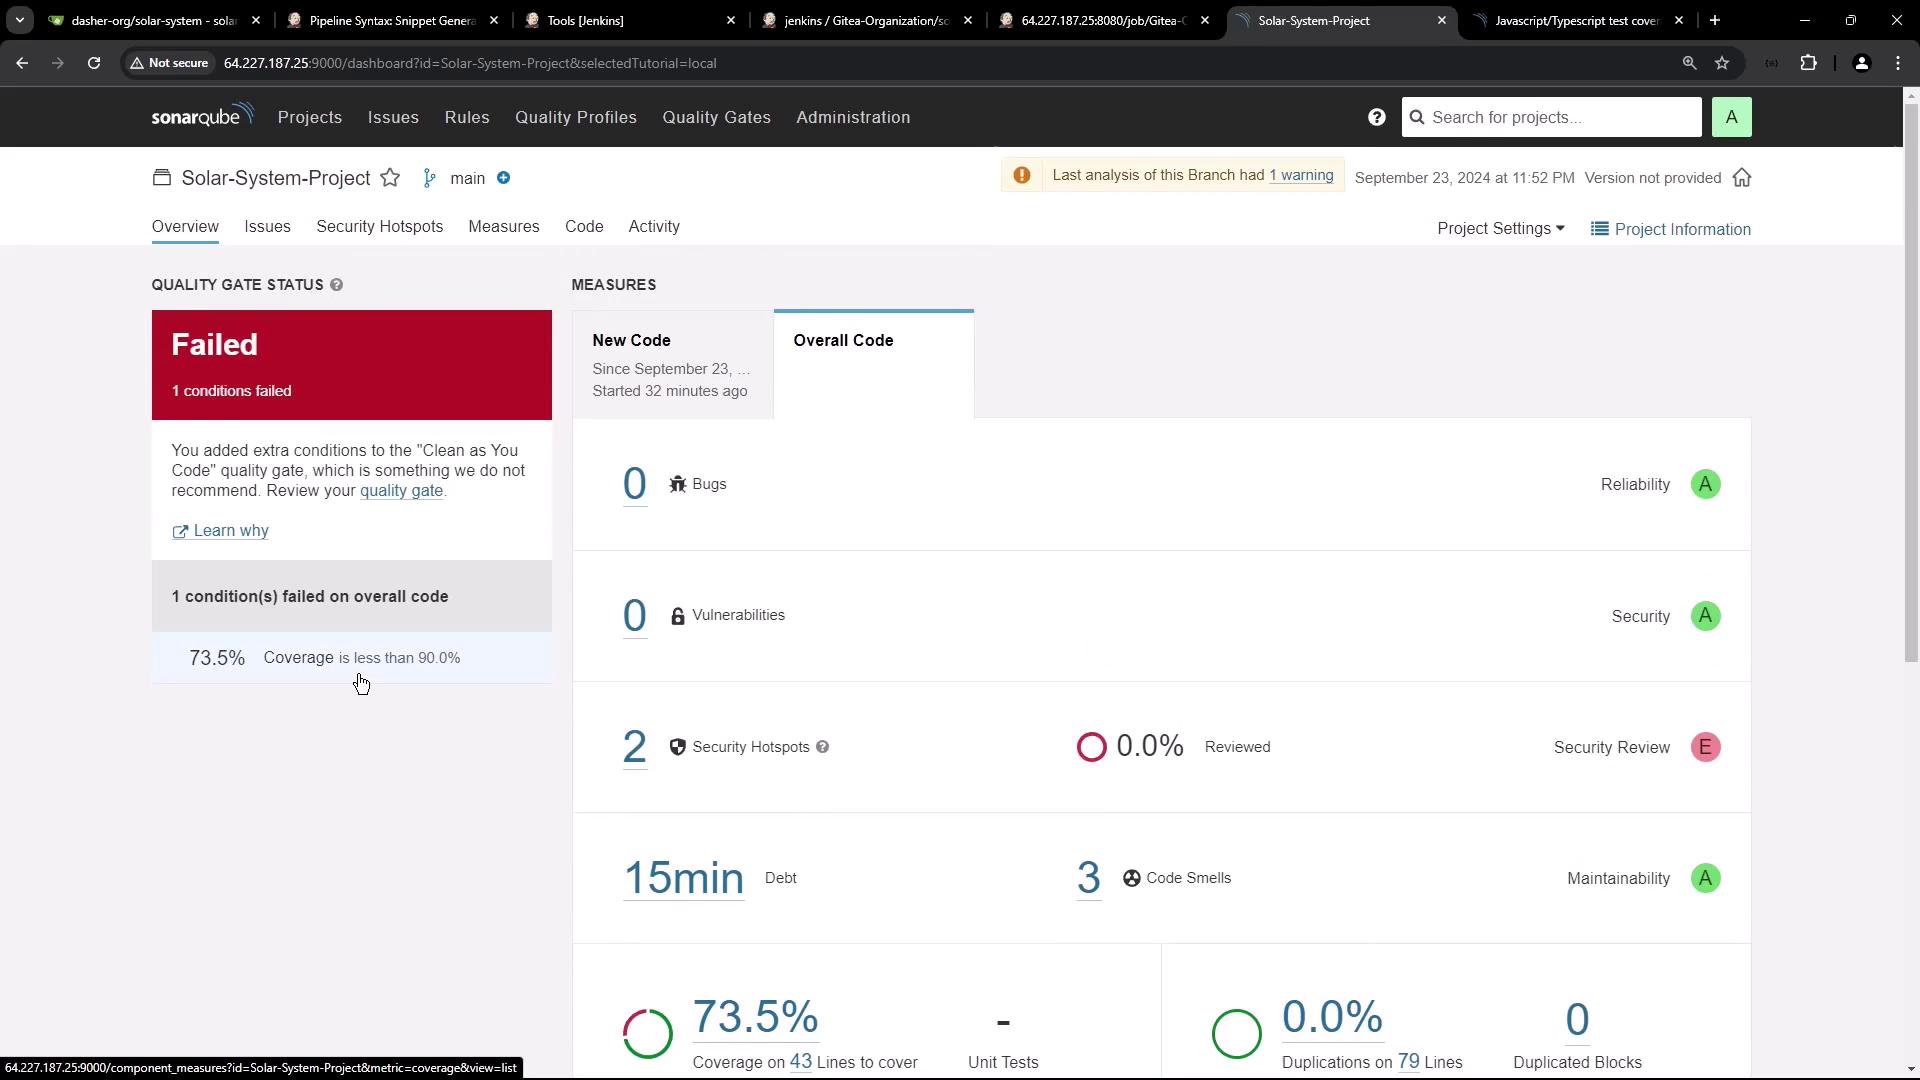
Quality Gates enforce your code quality standards automatically. Failing criteria (e.g., coverage, duplications, maintainability) will mark the gate as failed.
2. Create a New Project
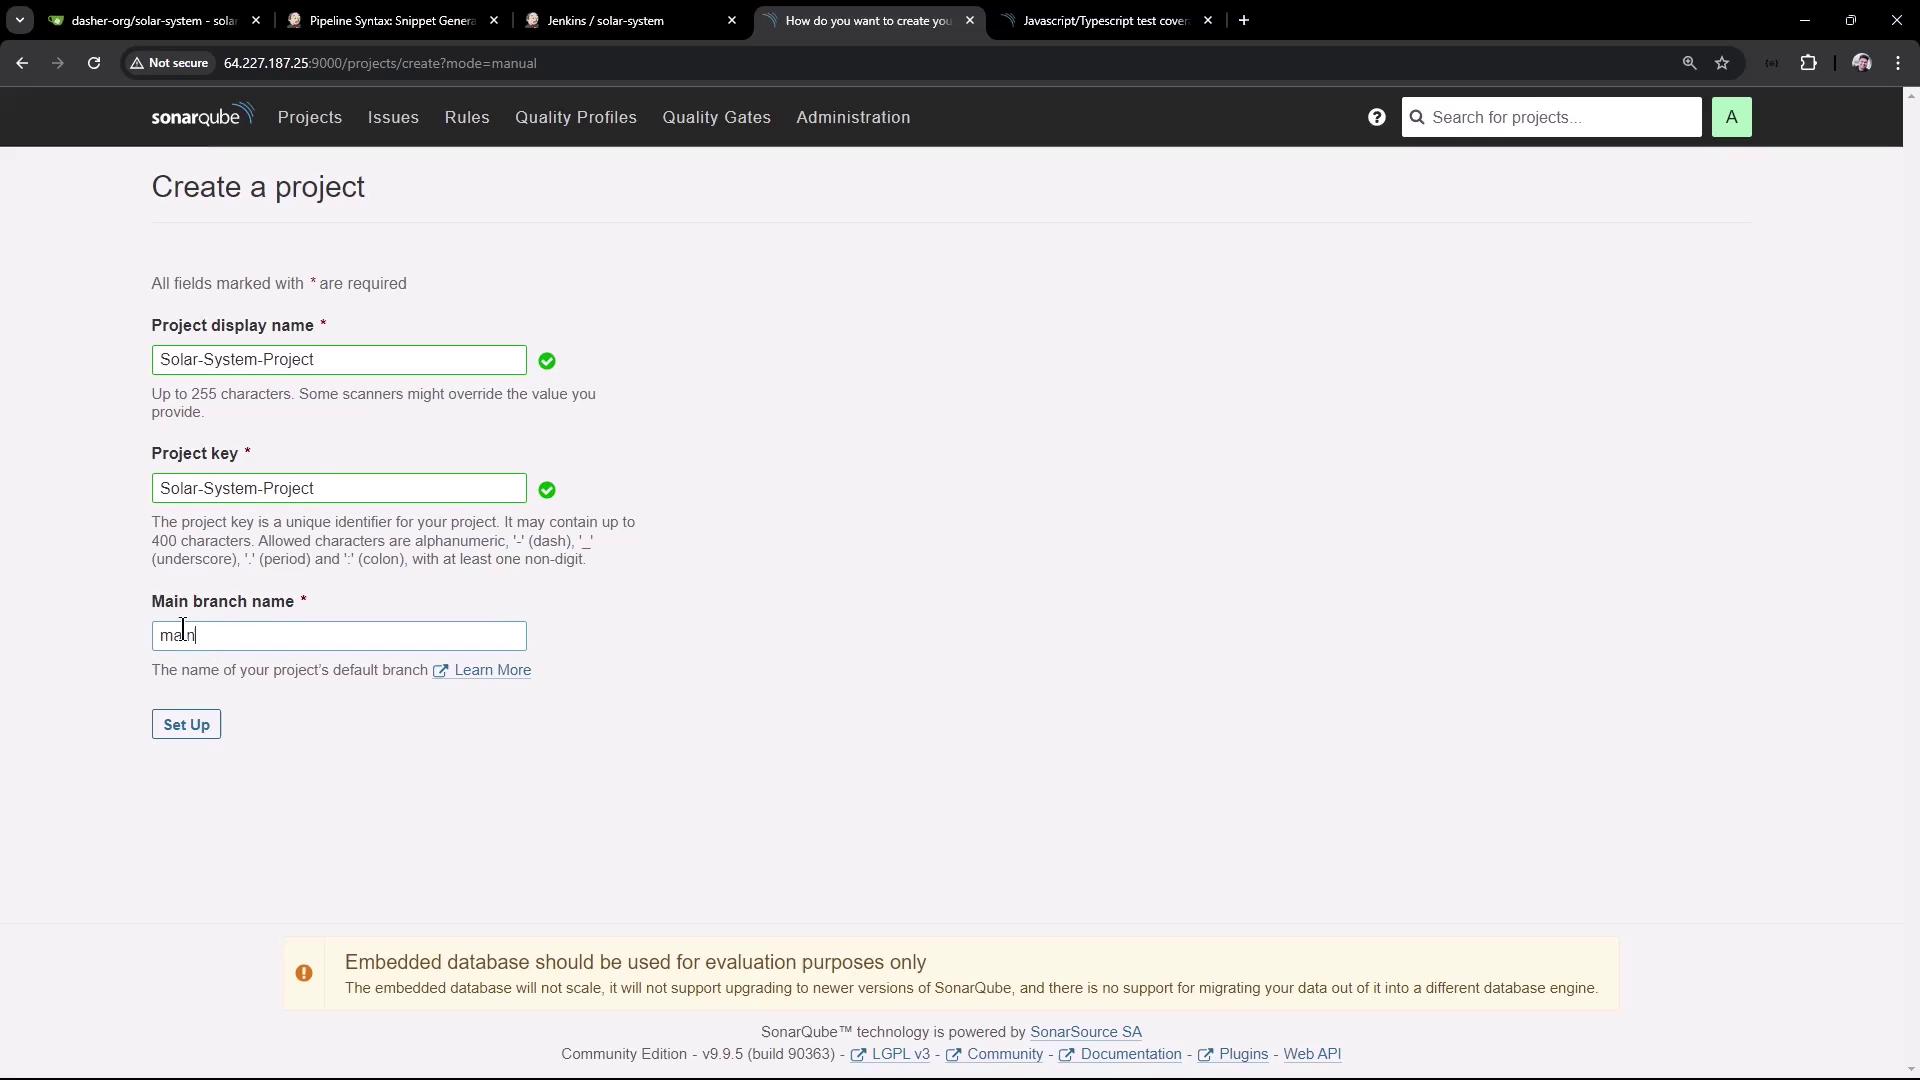
2.1. Define Project Basics
- Click Create Project → Manually.
- Fill in the form:
- Project Display Name:
Solar-System-Project - Project Key:
Solar-System-Project - Main Branch Name:
main
- Project Display Name:
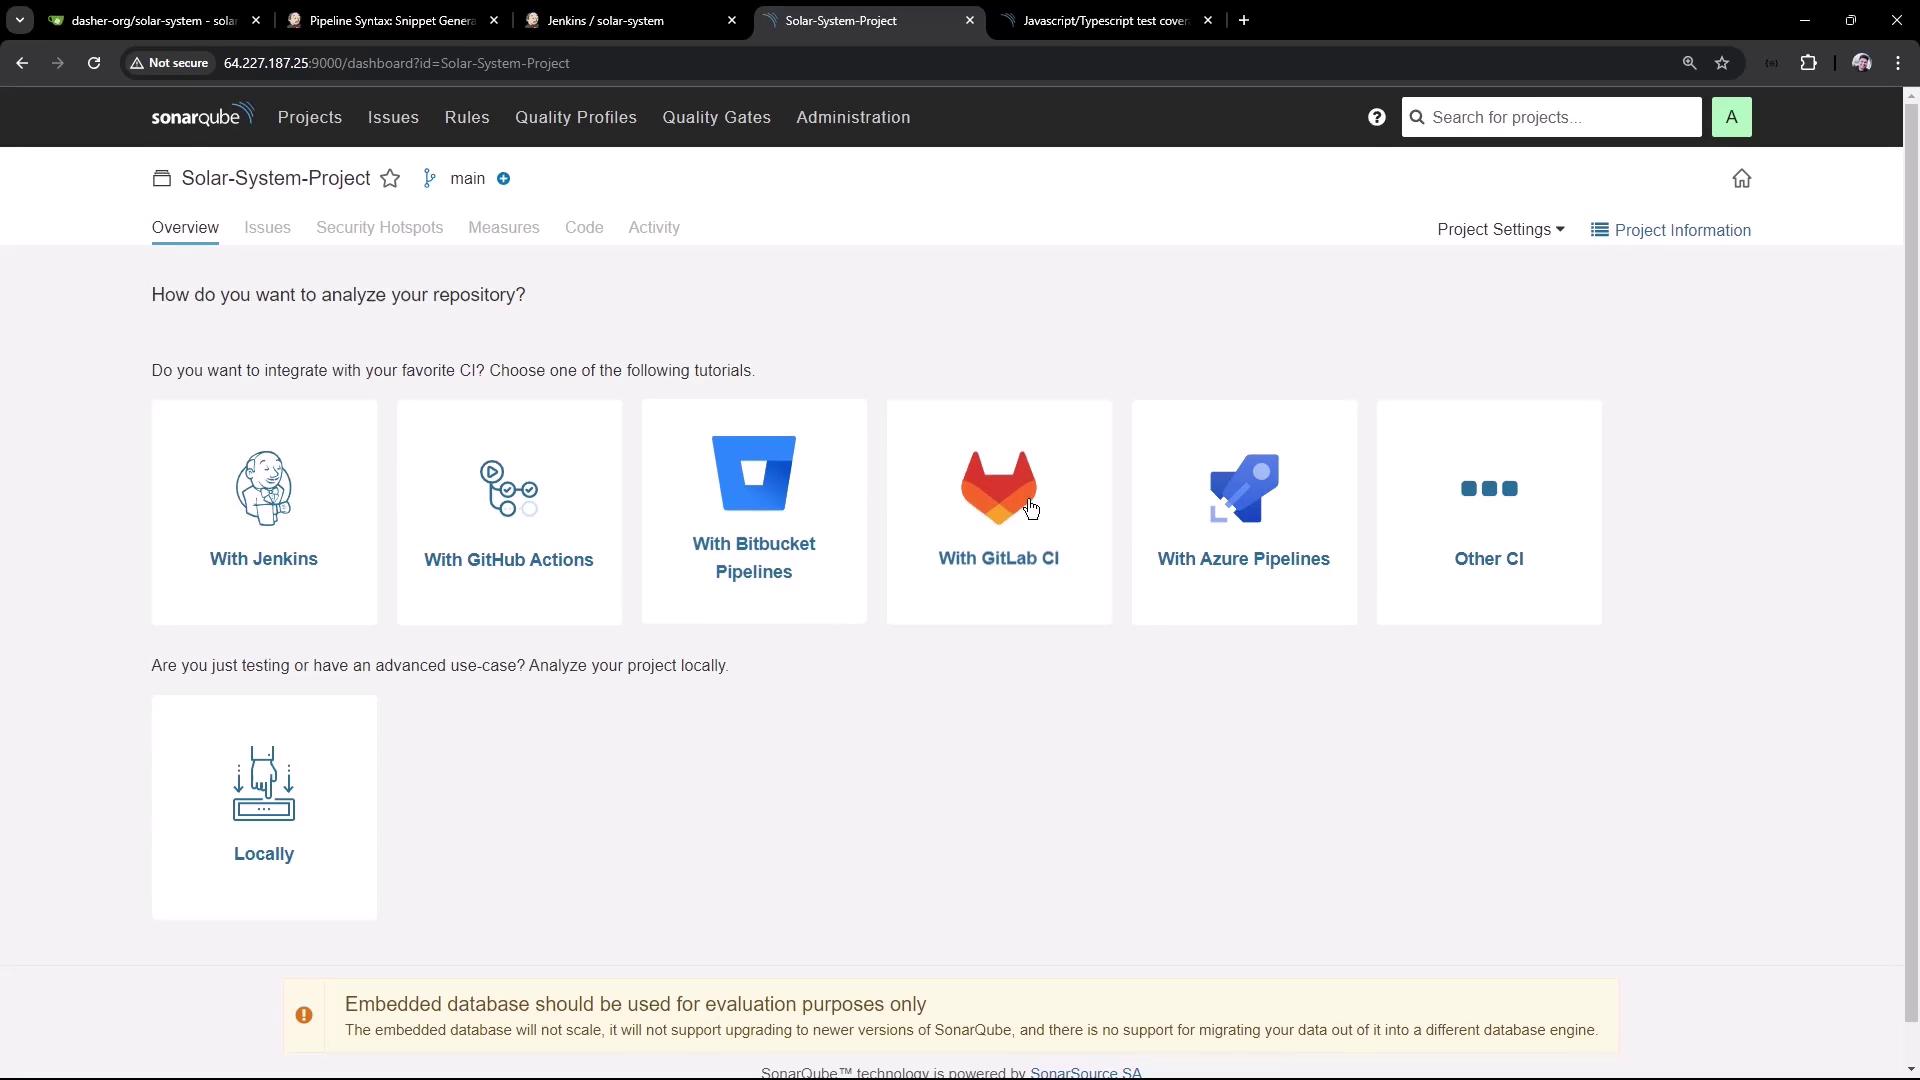
2.2. Select Technology and OS
- Under Technology, choose Other.
- For Operating System, select Linux.
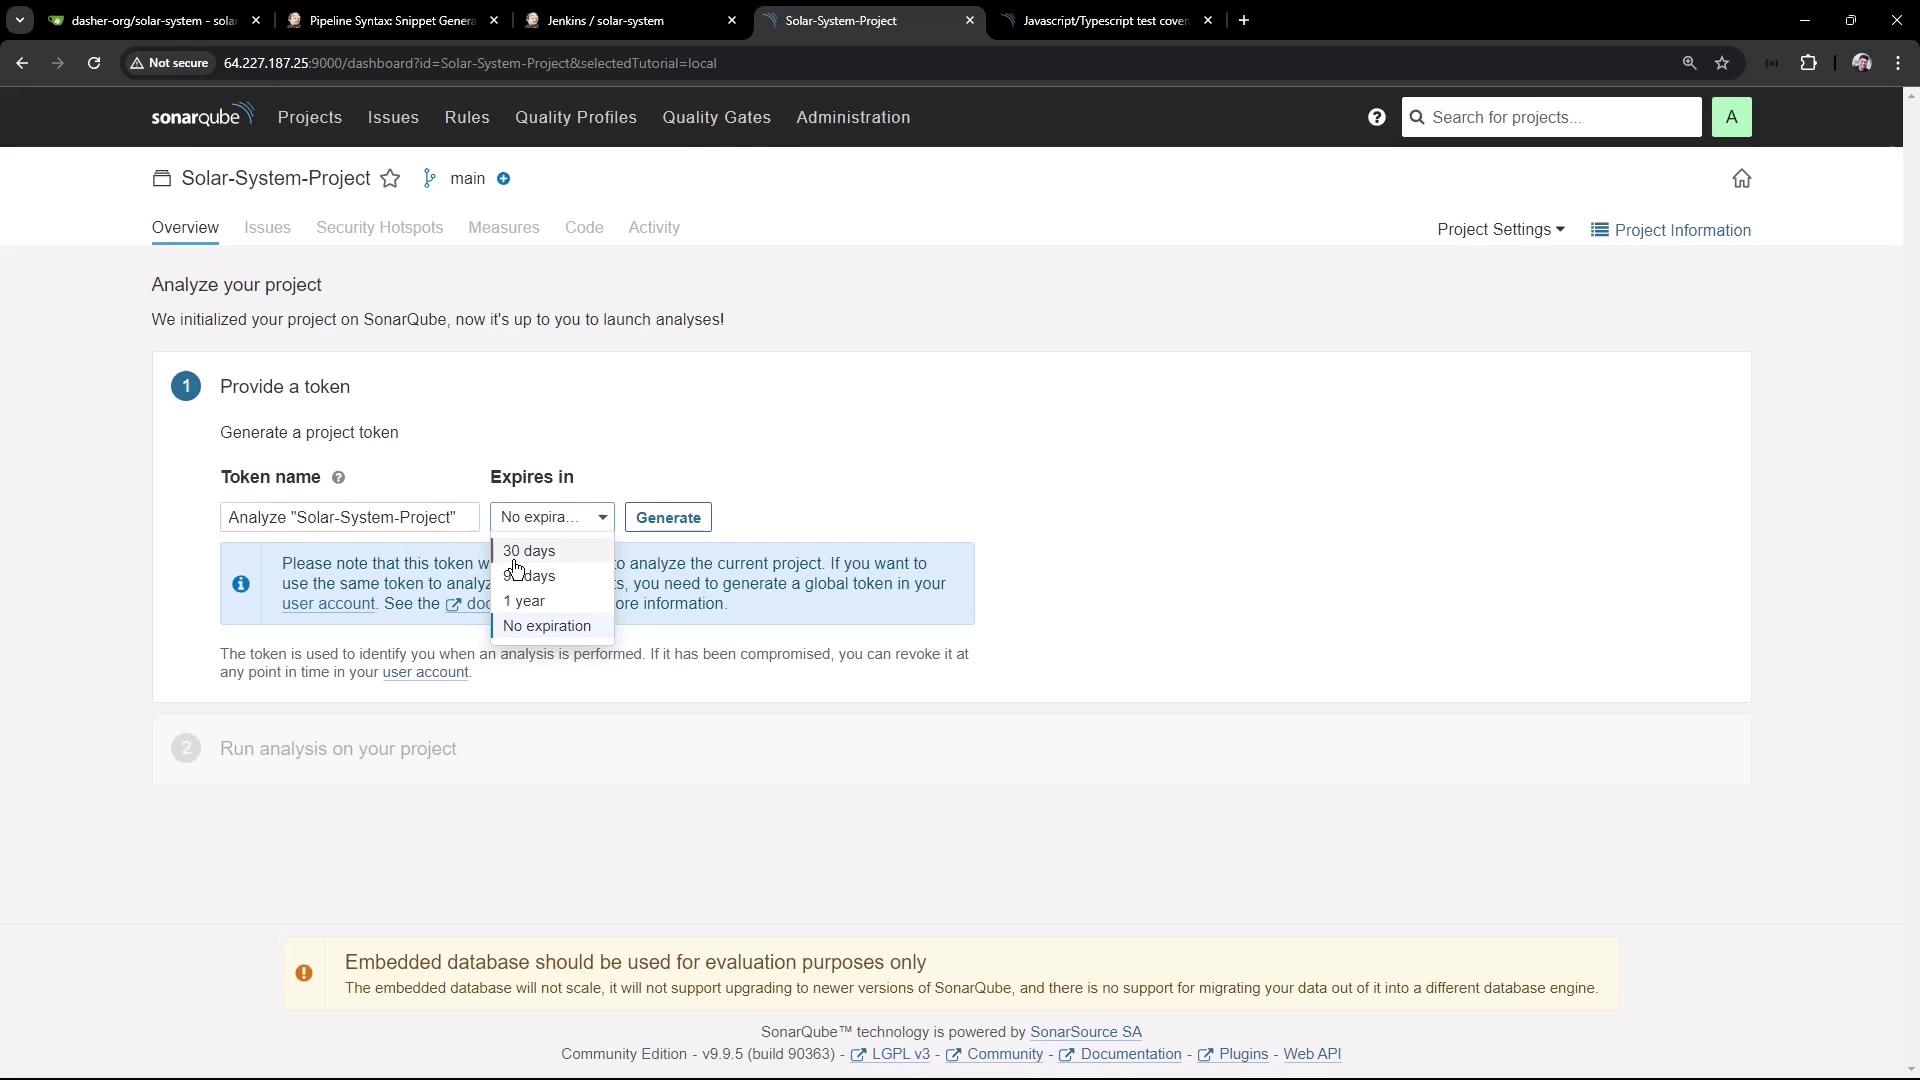
2.3. Generate an Authentication Token
- In the project dashboard, click Generate Token.
- Provide a name and select No expiration (for demo only).
Avoid using tokens without expiration in production. Rotate your tokens regularly.
3. Local Analysis with sonar-scanner
Install the SonarQube Scanner locally or via your package manager. Then run:4. Jenkins Pipeline Configuration
Integrate SAST into your CI by adding a SonarQube stage to yourJenkinsfile:
5. Installing SonarScanner in Jenkins
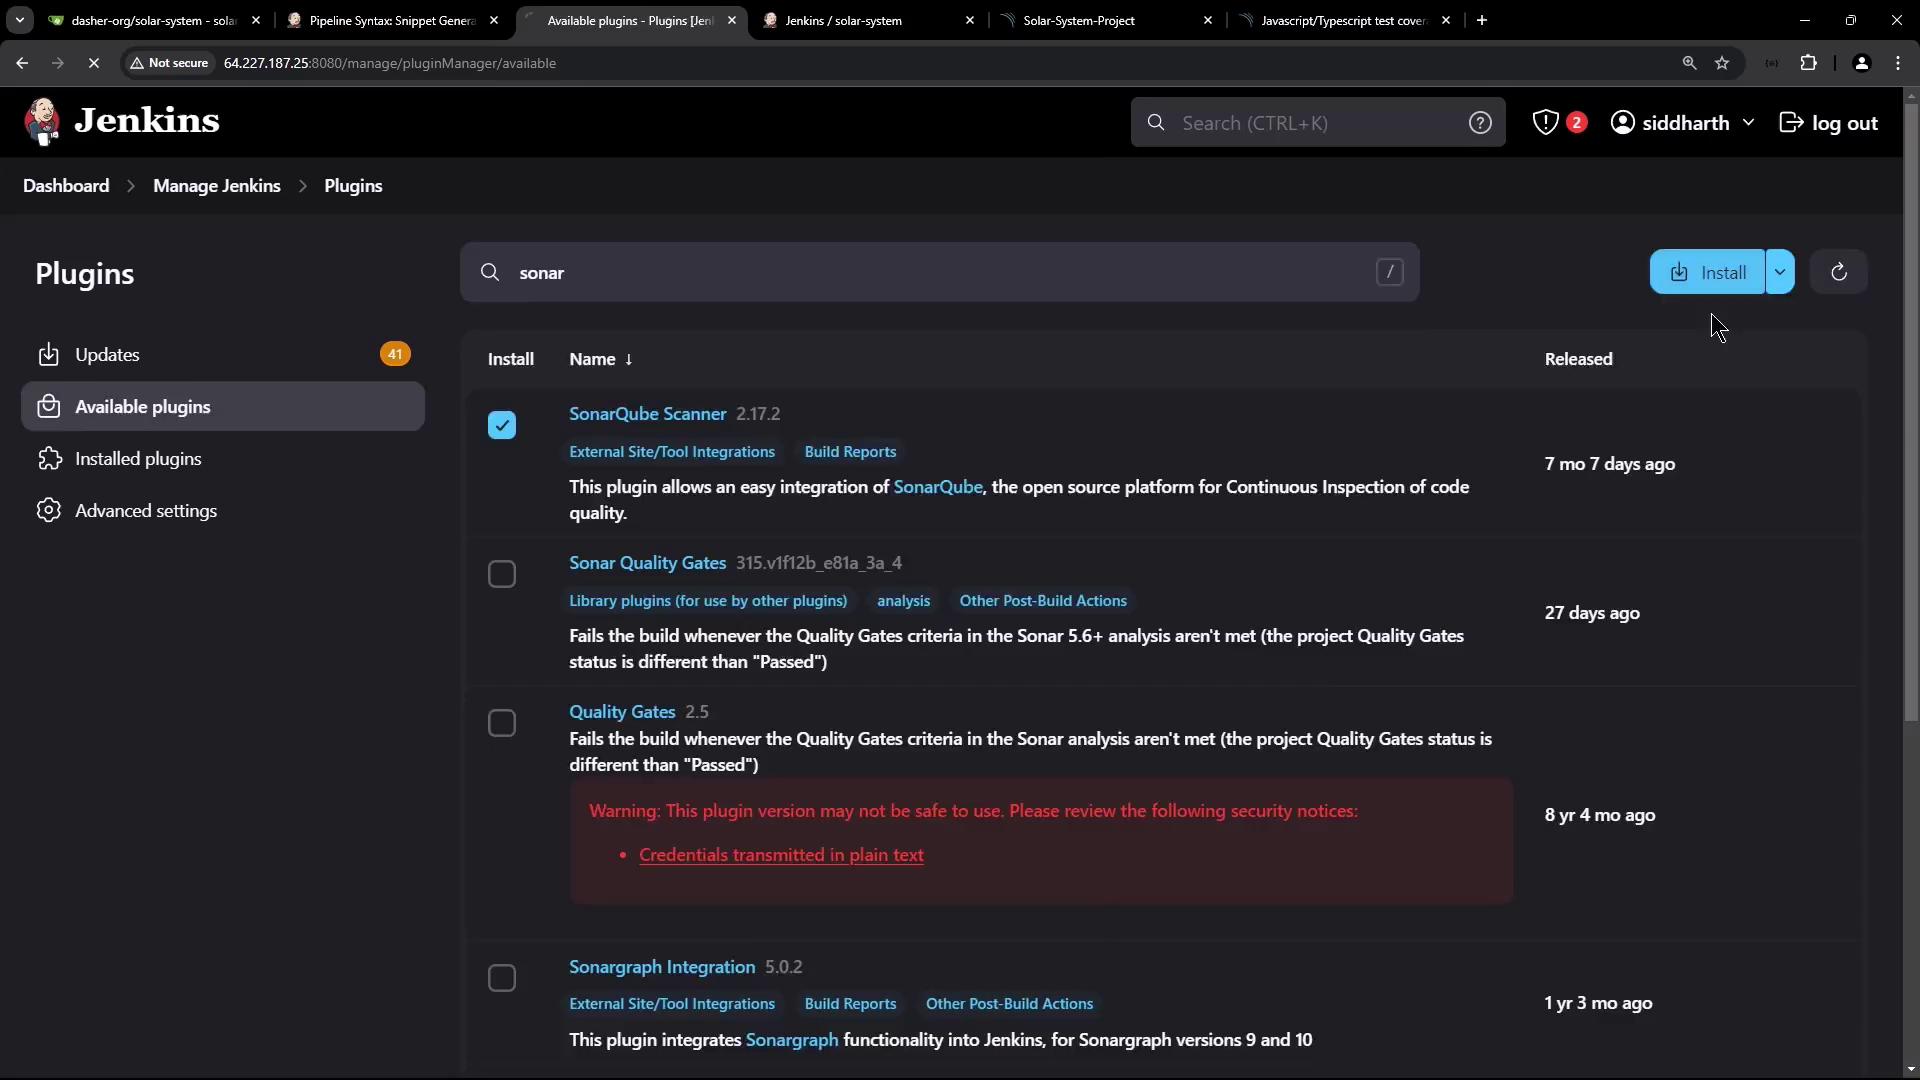
- Go to Manage Jenkins → Manage Plugins.
- Under Available, search for
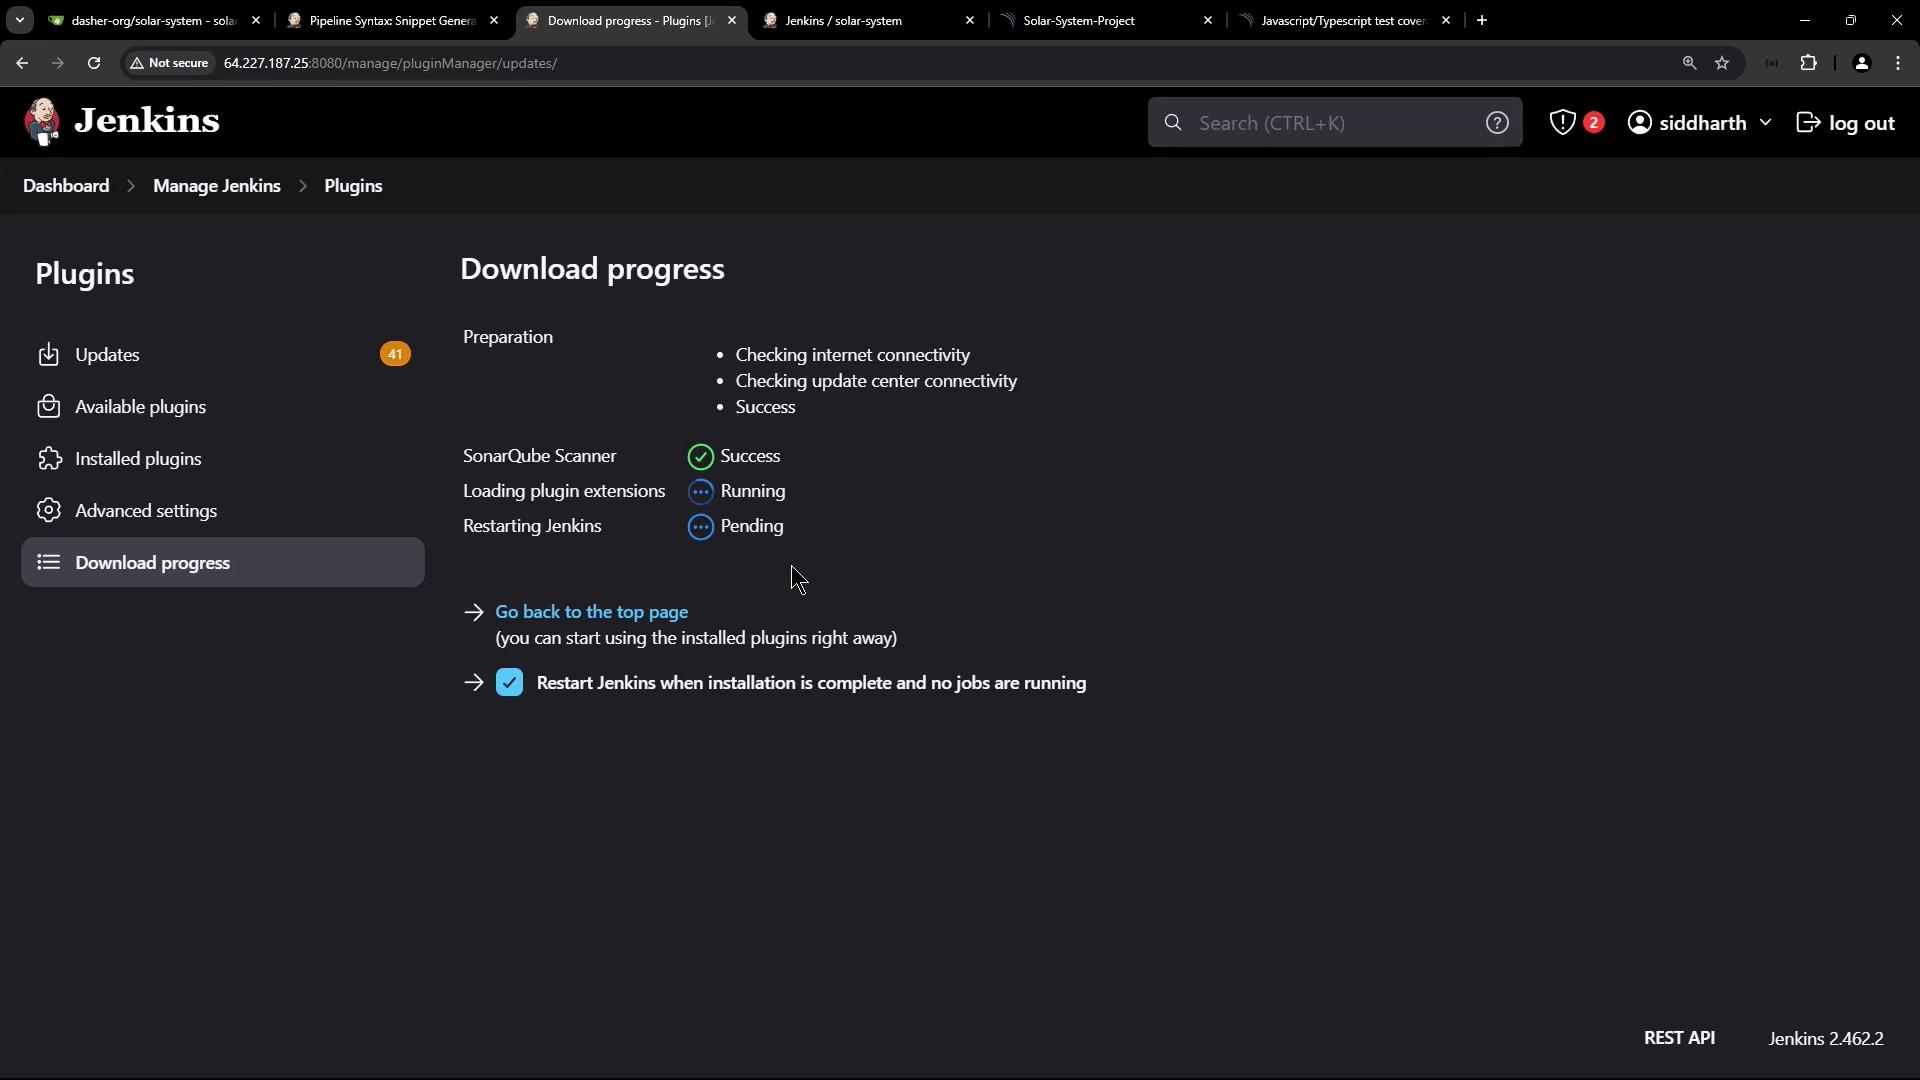
sonarand install SonarQube Scanner. Restart Jenkins.
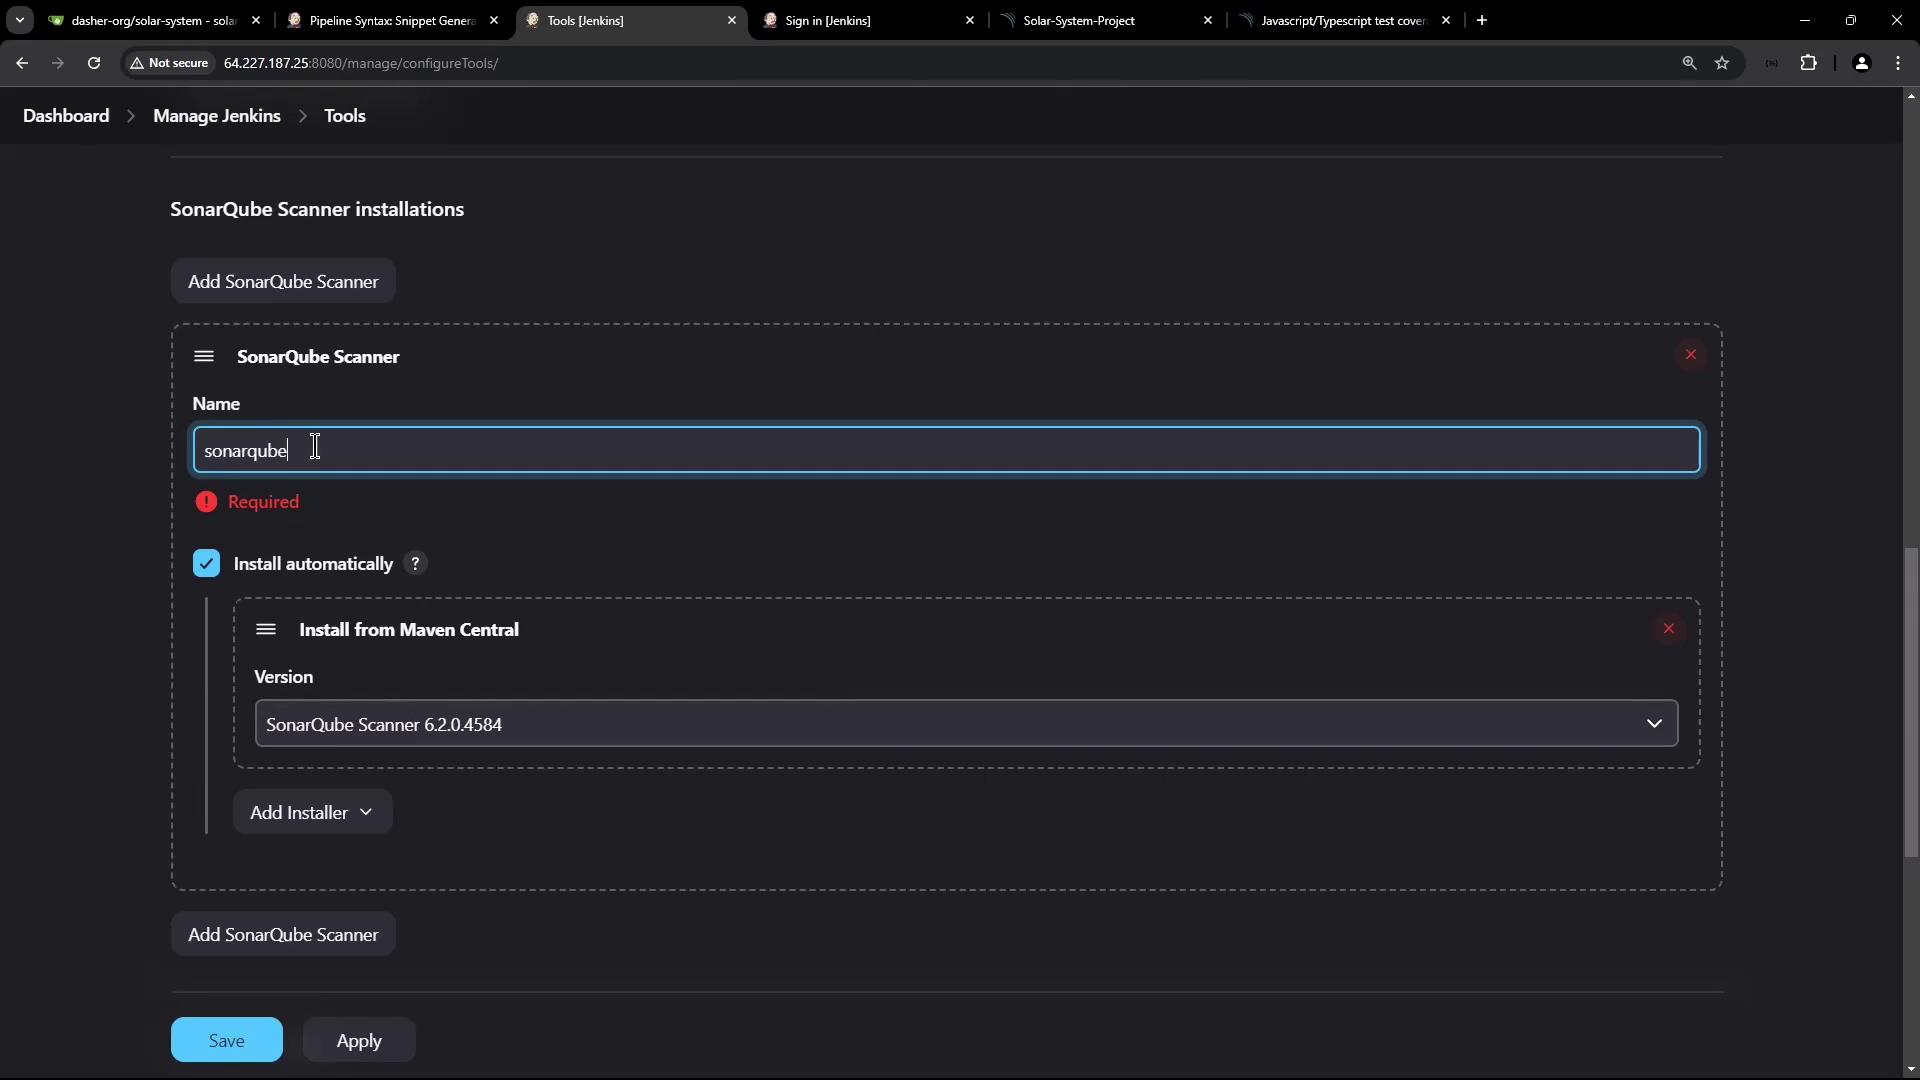
- After restart, navigate to Manage Jenkins → Global Tool Configuration → SonarQube Scanner.
- Name:
sonarqube-scanner-6.1.0 - Select Install automatically from Maven Central
- Name:
6. First SonarQube Analysis Result
Run your Jenkins pipeline. After it completes, refresh SonarQube: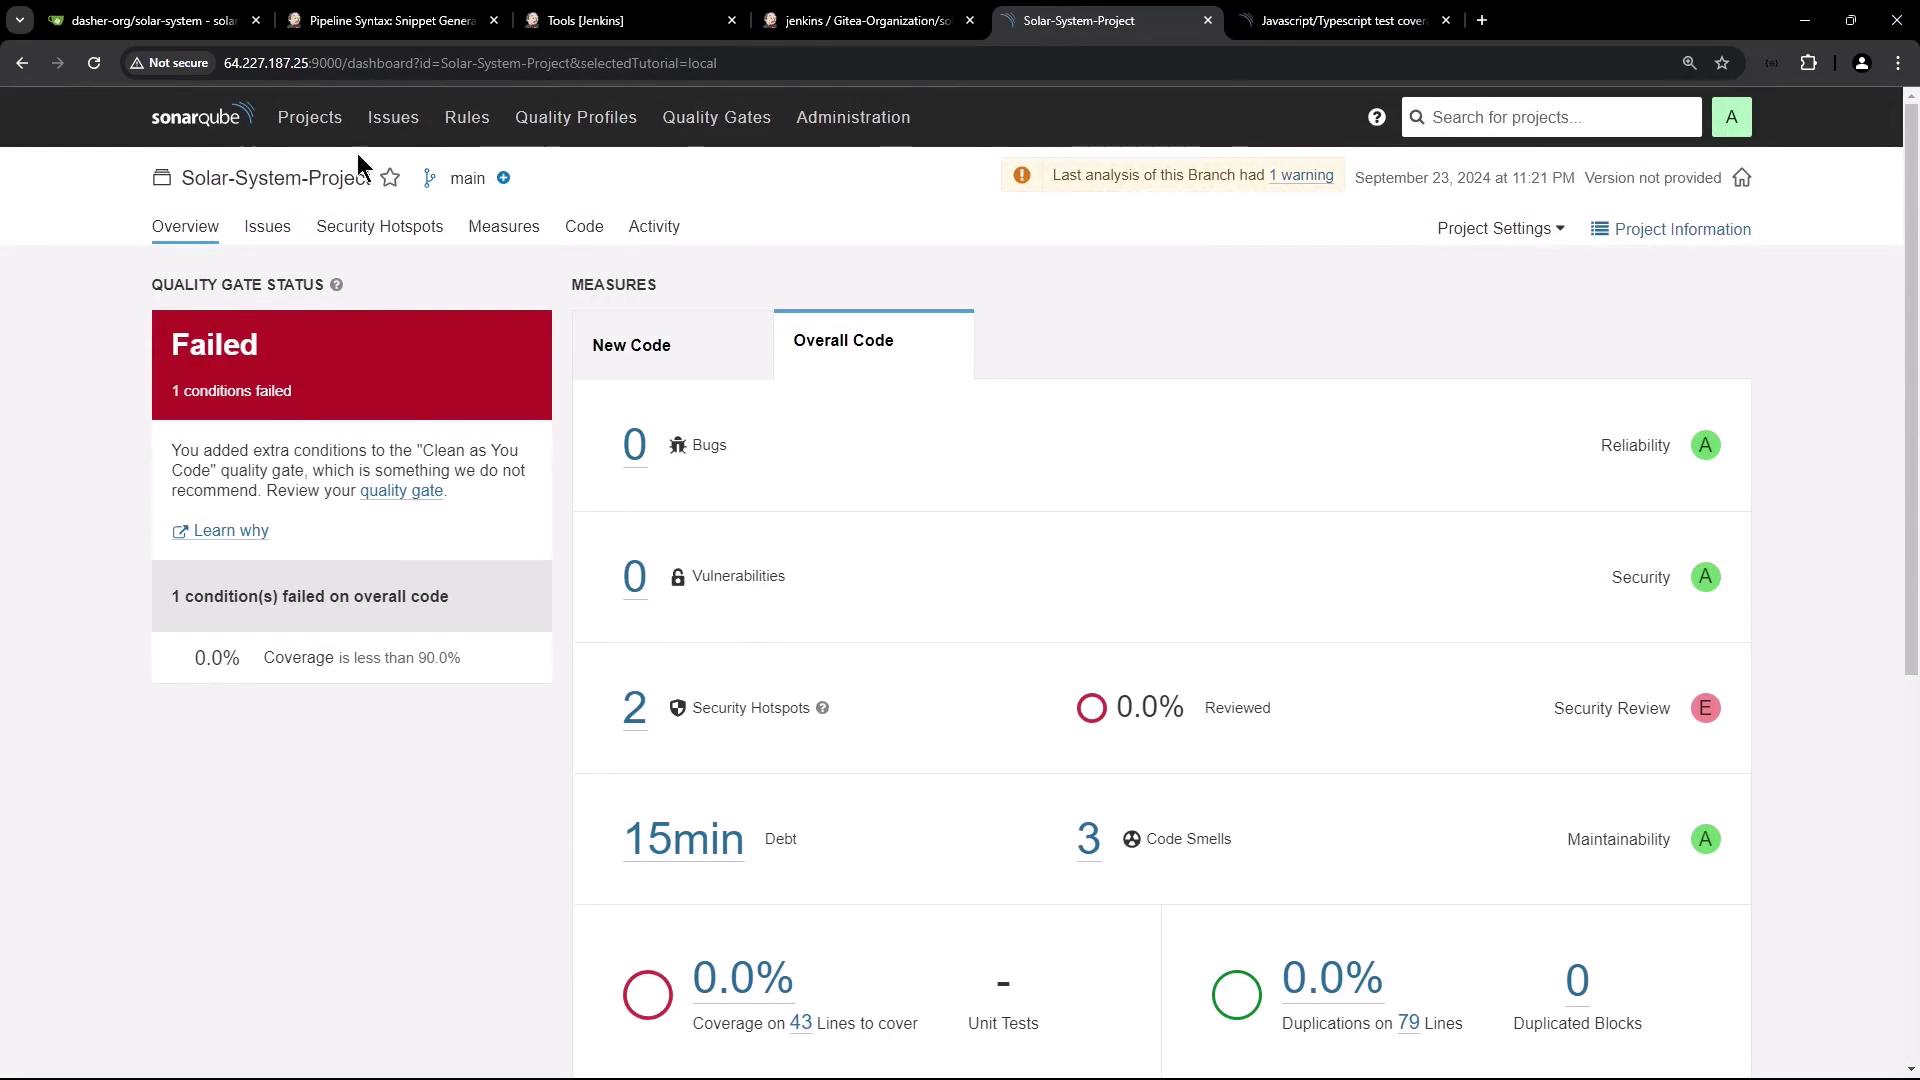
7. Adding Code Coverage Reports
-
Generate coverage before the SonarQube stage:
This creates
./coverage/lcov.info. -
Import the report by updating the scanner command:
Since SonarQube doesn’t return the Quality Gate status to Jenkins by default, your pipeline may remain green. In the next tutorial, we’ll configure the SonarQube Quality Gate plugin to fail builds when the gate fails.