In this tutorial, you’ll learn how to update AWS Lambda environment variables using the AWS CLI and automate the process in a Jenkins CI/CD pipeline. We’ll cover:
Updating Lambda configuration with aws lambda update-function-configuration
Integrating environment updates and code deployment in Jenkins
Handling OWASP Dependency Check failures
Verifying updates in the AWS Lambda console
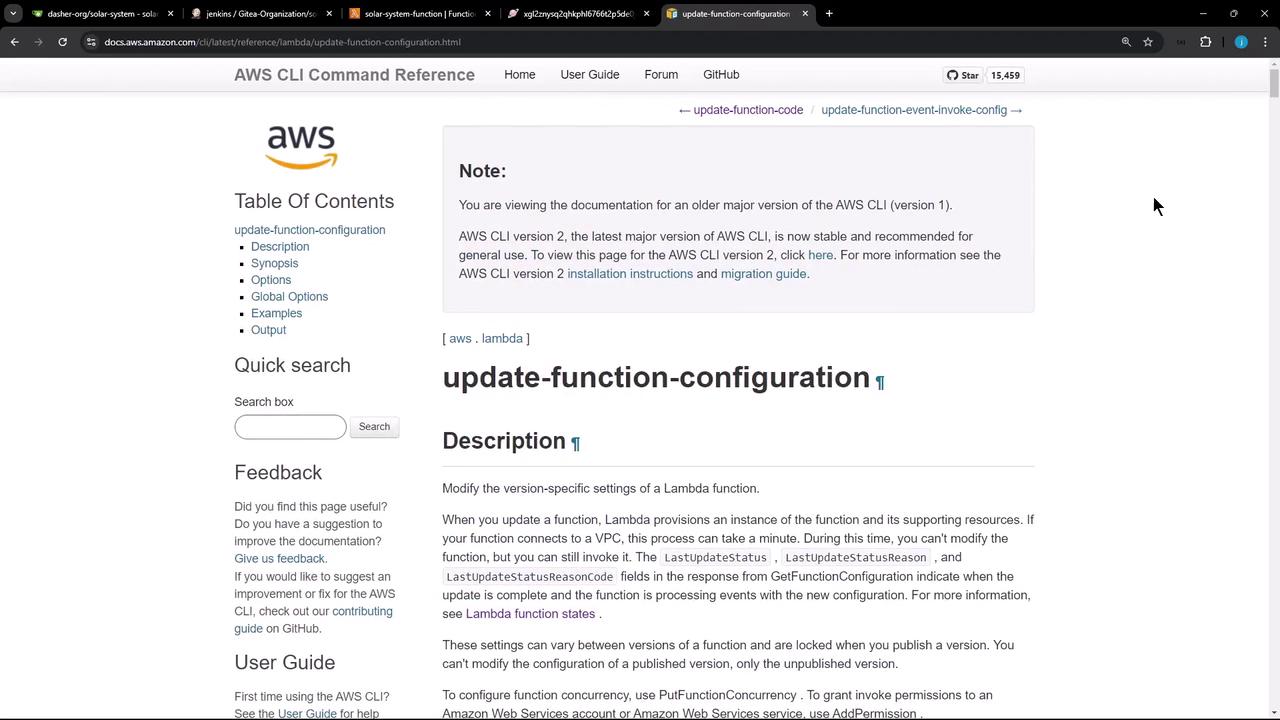
Updating Lambda Configuration with AWS CLI The AWS CLI’s update-function-configuration command lets you modify Lambda settings, including environment variables. For full details, see the AWS CLI Command Reference .
Key Parameters Parameter Description Example --function-nameName or ARN of the Lambda function my-function--environmentJSON or shorthand for environment variables Variables={KEY1=val1,KEY2=val2}
Environment Syntax Syntax Format Shorthand --environment Variables={Key1=val1,Key2=val2}JSON --environment '{"Variables":{"Key1":"val1","Key2":"val2"}}' or via file://env.json
When using inline JSON on the command line, wrap the JSON in single quotes to avoid shell parsing errors.
Example: Update and Confirm # Update environment variables aws lambda update-function-configuration \ --function-name my-function \ --environment "Variables={BUCKET=amzn-s3-demo-bucket,KEY=file.txt}" # Confirm the update aws lambda get-function-configuration \ --function-name my-function
Integrating with Jenkins We’ll extend the Jenkinsfile to:
Zip application code
Upload the ZIP to S3
Update Lambda environment variables
Deploy new code to Lambda
Below is a sample pipeline and a breakdown of each stage.
Sample Jenkinsfile pipeline { agent any environment { MONGO_URI = "mongodb+srv://supercluster.d83jj.mongodb.net/superData" MONGO_DB_CREDS = credentials( 'mongo-db-credentials' ) MONGO_USERNAME = credentials( 'mongo-db-username' ) MONGO_PASSWORD = credentials( 'mongo-db-password' ) SONAR_SCANNER_HOME = tool 'sonarqube-scanner-610' GITEA_TOKEN = credentials( 'gitea-api-token' ) } stages { stage( 'Installing Dependencies' ) { steps { /* ... */ } } stage( 'Dependency Scanning' ) { steps { /* ... */ } } stage( 'Unit Testing' ) { steps { /* ... */ } } stage( 'Code Coverage' ) { steps { /* ... */ } } stage( 'Deploy to AWS Lambda' ) { steps { // 1. Zip application code sh ''' zip -qr solar-system-lambda-${BUILD_ID}.zip app* package* index.html node* ls -ltr solar-system-lambda-${BUILD_ID}.zip ''' // 2. Upload ZIP to S3 s3Upload( file : "solar-system-lambda- ${ BUILD_ID } .zip" , bucket : 'solar-system-lambda-bucket' ) // 3. Update Lambda configuration aws lambda update - function - configuration \ -- function - name solar - system - function \ -- environment '{"Variables":{"MONGO_USERNAME":"${MONGO_USERNAME}","MONGO_PASSWORD":"${MONGO_PASSWORD}","MONGO_URI":"${MONGO_URI}"}}' // 4. Deploy new code aws lambda update - function - code \ -- function - name solar - system - function \ -- s3 - bucket solar - system - lambda - bucket \ -- s3 - key solar - system - lambda - ${ BUILD_ID } . zip } } } }
Pipeline Stages Overview Stage Purpose Installing Dependencies Install project dependencies (e.g., NPM, Maven) Dependency Scanning Run npm audit and OWASP Dependency Check Unit Testing Execute unit tests Code Coverage Generate coverage reports Deploy to AWS Lambda Zip code, upload to S3, update configuration and code
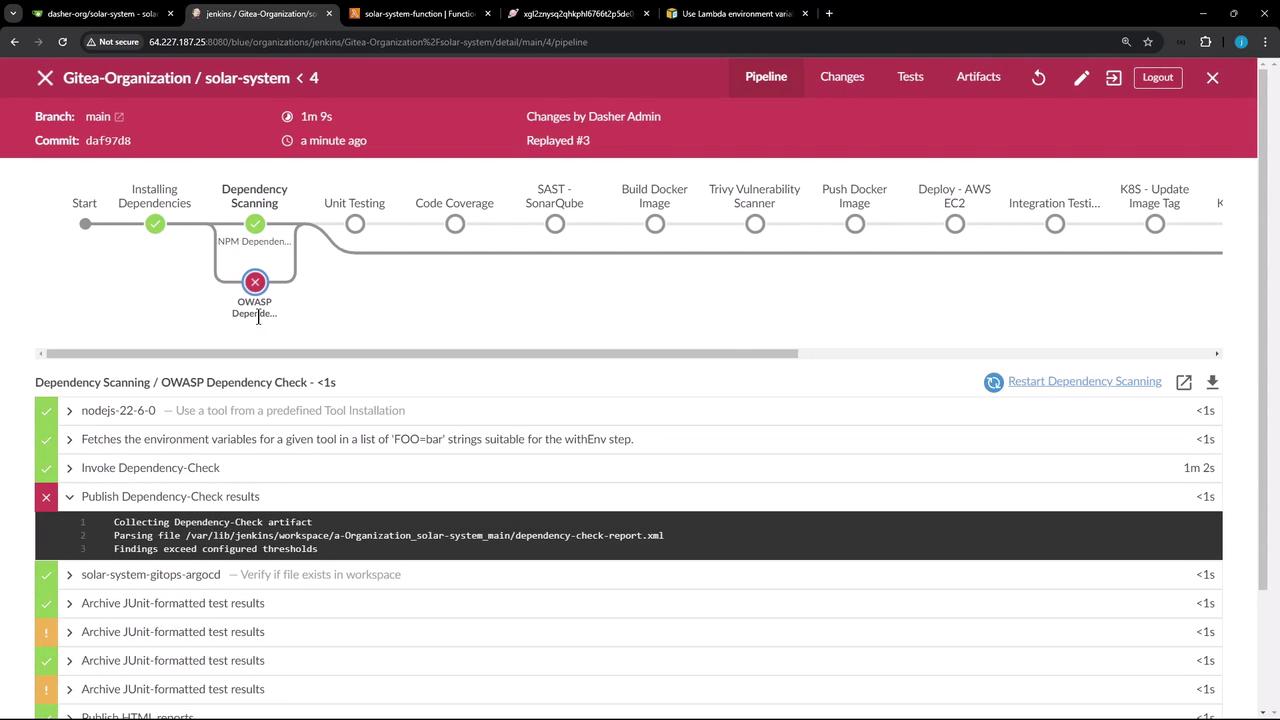
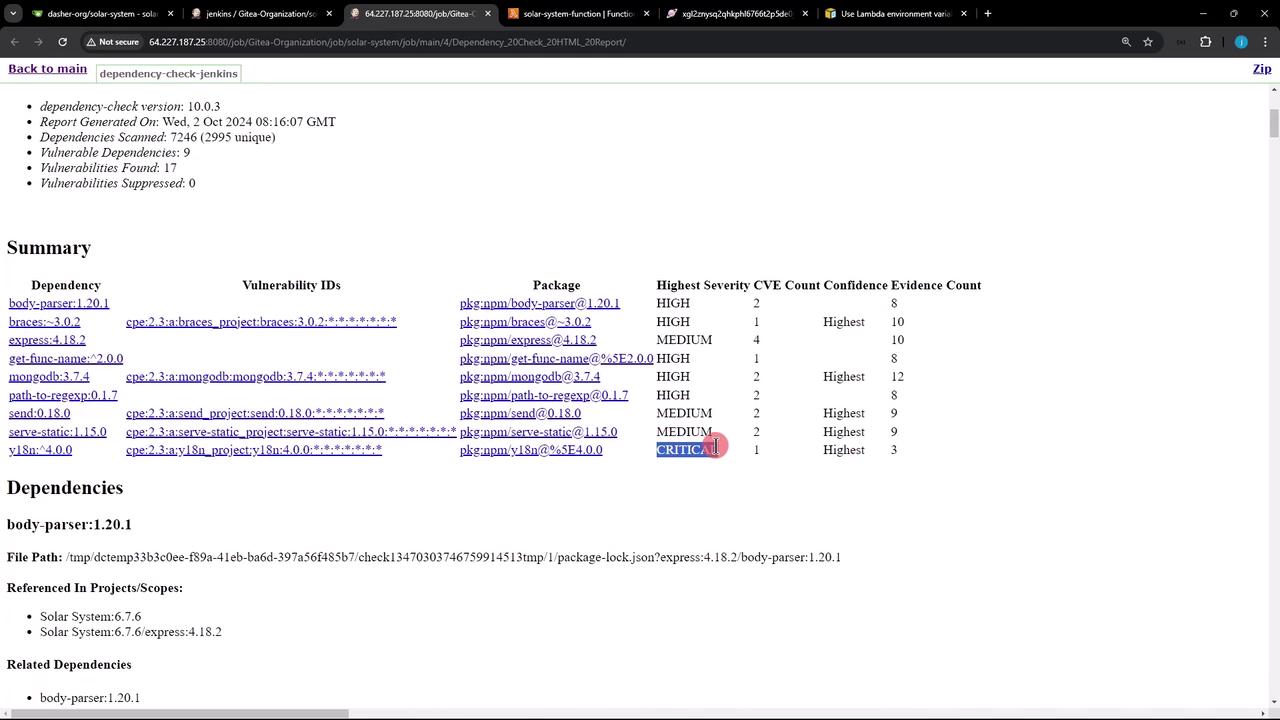
Handling OWASP Dependency Check Failures If the OWASP scan reports critical vulnerabilities, you can configure the publisher to continue the build:
stage( 'Dependency Scanning' ) { parallel { stage( 'NPM Dependency Audit' ) { steps { // npm audit steps } } stage( 'OWASP Dependency Check' ) { steps { dependencyCheck additionalArguments : ''' --scan './' --out './' --format 'ALL' --disableYarnAudit --prettyPrint ''' , odcInstallation : 'OWASP-DepCheck-10' dependencyCheckPublisher failedTotalCritical : 1 , pattern : 'dependency-check-report.xml' , stopBuild : false } } } }
Setting stopBuild: false allows the pipeline to proceed despite critical vulnerabilities. Be sure to review the detailed report and address issues in your next sprint.
Pipeline logs will show any OWASP failures and continue execution.
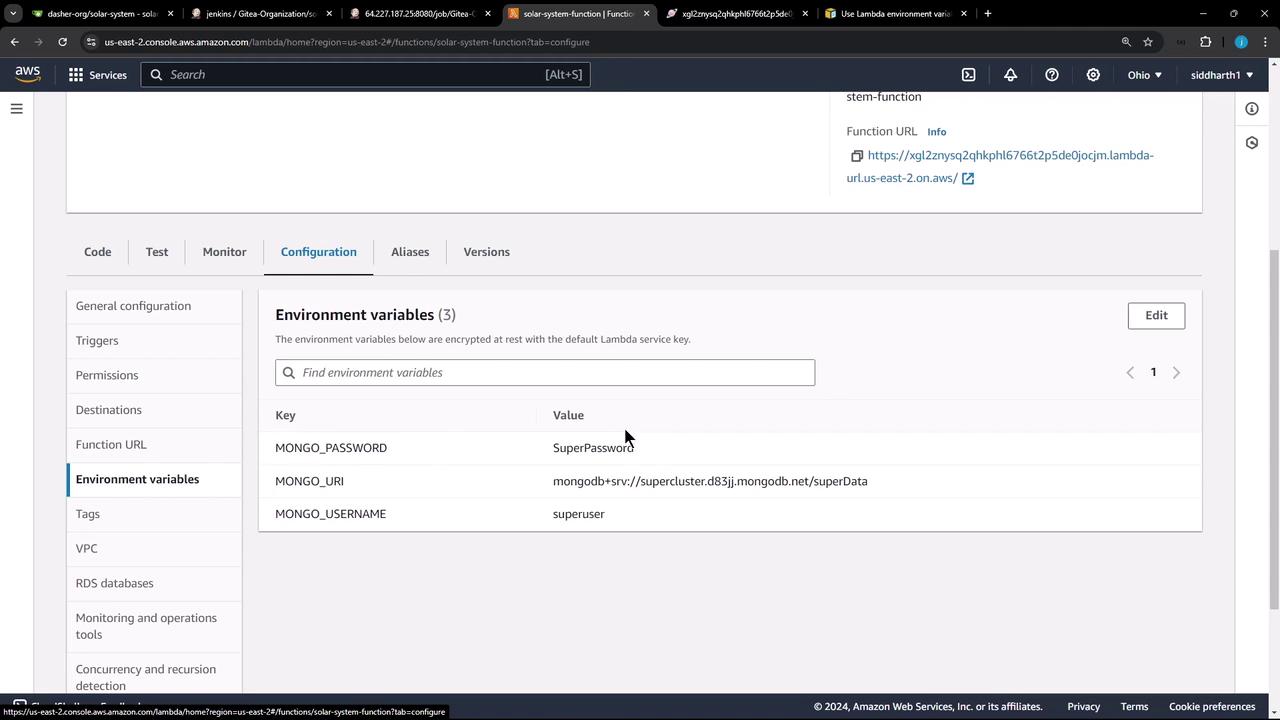
Verifying on AWS Lambda Console Once the pipeline succeeds, open the AWS Lambda console and navigate to the Configuration tab to confirm the new environment variables:
Testing the Application Invoke your function’s endpoint or run a test to ensure it’s using the updated variables and code:
If you receive a 200 OK response with {"status":"live"}, your Lambda update was successful.
Links and References