Demo: Install Node.js Dependencies in Your Jenkins Pipeline
In this tutorial, we’ll show you how to integrate a Node.js install step into your Jenkins Pipeline, verify your Node.js version, and install project dependencies. By the end, you’ll see how Blue Ocean displays your pipeline stages and where thenode_modules folder appears in the workspace.
Prerequisites
Make sure the NodeJS Plugin is installed and configured under Manage Jenkins → Global Tool Configuration.
Pipeline Configuration
- Open your
Jenkinsfile. - Configure the Node.js tool and define two stages:
- VM Node Version: Verifies
nodeandnpmversions. - Installing Dependencies: Runs
npm install --no-audit.
- VM Node Version: Verifies
| Stage Name | Purpose | Command |
|---|---|---|
| VM Node Version | Check Node.js and npm versions | node -v, npm -v |
| Installing Dependencies | Install project dependencies with npm | npm install --no-audit |
Using
--no-audit skips vulnerability checks. Consider running npm audit or integrating a security scanner in your CI/CD pipeline for production workloads.Run the Pipeline
- Commit and push your
Jenkinsfilechanges. - In Blue Ocean, watch the pipeline execute both stages in sequence.
Sample Output for “Installing Dependencies”
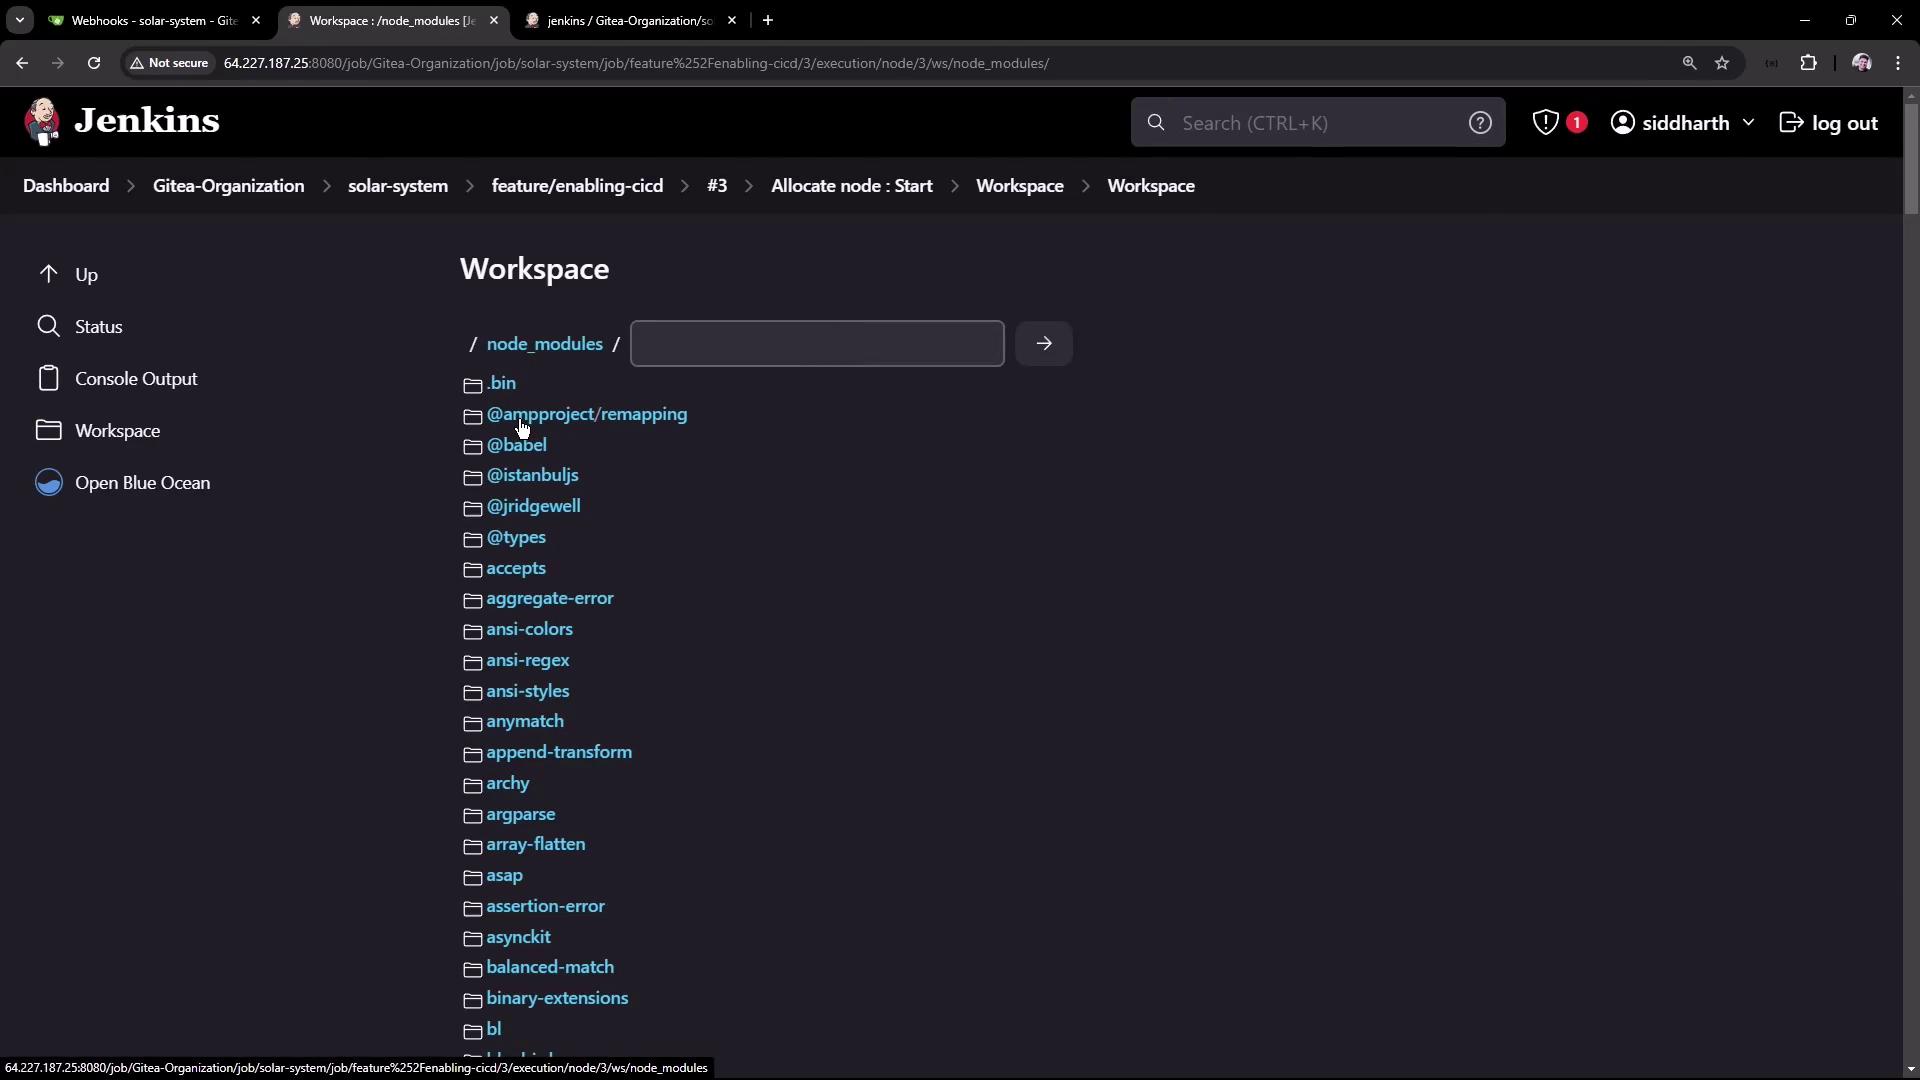
Verify the Workspace
After the build completes, navigate to Workspaces in the Jenkins UI. You should see anode_modules directory with all installed dependencies:
Links and References
- Jenkins Pipeline – Official Pipeline documentation
- Node.js – Download and documentation
- Blue Ocean – Modern Jenkins UI