This tutorial teaches how to host a static website using Amazon S3, covering file structure, uploading, and configuring public access.
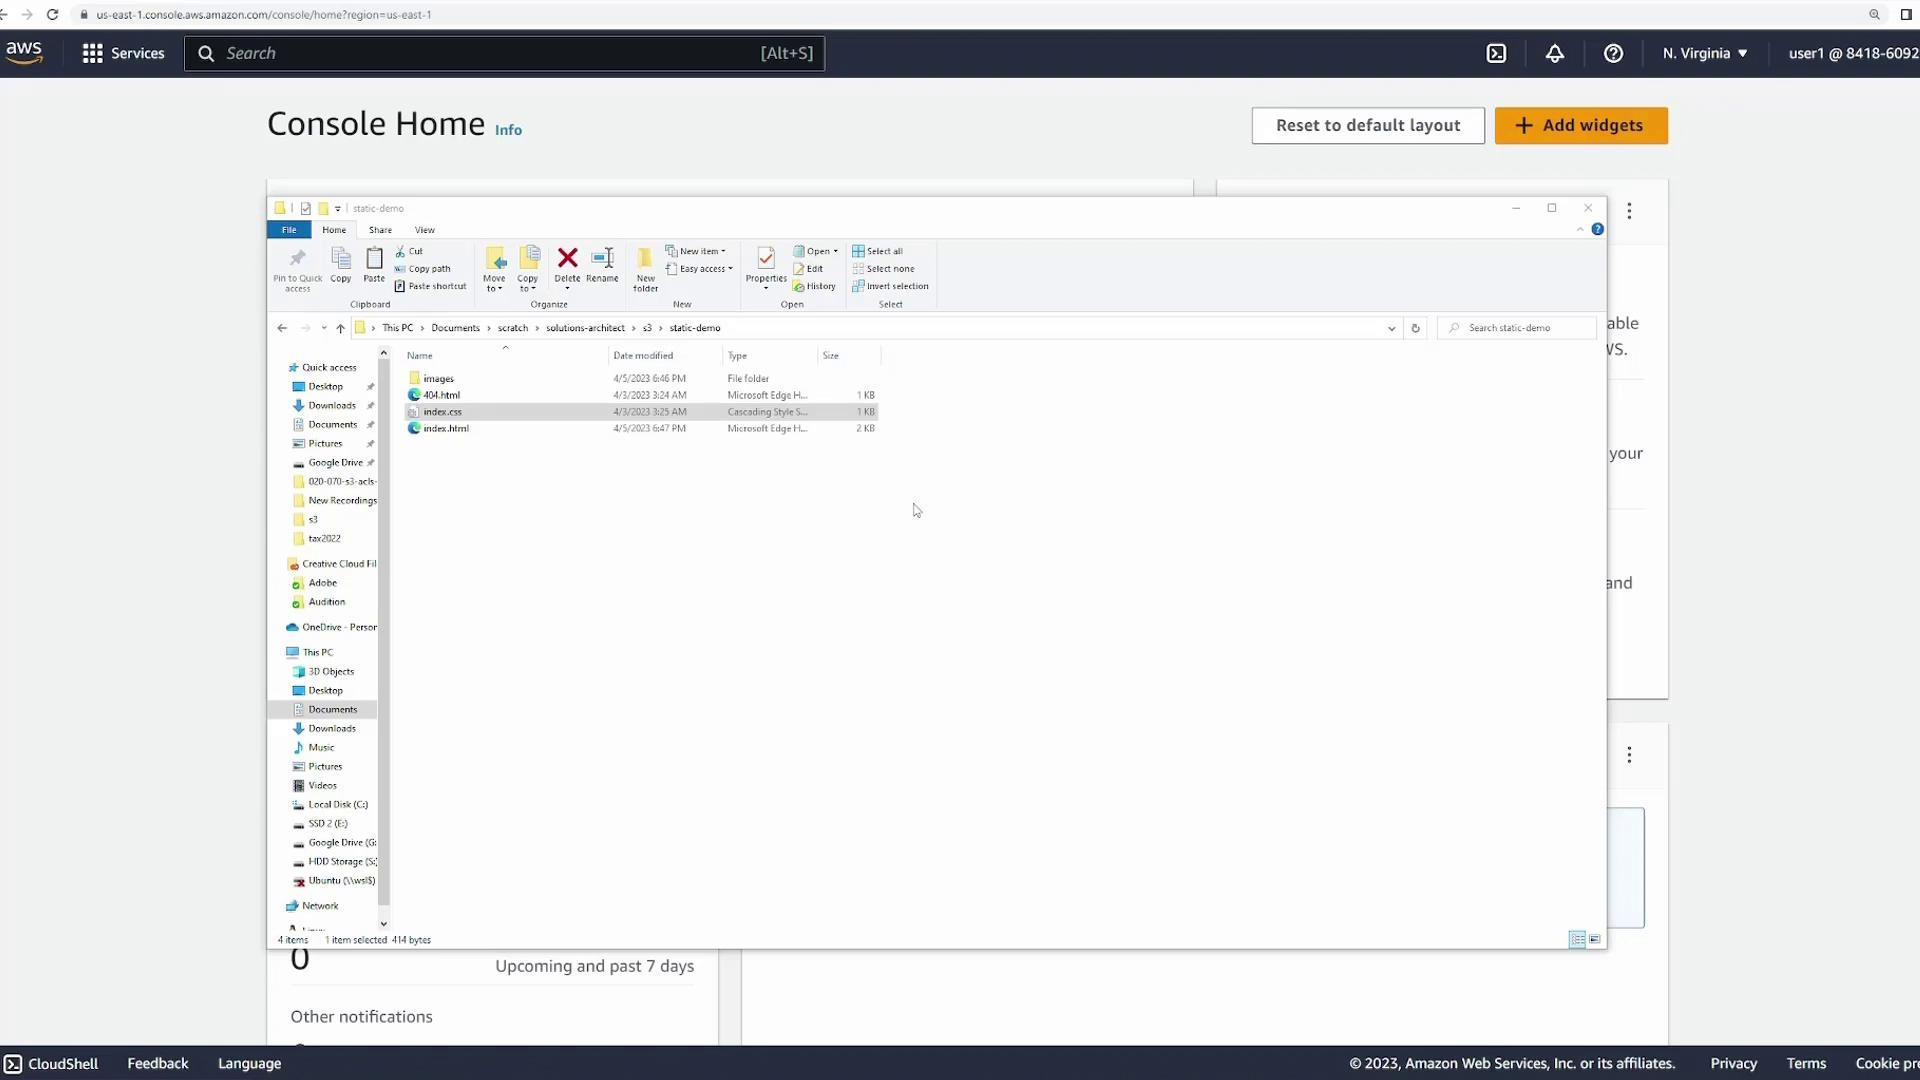
In this tutorial, you’ll learn how to host a static website using Amazon S3. We’ll cover everything from the website file structure to uploading your files and configuring public access. This guide assumes you have a basic static site that consists of an HTML file, a CSS file for styling, a custom 404 error page, and an images folder containing pictures of food.
When users visit your website, the S3 bucket serves the index.html file by default, which in turn loads the necessary CSS and images. If a non-existent file is requested, the custom 404 page is returned.
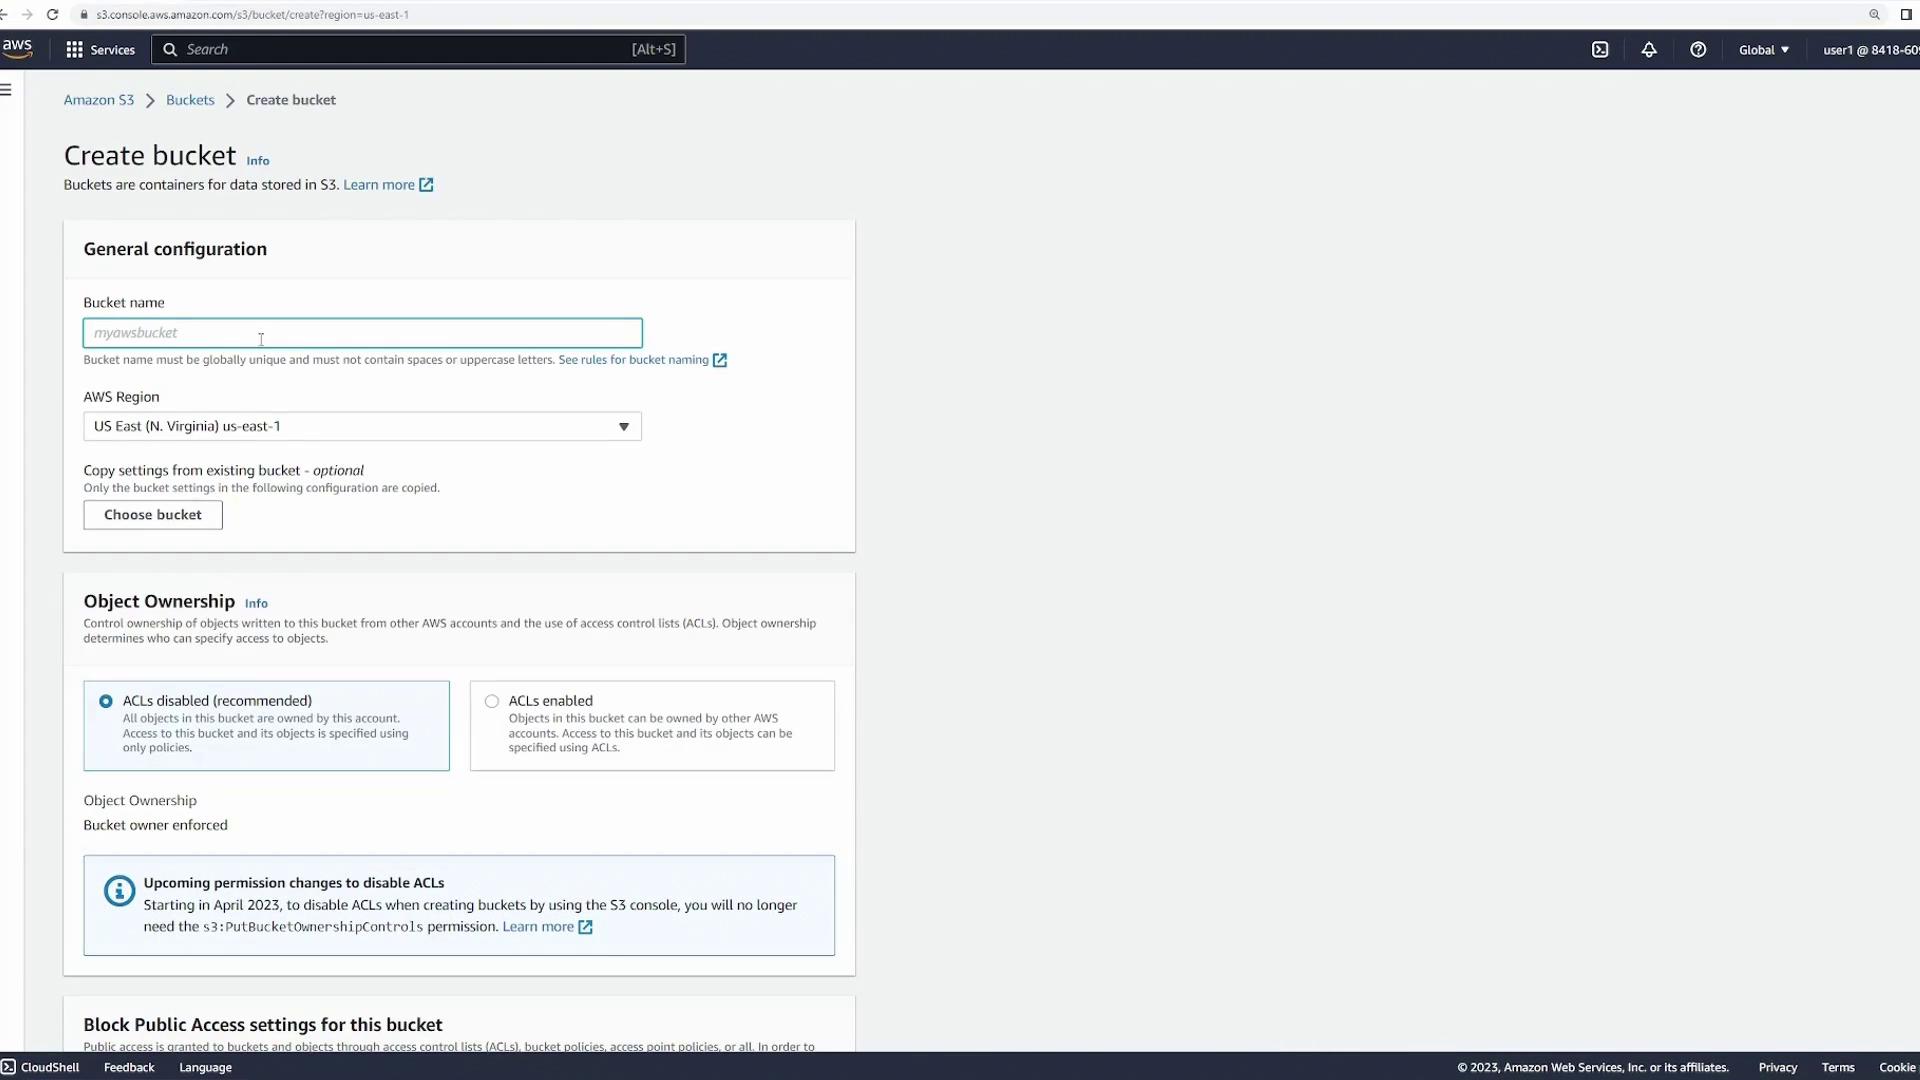
To get started, log in to the S3 console and create a new bucket for your static website.
Create a new bucket (e.g., “static-demo”) using the default settings.
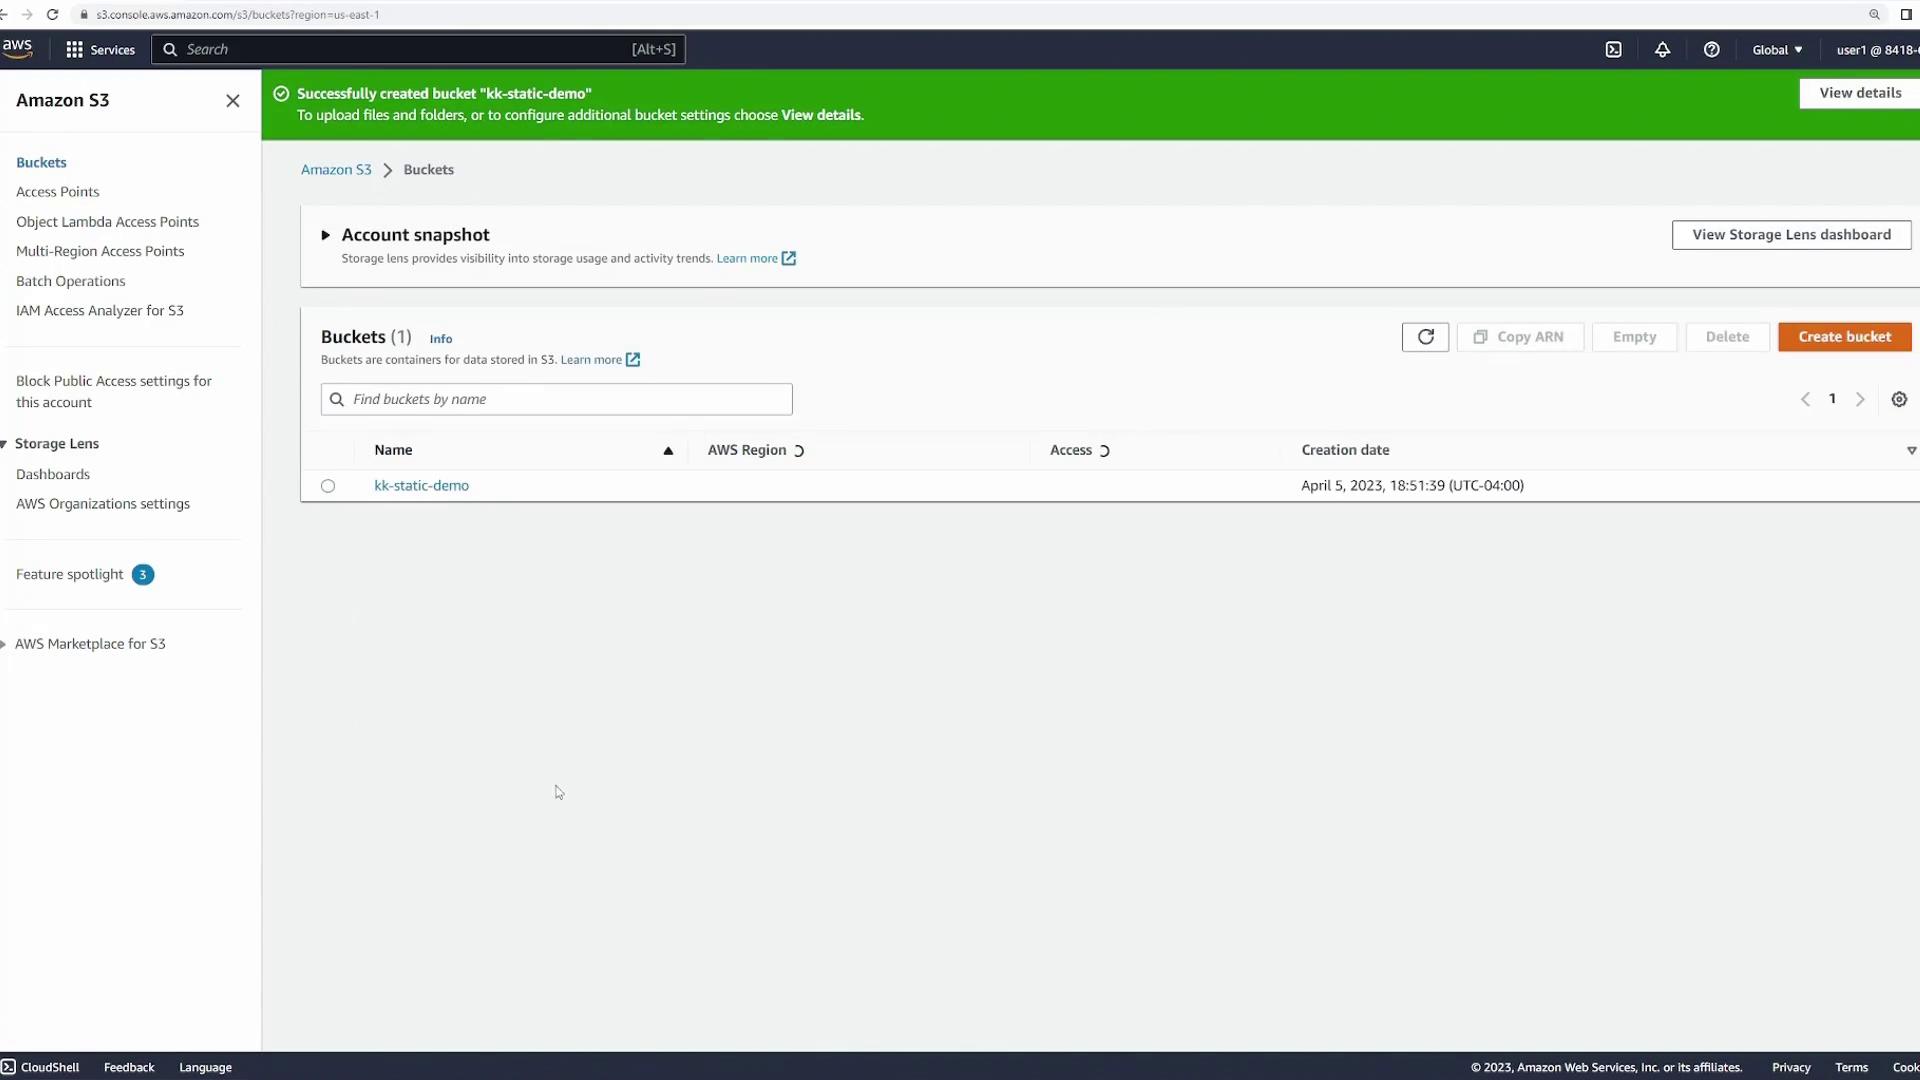
After creating the bucket, you will receive a confirmation notification.
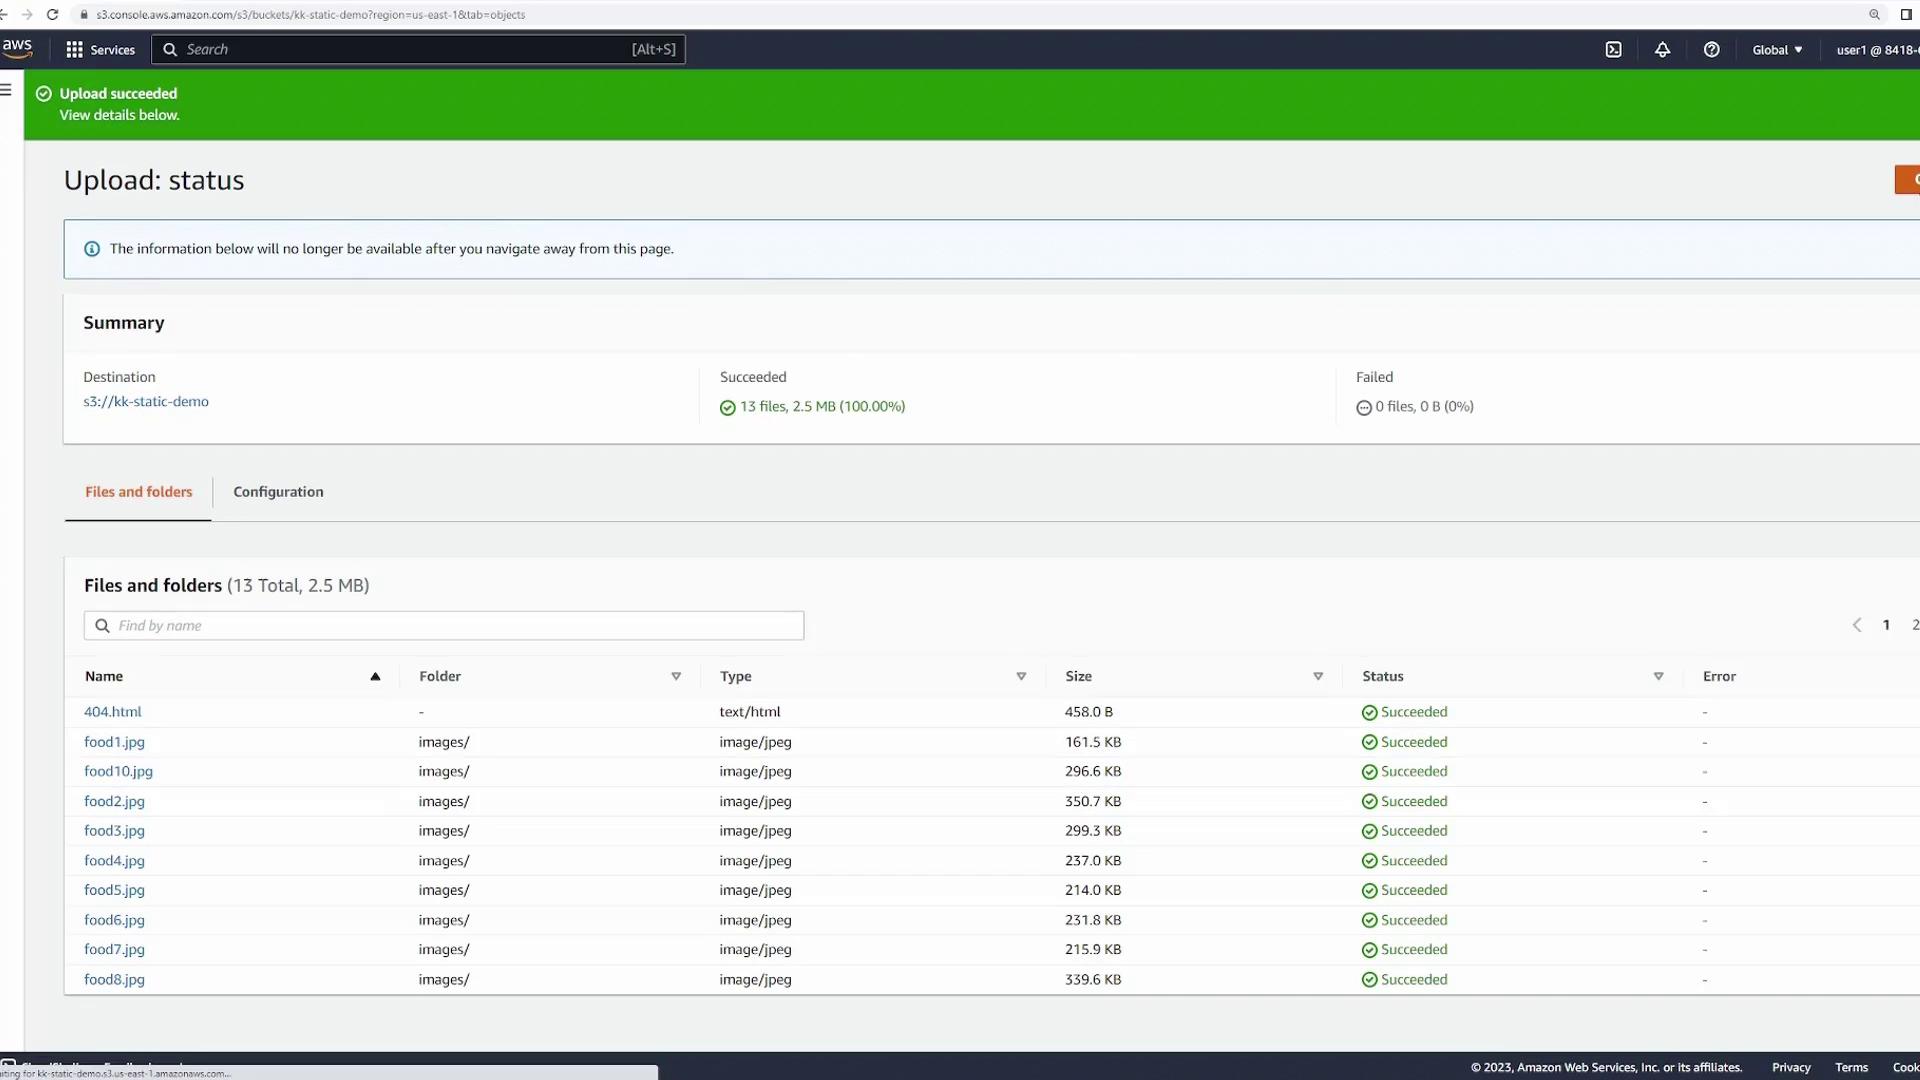
Open the bucket and proceed to upload all website files, including HTML, CSS, the 404 error page, and the images folder. Note that the upload duration may vary based on file size and quantity.
Once your files are uploaded, enable the static website hosting feature:
Navigate to the Properties tab in your bucket.
Scroll down to the Static website hosting section and click Edit.
Select the “Host a static website” option.
Configure the following settings:
Index document: Set this to index.html to serve as the homepage.
Error document: Set this to 404.html to handle error messages.
Click Save to update your settings.After saving, you will see a bucket website endpoint URL in the static website hosting section. This URL is how users will access your website.
Clicking the website endpoint URL might initially result in an “Access Denied” error. This is expected until you configure public access.
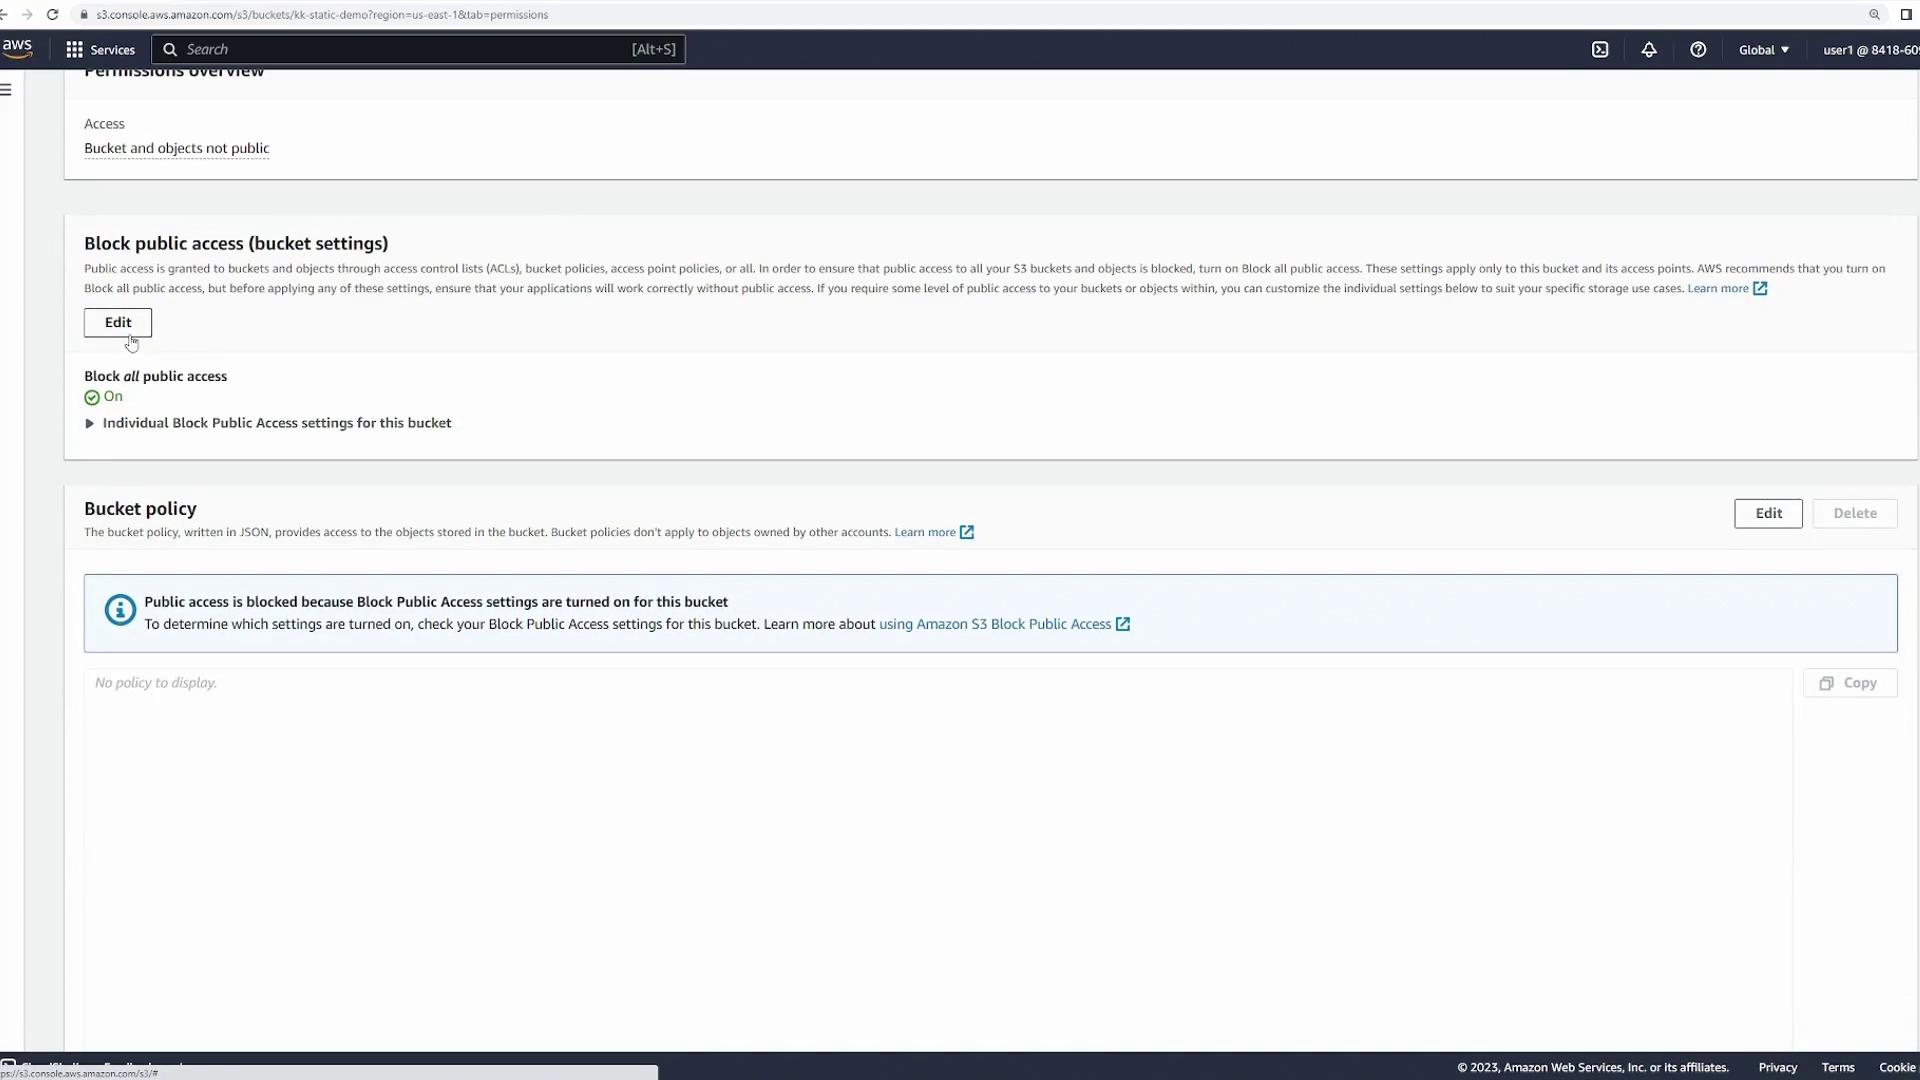
To allow public access to your website, you’ll need to adjust the bucket’s permissions and include a bucket policy.
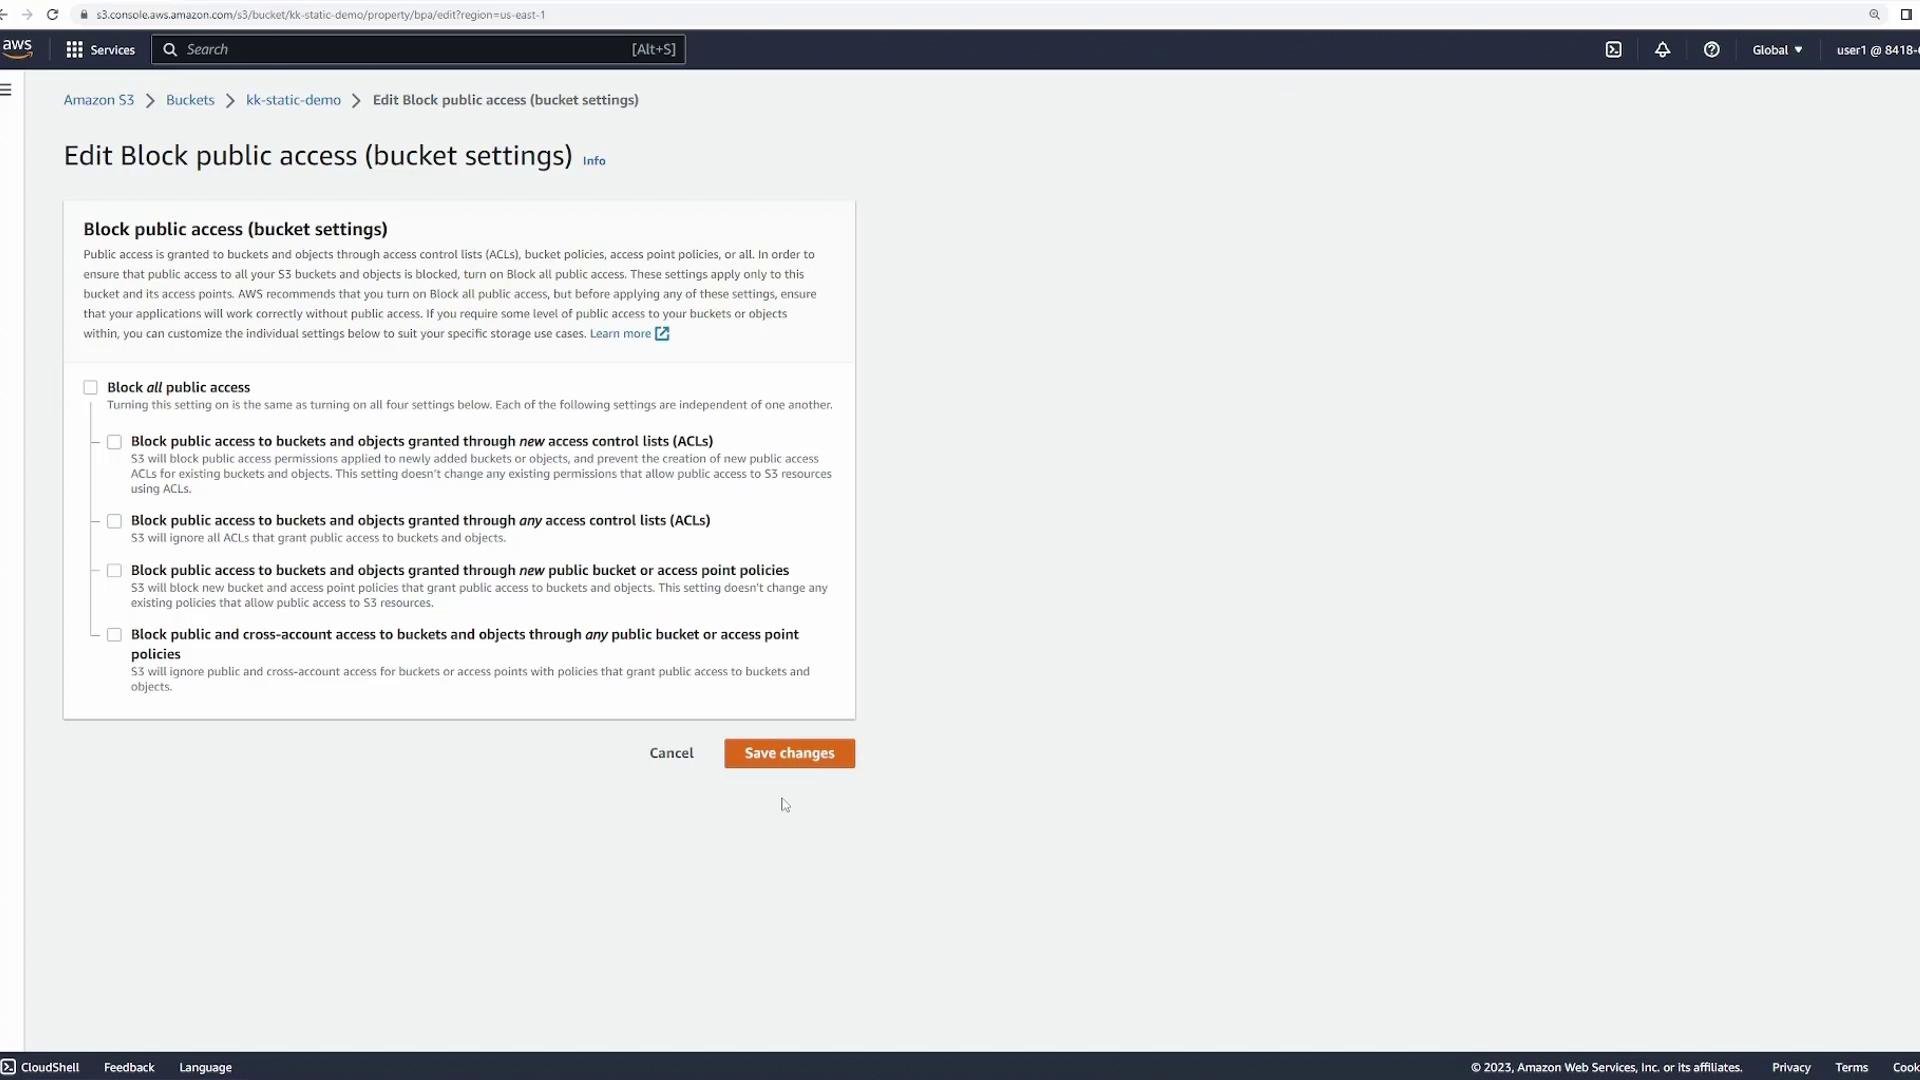
Click on the Permissions tab and disable the “Block all public access” setting.
Confirm your changes to allow public access.
Even after these changes, your bucket is not entirely public. You must add a proper bucket policy to permit public read (GetObject) access. Open the bucket policy editor and add the following policy:
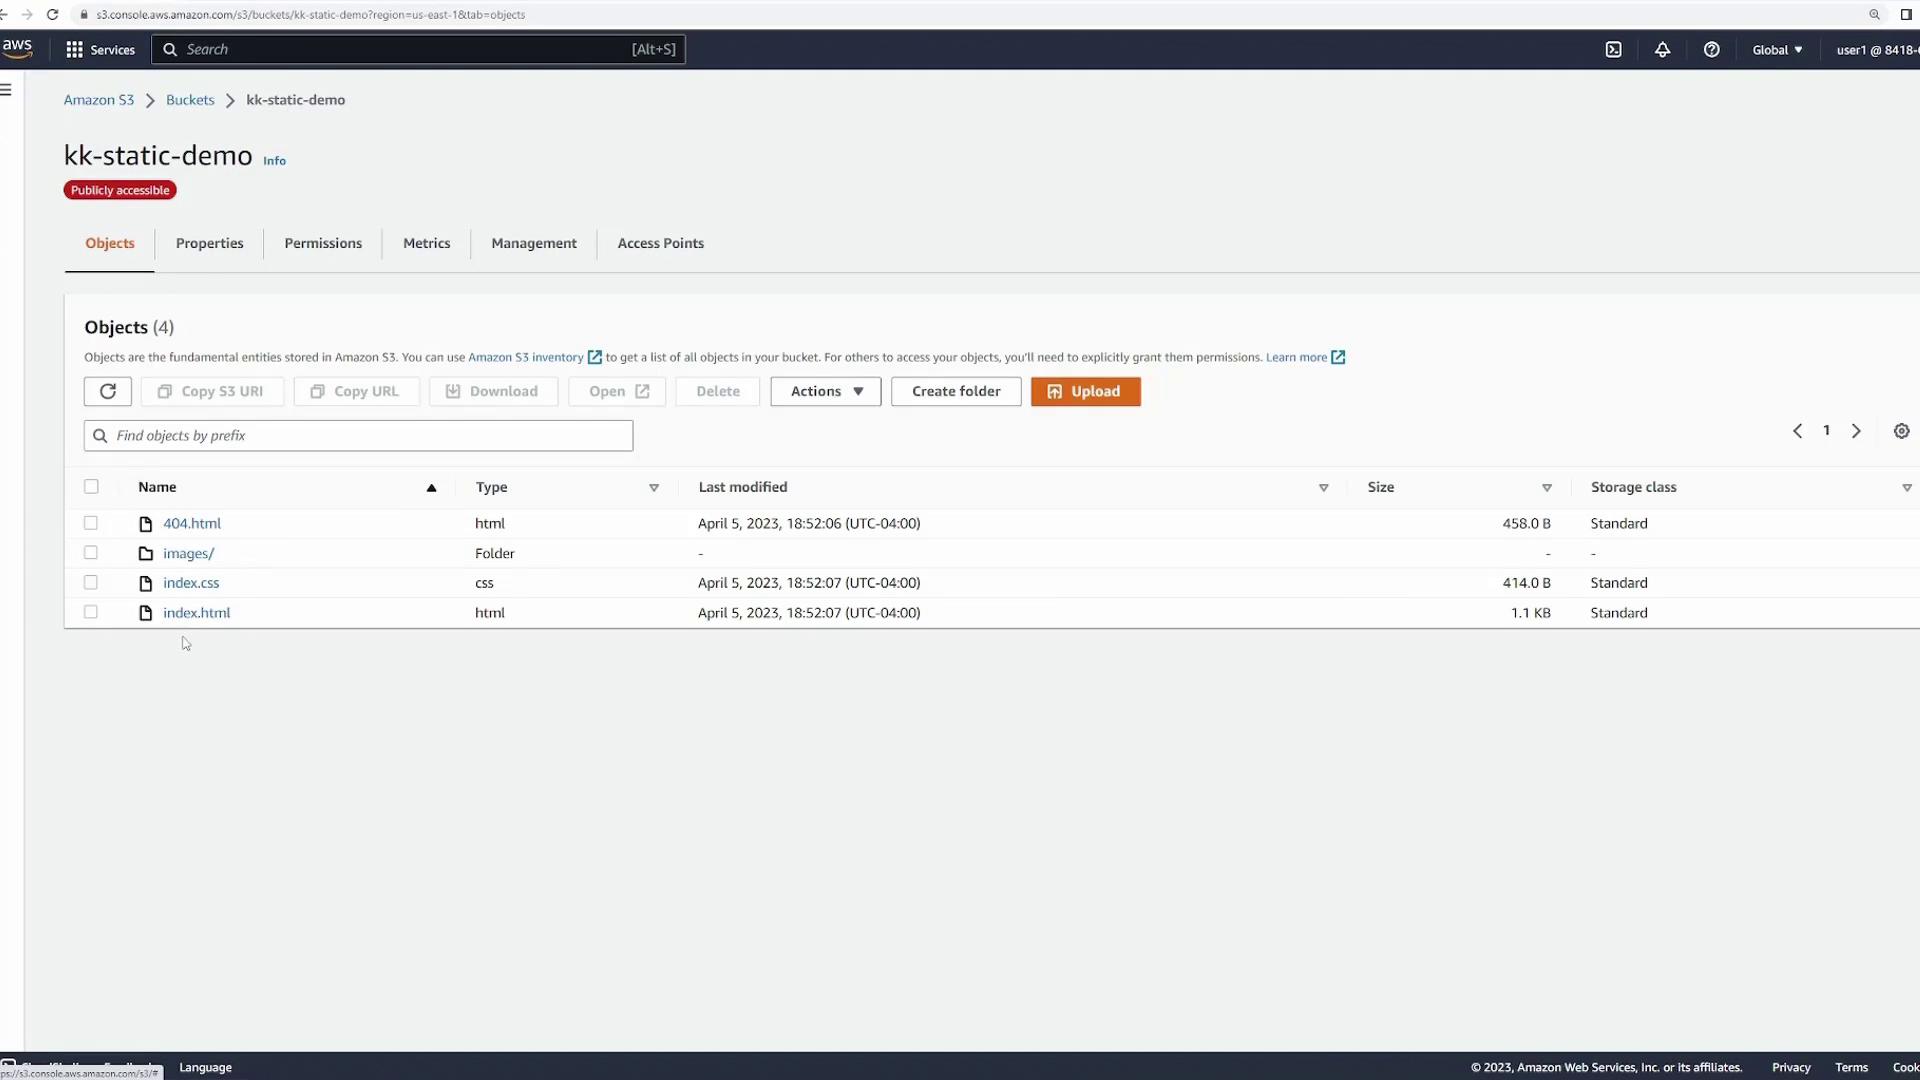
Replace “your-bucket-name” with the actual bucket name. This policy enables any user to read your files while preventing modifications or deletions.After saving the policy, the bucket becomes publicly accessible.
Return to the Properties tab and check the Static website hosting section again. The provided URL should now load your website for public access.
Navigating to the bucket URL without specifying a file returns the index.html automatically.
You can access specific assets by appending their paths (for example, /images/food1.jpg) to the URL.
If a user navigates to an invalid path, the custom 404.html page will be shown.
This concludes the lesson on hosting a static website with Amazon S3. By following these steps, you can create a secure and publicly accessible static website with ease.For more detailed information about AWS and static website hosting, refer to the Amazon S3 Documentation.Happy hosting!