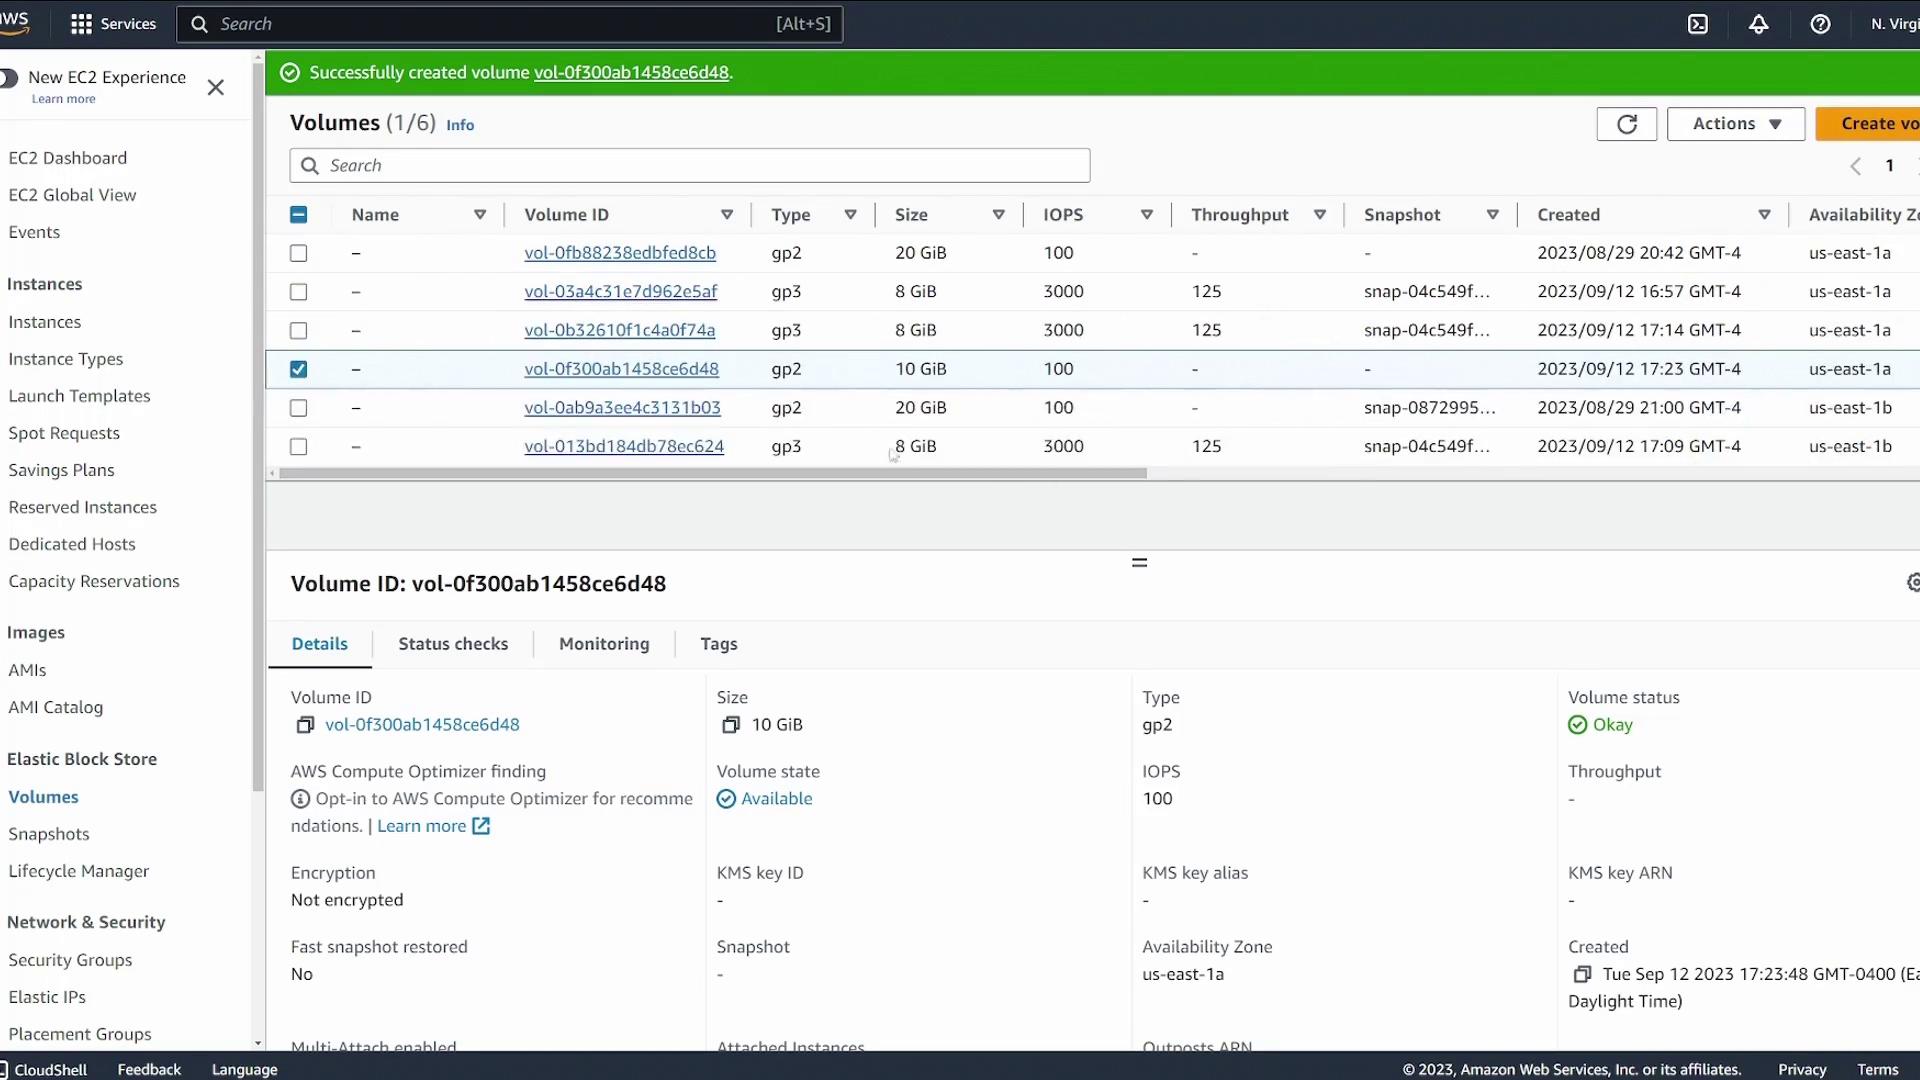
Creating and Attaching an EBS Volume
Switch your AWS console to the US East 1 region and follow these steps to create an EBS volume for server one:- Identify the Availability Zone of server one (for example, US East 1a).
- Navigate to the Volumes page on the AWS console and create a new volume:
- Choose the desired volume type (default is GP2).
- Set the volume size (we will use 10 GB for this demo).
- Ensure the volume is created in the same Availability Zone as server one.
- Leave encryption disabled for this demonstration.
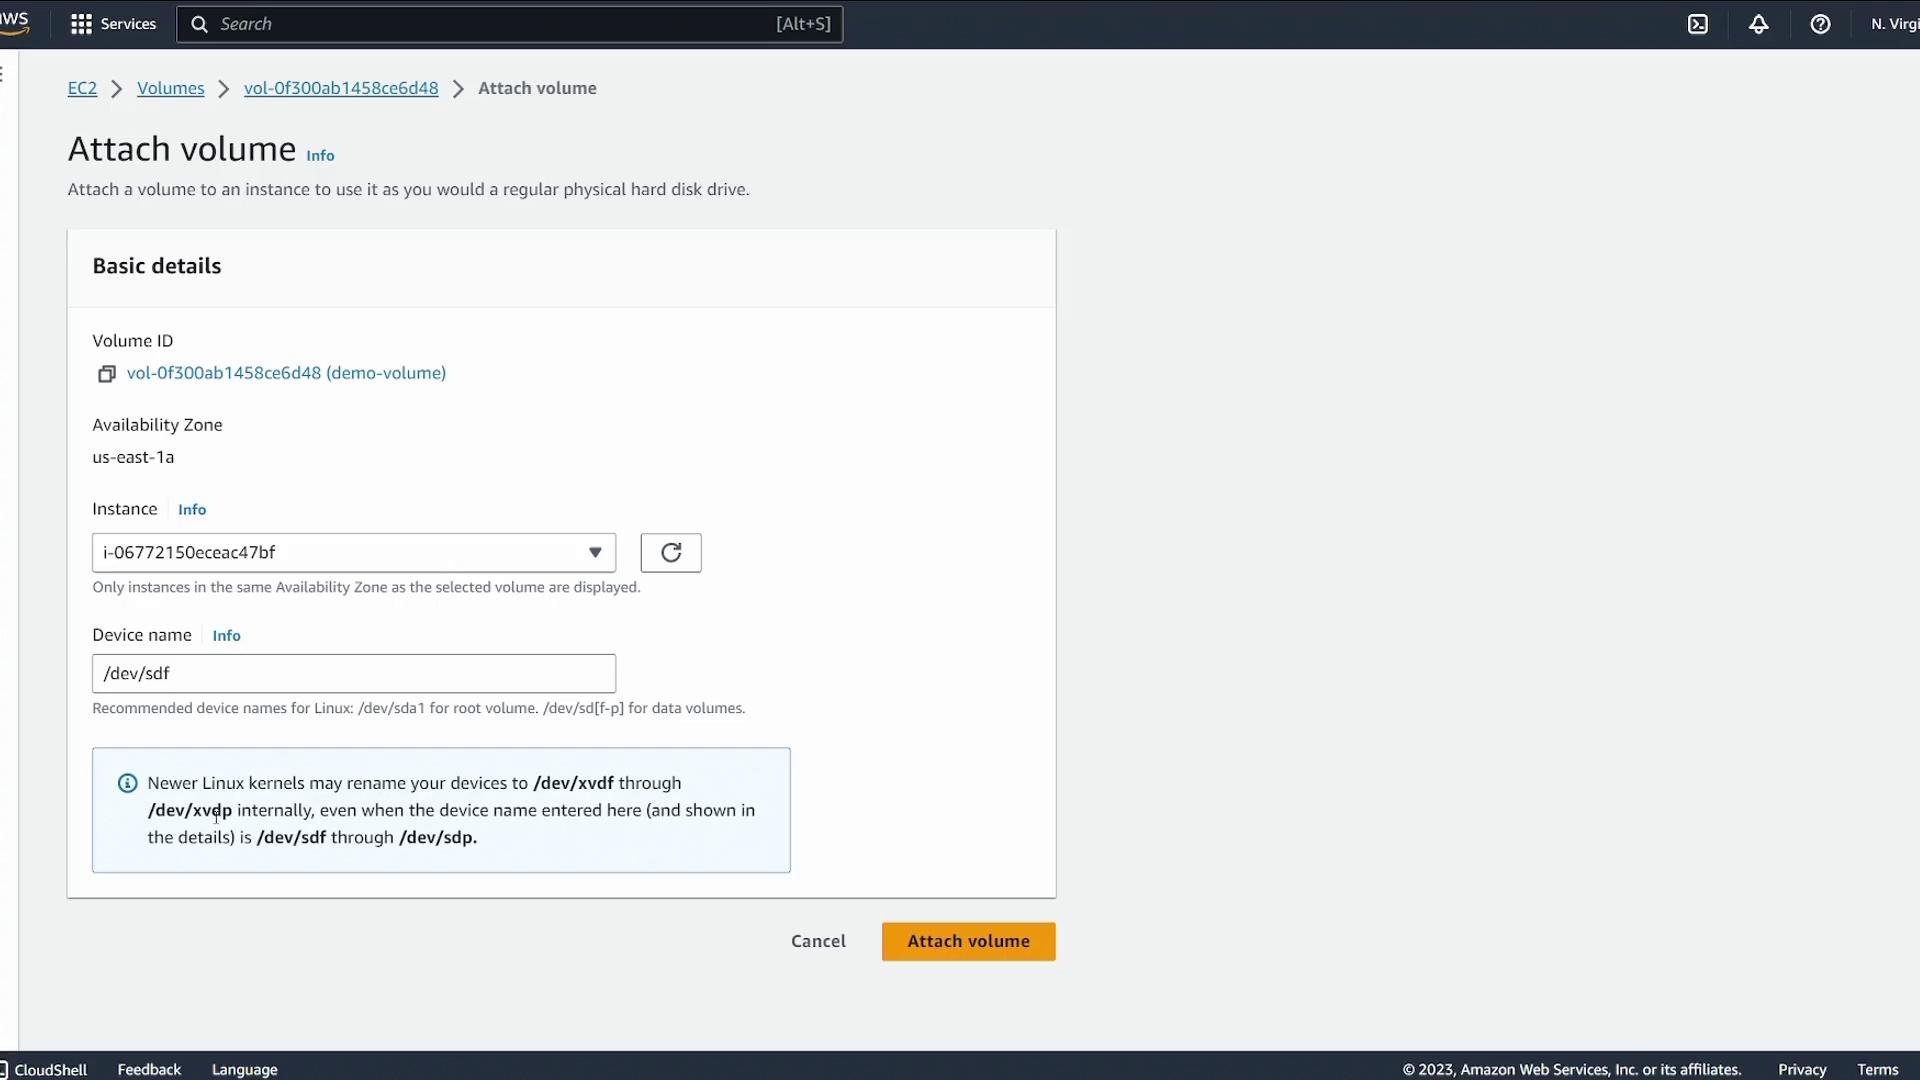
/dev/sdf. On newer Linux kernels, this device might be automatically renamed (for example, to /dev/xvdf).
Verifying and Formatting the Volume on Server One
- Open a terminal connected to server one.
-
List the block devices using:
You should see the root device (commonly listed as
xvda) and the new 10 GB device (likely listed asxvdf). -
Verify if a filesystem exists on the new device with:
If the output shows
data, no filesystem exists yet, which is expected. -
Create an XFS filesystem on the device:
-
Verify that the filesystem has been created successfully by running:
The expected output should mention “SGI XFS filesystem data (blksz 4096, inosz 512, v2 dirs).”
Mounting the Filesystem
The mount operation demonstrated below is temporary. If the instance is rebooted, the mount will be lost unless it is added to
/etc/fstab for persistence.-
Create a directory to serve as the mount point (for this demo, we will use
/ebsdemo): -
Confirm the mount with the command:
/dev/xvdf is mounted at /ebsdemo.
Updating /etc/fstab for Persistent Mounting
To ensure the volume stays mounted across reboots, follow these steps:-
Retrieve the UUID of the EBS volume:
Look for the entry corresponding to
/dev/xvdf. For example, you might see: -
Edit the
/etc/fstabfile: -
Add the following line to the file, making sure to replace the UUID with your own:
-
To apply the changes without rebooting, run:
-
Verify the mount and the volume’s UUID:
Testing the Mount with File Operations
To confirm that the EBS volume is working correctly:-
Change to the mount directory and create a test file:
- This confirms write access to the volume, ensuring that the data is stored on the EBS volume rather than on the instance’s root storage.
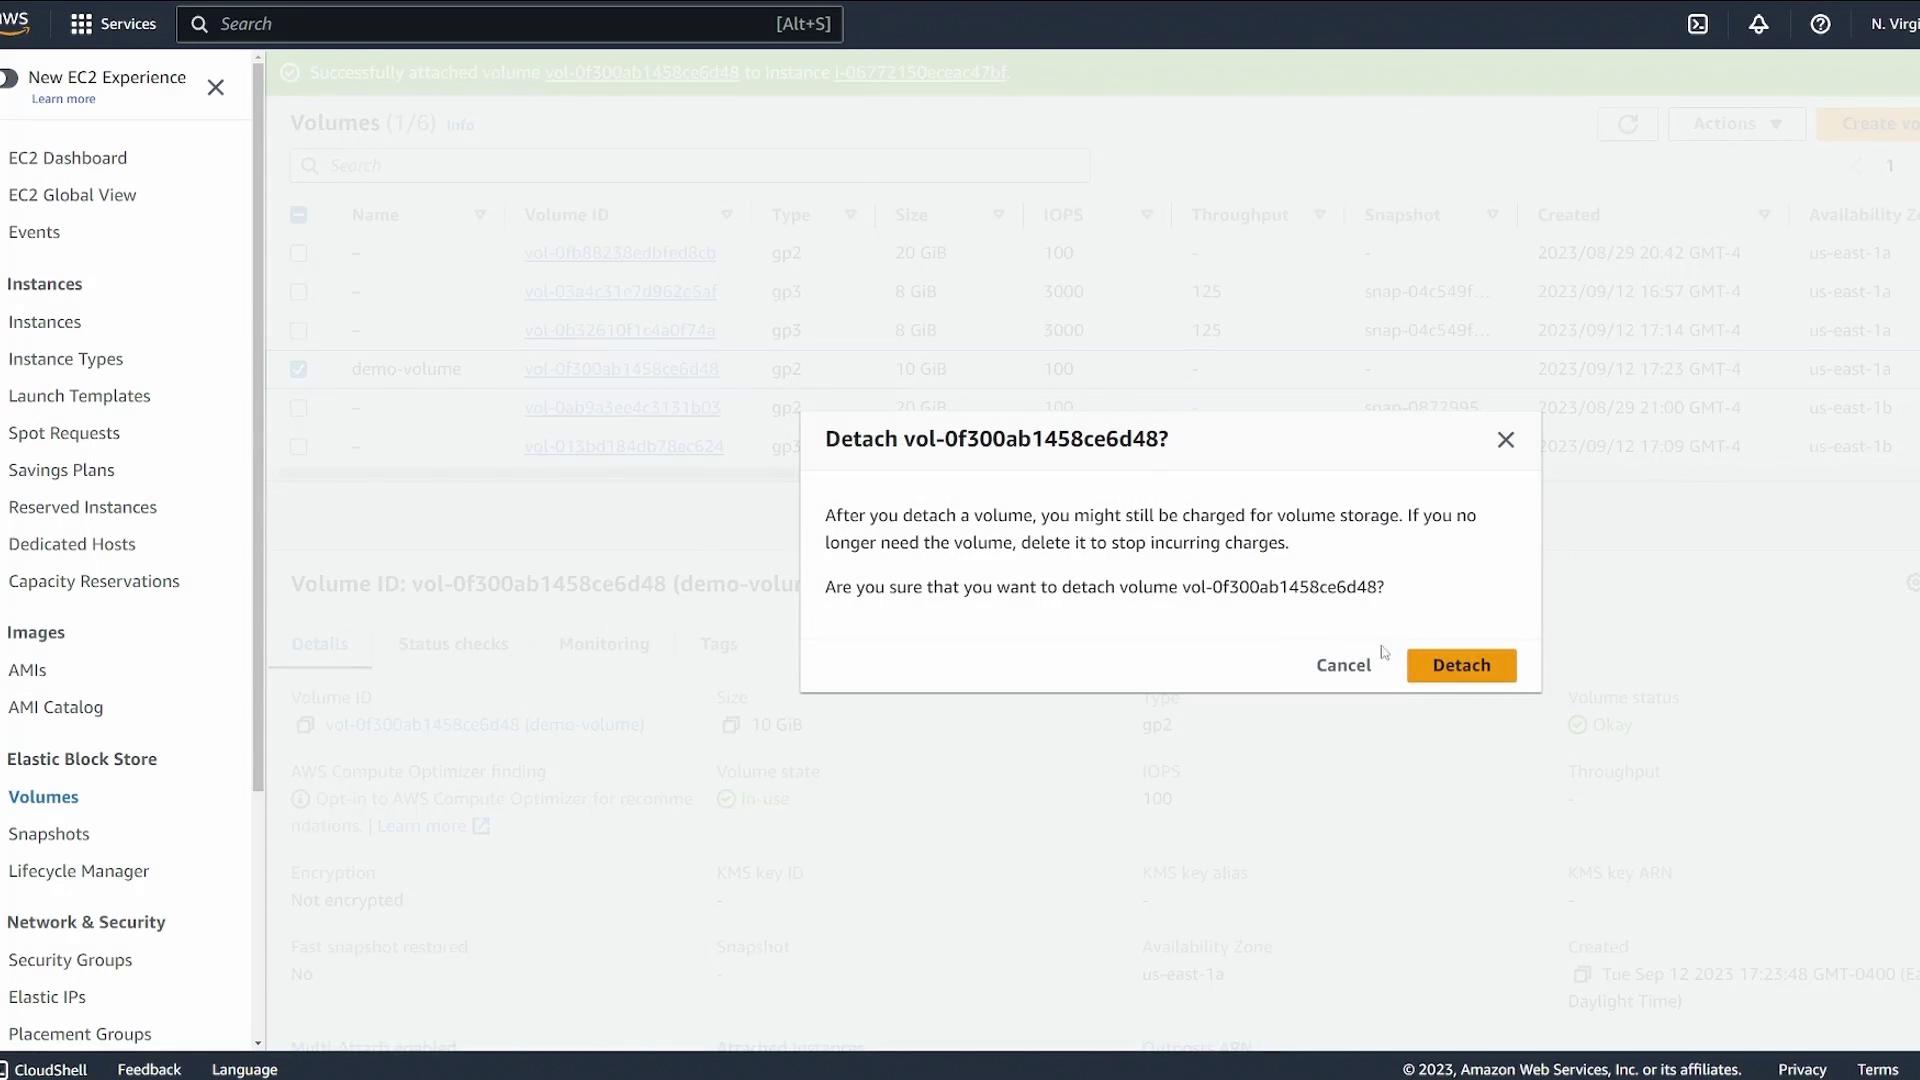
Detaching and Re-Attaching the EBS Volume
To demonstrate the detachable nature of an EBS volume, perform these steps:-
Unmount the EBS volume from server one:
Verify the unmount by running:The
/ebsdemomount point should no longer be listed. - In the AWS console, navigate to the list of EBS volumes. Select the volume, then choose Actions > Detach Volume.
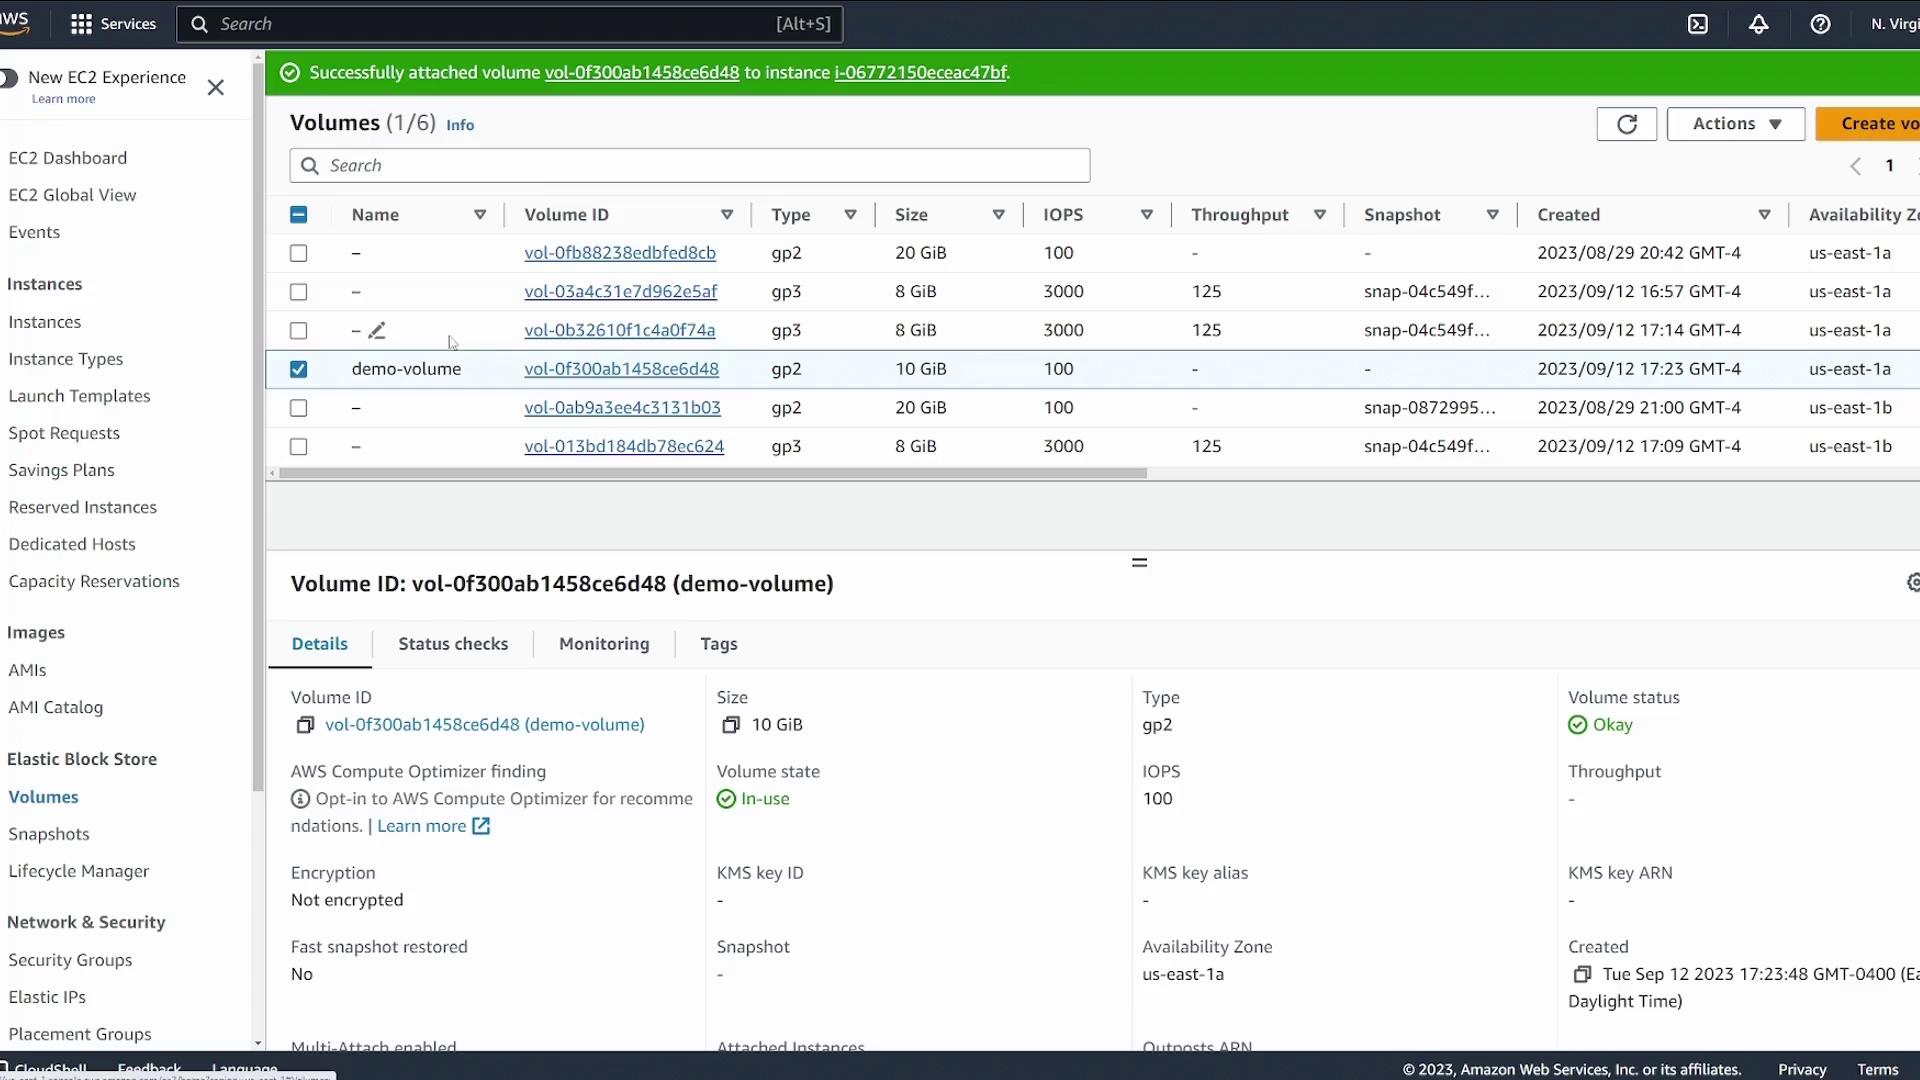
- Reattach the volume to server two by selecting Attach Volume from the Actions menu and specifying server two as the target.
Verifying the Volume on Server Two
On server two, perform the following steps to ensure that the reattached volume is functioning as expected:-
Check the list of block devices:
The device
/dev/xvdfshould still show the SGI XFS filesystem. -
Create the mount point and mount the volume:
-
Navigate to the mount directory, list its contents, and check the test file:
demo.txt exists and displays the expected content (“I made this file on server1”), the persistent data has been successfully preserved on the EBS volume independently of a particular EC2 instance.
Conclusion
This demonstration has shown you how to create, attach, verify, format, and mount an EBS volume in AWS. It also illustrated how to detach an EBS volume from one instance and reattach it to another, all while ensuring that the volume remains in the correct Availability Zone. These techniques are essential for maintenance and migration tasks without risking data loss. In the next lesson, we will explore how to move an EBS volume to an EC2 instance located in another Availability Zone.For more information on AWS and EBS, you can refer to the official AWS documentation.