- Verify your runner registration
- Start the runner service
- Update a workflow to target your self-hosted runner
- Commit and push changes
- Trigger and monitor the job
- Inspect logs both in GitHub and on the runner VM
Prerequisites
- A GitHub repository with Actions enabled
- A VM (or physical server) where the self-hosted runner is installed
- Network access between GitHub and your runner
1. Verify Your Self-Hosted Runner
Navigate to Settings > Actions > Runners in your repository to ensure your runner is registered and idle: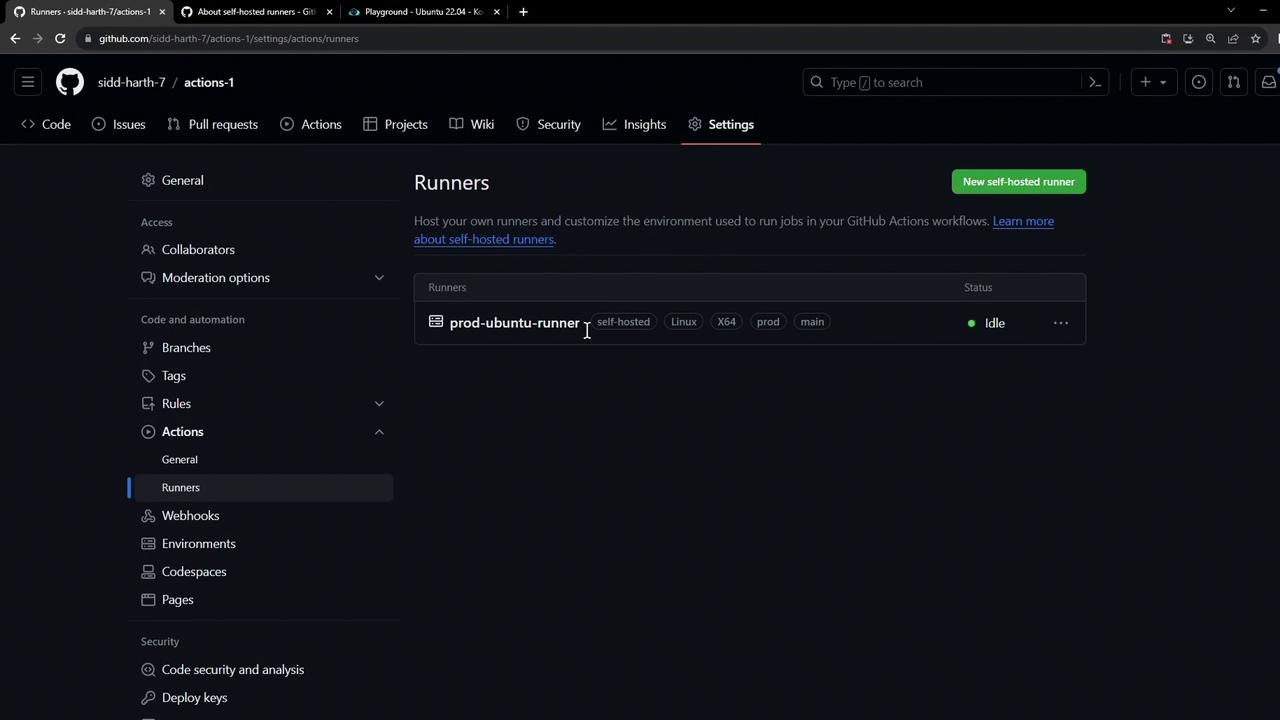
2. Start the Runner Service
On your runner VM, start the runner process:3. Update Your Workflow to Target the Self-Hosted Runner
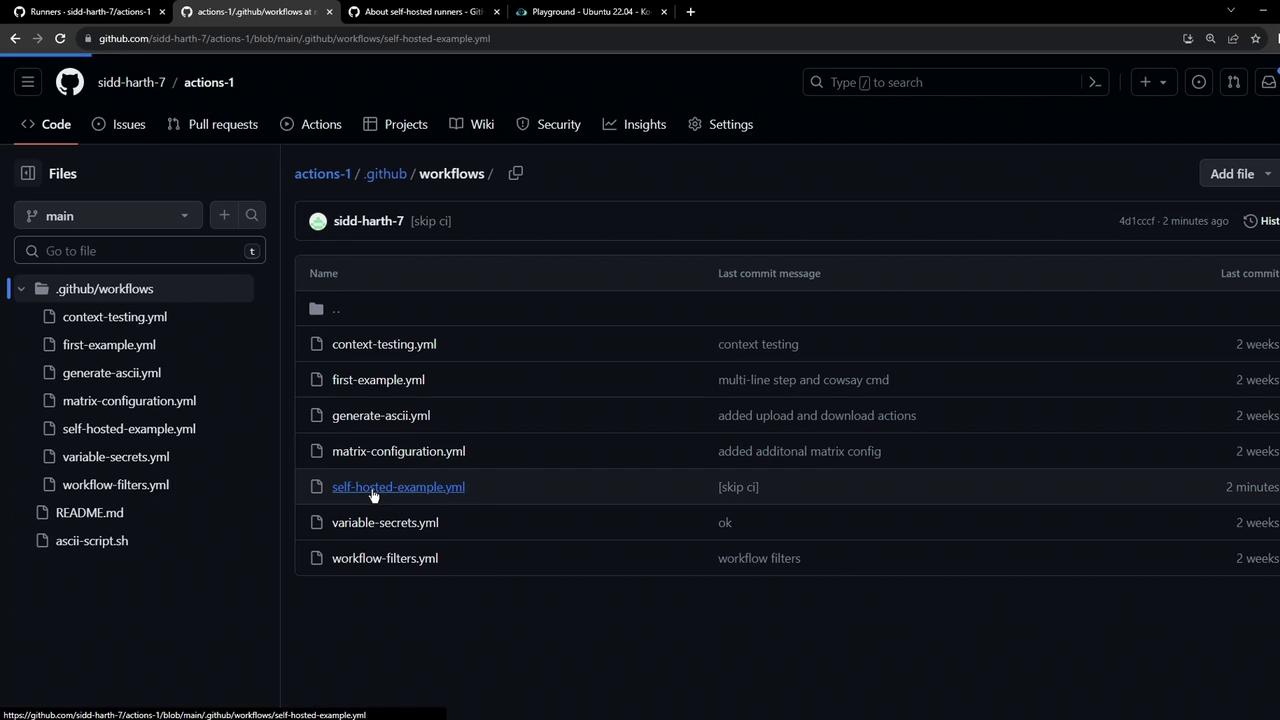
Open the.github/workflows directory and locate your workflow YAML:
Original Workflow (GitHub-hosted runner)
Updated Workflow (Self-Hosted Runner)
Replaceruns-on: ubuntu-latest with the labels assigned to your runner (e.g., self-hosted, linux, prod):
All labels under
runs-on must exactly match those on your self-hosted runner. A mismatch (for instance, using production instead of prod) will leave the job pending until a matching runner is available or times out.4. Commit and Push Your Changes
Commit the updated workflow file directly to your main branch (or a feature branch):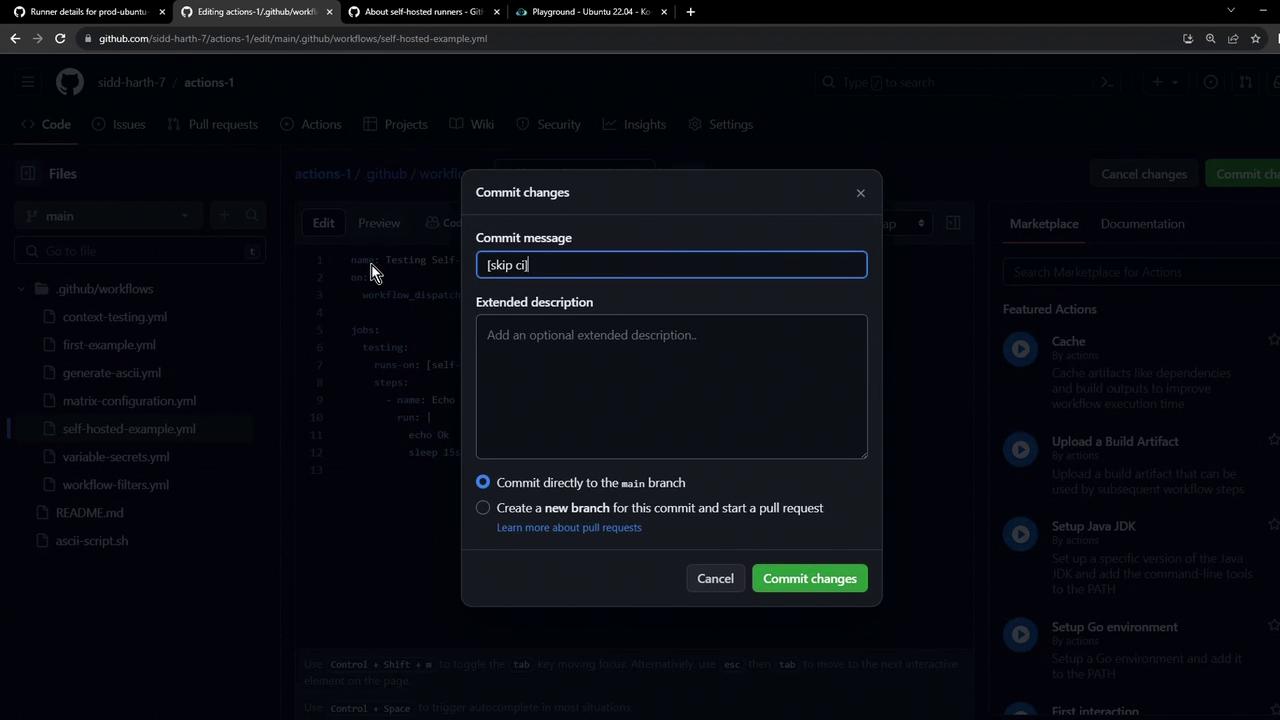
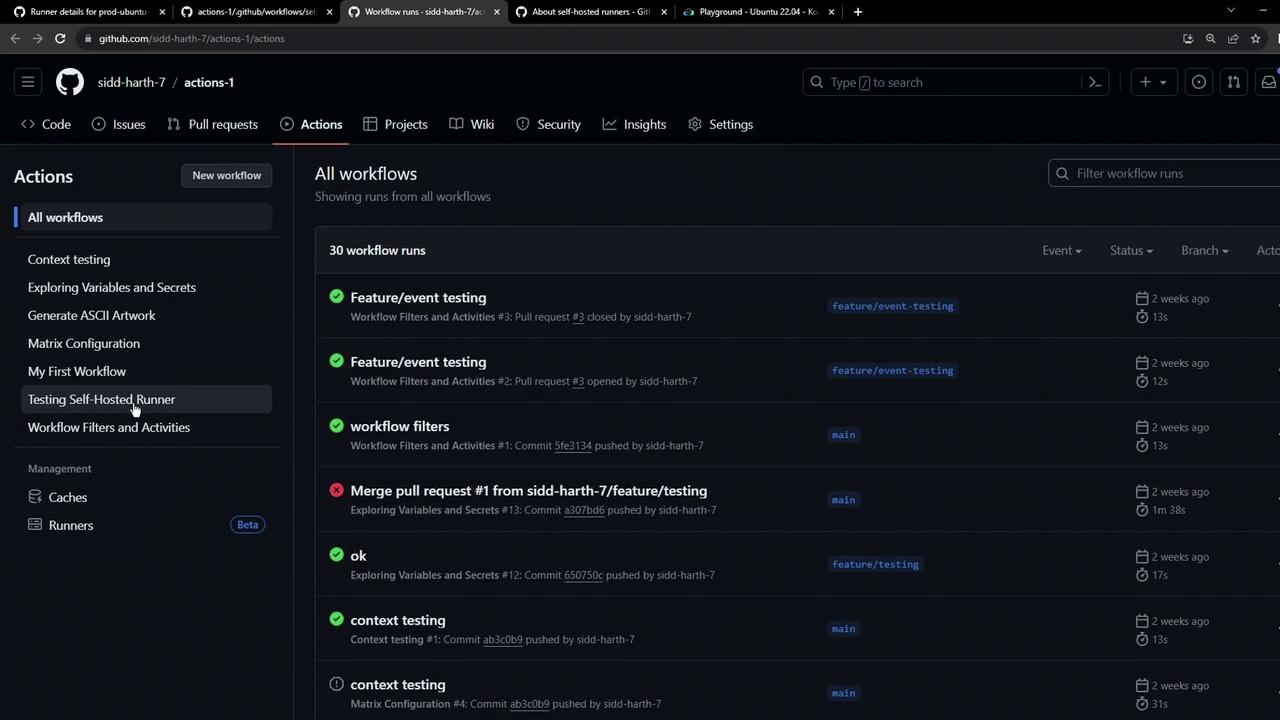
5. Trigger the Workflow
- Open the Actions tab in your repository.
- Select Testing Self-Hosted Runner.
- Click Run workflow to invoke
workflow_dispatch.
6. Monitor Jobs and Inspect Logs
For live details on the runner and active jobs, visit the self-hosted runner’s configuration page: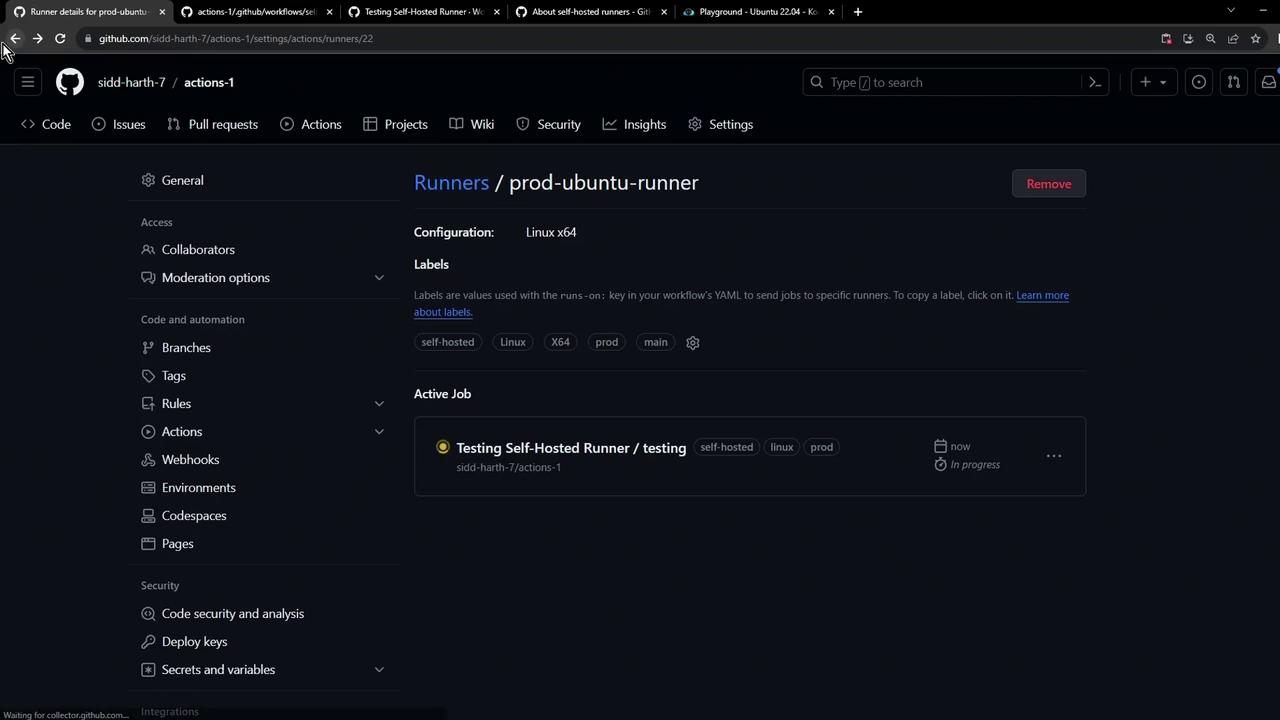
Ensure your self-hosted runner has proper security controls. Exposing it directly to the internet or granting it excessive permissions can pose risks.
Best Practices for Self-Hosted Runners
| Label | Description |
|---|---|
| self-hosted | Required for all self-hosted runner jobs |
| linux/mac/windows | OS-specific label matching your runner |
| prod/staging | Environment-specific label for segregation |