- Create a feature branch
- Push changes
- Open a pull request
- Review code
- Complete the merge
1. Create a Feature Branch and Push Changes
Start by branching off master so your changes remain isolated.Pages/Home.razor in your editor and update the marketing copy:
If you don’t see the new branch right away, have your collaborator refresh the Branches view.
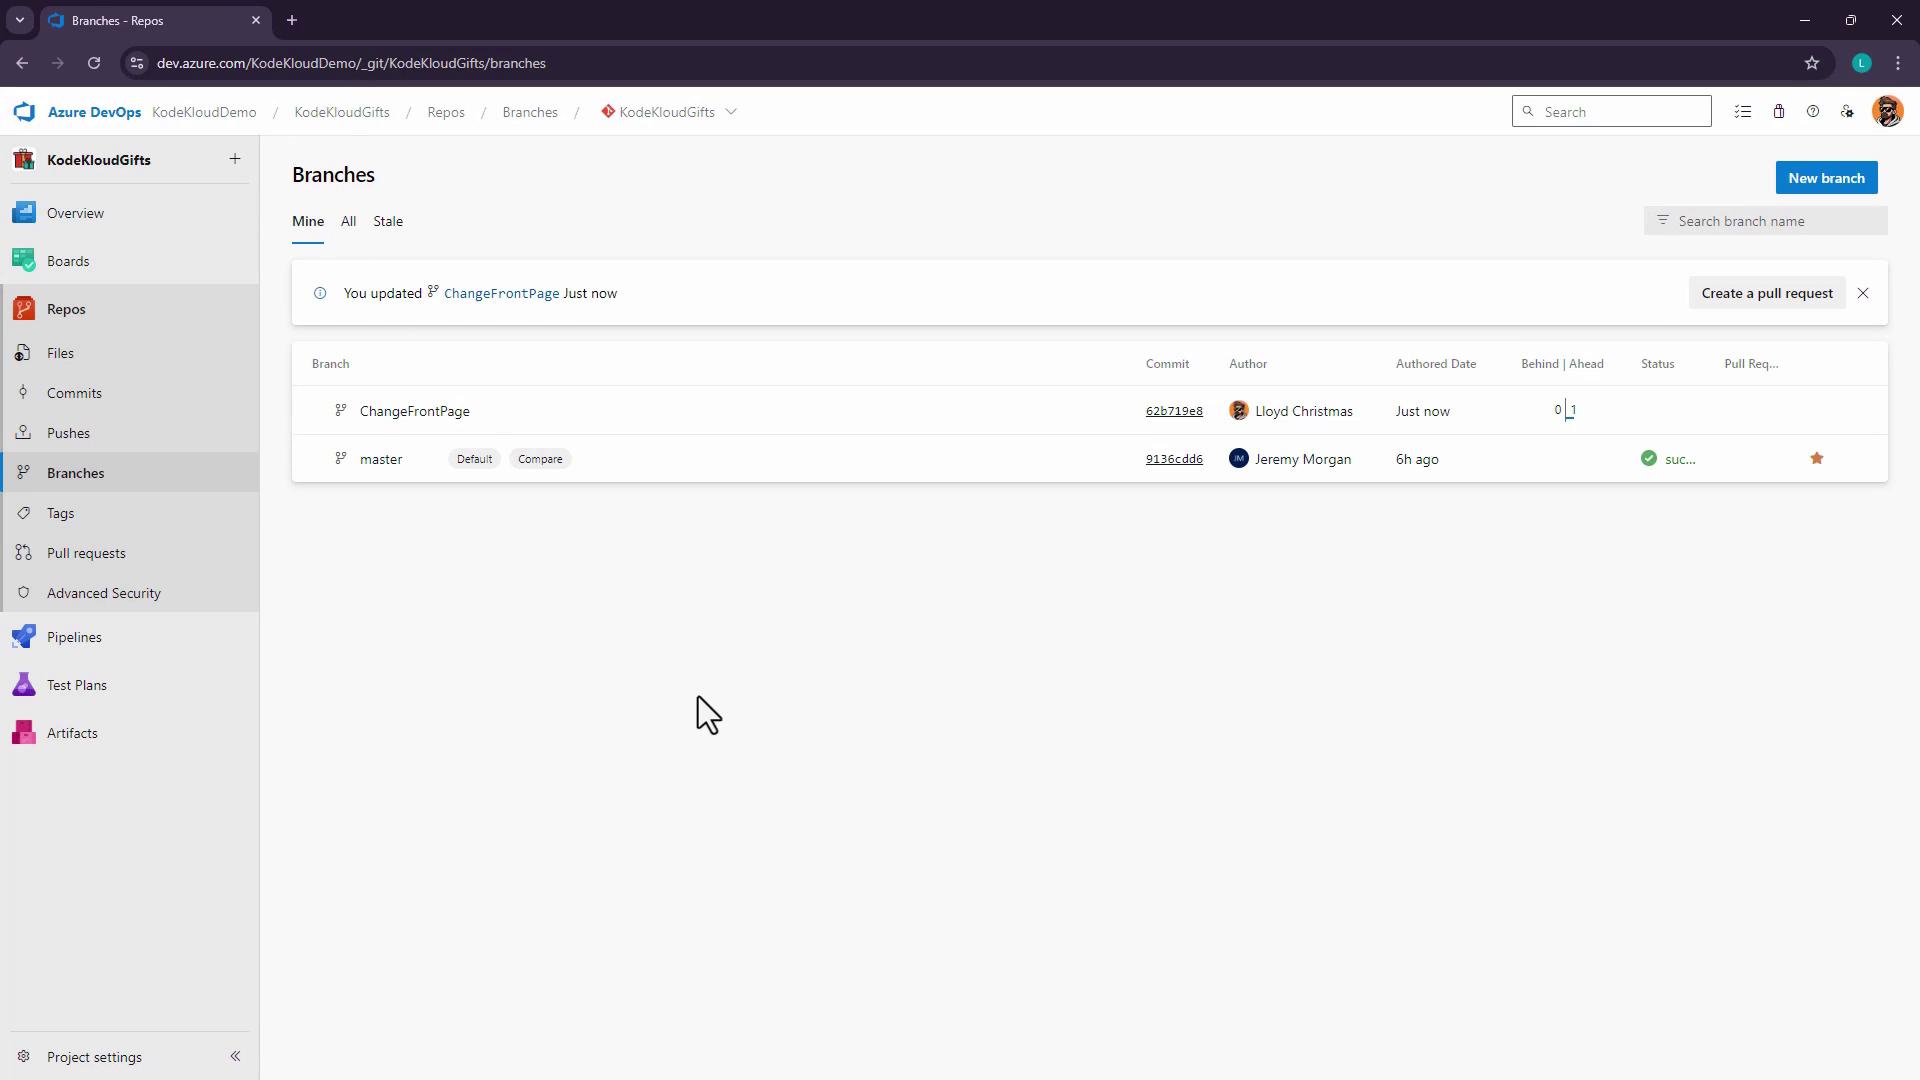
2. Open a Pull Request
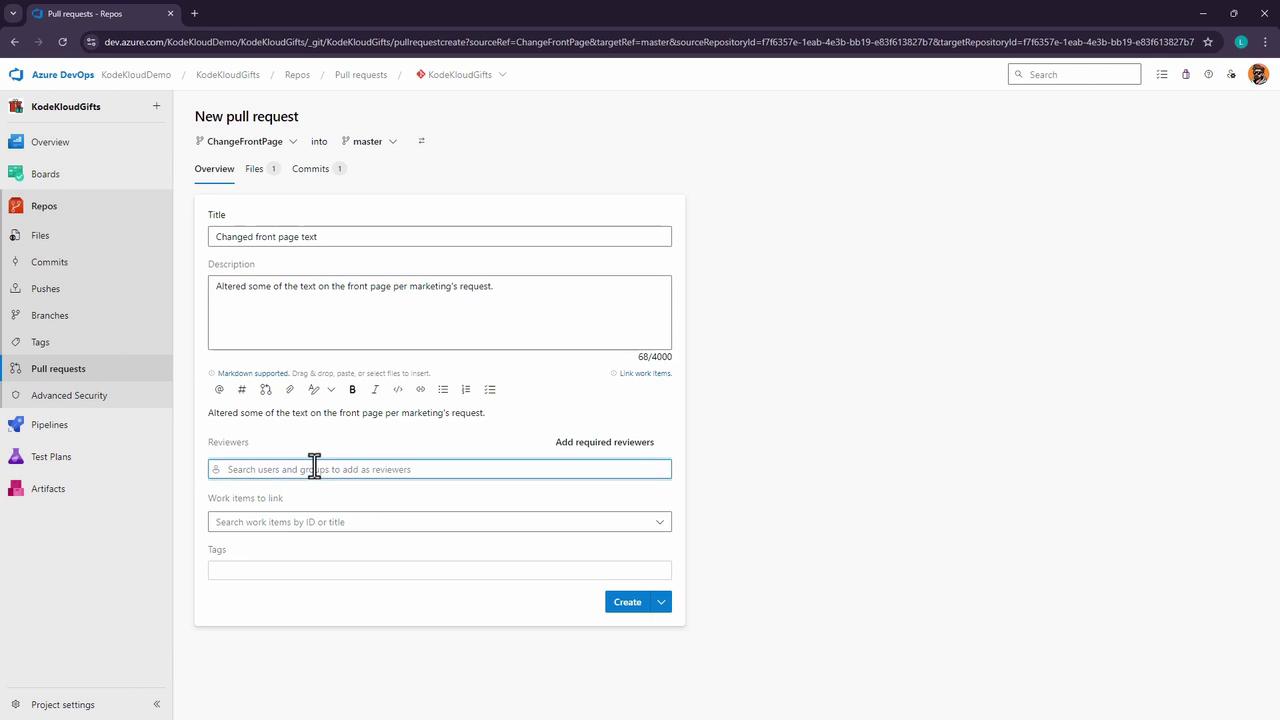
Now that your feature branch is pushed, initiate a pull request (PR) to merge into master:- Navigate to Repos > Pull requests > New pull request.
- Set Source to
ChangeFrontPageand Target tomaster. - Add a descriptive title, e.g., Change front page text, and a clear description.
- Assign Jeremy Morgan (or the appropriate reviewer).
- Click Create to open the PR.
3. Review and Complete the Pull Request
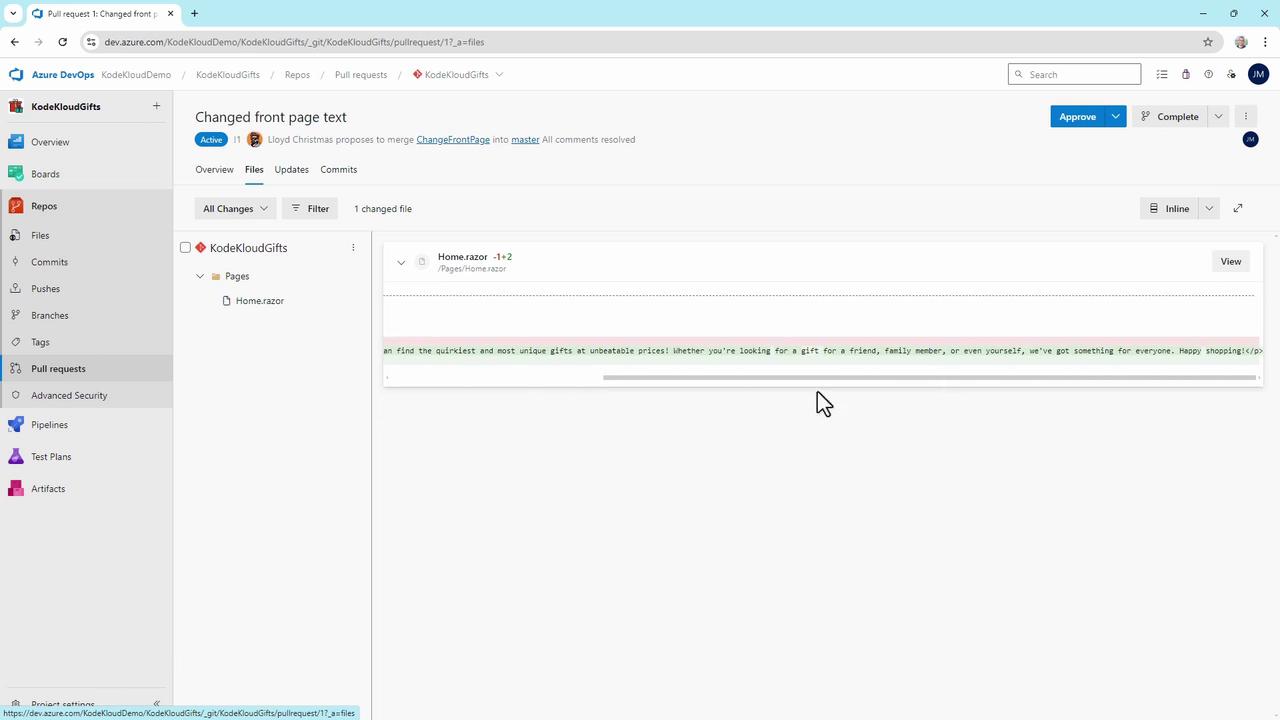
3.1 Review Code Changes
As a reviewer, check for:- Correct source → target
- No merge conflicts
- Clean diffs and concise commit messages
Jeremy: Has this text been approved by legal? Lloyd: Yes, it’s already been cleared.Inspect the diff for
(Mark as resolved)
Home.razor:
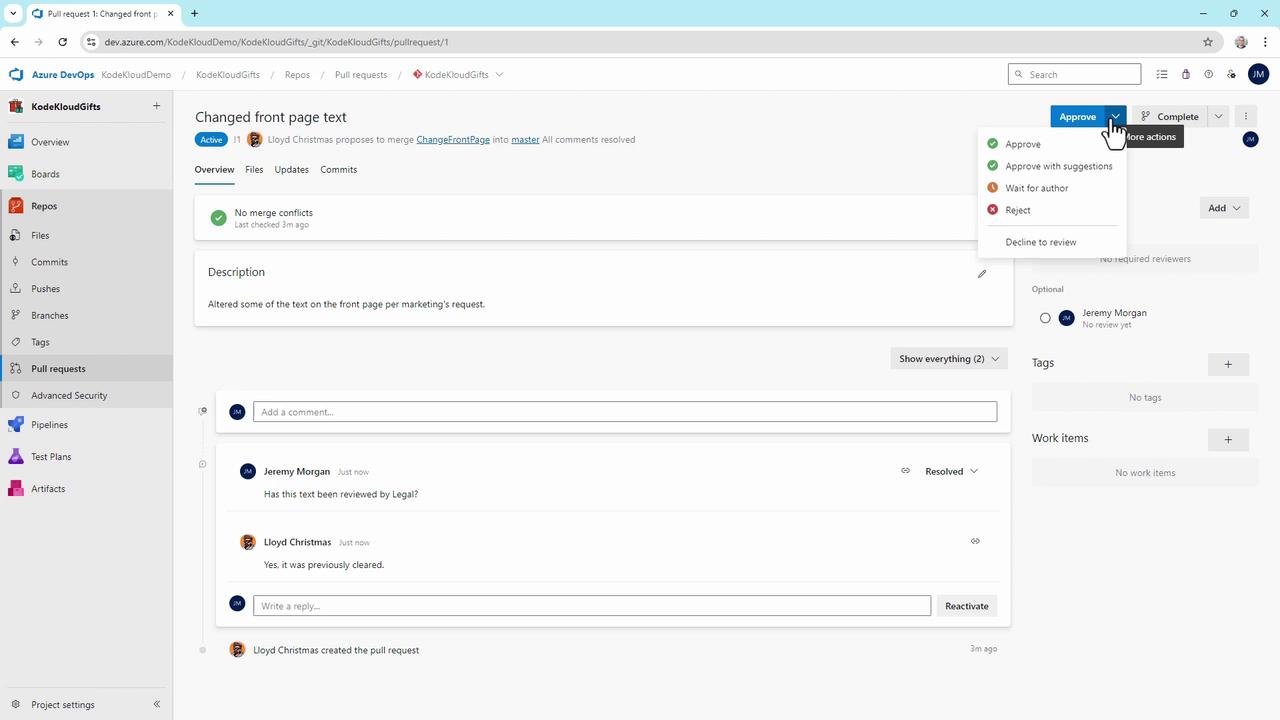
3.2 Choose a Review Outcome
Azure DevOps supports multiple review decisions:- Approve (with or without suggestions)
- Wait for author
- Reject
- Abandon
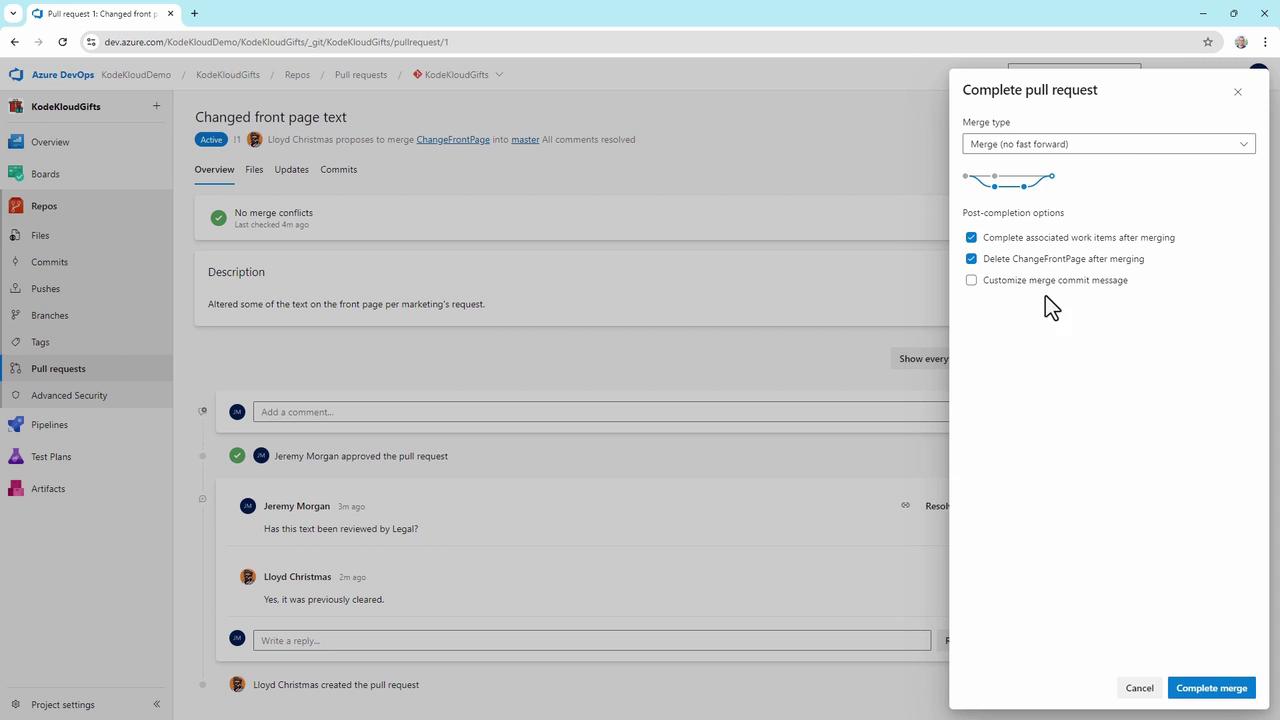
3.3 Merge Settings and Strategies
Once approved, click Complete and pick a merge strategy:| Strategy | Description |
|---|---|
| Merge (no fast-forward) | Preserve all commits in a merge commit |
| Squash commit | Combine changes into a single commit |
| Rebase and fast-forward | Apply commits directly on master |
| Semi-linear merge | Rebase then merge, preserving a linear history |
- Edit the merge commit message
- Complete linked work items
- Delete the source branch automatically
Deleting the feature branch is irreversible. Ensure you won’t need any additional changes before confirming.
Result and Next Steps
After merging:- master now includes your updated
Home.razor. - Any branch policies (build, test, deploy) on master trigger automatically.
- Your team can continue developing new features without conflicts.