This article explores managing Kubernetes manifest directories and introduces Kustomize for simplifying resource management and deployment.
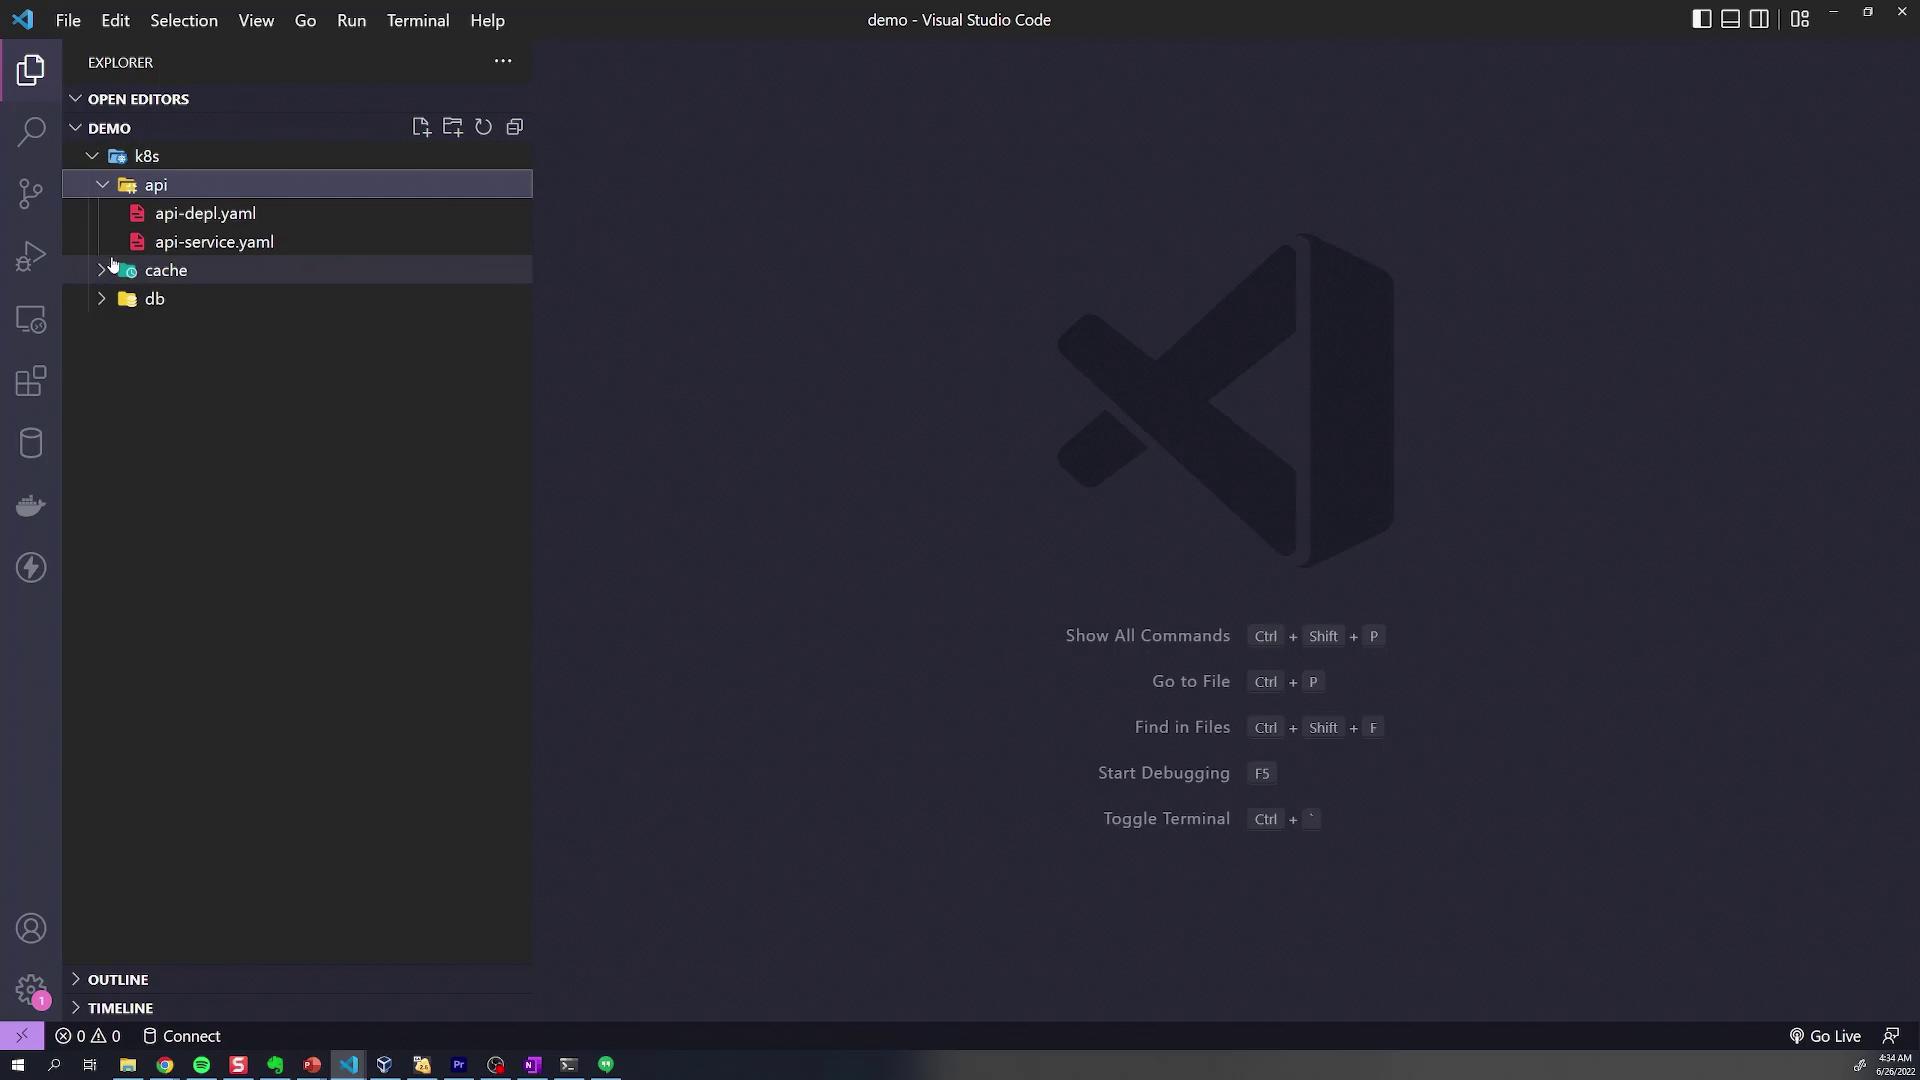
In this lesson, we explore how to effectively manage directories containing Kubernetes manifests. The demonstration uses a structured “K8s” directory that holds all Kubernetes configurations organized into three subdirectories: one for the API, one for the cache (acting as a readers’ database), and one for the MongoDB database.When you open the K8s directory, you’ll see three distinct folders. Each folder includes configuration files (YAML manifests) tailored for a specific component. For instance, the database folder contains the deployment YAML files for MongoDB, while the API and cache directories contain configurations for services such as ClusterIP or LoadBalancer services along with associated ConfigMaps.
Below is an excerpt showcasing a typical service configuration for the cache component:
Before we introduce Kustomize, let’s deploy these resources using the conventional approach without customization. Typically, you navigate into each directory and run the kubectl apply command as shown below:
Kustomize makes it easier to manage and customize your application configurations. Begin by creating a kustomization.yaml file in the root of your K8s directory. This file specifies the API version and kind required by Kustomize:
You can then build the complete set of manifests using the Kustomize CLI:
Copy
Ask AI
kustomize build k8s/
This command outputs the final Kubernetes manifests, combining configurations from the API, cache, and database folders. While kustomize build displays the resulting configuration, it does not apply it to your cluster. To deploy these resources, pipe the output to kubectl apply:
Copy
Ask AI
kustomize build k8s/ | kubectl apply -f -
Alternatively, leverage the built-in support for Kustomize in kubectl with the -k flag:
Copy
Ask AI
kubectl apply -k k8s/
After applying the configurations, verify that the resources have been successfully created by checking the pods:
Copy
Ask AI
kubectl get pods
Expected output:
Copy
Ask AI
NAME READY STATUS RESTARTS AGEapi-deployment-64dd567b46-1mw4c 1/1 Running 0 27sdb-deployment-657c8fbd8-vnjs7 1/1 Running 0 26sredis-deployment-587fd758cf-7pt57 1/1 Running 0 26s
For quick troubleshooting, always verify your pods’ status with kubectl get pods after deploying configurations.
While maintaining a single kustomization.yaml in the root directory works for simple projects, a more scalable practice is to include a kustomization.yaml file in each subdirectory. In this method, each directory imports only the YAML files specific to its component, while a root kustomization.yaml aggregates these directories.
Finally, update the root kustomization.yaml to reference these subdirectories. When a directory is specified as a resource, Kustomize automatically searches for a kustomization.yaml file inside:
Before re-deploying, delete any previously applied resources:
Copy
Ask AI
kubectl delete -f k8s/db -f k8s/cache -f k8s/api
Then, build the final configuration with Kustomize:
Copy
Ask AI
kustomize build k8s/
Review the output to ensure it meets your expectations, then apply the aggregated configuration:
Copy
Ask AI
kubectl apply -k k8s/
The expected output should be similar to:
Copy
Ask AI
configmap/redis-credentials createdservice/api-service createdservice/db-service createdservice/redis-cluster-ip-service createddeployment.apps/api-deployment createddeployment.apps/db-deployment createddeployment.apps/redis-deployment created
Verify the pods again:
Copy
Ask AI
kubectl get pods
Expected output:
Copy
Ask AI
NAME READY STATUS RESTARTS AGEapi-deployment-64dd567b46-1mw4c 1/1 Running 0 27sdb-deployment-657c8fbd8-vnjs7 1/1 Running 0 26sredis-deployment-587fd758cf-7pt57 1/1 Running 0 26s
This structured approach using Kustomize not only centralizes the management of your Kubernetes configurations but also offers a scalable solution for handling an expanding set of resources within your infrastructure.