Using ASGs reduces the complexity of security rule maintenance. When a VM is removed from an ASG, the corresponding NSG rule automatically updates, simplifying policy management.
Configuring ASGs in the Azure Portal
Follow these steps to set up and assign ASGs to your VMs:-
Configure VM Networking Settings:
- Navigate to a VM (e.g., VM1) in the Azure portal and access its networking settings.
- Temporarily remove any pre-defined rules for demonstration purposes. For instance, allow SSH on VM1 while ensuring that subnet-level rules do not conflict. Use the “effective security rules” option to see how NSGs function at both the subnet and NIC level.
- Go to the NSGs section and disassociate any conflicting subnet-level rules if necessary so the desired rule (like SSH access) takes precedence.
-
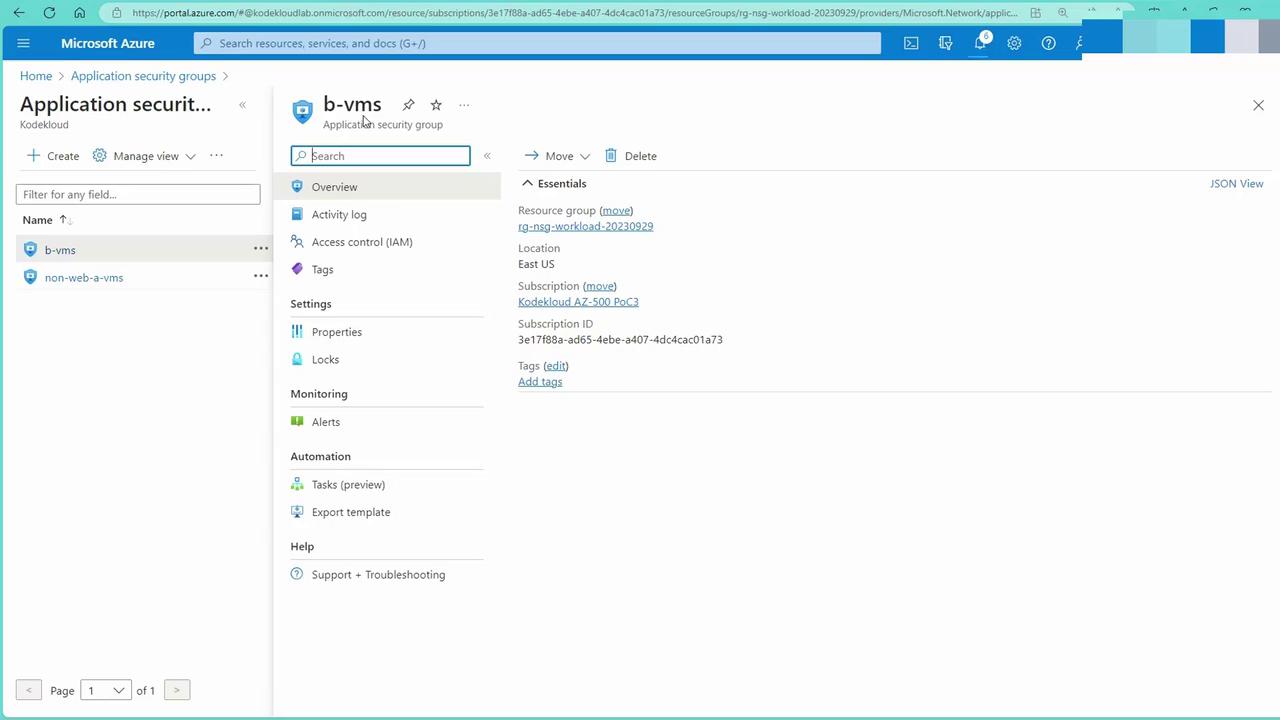
Create ASGs:
- In the Azure portal, navigate to the Application Security Groups section and create a new group. For example, create an ASG for VMs hosting web servers.
- Similarly, create another ASG for non-web VMs.

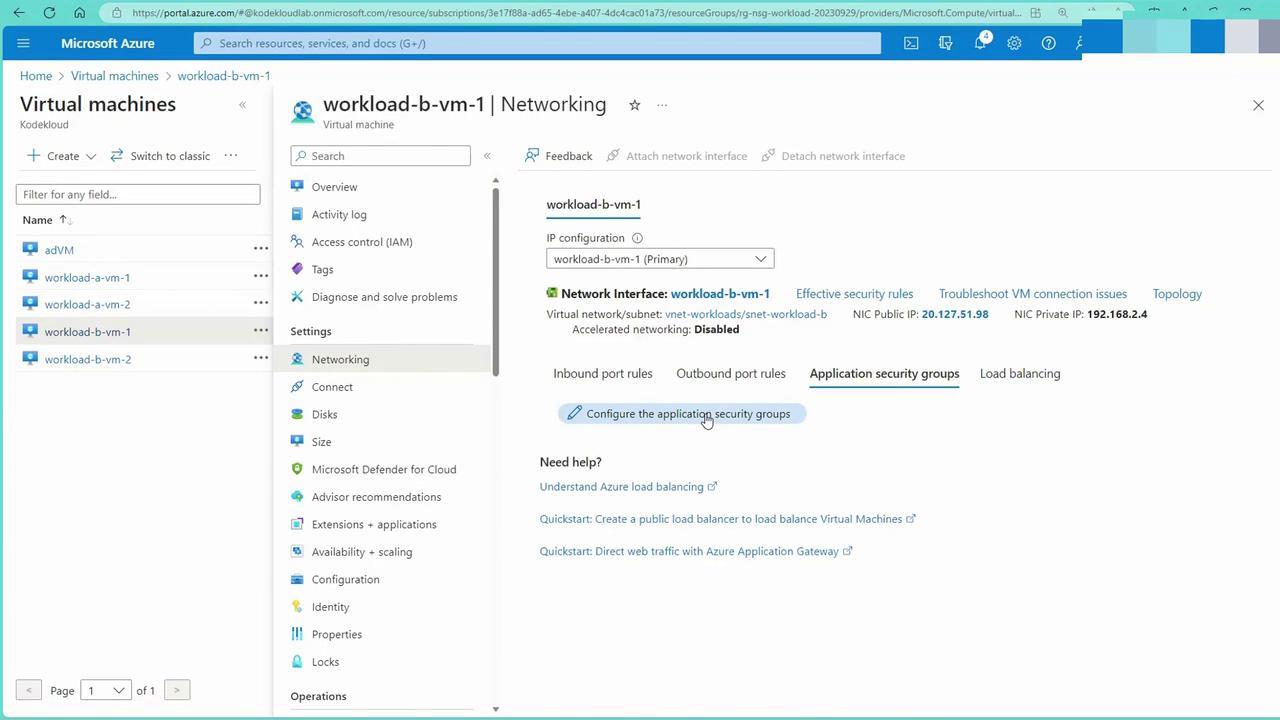
- Assign ASGs to VMs:
- Open the networking settings of each VM (e.g., VM1) and configure the “Application Security Groups” section by assigning the appropriate ASGs.
- Repeat this process for each applicable VM. Note that direct configuration must be done at the individual VM blade; the ASG blade only displays current information.
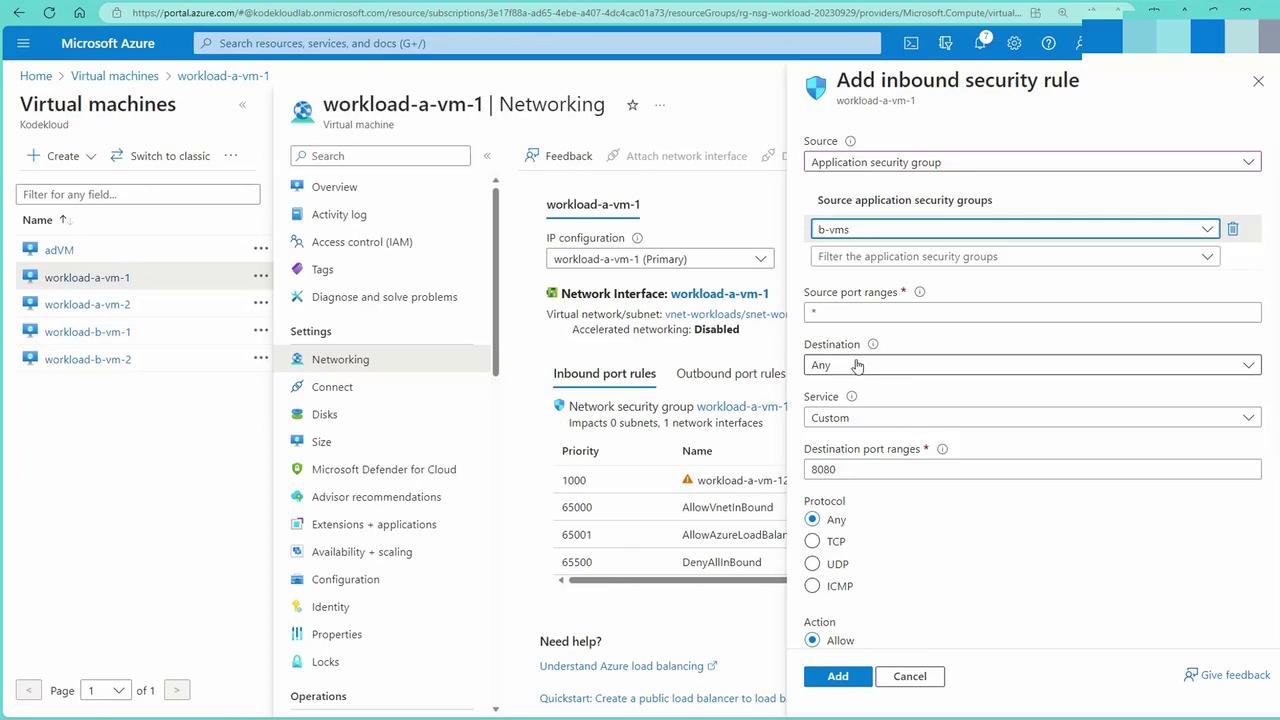
- Apply NSG Rules Referencing ASGs:
- From VM1’s networking interface, add an inbound rule where the source is an application security group.
-
Configure the rule with the following options:
Option Example Setting Source ASG associated with web server VMs Destination Any (or a specific VM/IP as needed) Protocol Custom port (e.g., 80 for HTTP) or service tag for HTTP Action Allow Egress Set appropriately if needed

Testing Your Configuration
To verify your configuration, follow these steps:-
Test from a VM (e.g., BVM1):
-
Log into BVM1 and attempt to access the web server on VM1 using cURL:
-
Log into BVM1 and attempt to access the web server on VM1 using cURL:
-
Verify Connectivity via SSH from Windows:
-
Confirm Access on the Web Page:
-
Once inside BVM1, check the web page output. An example output might look similar to:
-
Once inside BVM1, check the web page output. An example output might look similar to:
Even if a VM is removed from an ASG, it may remain accessible due to the default virtual network rules. To enforce stricter access, consider adding a higher-priority NSG rule (e.g., priority 100) that explicitly denies unwanted traffic.
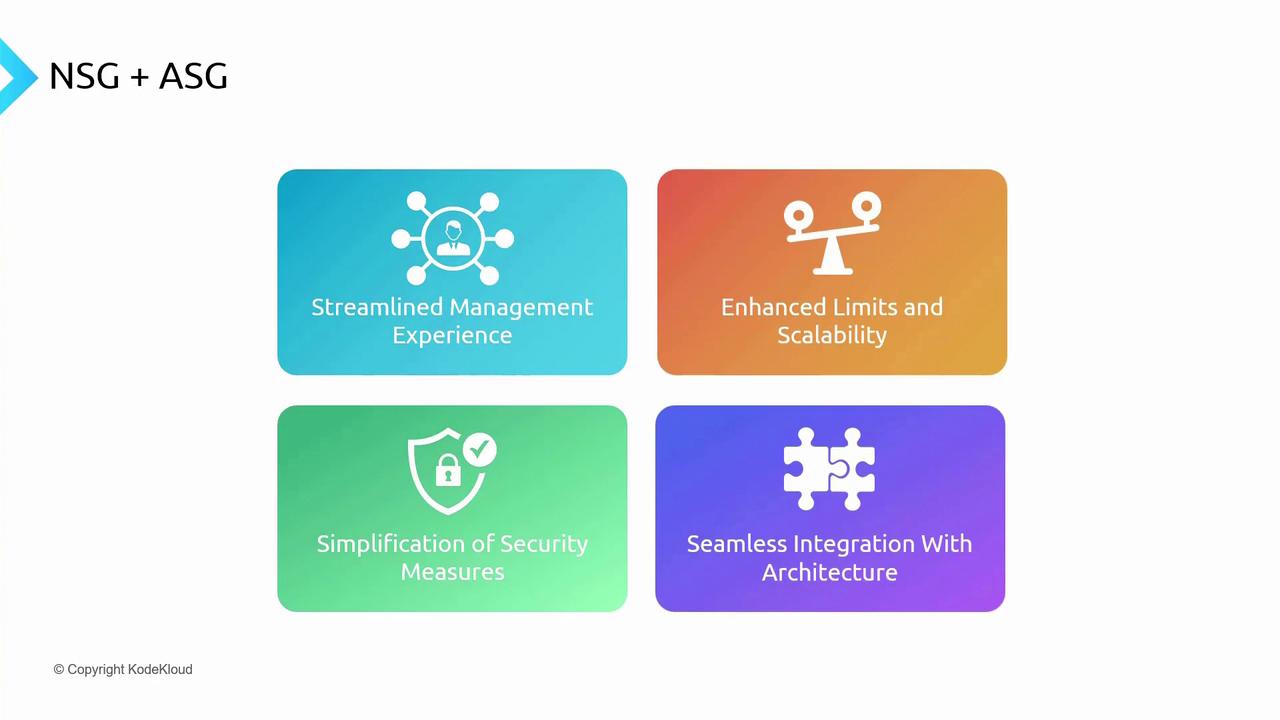
Benefits of Integrating ASGs and NSGs
Integrating ASGs with NSGs in Azure provides several advantages:| Benefit | Description |
|---|---|
| Streamlined Management Experience | Simplifies administration by unifying the configuration of network policies for grouped VMs. |
| Enhanced Limits and Scalability | Increases capacity to manage an ever-growing number of VMs without performance degradation. |
| Simplification of Security Measures | Makes defining and enforcing security policies more intuitive and less complex, reducing operational overhead. |
| Seamless Integration with Architecture | Allows ASGs and NSGs to blend smoothly with your existing network setup, even across multiple VNets or subscriptions connected via peering. |