This guide covers deploying Azure AD Connect for hybrid identity, including setting up a Domain Controller and synchronizing on-premises users with Azure AD.
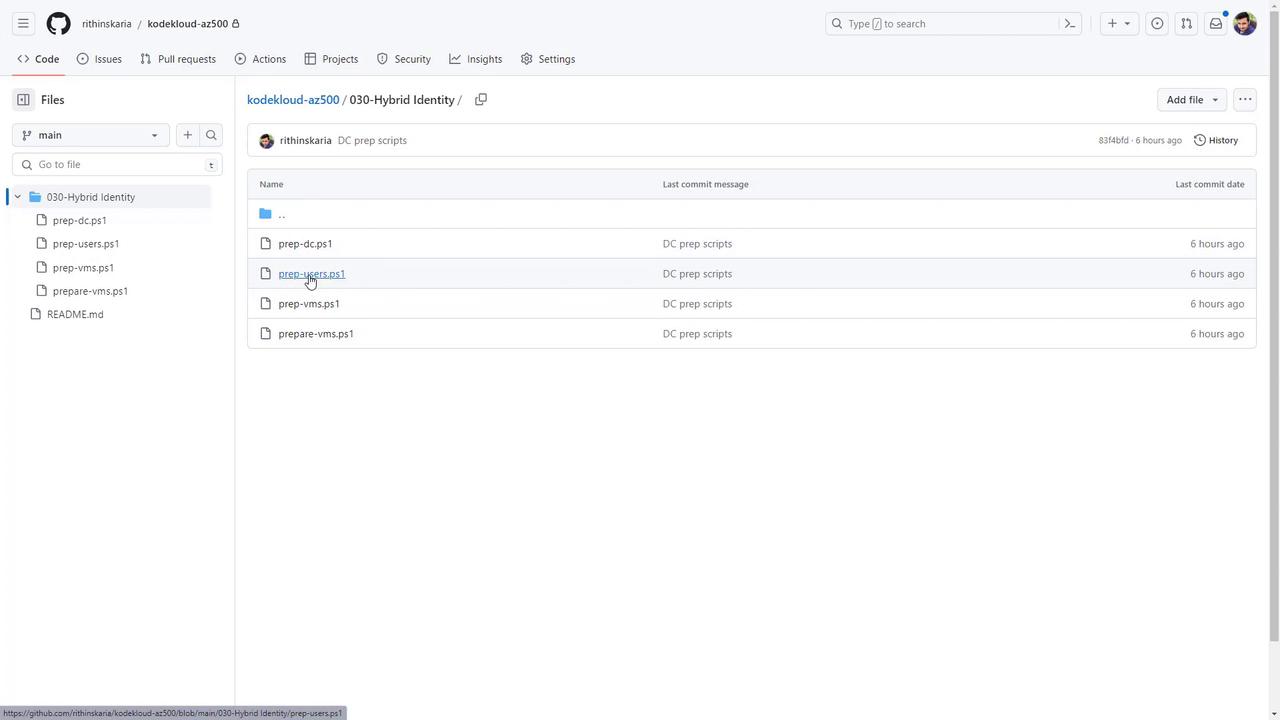
Welcome to this detailed guide on deploying Azure AD Connect for a hybrid identity environment. In this lesson, you’ll learn how to set up a Domain Controller (DC), a domain-joined client machine, and synchronize on-premises users with Azure AD. Although these machines can be created manually, pre-written PowerShell scripts are available in a repository (which will be public after the recording). These scripts automate the following tasks:
Preparing the virtual machines (VMs)
Preparing the users
Preparing the Domain Controller
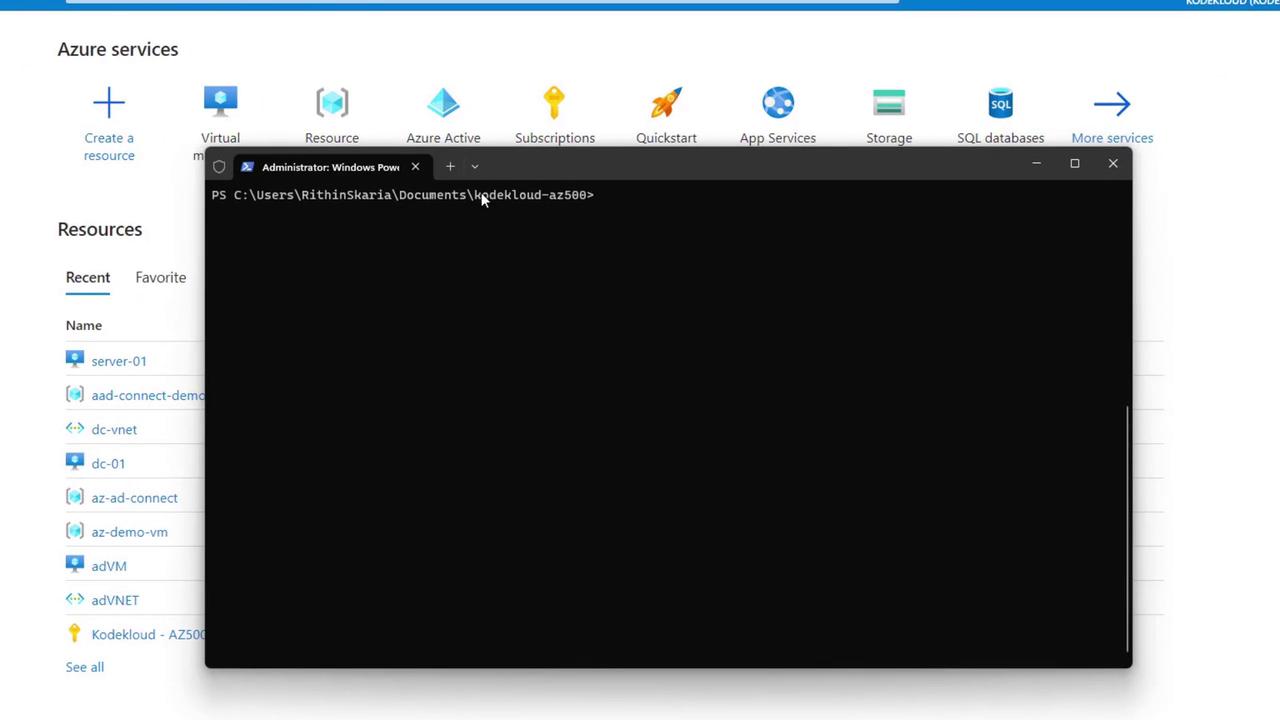
To deploy all required resources, clone the repository and execute the scripts from the specified deployment directory. Running the scripts from a different directory may lead to internal script reference issues.
Once you have cloned the repository, run the scripts from the deployment directory. The only manual steps are logging into the client server, joining it to the domain, and installing Azure AD Connect. All other configurations are handled by the scripts.Below is an example command to run one of the scripts locally:
When executed, the script will prompt you for a resource group name. For example, entering “azure-dc-connect” initiates the following output:
Copy
Ask AI
PS C:\Users\RithinSkaria\Documents\kodekloud-az500> & '.\30-Hybrid Identity\prep-vms.ps1'Azure AD Connect Demo - v1.0, written by Rithin Skaria(new) Resource Group Name: azure-dc-connectINFO: Az Module is already installed, skipping to next stepWARNING: To sign in, use a web browser to open the page https://microsoft.com/devicelogin and enter the code L8KN8A64WG to authenticate.
Ensure you run the console window as an administrator. The script needs administrator privileges to update the execution policy and import necessary modules.
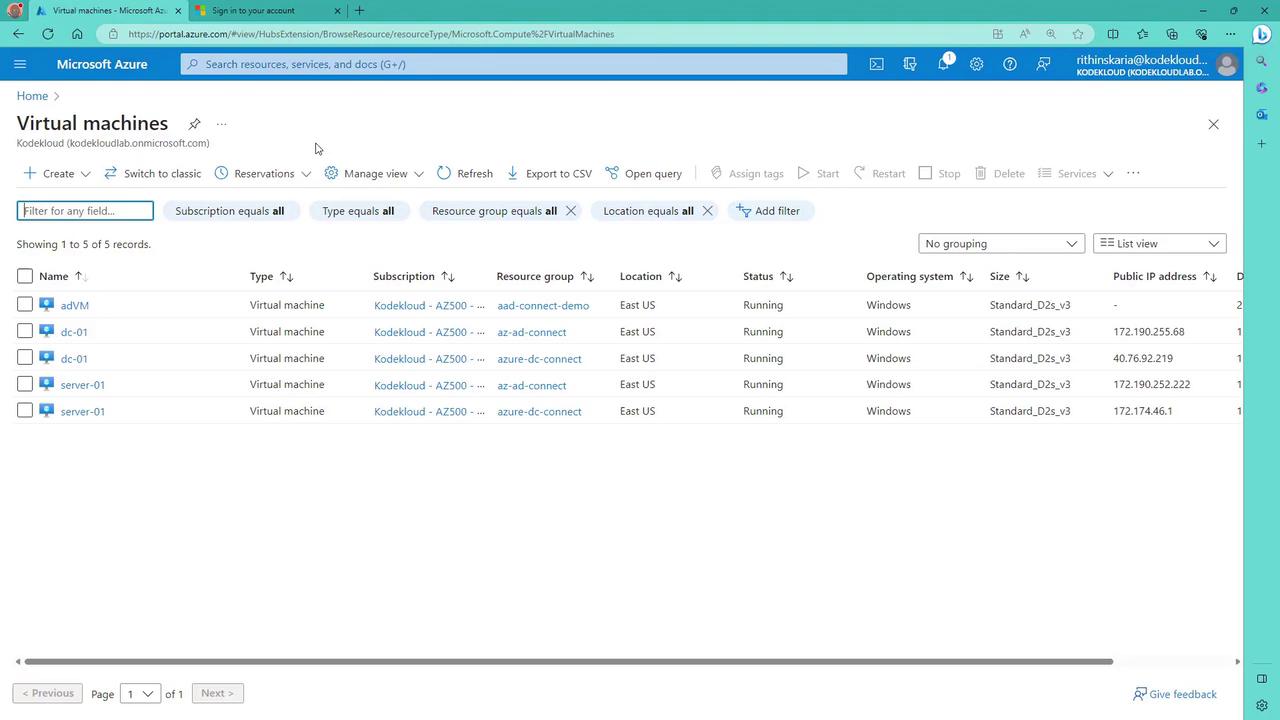
After authentication via the Microsoft device login, the script deploys the resource group, subnet, virtual network, and the domain controller.
During deployment, you might see output similar to this:
After the DC is provisioned, additional resources, including the client VM and user accounts, are automatically deployed. The on-premises users are later synchronized to Azure AD.
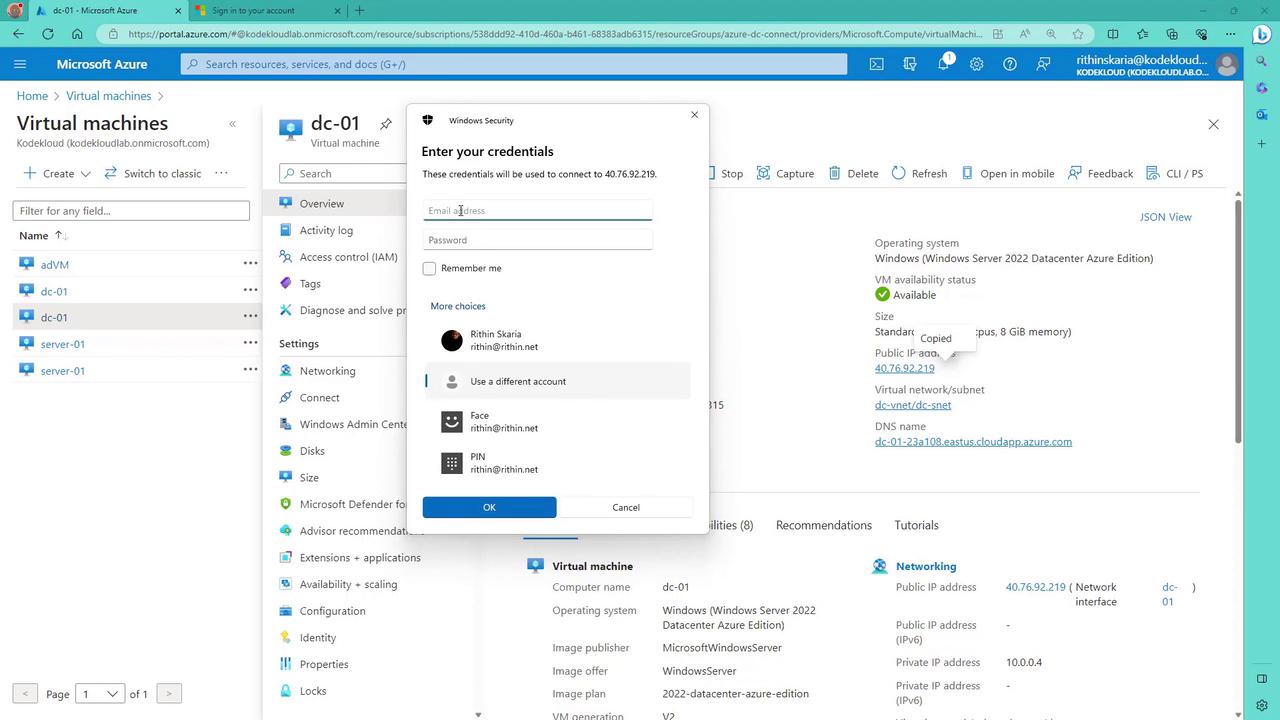
Once the deployment completes, navigate to the virtual machine named “dc-01” in the Azure portal and copy its public IP address for Remote Desktop (RDP) access. The username and password details are provided at the top of the prep-dc.ps1 module.
Below is an example snippet used in the domain controller configuration script:
Copy
Ask AI
Write-Host "Azure AD Connect Demo - v1.0, written by Rithin Skaria" ` -ForegroundColor "Red" -BackgroundColor "White"# Variables$rg = Read-Host "New Resource Group Name"$region = "eastus"$username = "kodekloud#username for the VM"$plainPassword = "V@P5$w0rd" # Your VM password$VMSize = "Standard_D2s_v3"# Create VM credential$password = ConvertTo-SecureString $plainPassword -AsPlainText -Force$credential = New-Object System.Management.Automation.PSCredential ($username, $password)# Set execution policySet-ExecutionPolicy Bypass# Check if required modules are installedif (Get-Command -Name 'Get-AzContext' -ErrorAction SilentlyContinue) { Write-Host "INFO: Az Module is already installed, skipping to next step" -ForegroundColor Green} else { Write-Host "INFO: Requires installation of Az module" -ForegroundColor Yellow Install-Module Az -Force -AllowClobber Import-Module Az -Force}
After the script runs, you should see confirmation of module installation:
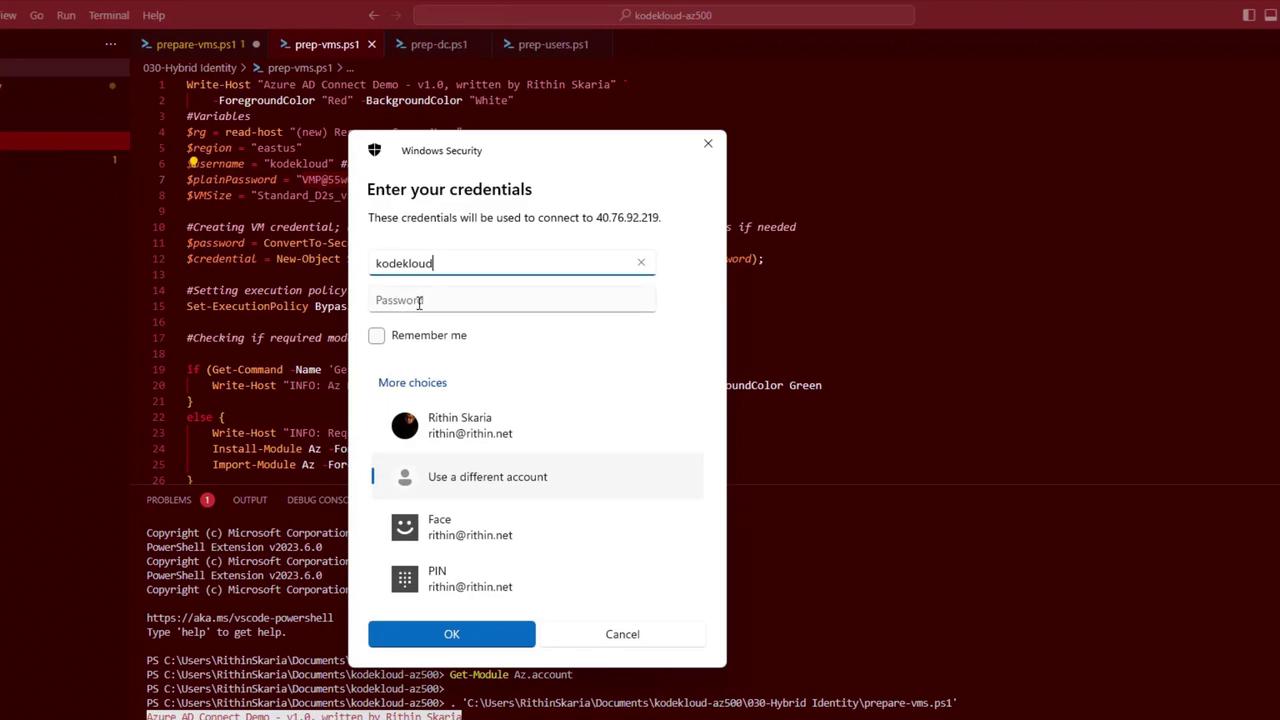
A Windows Security prompt will then appear to verify your credentials for RDP connectivity.
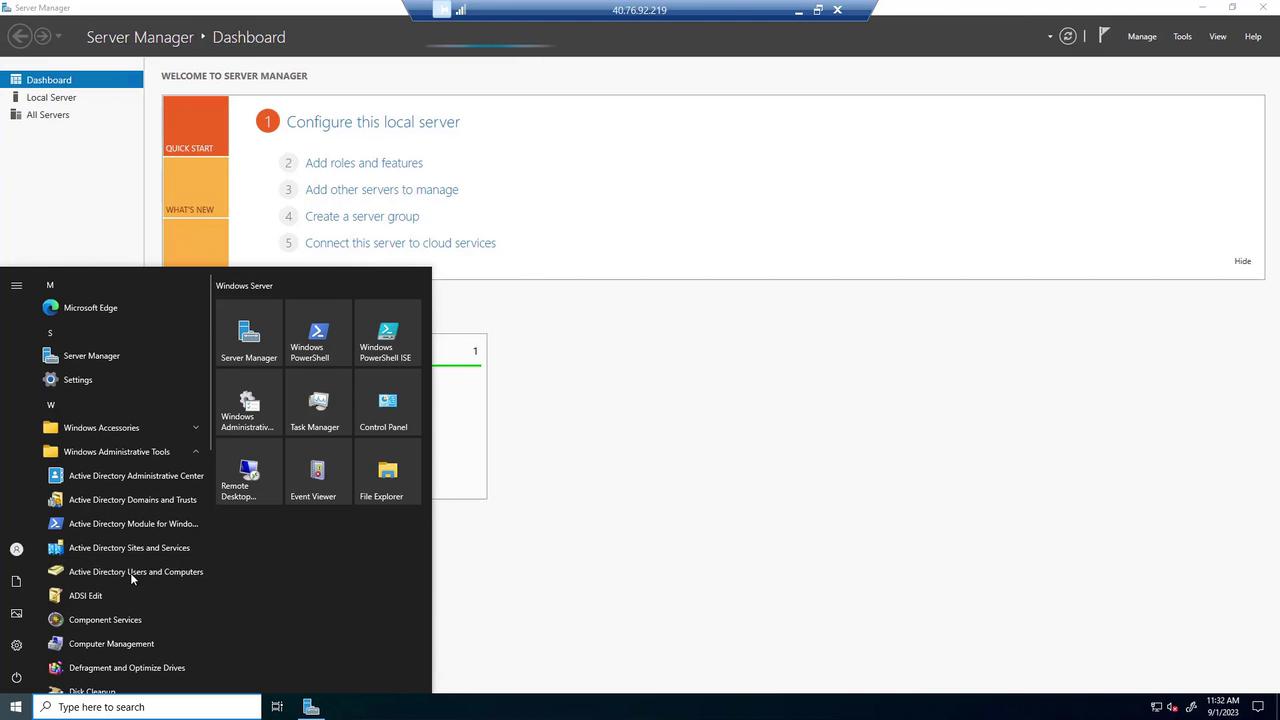
Once logged into the server, allow time for Server Manager to launch. Open “Active Directory Users and Computers” (found in Windows Administrative Tools) to view the domain users created by the script.
Creating User Accounts with the “prep-users” Script
The “prep-users” script uses a loop to generate user accounts with preset credentials. Below is an example snippet:
Copy
Ask AI
# Set values for your environment$Users = 10$UserPrefix = "KodeKloud-User"$PassWord = "UserP@ssw0rd"$UserDomain = "KodeKloudlab.local" # Update with your custom domain name# Import the AD ModuleImport-Module ActiveDirectory# Convert the password to a secure string$UserPass = ConvertTo-SecureString $PassWord -AsPlainText -Force# Add the usersfor ($i = 1; $i -le $Users; $i++) { $newUser = $UserPrefix + $i New-ADUser -Name $newUser -SamAccountName $newUser -UserPrincipalName "$newUser@$UserDomain" -GivenName $newUser ` -Surname $newUser -DisplayName $newUser -AccountPassword $UserPass -ChangePasswordAtLogon $false -PasswordNeverExpires $true -Enabled $true}
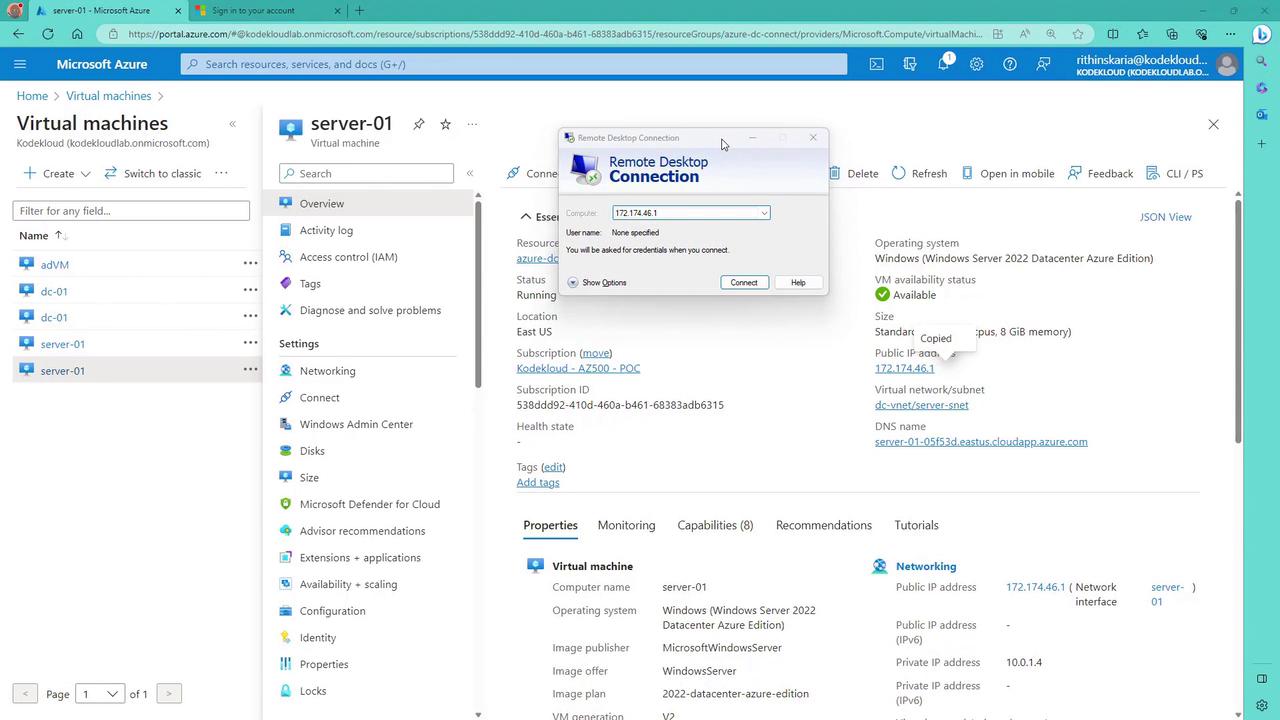
After verifying the new users in Active Directory, return to the Azure portal and log into the client machine (e.g., “vc01”) using its public IP address. Use the same credentials specified during VM creation.
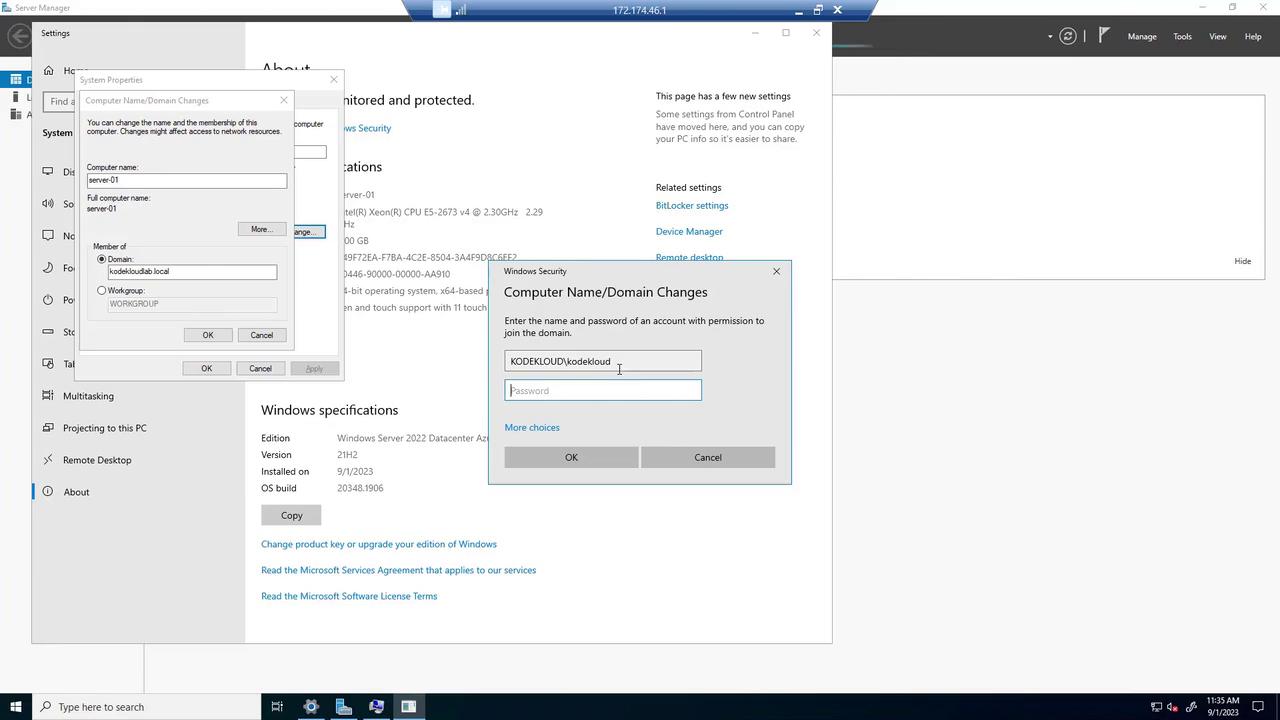
After the computer reboots, you should receive a welcome message for the “KodeKloud lab.local” domain. Verify the client machine appears in the Computers container via “Active Directory Users and Computers” on the domain controller.
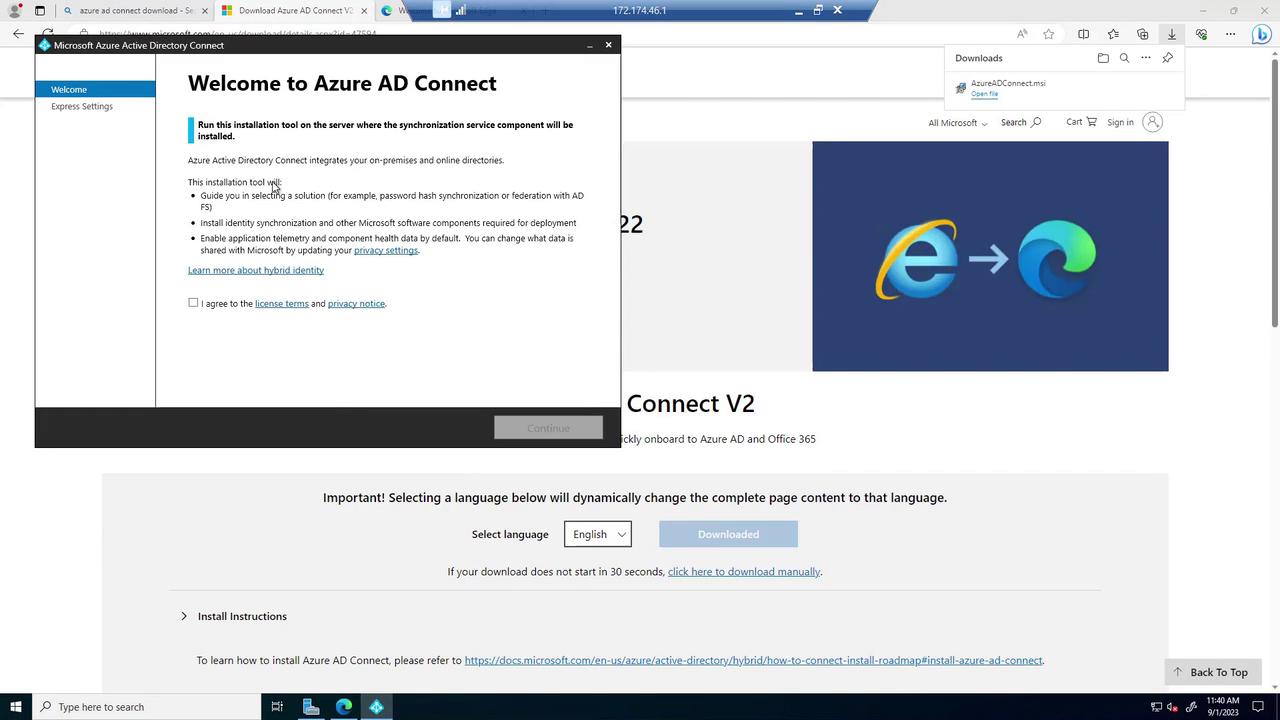
Download the installer, launch it, and agree to the licensing terms.
Choose the “Customize” option during installation. This allows you to review the components to be installed, such as a SQL Server Express instance (if you don’t already have one). For the sign-on methods, select Password Hash Synchronization (PHS) and enable Single Sign-On. Connect to Azure AD by entering the global administrator credentials for your tenant (note that lab environments might not grant global administrator privileges).
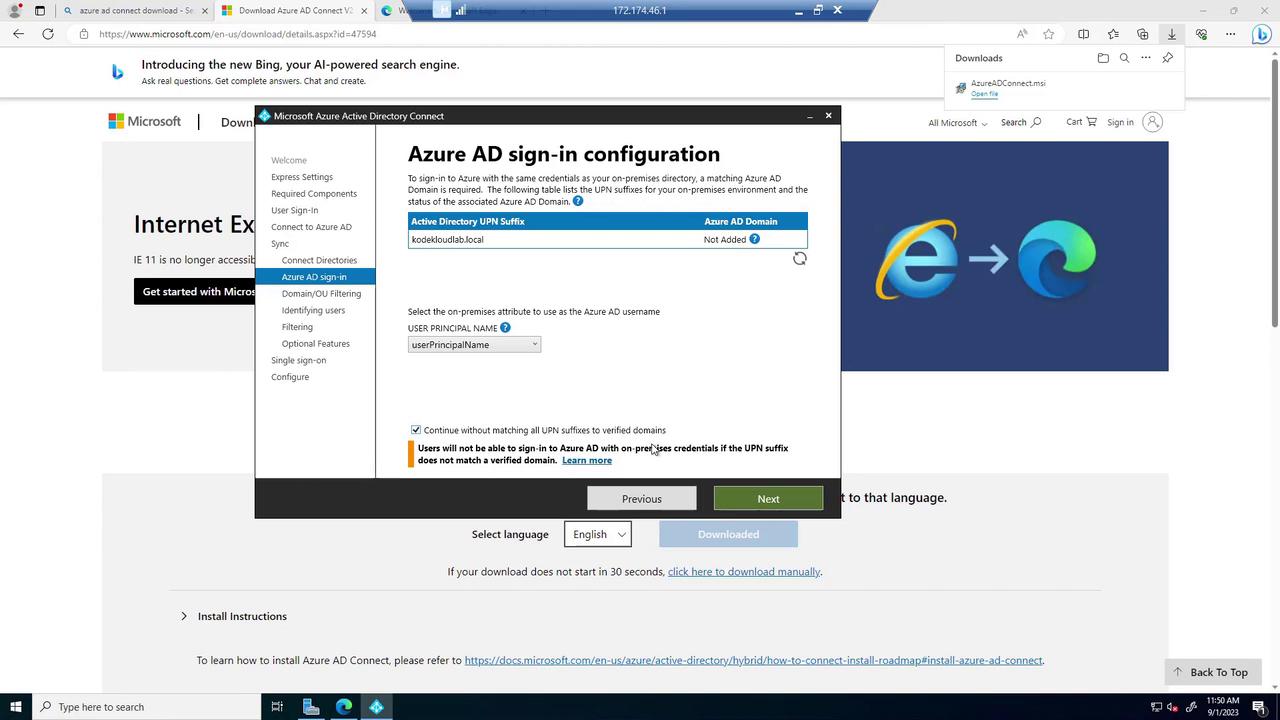
Next, configure the connection to your on-premises directory. Provide the custom domain name (e.g., “CloudCloudLab.local”) and enter the corresponding enterprise admin credentials. After the directory schema is retrieved, the default setting for matching on-premises user principal names (UPNs) with Azure AD is applied.
Optional filtering (e.g., synchronizing specific Organizational Units) is available, though the defaults suit most greenfield single OU environments. You can also enable features like password writeback for disaster recovery and verify that Single Sign-On is active by providing the relevant domain credentials.Once the configuration checks are complete, the installation and initial synchronization begin. When finished, click “Exit” to close the wizard.
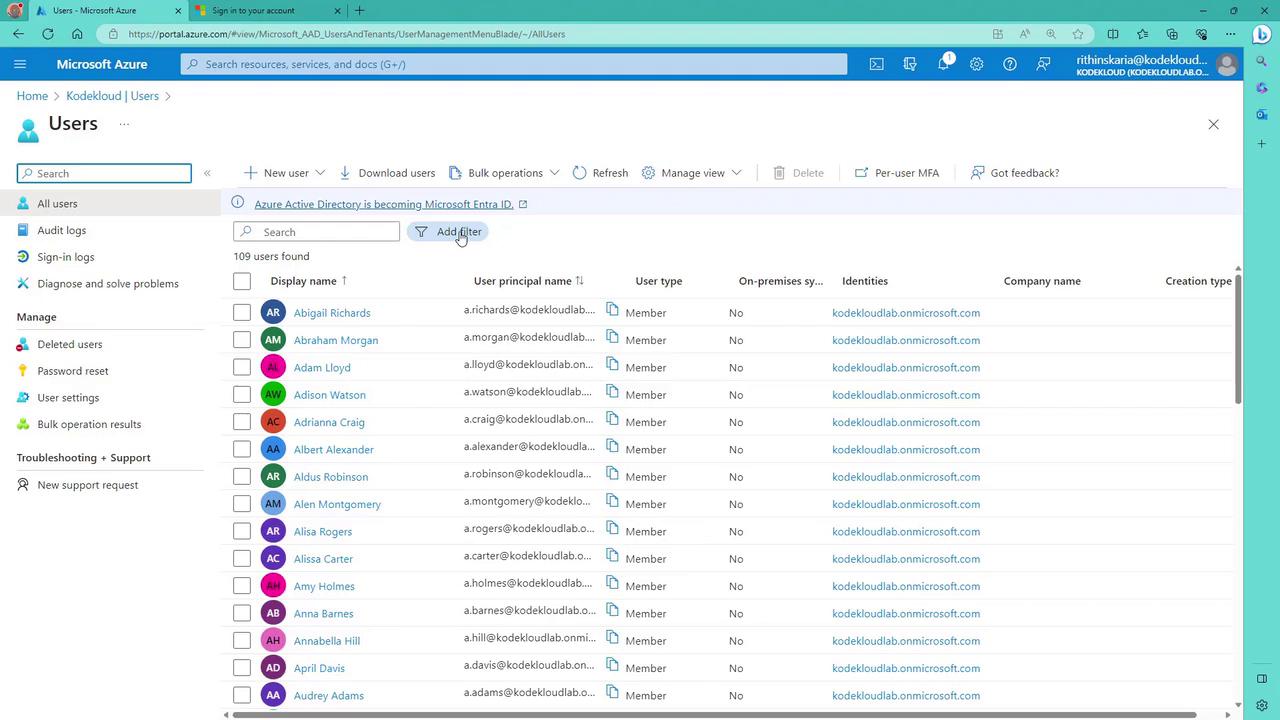
After installation, return to the Azure portal to confirm that on-premises users are synchronized. You can run a PowerShell script to filter and display only those accounts that have the “on-premises sync enabled” flag set to “Yes”—this will exclude the service account created during synchronization.
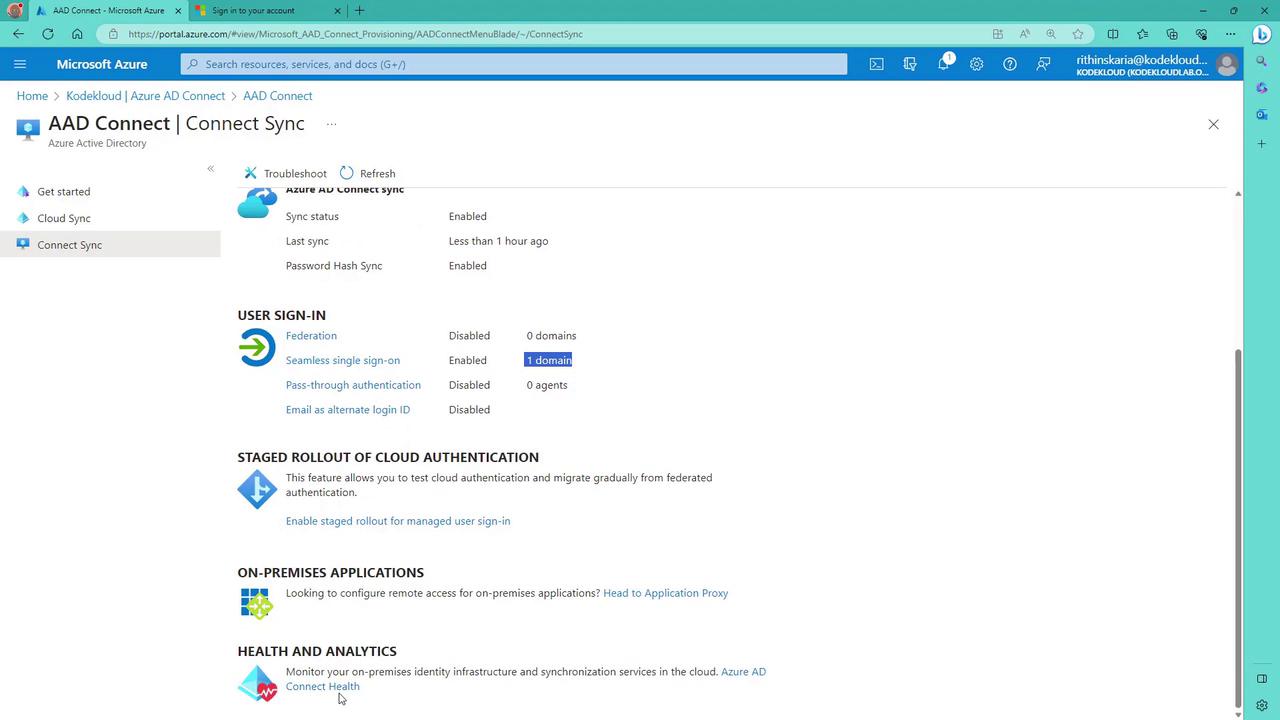
Keep in mind that the service account should not be modified or deleted. Additionally, you can monitor Azure AD Connect health metrics and sync errors from the Azure portal:
If necessary, you can trigger an immediate synchronization using PowerShell instead of waiting for the default 30-minute interval. The Synchronization Service Manager provides detailed logs for each sync operation.
In this guide, you learned how to deploy Azure AD Connect, join client machines to a domain, and synchronize on-premises users with Azure AD using automated PowerShell scripts. This approach allows for both rapid lab deployment and further customization for production environments.Feel free to ask questions in our community or try the lab yourself if you have your own tenant. Happy synchronizing!