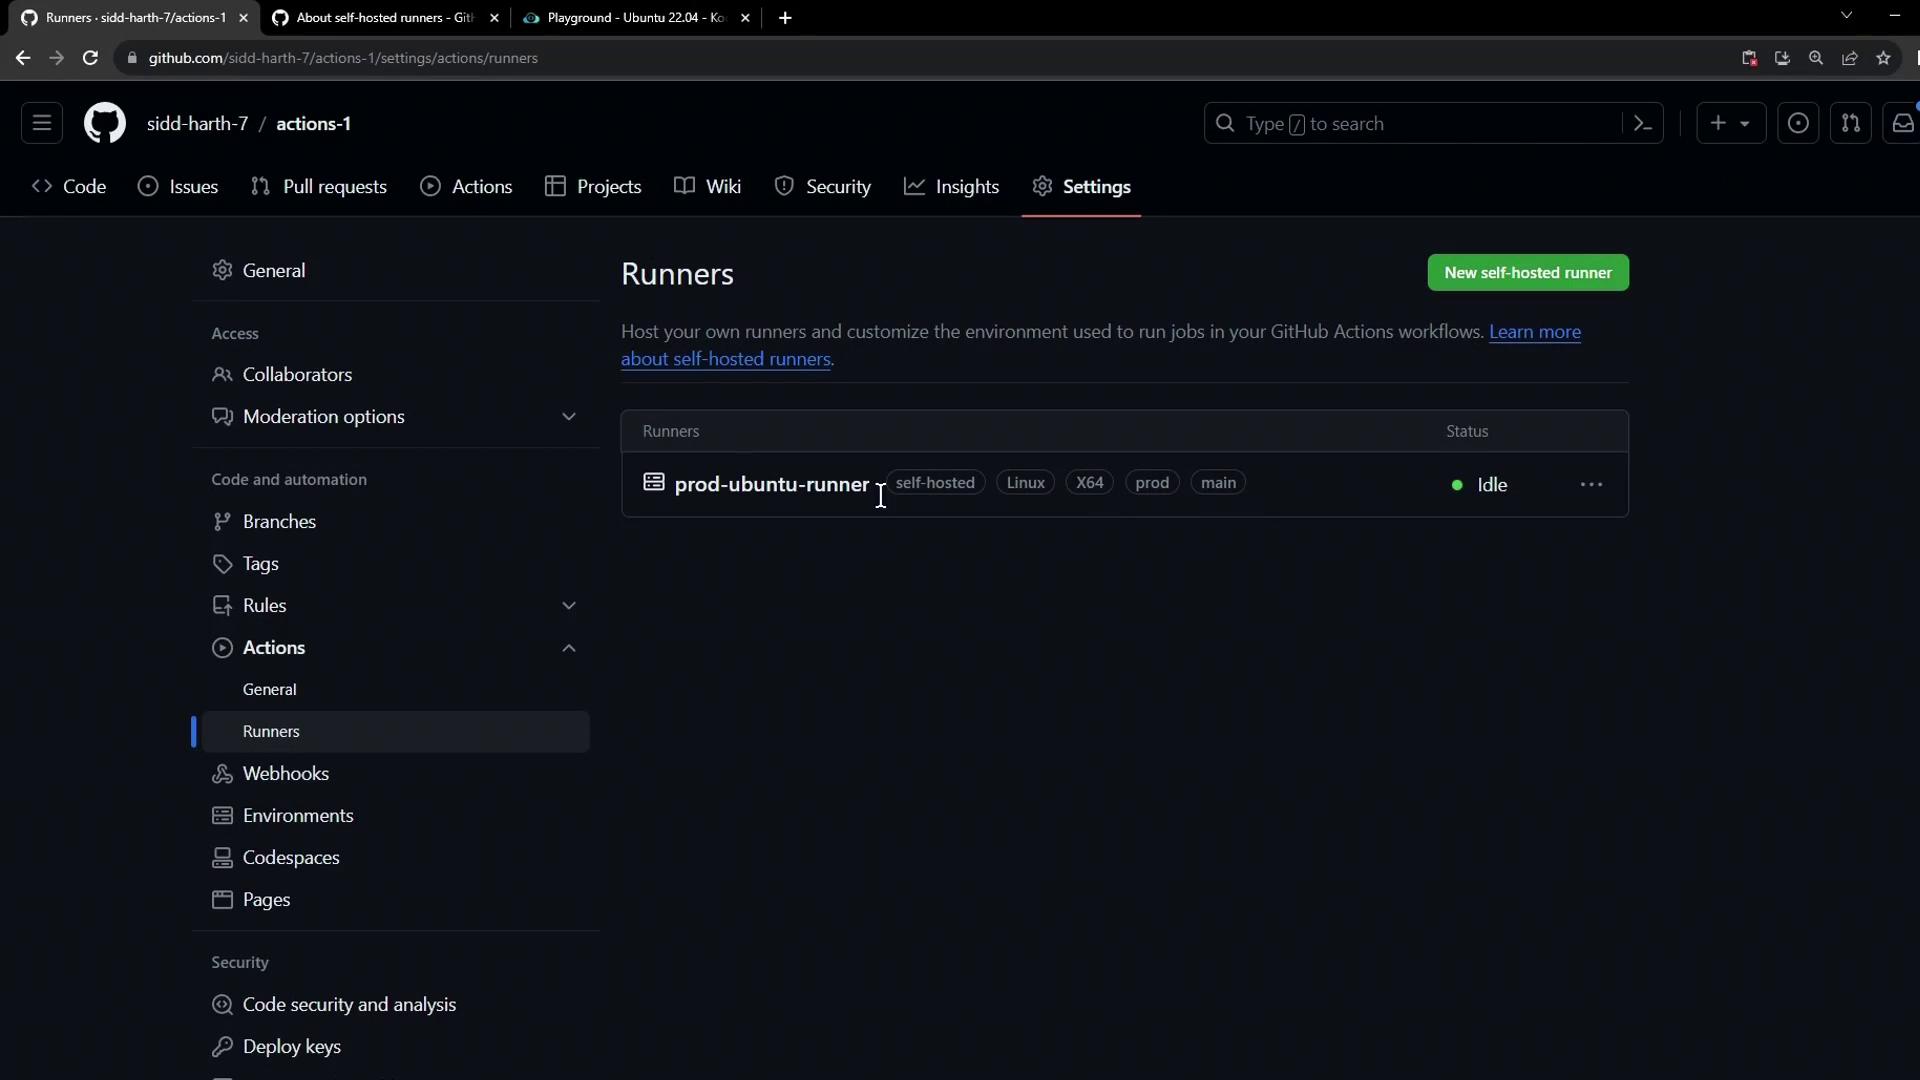
1. Verify Your Self-Hosted Runner in GitHub
- In your repository, navigate to Settings > Actions > Runners.
- Confirm the runner (e.g.,
prod-ubuntu-runner) appears in an idle state with its labels listed.
2. Start the Runner Process
On the VM hosting your runner, launch the runner service:If you don’t see “Listening for Jobs,” verify your network connectivity and runner configuration.
Refer to the GitHub Actions Runners documentation for troubleshooting.
Refer to the GitHub Actions Runners documentation for troubleshooting.
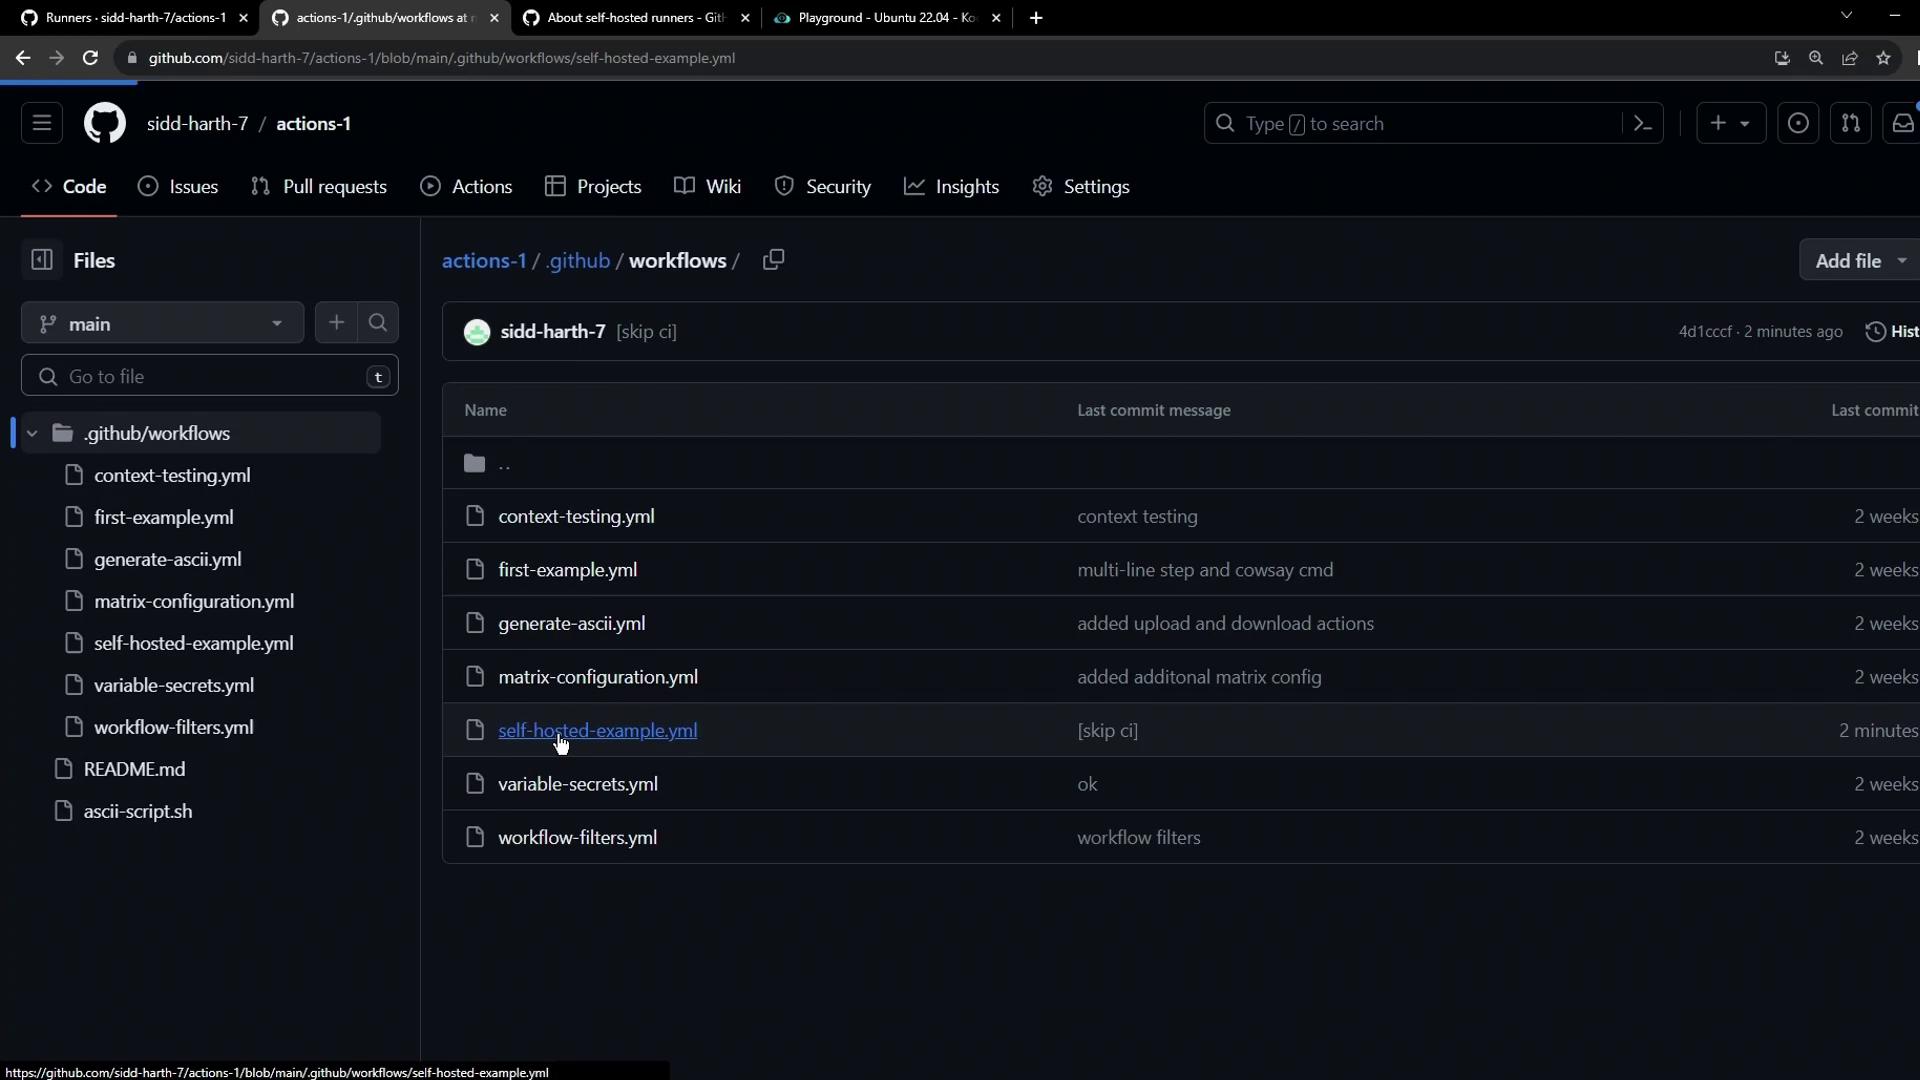
3. Inspect Available Workflows
Because this runner is scoped to the current repository, only workflows in.github/workflows are dispatched here. Check the YAML files:
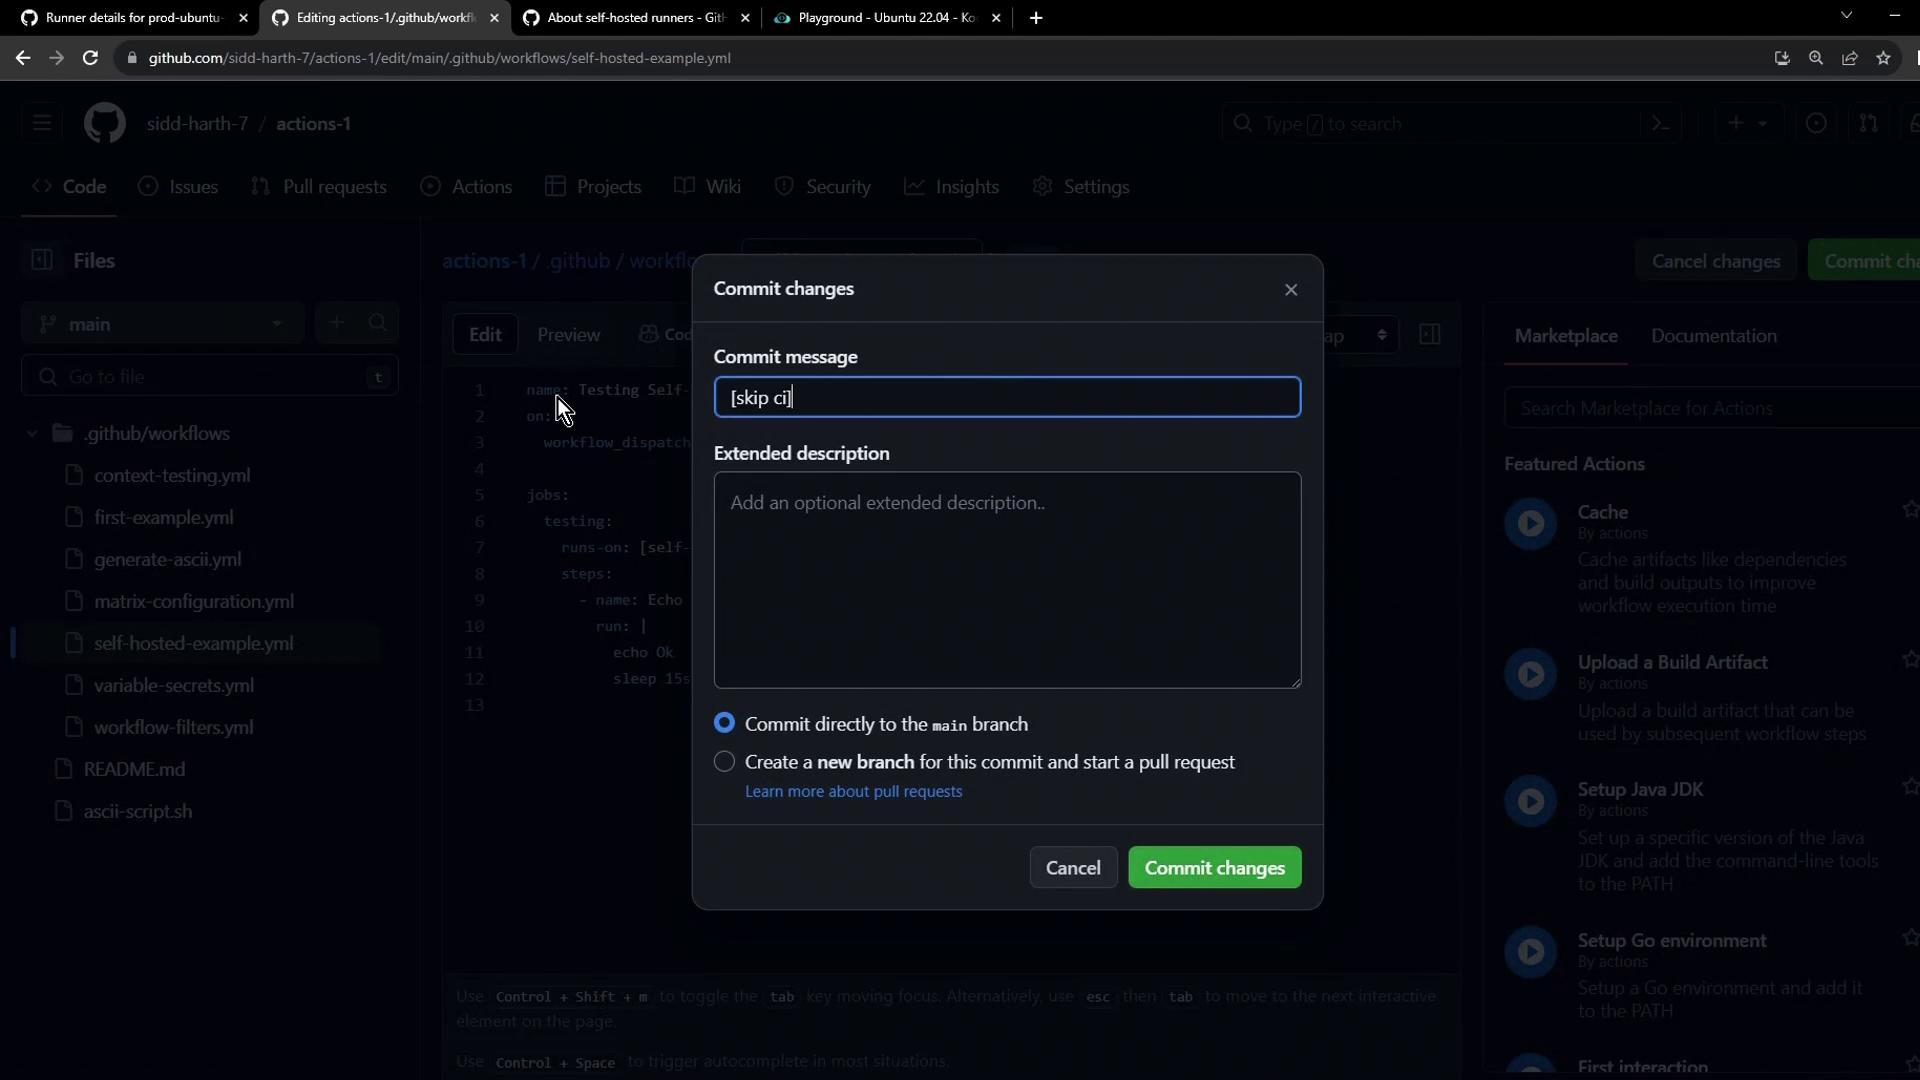
4. Define a Simple Test Workflow
Create.github/workflows/example.yaml:
5. Target Your Self-Hosted Runner
Updateruns-on to use all labels from the Runners settings (e.g., self-hosted, linux, prod):
Any typo or missing label (for example, using
production instead of prod) will cause the job to remain pending until it times out.main branch:
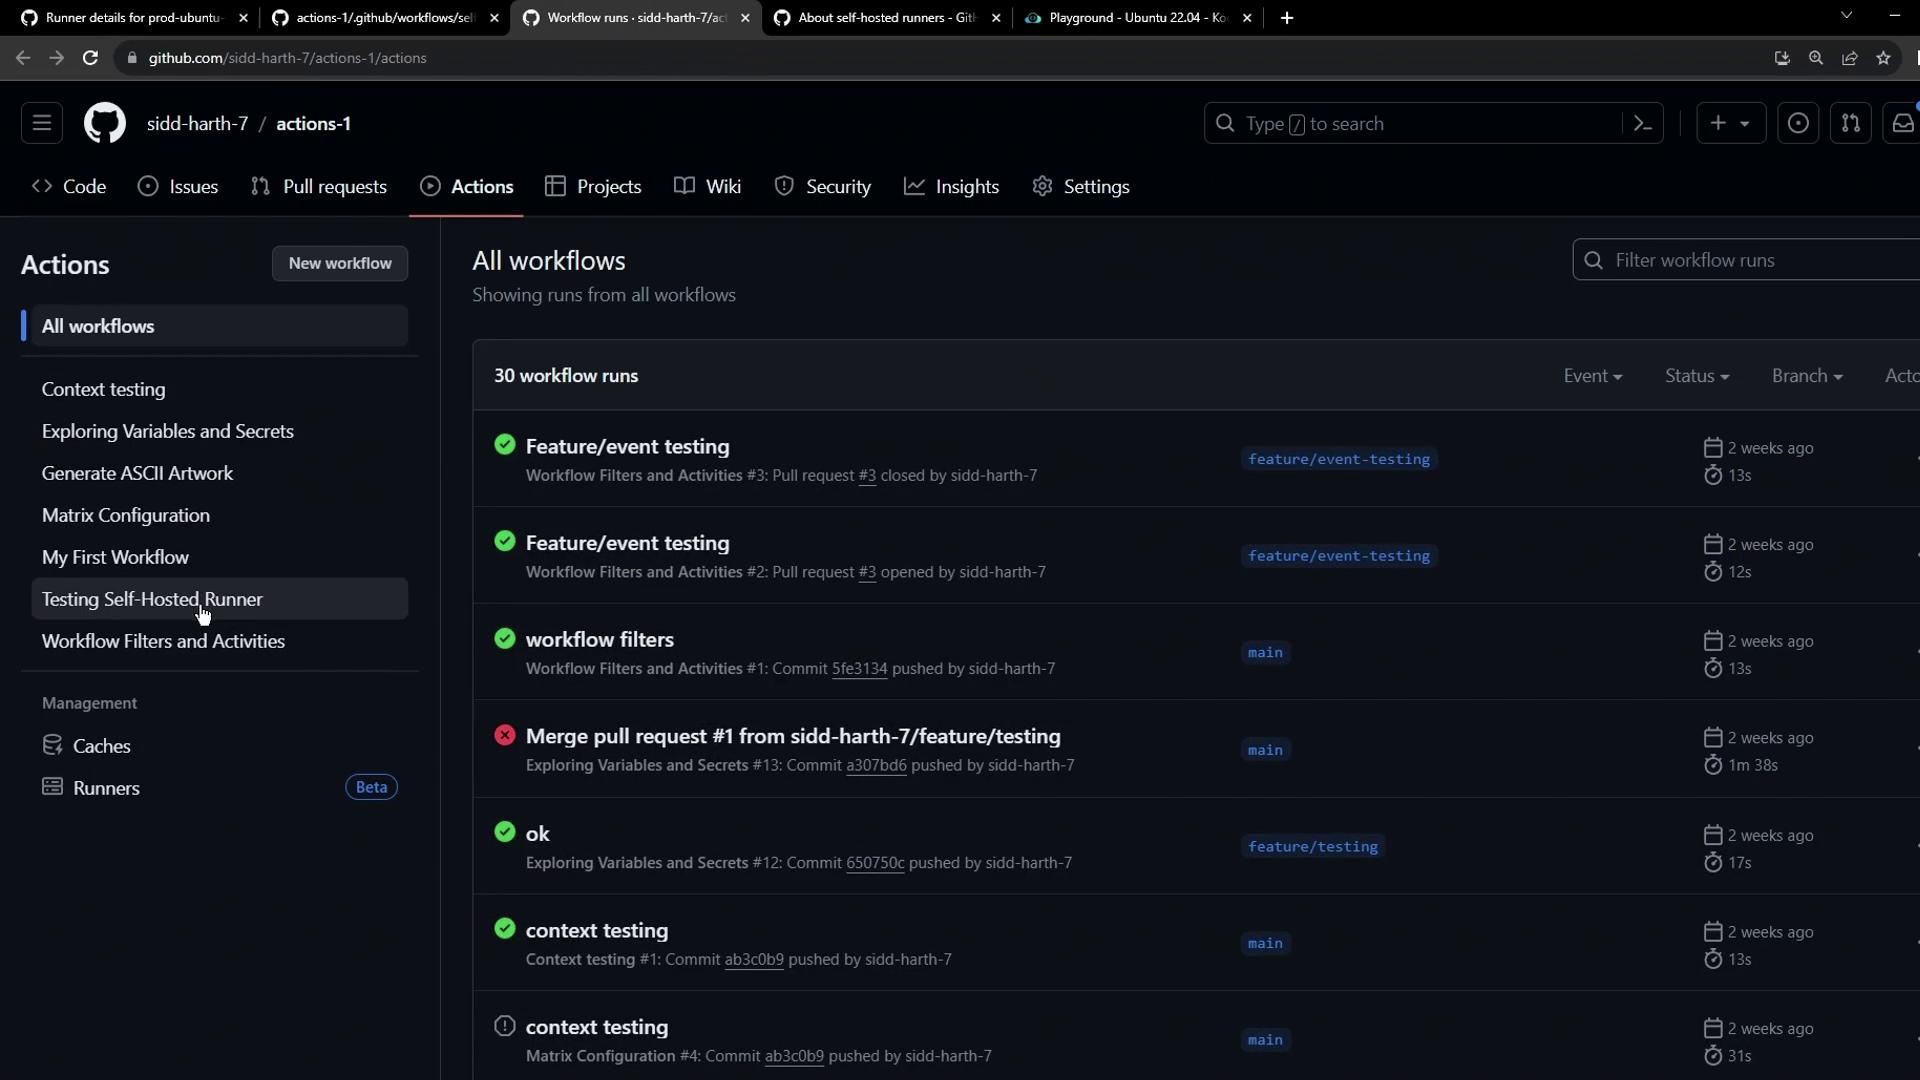
6. Dispatch the Workflow Manually
- Go to the Actions tab.
- Select Test Self-Hosted Runner.
- Click Run workflow and choose the branch.
7. Review Logs and Runner Output
Once the run completes:- In GitHub, click the run to see Setup job details, including:
- Runner name (
prod-ubuntu-runner) - Runner group (
default) - Host machine name (
ubuntu-host)
- Runner name (
- On the VM, the runner console confirms success:

8. Key Takeaways
| Label | Purpose |
|---|---|
| self-hosted | Routes the job to any self-hosted runner |
| linux | Targets Linux-based runners |
| prod | Custom label for production environment |
- Always list all runner labels in
runs-on. - Jobs with mismatched labels remain pending.
- Multiple jobs can run in parallel if matching runners are available.