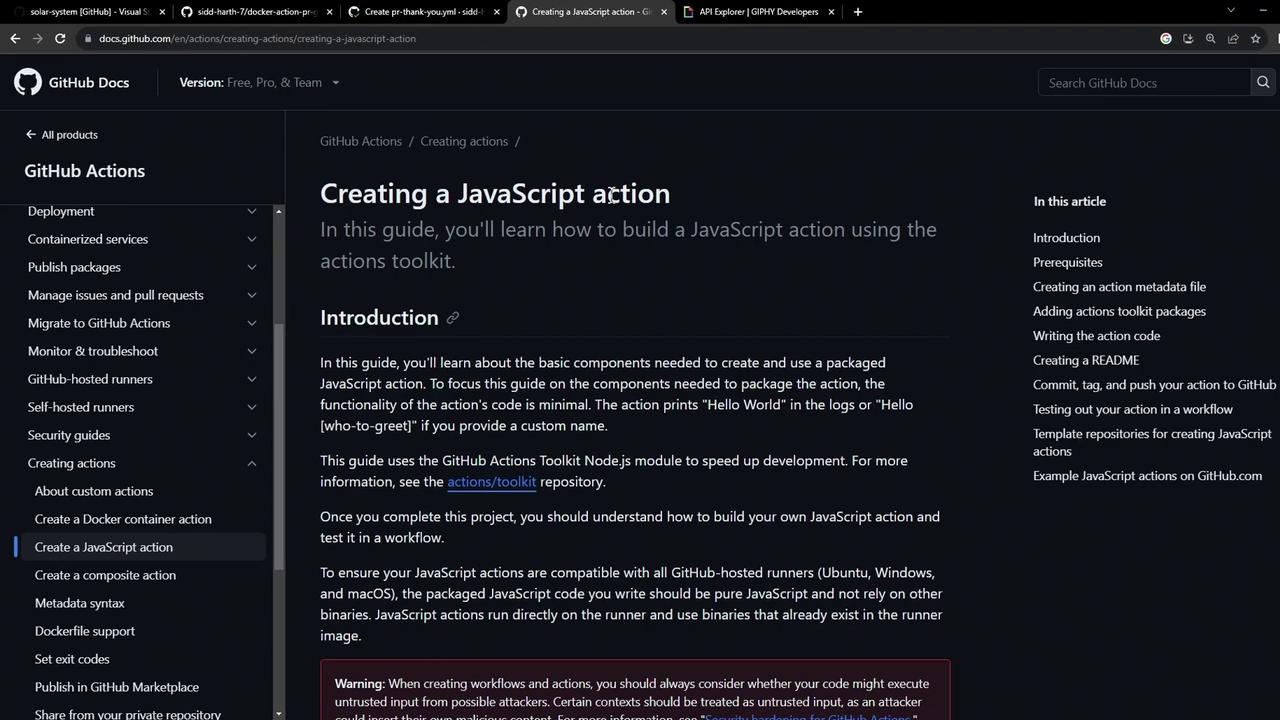
In this tutorial, you’ll learn how to build a custom GitHub Actions JavaScript action from scratch. We’ll cover:
Prerequisites for local development
Project scaffolding and configuration
Defining metadata in action.yml
Implementing core logic in index.js
Bundling with Vercel NCC
Publishing your action to GitHub Marketplace
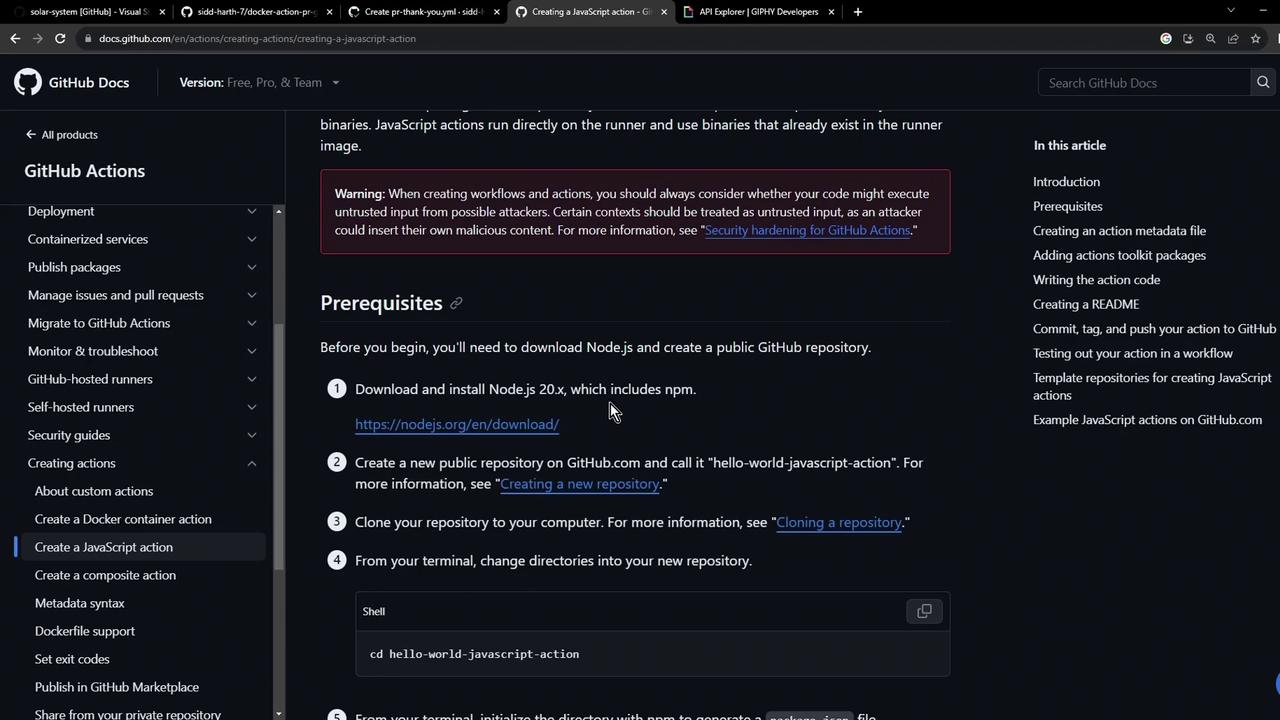
Prerequisites Before you begin, ensure you have:
Node.js v20 or later installed
A GitHub account and repository
Keep your GitHub token and API keys secure. Never commit secrets directly to your repo.
All GitHub Actions require an action.yml file to declare inputs, outputs, and execution details. Here’s a minimal example:
name : 'Hello World' description : 'Greet someone and record the time' inputs : who-to-greet : description : 'Person to greet' required : true default : 'World' outputs : time : description : 'Timestamp of the greeting' runs : using : 'node16' main : 'index.js'
You can extend this file later to include more inputs or permissions.
2. Scaffold the Project Create a new directory and initialize with npm:
mkdir js-action-pr-giphy-comment cd js-action-pr-giphy-comment npm init -y touch README.md
Your generated package.json will look like:
{ "name" : "js-action-pr-giphy-comment" , "version" : "1.0.0" , "main" : "index.js" , "scripts" : { "test" : "echo \" Error: no test specified \" && exit 1" }, "license" : "ISC" }
3. Create and Update action.yml We’ll start with a Docker-based example and then switch to Node.js.
name : 'Giphy PR comment' description : 'Add a Giphy GIF comment to new pull requests.' inputs : github-token : description : 'GitHub Token' required : true giphy-api-key : description : 'Giphy API Key' required : true runs : using : 'docker' image : 'Dockerfile'
Now update it for JavaScript:
name : 'Giphy PR Comment' description : 'Add a Giphy GIF to new pull requests.' inputs : github-token : description : 'GitHub Token' required : true giphy-api-key : description : 'Giphy API Key' required : true runs : using : 'node16' main : 'index.js'
4. Install Dependencies In index.js, we’ll require the following modules:
const { Octokit } = require ( '@octokit/rest' ); const Giphy = require ( 'giphy-api' ); const core = require ( '@actions/core' ); const github = require ( '@actions/github' );
Install them with npm:
Dependency Versions Package Version Purpose @actions/core ^1.10.0 Access action inputs & outputs @actions/github ^5.1.1 Interact with GitHub context @octokit/rest ^20.0.1 GitHub REST API client giphy-api ^2.0.2 Fetch random GIFs from Giphy
5. Write the Action Logic Create an index.js file and implement the core workflow:
const { Octokit } = require ( '@octokit/rest' ); const Giphy = require ( 'giphy-api' ); const core = require ( '@actions/core' ); const github = require ( '@actions/github' ); async function run () { try { const githubToken = core . getInput ( 'github-token' ); const giphyApiKey = core . getInput ( 'giphy-api-key' ); const octokit = new Octokit ({ auth: githubToken }); const giphy = Giphy ( giphyApiKey ); const { owner , repo , number : issue_number } = github . context . issue ; const response = await giphy . random ( 'thank you' ); const gifUrl = response . data . images . downsized . url ; await octokit . issues . createComment ({ owner , repo , issue_number , body: `### 🎉 Thanks for contributing! \n ` }); core . setOutput ( 'gif-url' , gifUrl ); } catch ( error ) { core . setFailed ( error . message ); } } run ();
6. Bundle with Vercel NCC To reduce file size and avoid committing node_modules, bundle your code into a single file:
Update action.yml to reference the bundled script:
runs : using : 'node16' main : 'dist/index.js'
Add a .gitignore file to prevent tracking large files: node_modules/ dist/node_modules/
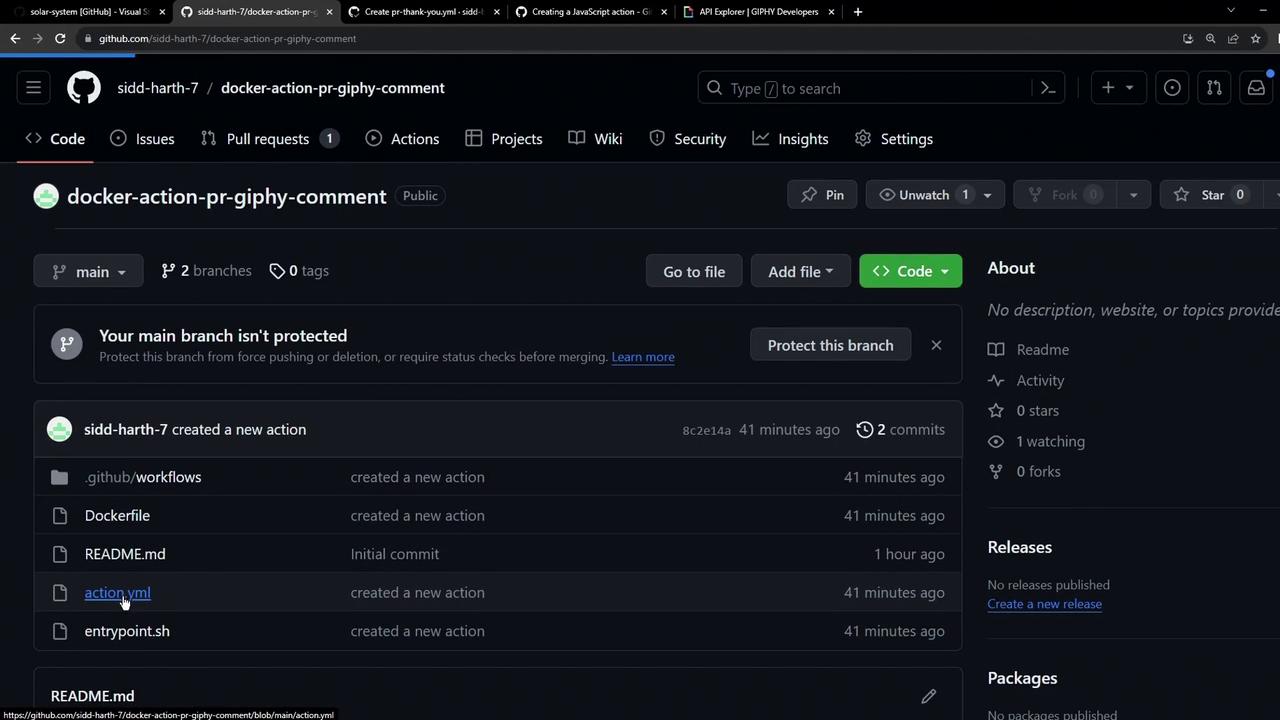
7. Publish Your Action
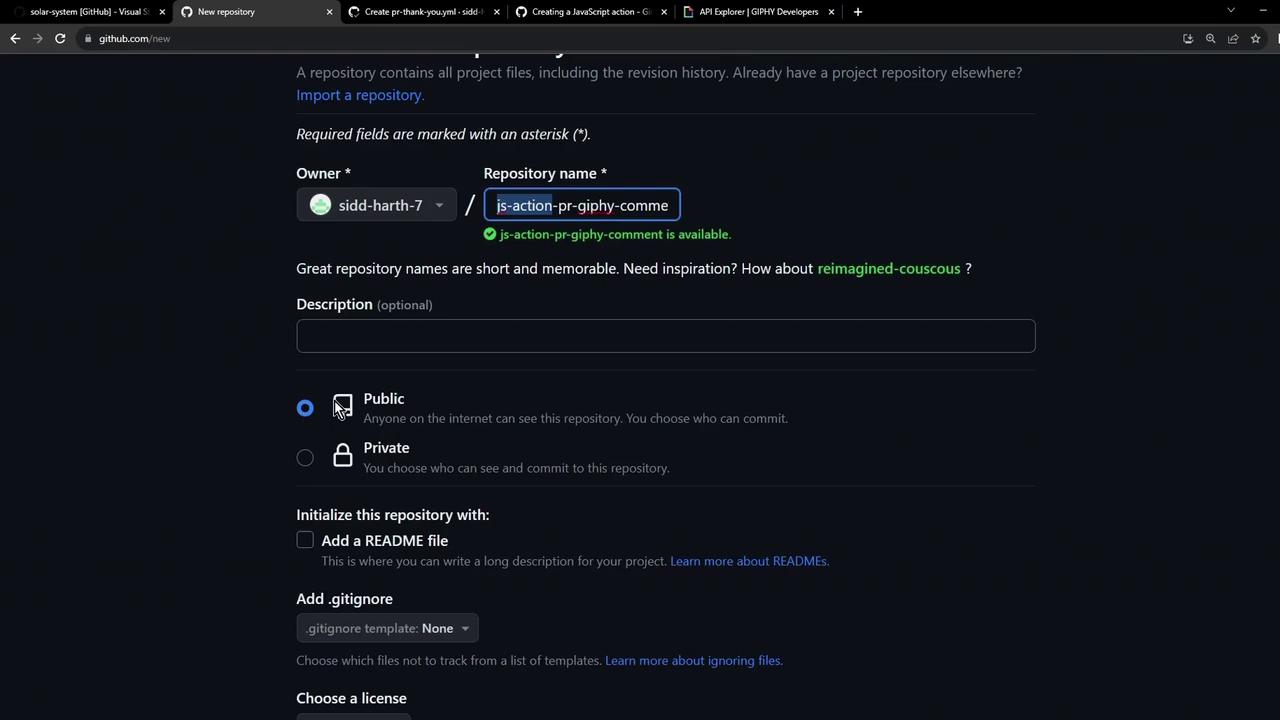
Create a new repository on GitHub, e.g., js-action-pr-giphy-comment .
Push your code :echo "# js-action-pr-giphy-comment" >> README.md git init git add . git commit -m "Initial commit" git branch -M main git remote add origin https://github.com/ < your-use r > /js-action-pr-giphy-comment.git git push -u origin main
Tag a release and publish on the GitHub Marketplace following Publishing actions in the GitHub Marketplace .
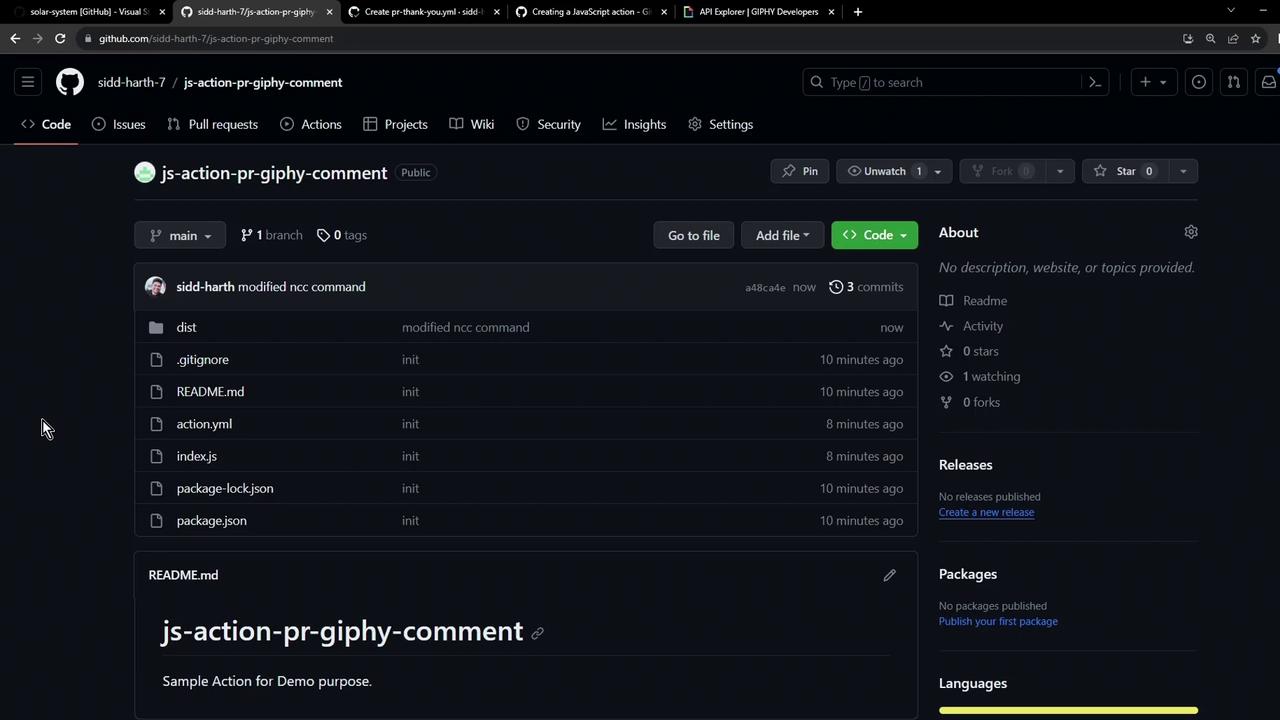
Your final repository should resemble:
Congratulations! You now have a fully functional JavaScript-based GitHub Action that posts a Giphy GIF comment on new pull requests.
Links and References