Step 1: Locate the PostgreSQL Website
Begin by opening your preferred web browser and searching for “PostgreSQL.” Typically, the PostgreSQL website appears as the first result. Click on the link that directs you to PostgreSQL.org.
Step 2: Download the Windows Installer
Once on the PostgreSQL website, locate and click the Downloads button, and then select Windows. At the top of the Windows download page, click the link to download the installer.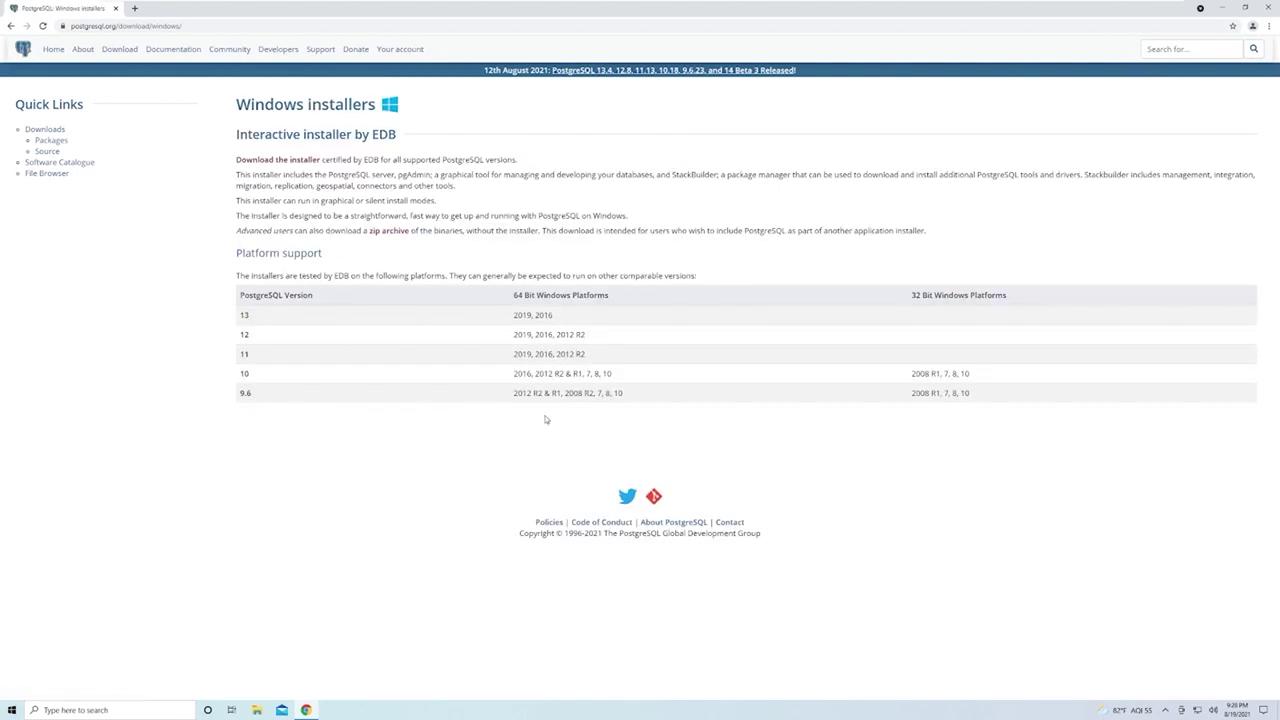
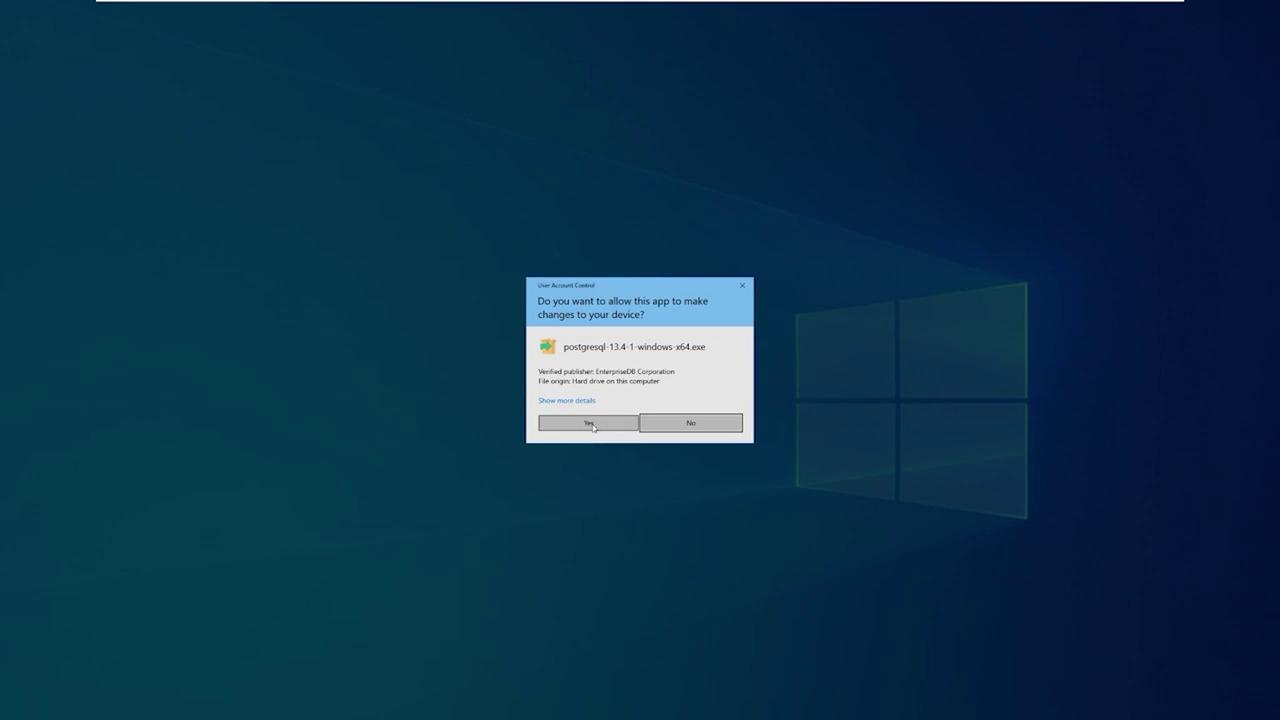
Step 3: Run the Installer
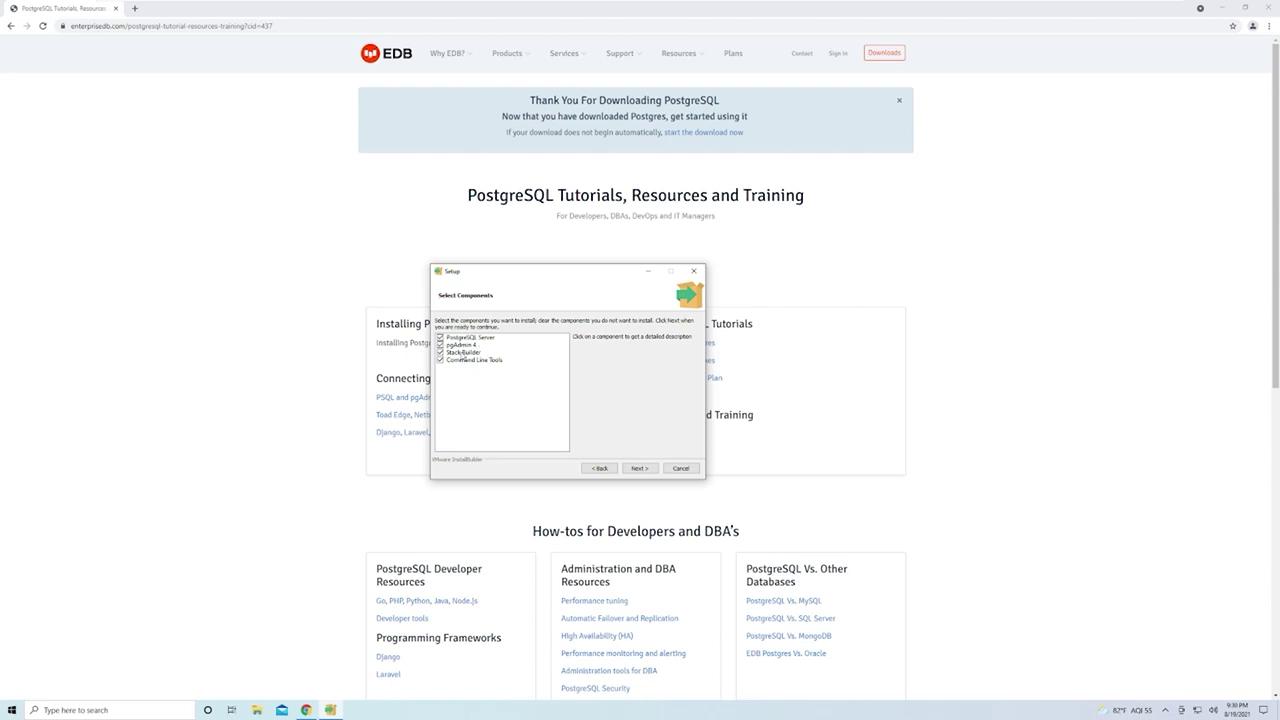
When the installer opens, click Next on the welcome screen. The default installation directory is pre-selected; most users do not need to modify this path. The installer then presents you with options for the components to install:- PostgreSQL Server: The core database engine.
- PgAdmin: A graphical tool that simplifies managing your PostgreSQL instance. It is recommended to install PgAdmin for easier database administration.
- Stack Builder: An optional feature that assists in installing extensions and additional tools for PostgreSQL. For basic usage, you can leave this option checked.
- Command Line Tools: Essential for performing database operations via the command line. It is advisable to retain these tools for future tasks.
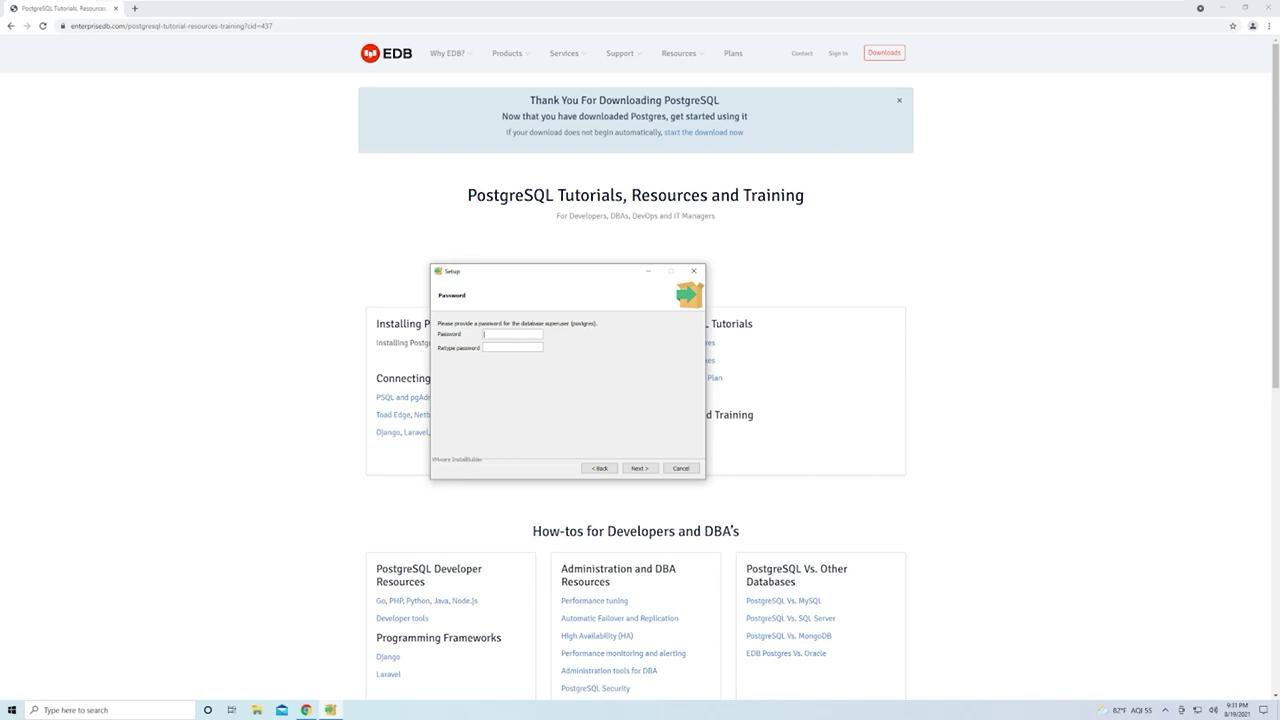
Step 4: Configure the Database
You will now be prompted to establish a password for the superuser account. Make sure to select a secure password and remember it for future use.Keep your superuser password secure as it is critical for managing your PostgreSQL instance.


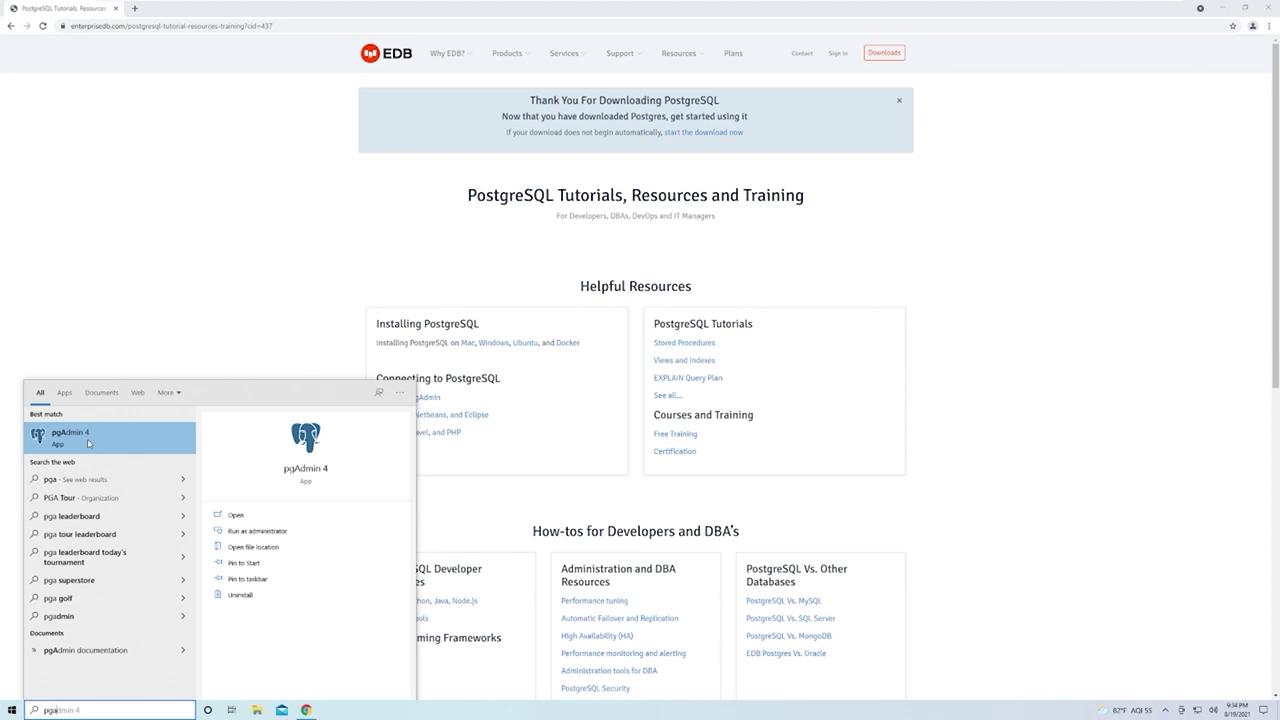
Step 5: Complete the Installation
Once the installation is complete, click Finish. To manage your PostgreSQL instance, launch the PgAdmin application. You can locate PgAdmin by searching for it in the Windows start menu.