Overview of the Container Lifecycle
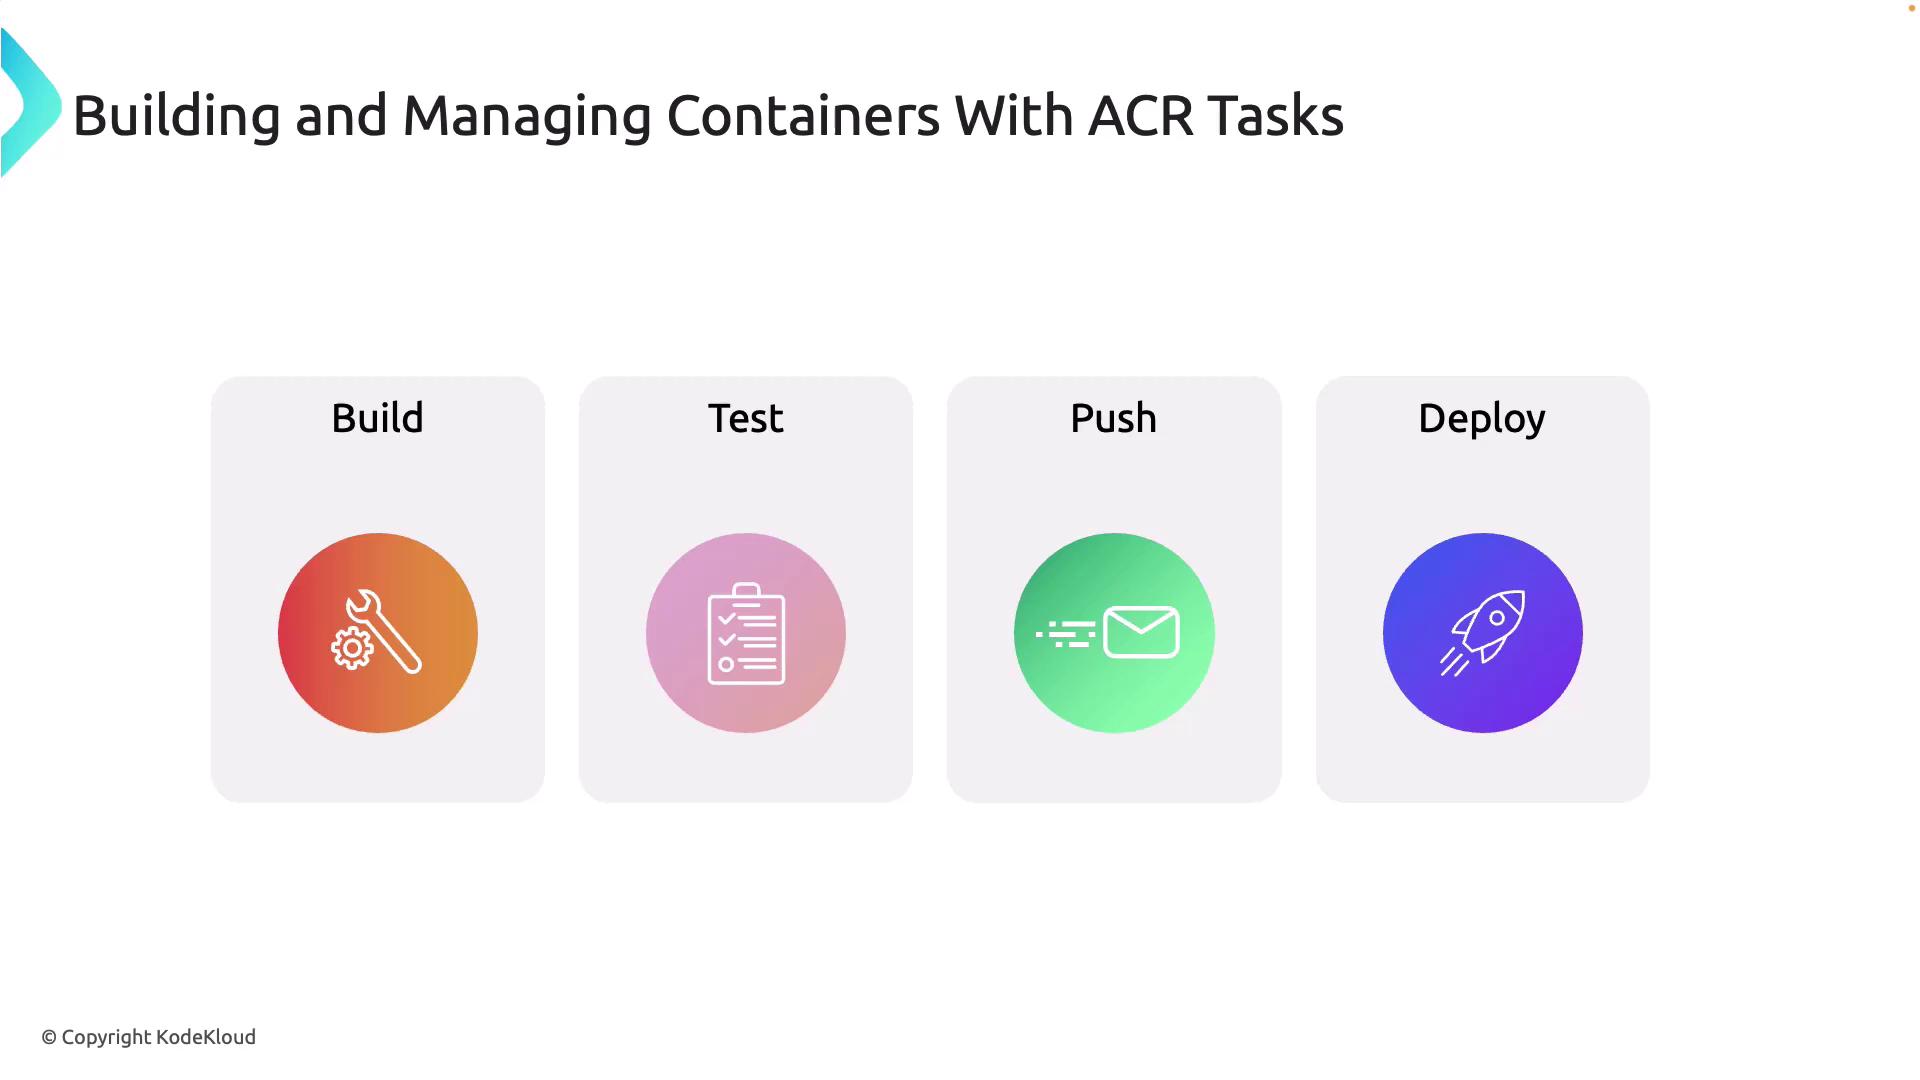
Container lifecycle operations generally follow these steps:- Build: Package your application and its dependencies into a Docker image. A Dockerfile defines the build process, and ACR Tasks help automate this step to ensure consistency and efficiency.
- Test: Integrate automated testing within ACR Tasks to validate the container image before deployment.
- Push: After successful testing, push the validated image to ACR, making it accessible in a centralized registry across development, staging, and production environments.
- Deploy: Deploy the containerized application to a live environment. ACR integrates seamlessly with Azure services such as Azure Kubernetes Service (AKS), Azure Container Instances (ACI), Azure Container Apps, and Azure App Service.
Task Scenarios with ACR Tasks
ACR Tasks are flexible and support different workflows. Here are some common task scenarios:Kube-Task
A kube-task is ideal for one-time builds or immediate tasks. It allows you to build a container image without setting up a complex CI/CD pipeline—perfect for rapid development or prototyping.Automatically Triggered Tasks
Automatically triggered tasks execute based on specific events. For example, you can configure a trigger to start a new build whenever changes are detected in your source code repository. This integration with tools like Azure Pipelines ensures your container images remain up to date.Multi-Step Tasks
Multi-step tasks enable you to design a comprehensive pipeline that includes additional steps such as testing or security scanning. By specifying a sequence of actions for your container image before it is pushed or deployed, you gain greater flexibility and control over your container management strategy.Creating and Deploying a Container Image with ACR Tasks
This section demonstrates how to build a container image using a Dockerfile and then push that image to the Azure Container Registry.Step 1: Create the Azure Container Registry
- Log into the Azure Portal and search for “Container Registry” in the search box.
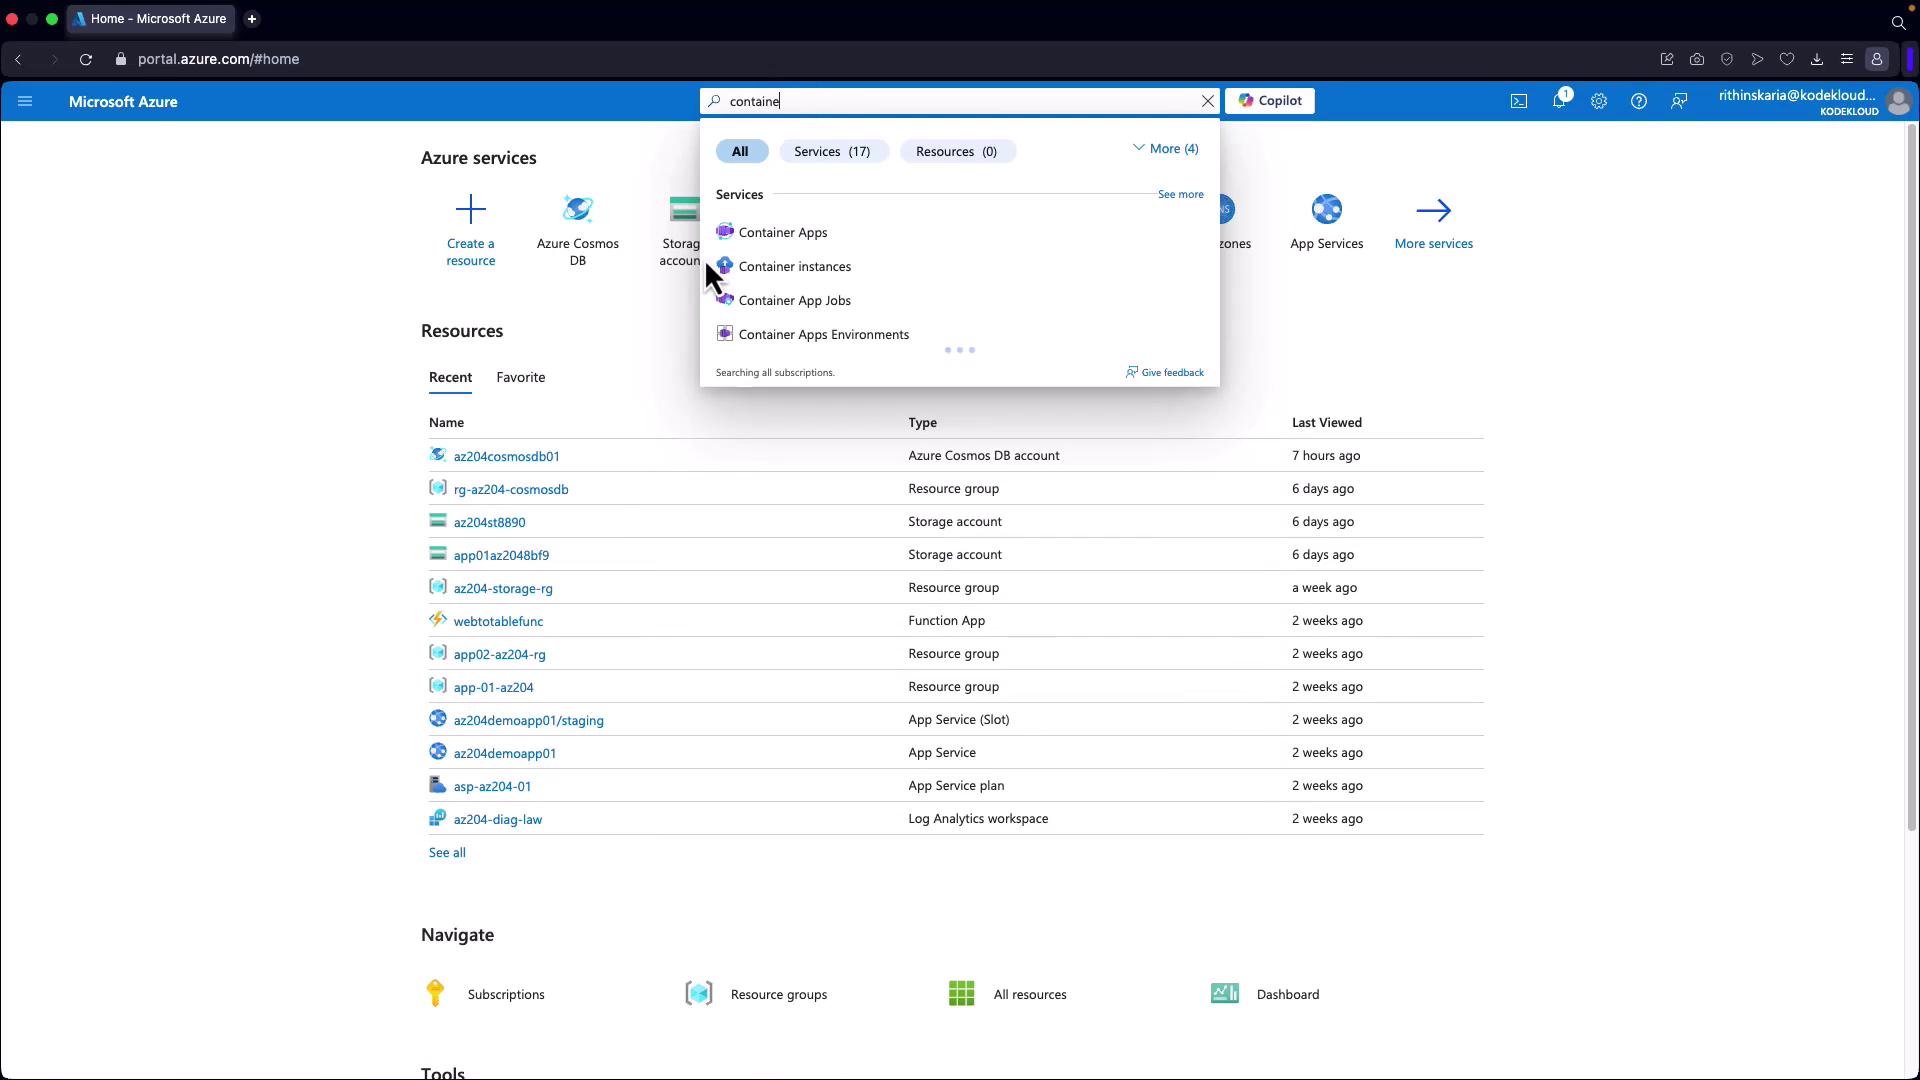
- Click Create.
- Create a new resource group (e.g.,
azr-az204-containers).
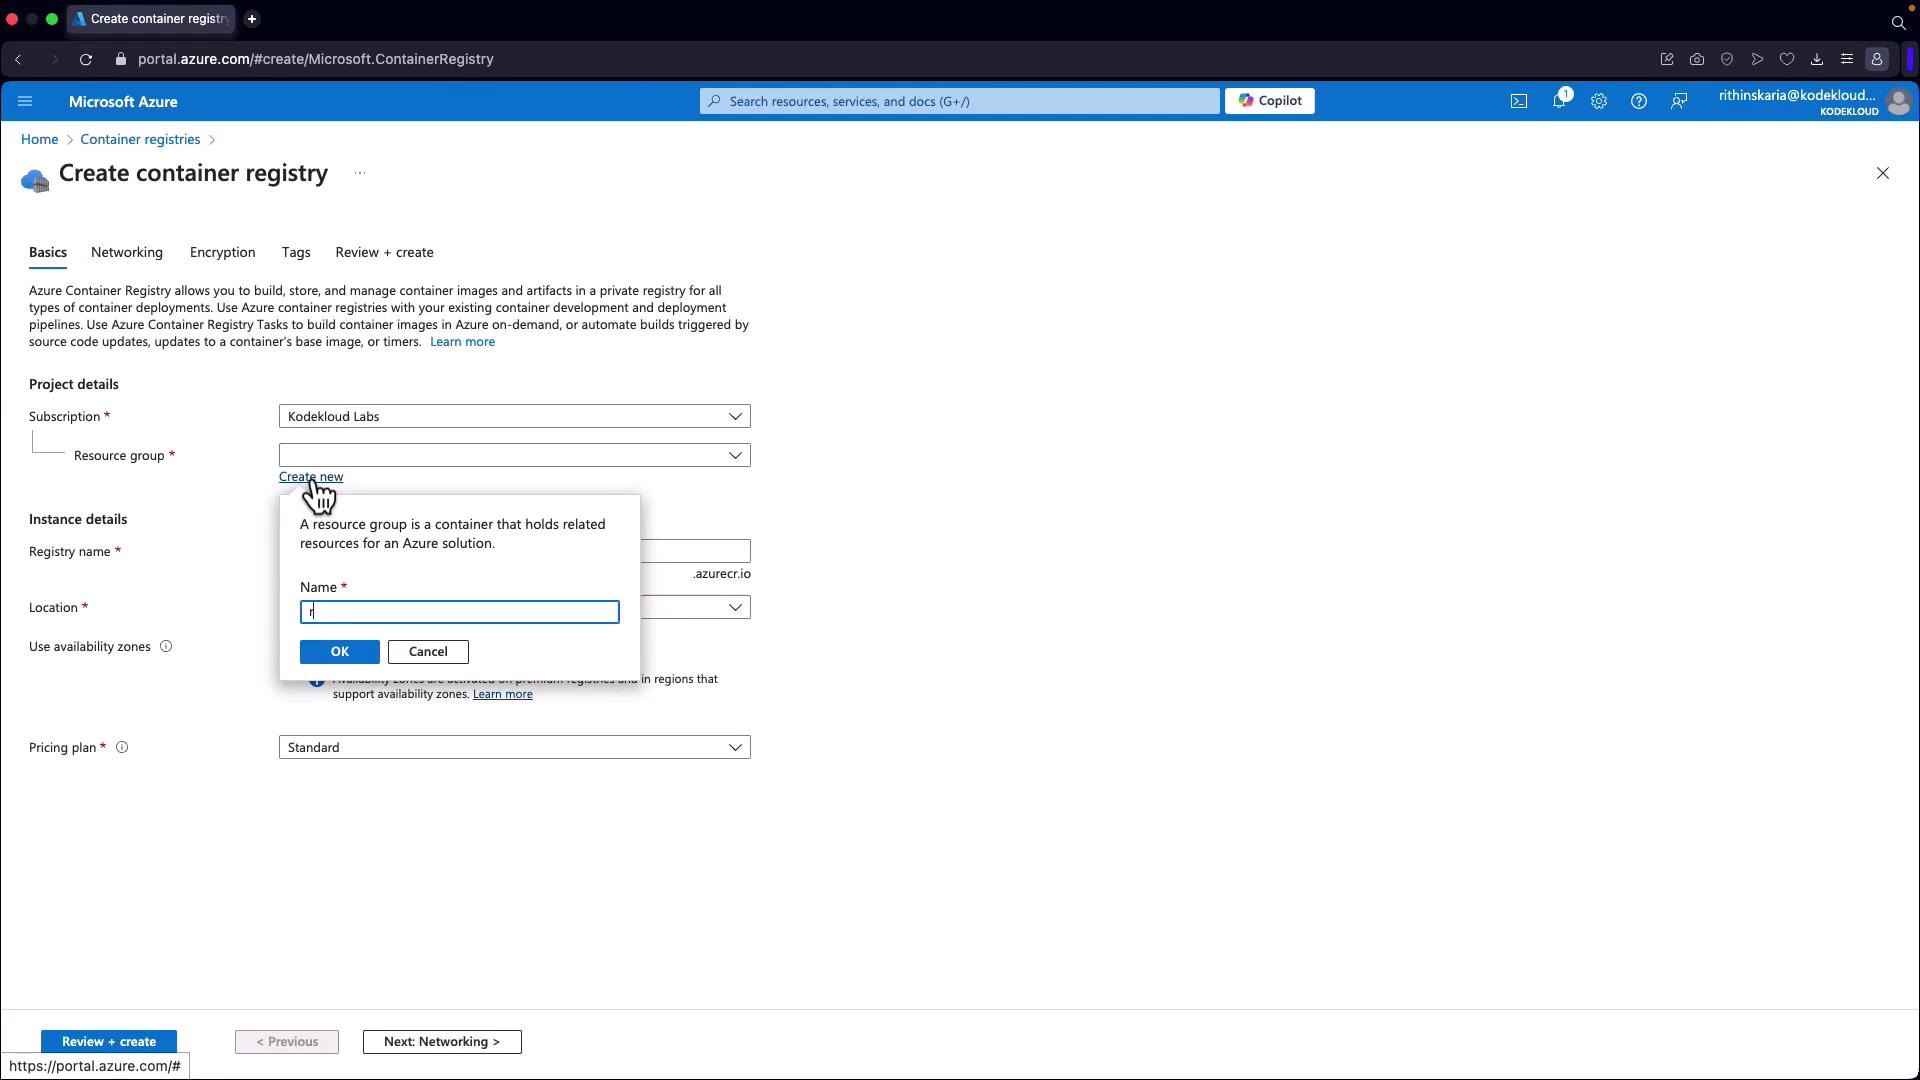
- Provide a unique name for your registry (e.g.,
azr-az204). If the name is already taken, consider modifying it (for example, appending “KodeKloud” to ensure uniqueness).

- Select your preferred location (e.g., East US) and choose the Standard tier. Note that networking options such as private access are limited to the Premium plan.
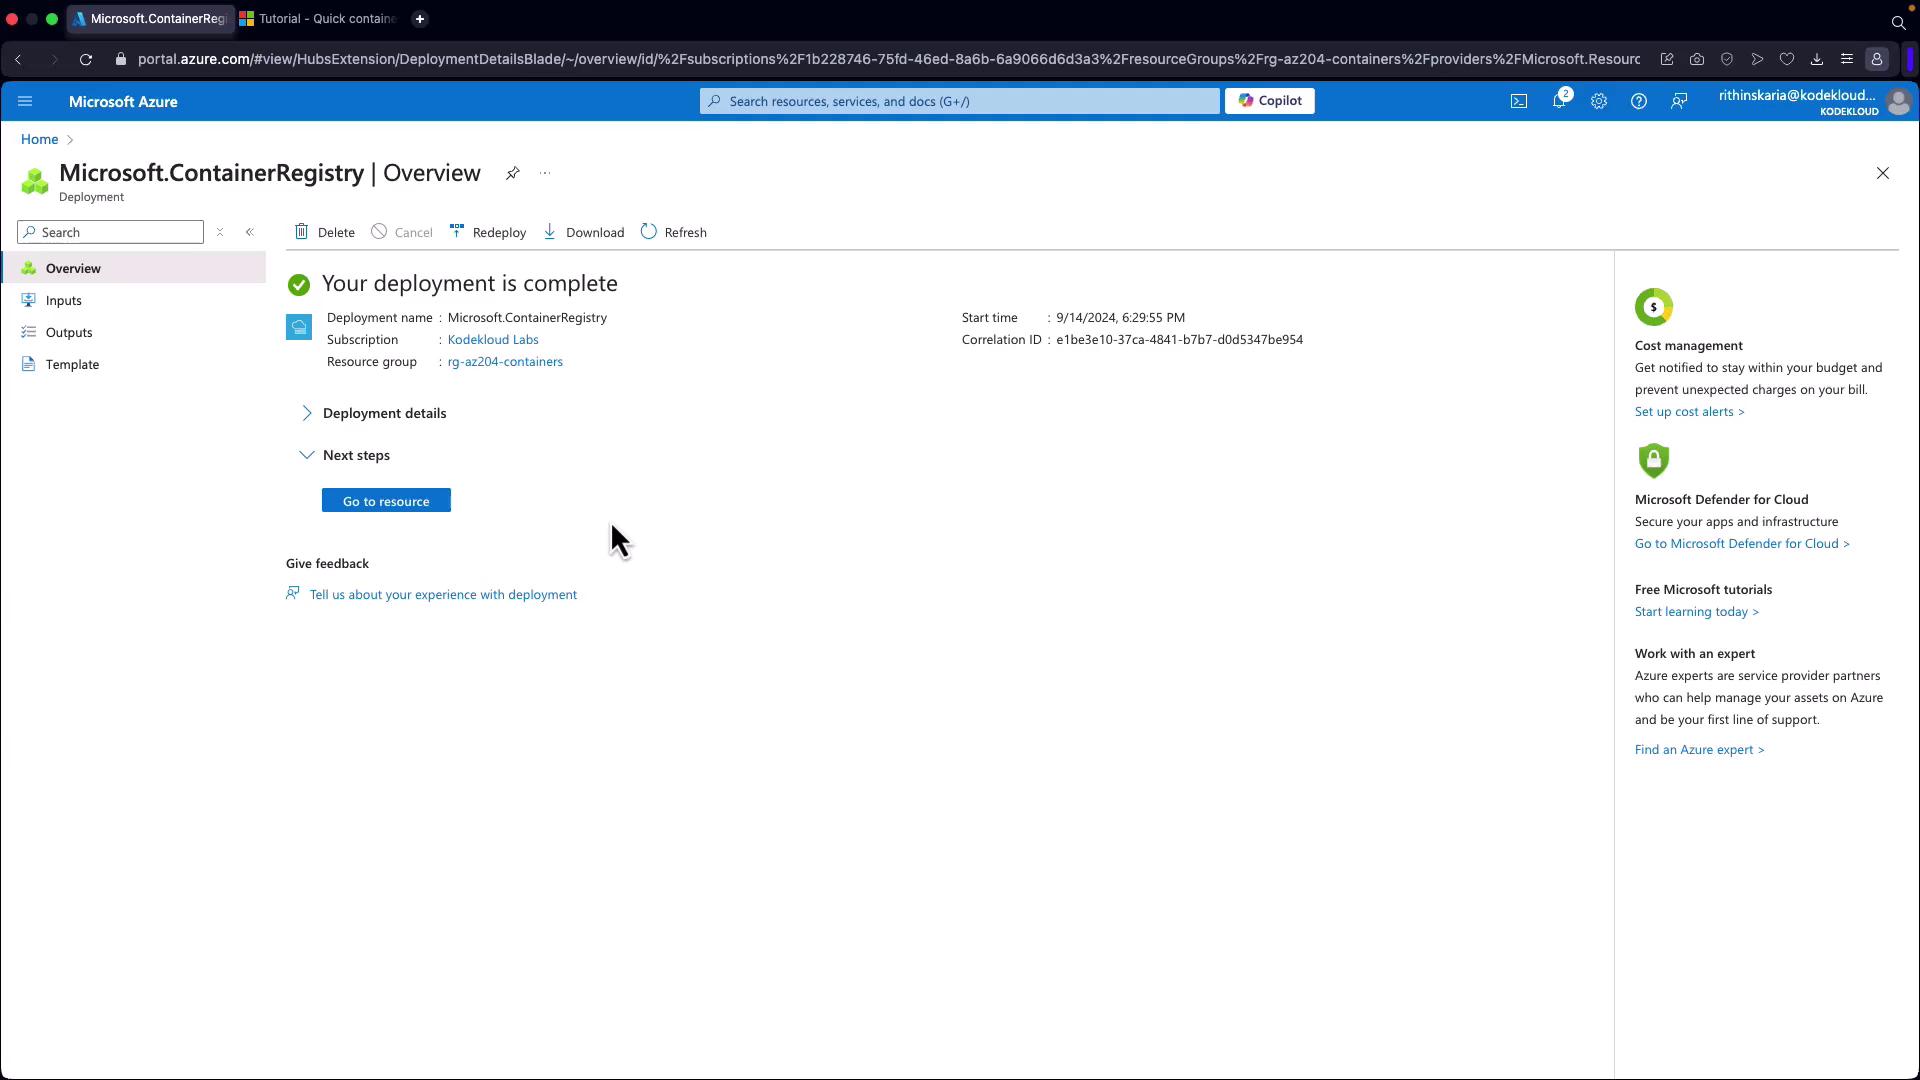
- Click Review and Create to deploy the registry.
Step 2: Build Your Container Image Locally Using Cloud Shell
For this demonstration, we will use the Azure Cloud Shell. You can also perform these steps locally if preferred.- First, verify that the necessary .NET runtimes are installed:
- Create a directory for your application and navigate into it:
- Generate a new ASP.NET Core web application:
- Navigate to the application’s Pages directory to verify the landing page:
- Display the content of the landing page:
- If you wish to edit the page, use an editor like nano, then return to the parent directory:
- Change back to the project root and create a Dockerfile:
- Paste the following content into your Dockerfile, which uses .NET 8.0:
Ensure that the project structure matches the paths in the Dockerfile to avoid build errors.
Step 3: Build the Container Image Using ACR Build
- In the Cloud Shell, run the following ACR build command. Be sure to replace the placeholders with your actual registry name and resource group:
- Monitor the terminal output to confirm that both the build and push stages complete successfully. You should see messages confirming that each step was successful, along with details about the image layers and build duration.
- To verify the published image, you can pull it from your registry using the following command:
v1) of your image from the registry.
Always verify your built image in the Azure portal or via CLI to ensure successful deployment.
Conclusion
In this article, we demonstrated how to build a containerized application using a Dockerfile, leverage Azure Container Registry Tasks to automate building and testing, and push the container image to the Azure Container Registry for further deployment. Next, we will cover deploying container images using Azure Container Instances to run your containerized application in a live environment. Happy containerizing!For additional details and Azure best practices, refer to the Azure Documentation and enhance your container strategy with ACR Tasks.