Preconfigured PKI Setup
In this demo environment:- A root CA is mounted at
pki-root. - An intermediate CA is mounted at
pki.- We generated a CSR on
pki, signed it withpki-root, and then imported the signed certificate back intopki.
- We generated a CSR on
This tutorial skips the initial CA bootstrap. Every organization’s PKI topology differs.
If you need to configure a root or intermediate CA, see the Vault PKI Quickstart.
If you need to configure a root or intermediate CA, see the Vault PKI Quickstart.
1. Retrieve the Issuer ID
The intermediate CA’s issuer ID (UUID) is required when creating roles:2. Create a Role
Define a role namedwebapp that issues certificates for hcvop.com and its subdomains, with a maximum TTL of 24 hours:
CLI Commands Summary
| Action | Command | Description |
|---|---|---|
| Read issuer ID | vault read -field=default pki/config/issuers | Retrieve your intermediate CA’s UUID |
| Create issuance role | vault write pki/roles/webapp … | Configure webapp role for SANs |
3. Issue a Certificate
Request a certificate fortraining.hcvop.com using the webapp role:
This is the only time Vault returns the private key.
Ensure you store
Ensure you store
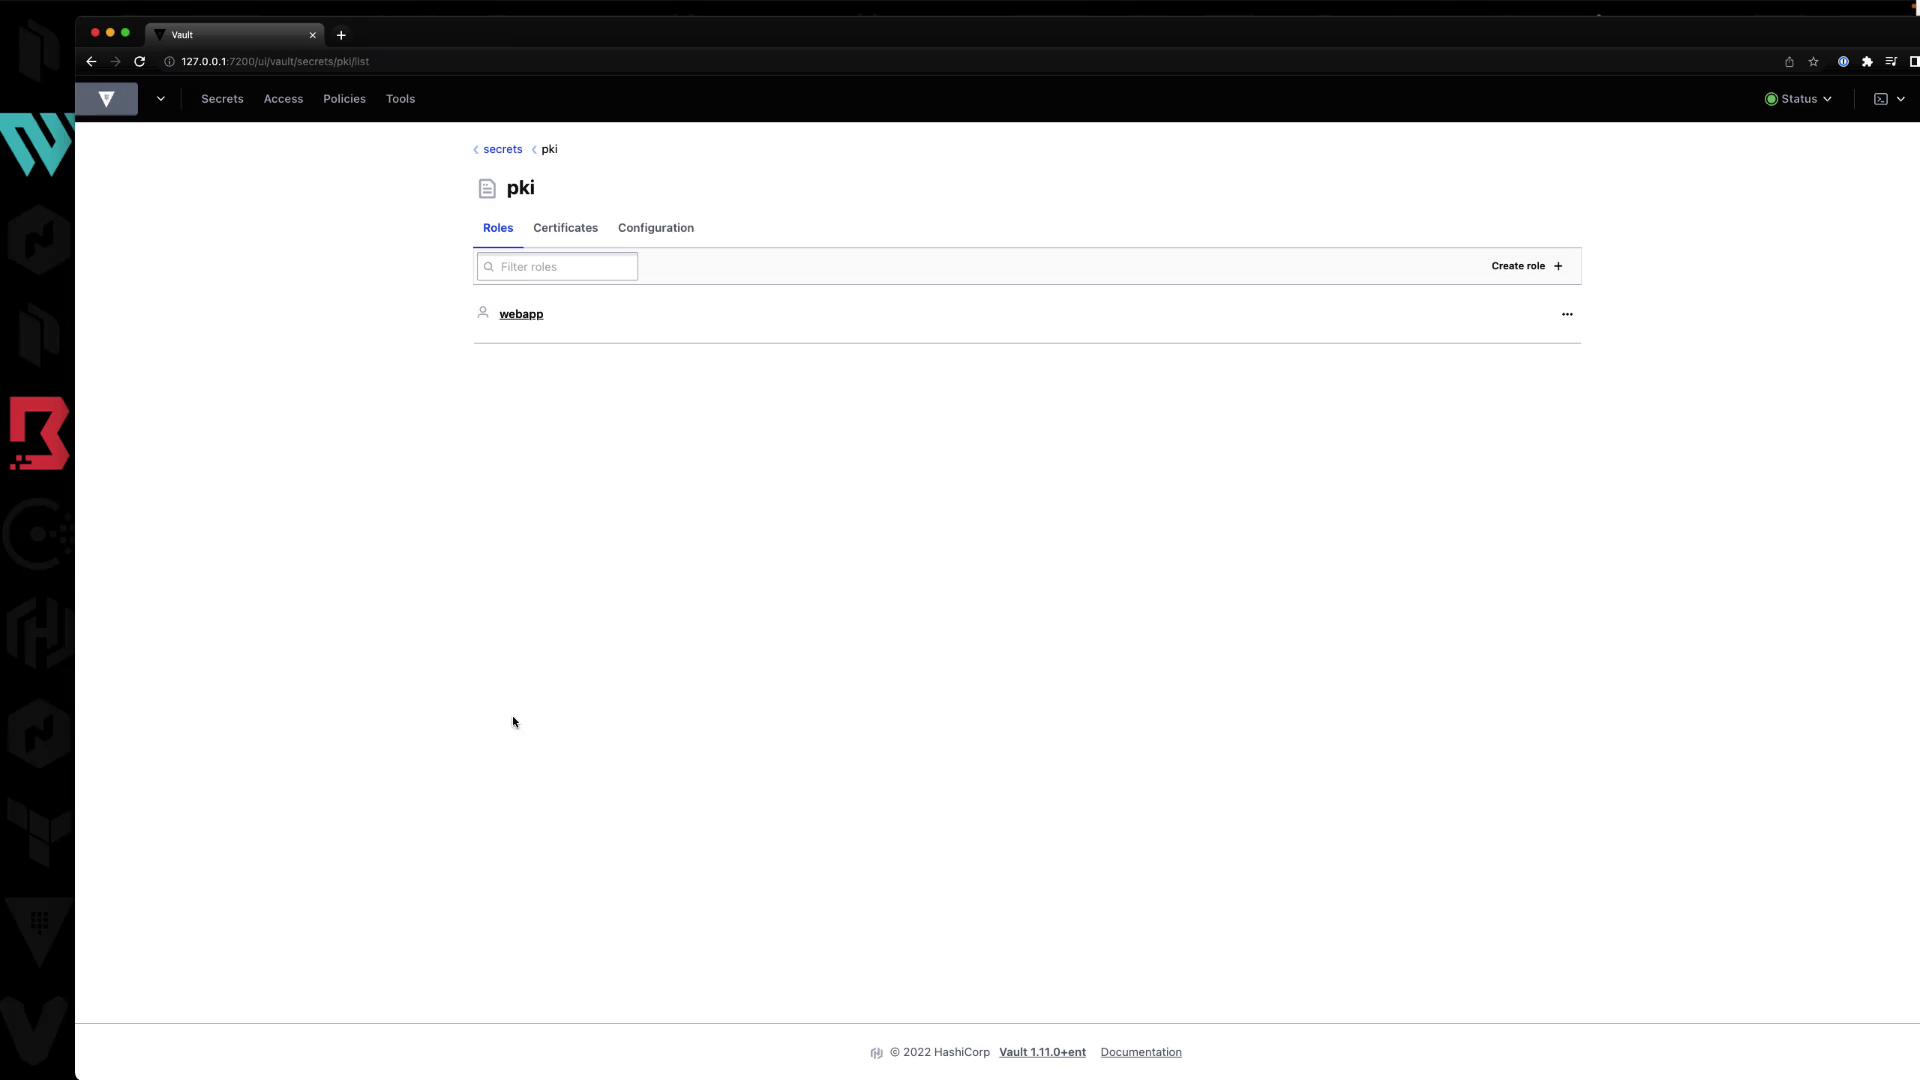
private_key securely—Vault will not expose it again.4. Using the Vault UI
All of the above operations can also be performed in the Vault web interface.4.1 Roles List
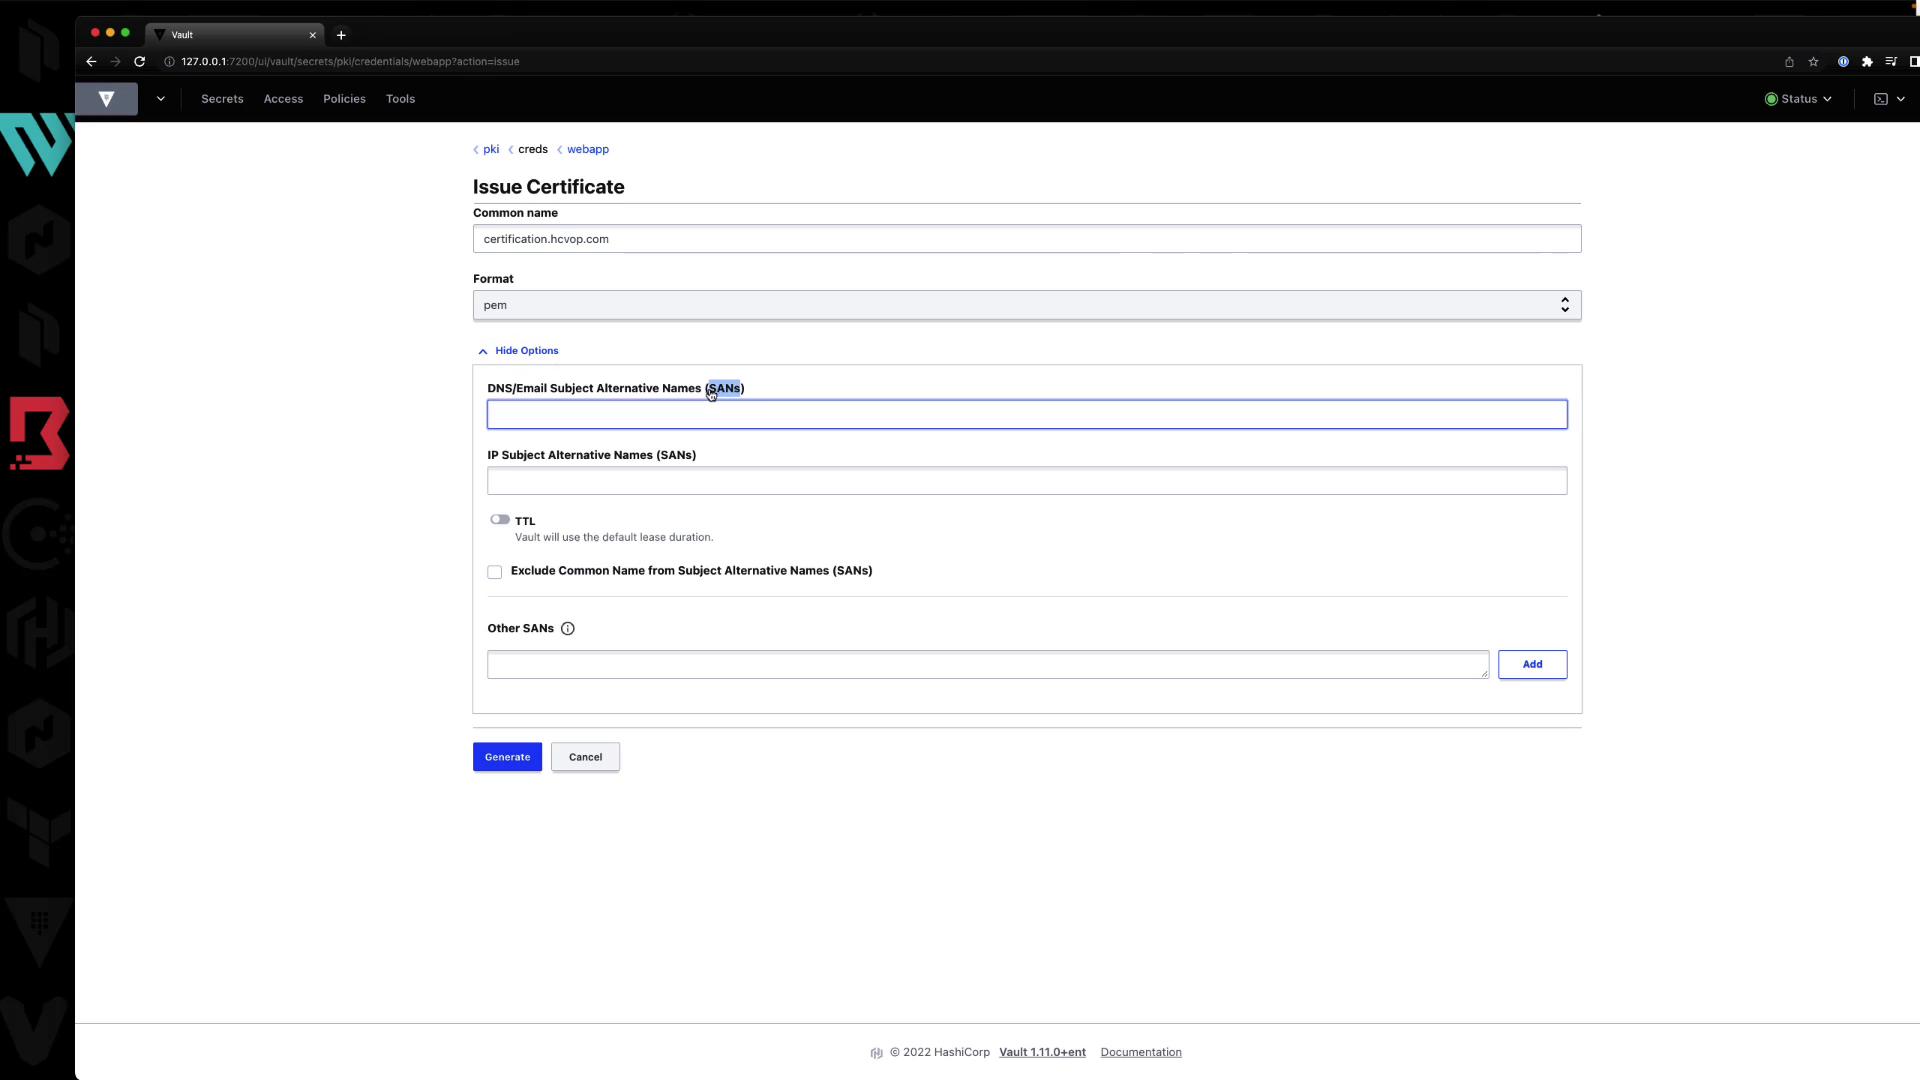
4.2 Issue a Certificate
In the UI form:- Common Name: e.g.,
certification.hcvop.com - Format: PEM, DER, or PEM bundle
- Subject Alternative Names: DNS SANs, IP SANs
- TTL: e.g.,
72h
4.3 Role Configuration Details
You can view or edit the role’s settings: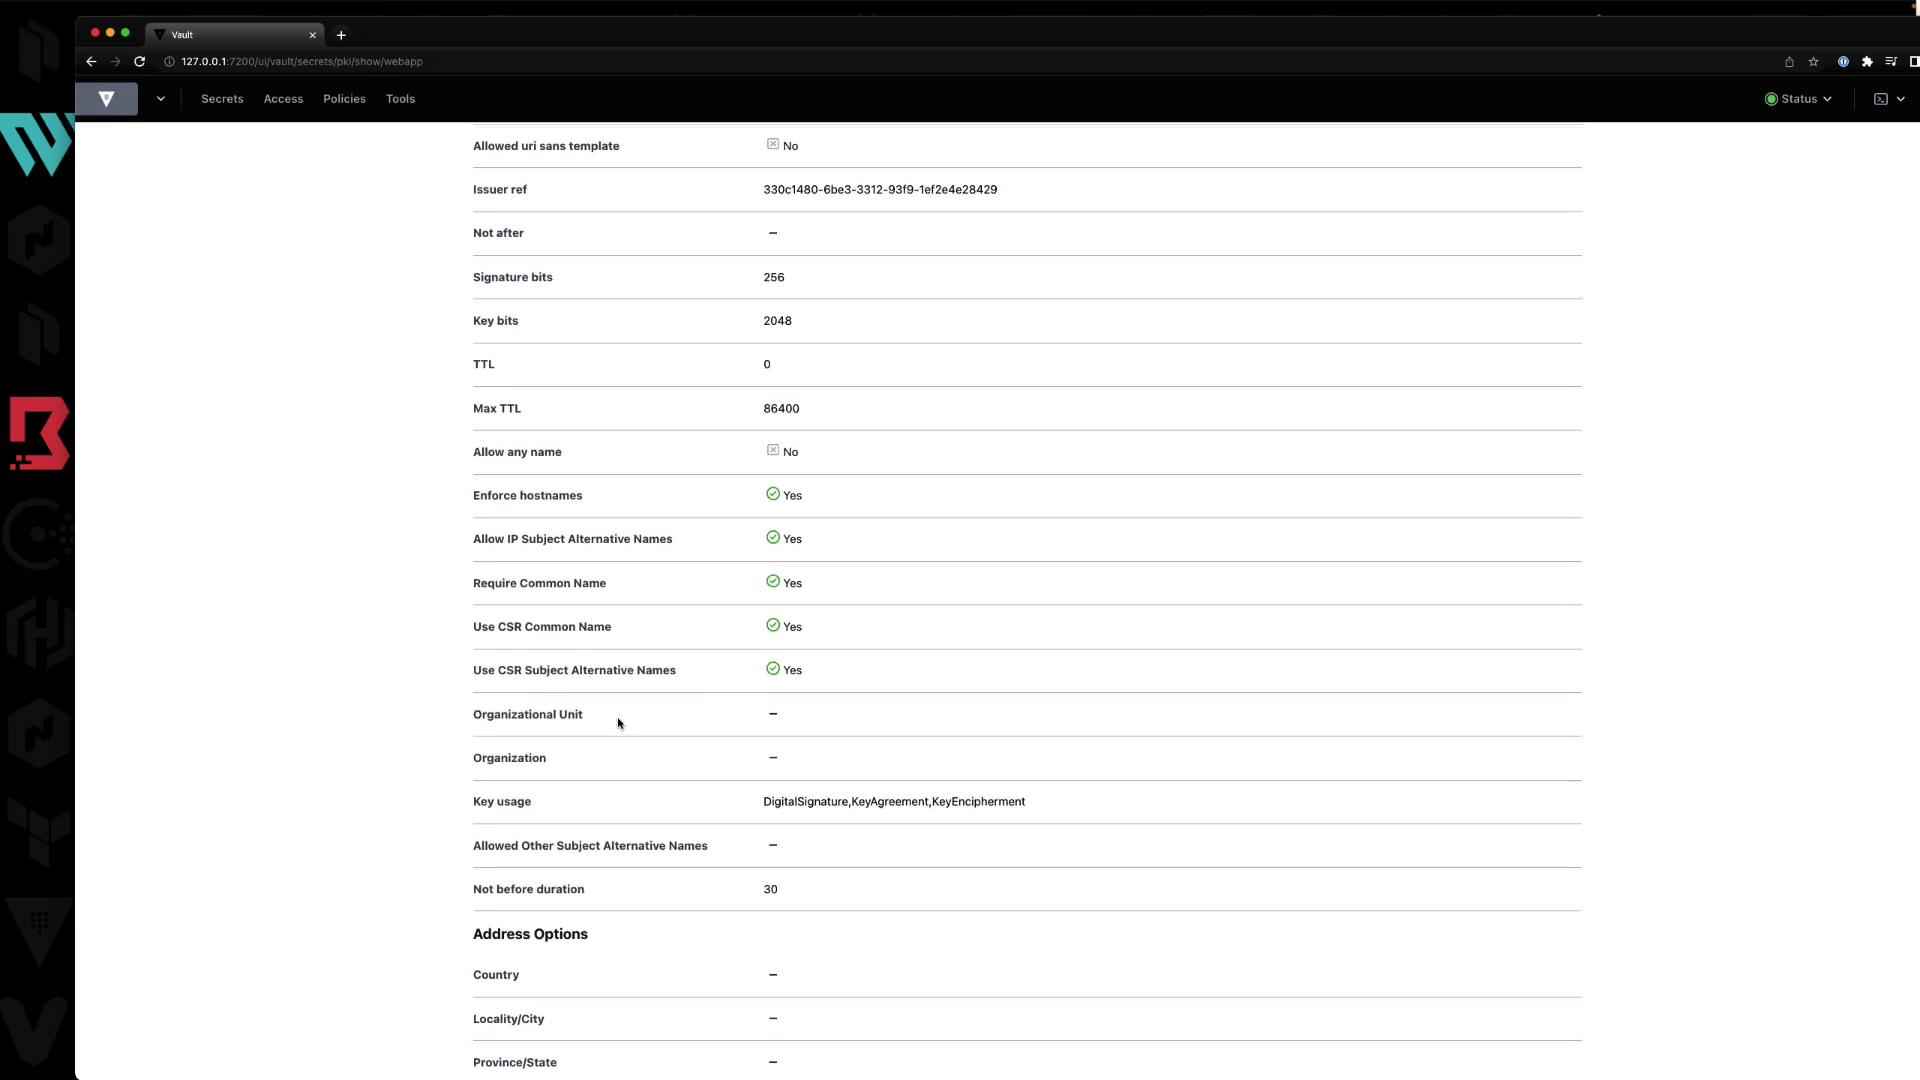
4.4 Certificate Listings
Under Certificates, Vault lists all issued certs with their serial numbers. You can inspect or revoke them here.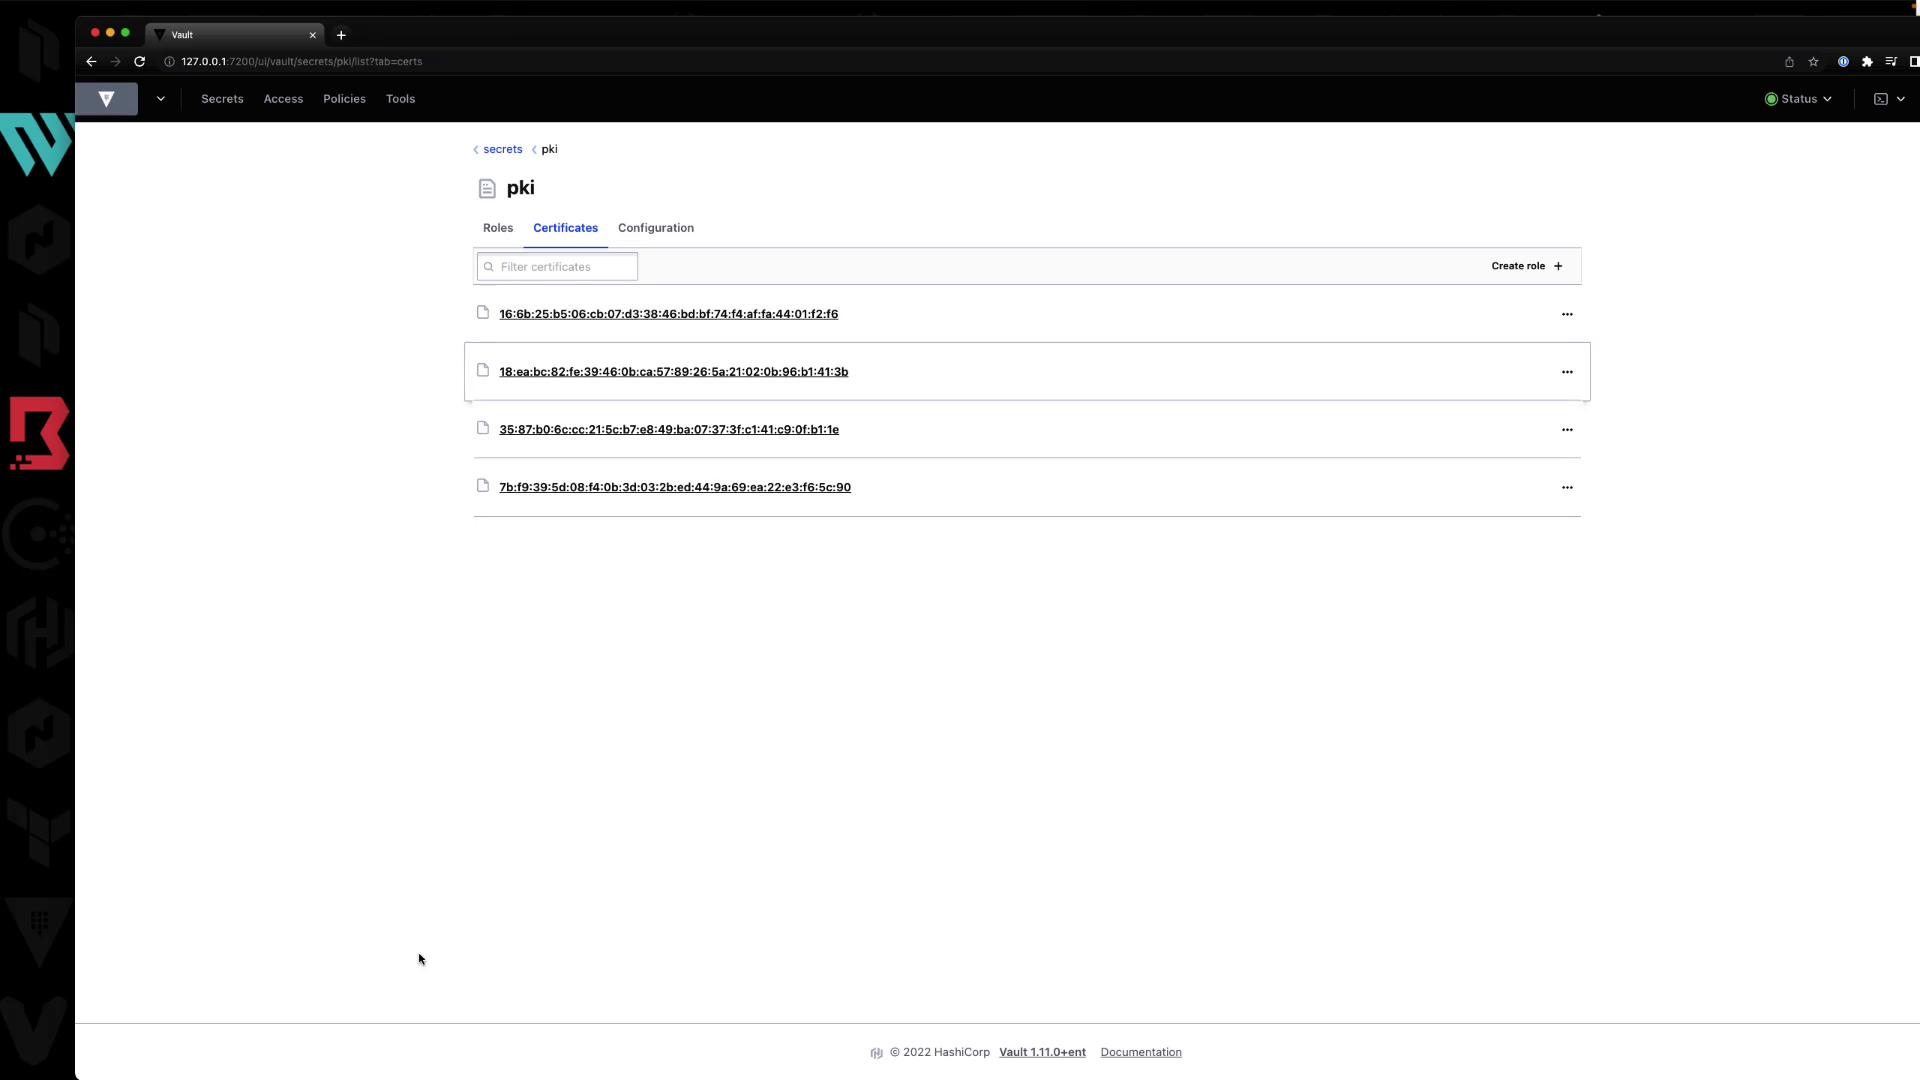
Summary
- Define roles with
vault write pki/roles/...to control domain scope and TTL. - Issue certs with
vault write pki/issue/..., capturing the private key immediately. - You can perform all tasks via the CLI or the Vault UI.