In this tutorial, you’ll learn how to extend your existing Jenkins pipeline to deploy a Kubernetes application into a production namespace and then visualize the service mesh using Kiali. While a dedicated pipeline is recommended for production, this guide demonstrates how to add a production stage to your current Jenkinsfile.
Table of Contents
Updating the Jenkinsfile Kubernetes Production Deployment YAML Why Drop NET_RAW? Rollout Status Script Triggering the Deployment Verifying the Production Deployment Visualizing with Kiali
References
Updating the Jenkinsfile Add a new stage named K8S Deployment - PROD right after your CIS Benchmarking stage. This stage runs two parallel steps:
stage( 'K8S Deployment - PROD' ) { steps { parallel( 'Deployment' : { withKubeConfig([ credentialsId : 'kubeconfig' ]) { sh "sed -i 's#replace# ${ imageName } #g' k8s_PROD-deployment_service.yaml" sh "kubectl -n prod apply -f k8s_PROD-deployment_service.yaml" } }, 'Rollout Status' : { withKubeConfig([ credentialsId : 'kubeconfig' ]) { sh "bash k8s-PROD-deployment-rollout-status.sh" } } ) } }
Make sure your Jenkins agent has permissions to apply manifests in the prod namespace.
Kubernetes Production Deployment YAML Create a file named k8s_PROD-deployment_service.yaml with the following content. It includes:
A Deployment with three replicas
A security context that drops NET_RAW
Resource requests and limits
A ClusterIP Service
apiVersion : apps/v1 kind : Deployment metadata : name : devsecops labels : app : devsecops spec : replicas : 3 selector : matchLabels : app : devsecops template : metadata : labels : app : devsecops spec : serviceAccountName : default volumes : - name : vol emptyDir : {} containers : - name : devsecops-container image : replace ports : - containerPort : 8080 volumeMounts : - mountPath : /tmp name : vol securityContext : capabilities : drop : - NET_RAW runAsUser : 100 runAsNonRoot : true readOnlyRootFilesystem : true allowPrivilegeEscalation : false resources : requests : memory : "256Mi" cpu : "200m" limits : memory : "512Mi" cpu : "500m" --- apiVersion : v1 kind : Service metadata : name : devsecops-svc labels : app : devsecops spec : type : ClusterIP selector : app : devsecops ports : - port : 8080 targetPort : 8080 protocol : TCP
Resource Requests and Limits Resource Request Limit CPU 200m 500m Memory 256Mi 512Mi
Why Drop NET_RAW? Dropping the NET_RAW capability mitigates DNS spoofing and other low-level network attacks. For a deeper dive, read DNS Spoofing on Kubernetes Clusters .
apiVersion : v1 kind : Pod metadata : name : security-context-demo spec : containers : - name : test image : alpine securityContext : capabilities : drop : - NET_RAW
Ensure no essential functionality relies on raw sockets before dropping NET_RAW.
Rollout Status Script Save the following as k8s-PROD-deployment-rollout-status.sh in your repo. It waits for the deployment to roll out, then rolls back on failure:
#!/bin/bash # Wait for pods to start sleep 60s if ! kubectl -n prod rollout status deploy ${ deploymentName } --timeout=5s | grep -q "successfully rolled out" ; then echo "Deployment ${ deploymentName } rollout has failed" kubectl -n prod undo deploy ${ deploymentName } exit 1 else echo "Deployment ${ deploymentName } rollout is successful" fi
Make the script executable:
chmod +x k8s-PROD-deployment-rollout-status.sh
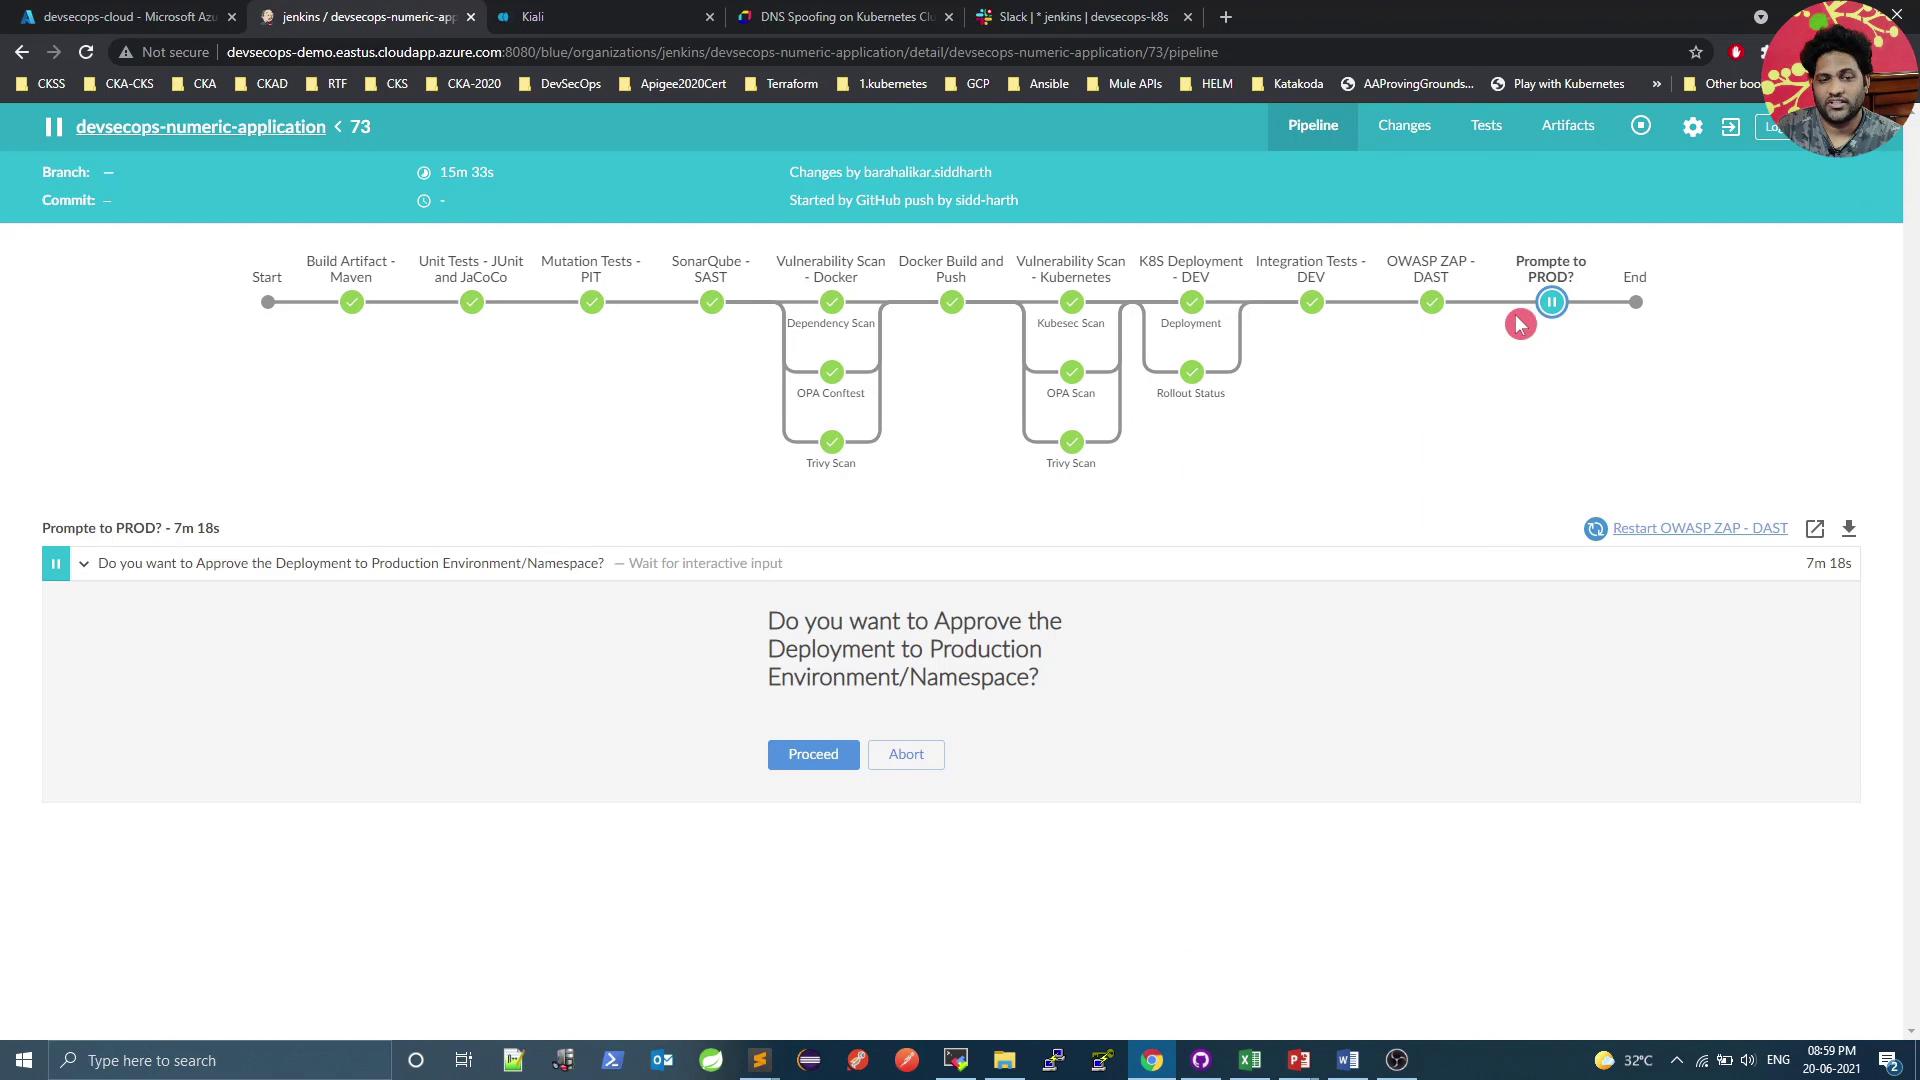
Triggering the Deployment
Commit and push both Jenkinsfile and YAML/script files to your Git repo.
Start the Jenkins build.
Approve the production deployment when prompted.
Verifying the Production Deployment Validate pods in the prod namespace and confirm the Kiali service:
# Check Kiali in istio-system kubectl -n istio-system get svc kiali # View prod pods kubectl -n prod get po
Example output:
NAME READY STATUS RESTARTS AGE devsecops-7699f69c9f-cq44c 2/2 Running 0 34s devsecops-7699f69c9f-qnrrr 2/2 Running 0 34s devsecops-7699f69c9f-m82p 2/2 Running 0 34s node-app-597c464649-lgs82 2/2 Running 0 121m
The extra container in each pod is the Istio sidecar proxy.
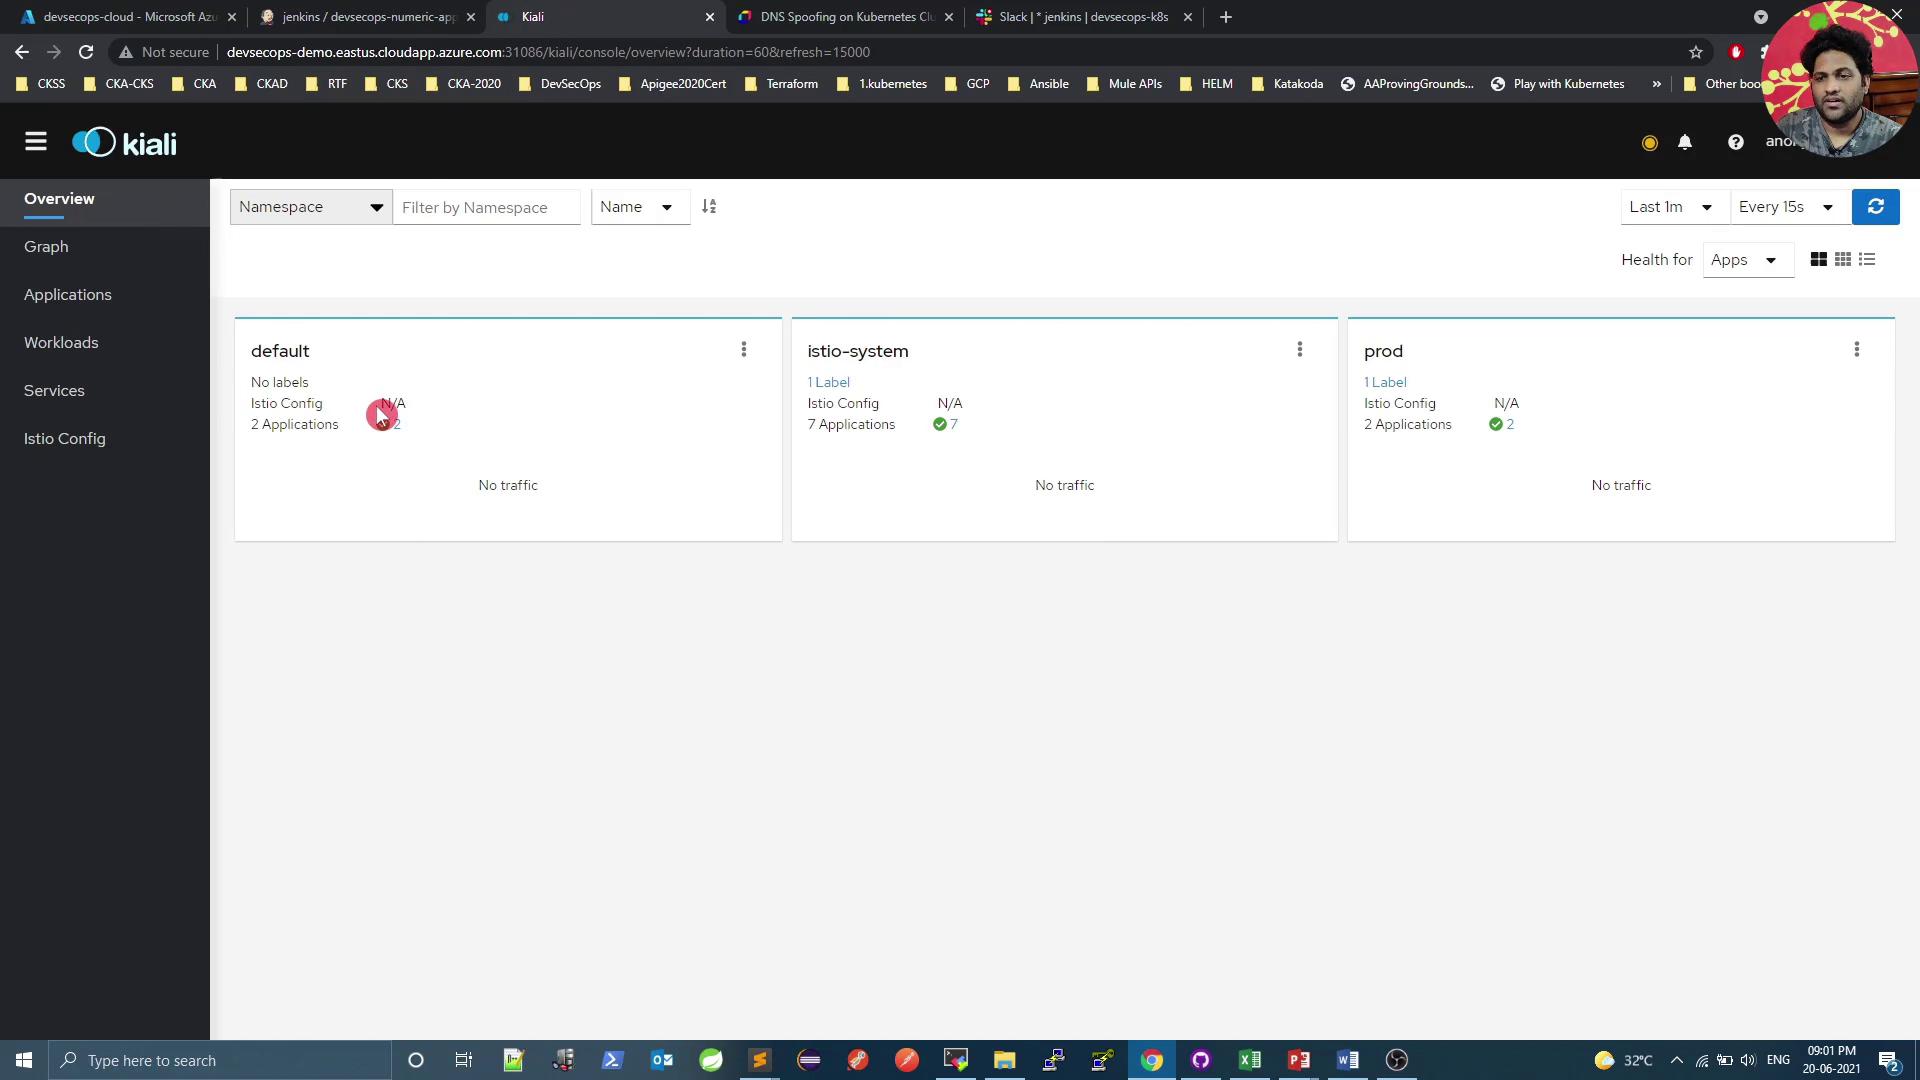
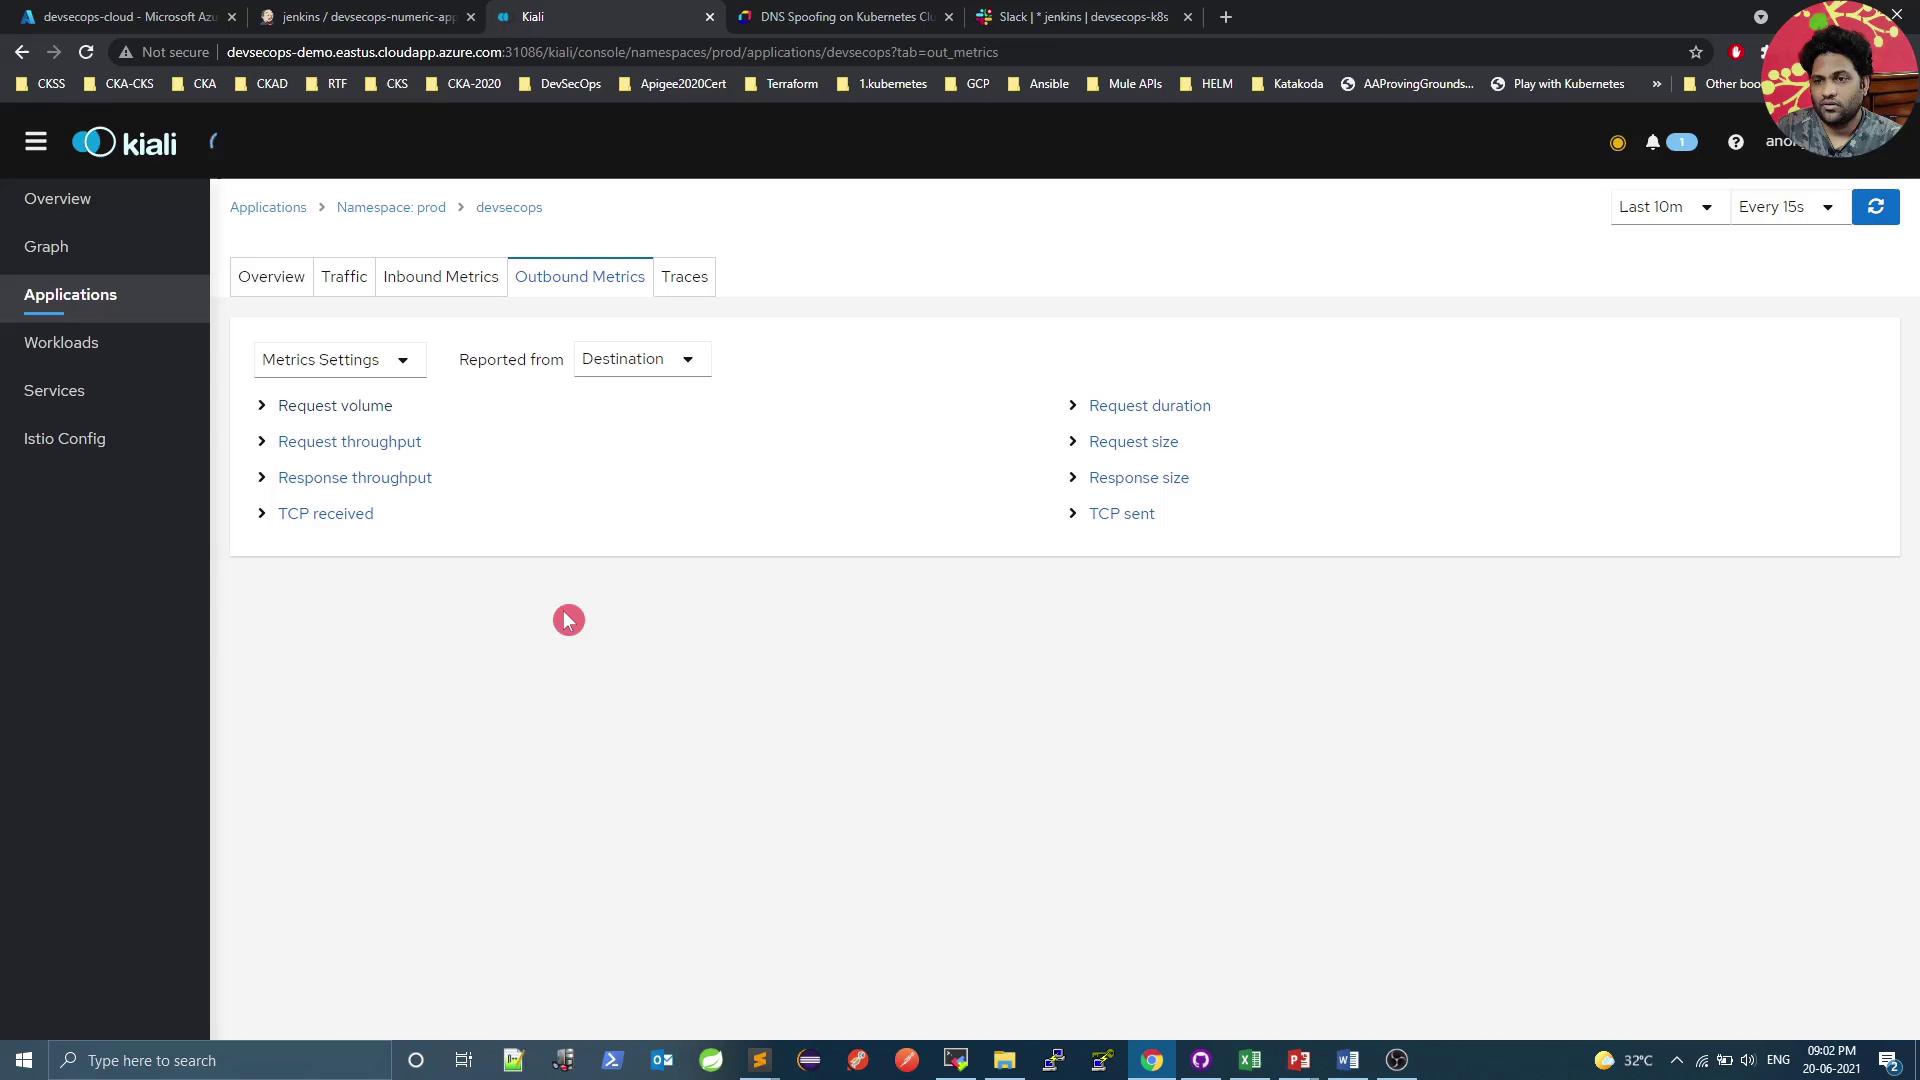
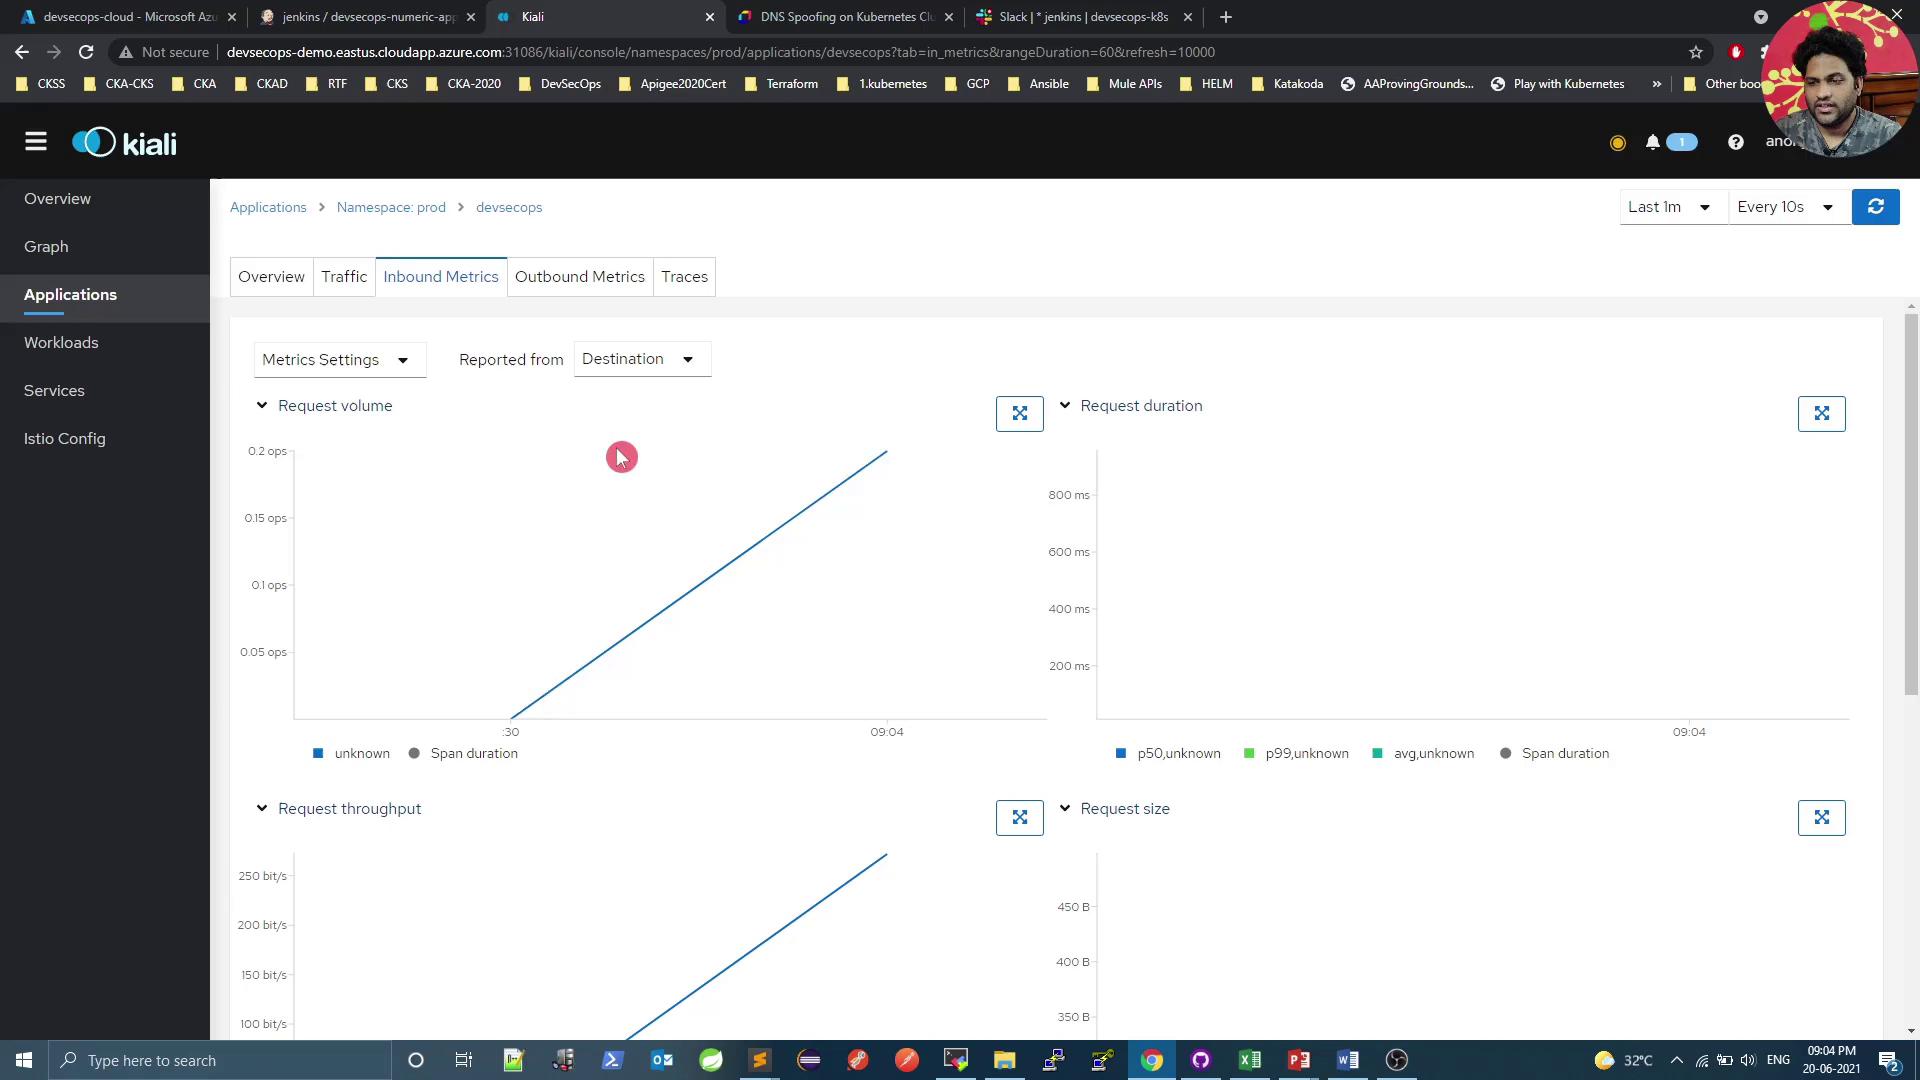
Visualizing with Kiali Kiali offers a comprehensive dashboard to monitor your service mesh. Below is a quick overview of key sections.
Namespaces Overview Outbound & Inbound Metrics Outbound Metrics Inbound Metrics Generating Traffic Use a simple curl loop to generate load and see real-time metrics:
# Get service endpoints kubectl -n istio-system get svc kiali kubectl -n prod get svc # Loop requests while true ; do curl -s 10.101.121.127:8080/increment/99 echo sleep 1 done
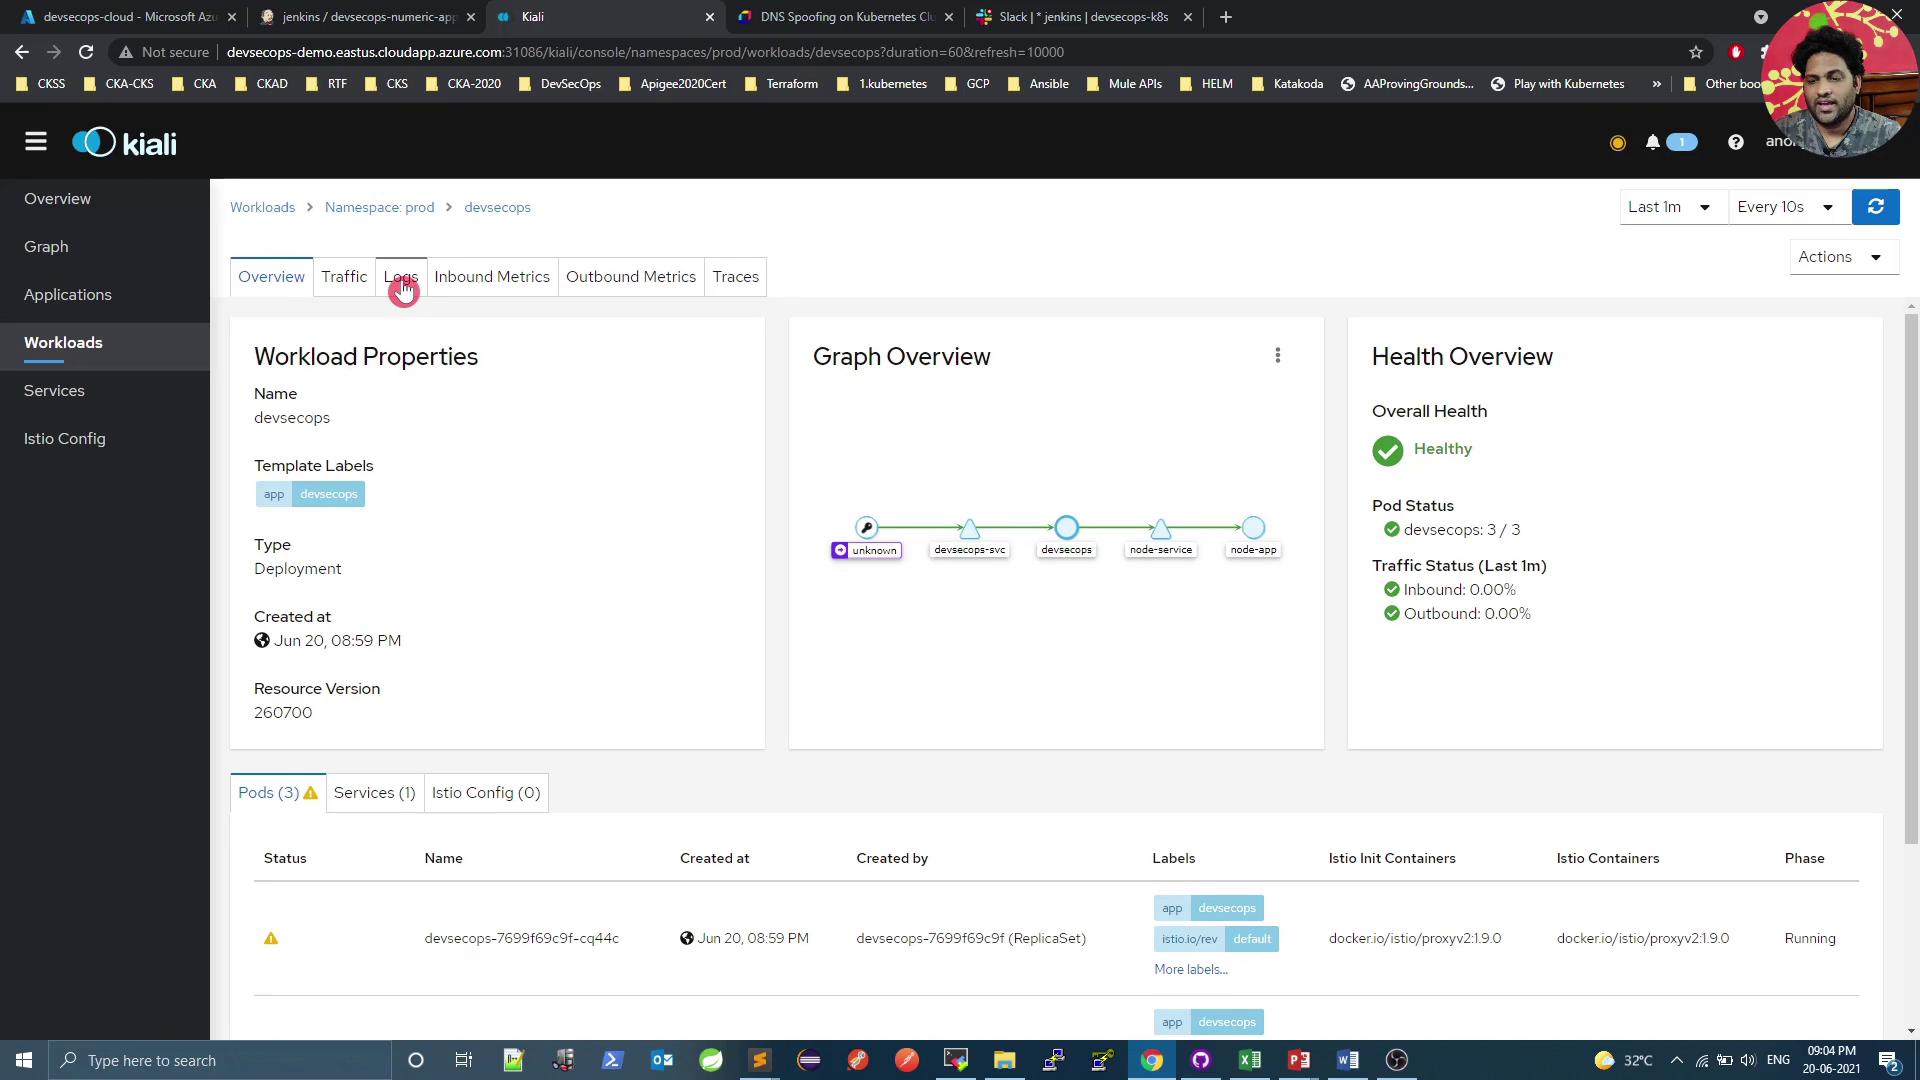
Workload Health and Logs Access logs directly in Kiali:
2021-06-26 15:33:40.059 INFO 1 --- [nio-8080-exec-2] com.devsecops.NumericController : Value Received in Request - 99 ... [2021-06-20T15:33:47.962Z] "GET /increment/99 HTTP/1.1" 200 0 3 ... inbound|8080|
Service Mesh Graph The lock icon indicates that mutual TLS (mTLS) is enforced between services.
References