Table of Contents
- Prerequisites
- Create the Pipeline
- Inspect the Build Results
- Configure Kubernetes CLI Plugin
- Add the Kubeconfig Credential
- Update Pipeline with Kubeconfig
- Verify Success
- References & Links
Prerequisites
- Jenkins (v2.x or later) with Pipeline plugin
- Agents that have Git, Maven, Docker, and
kubectlinstalled - Admin access to Jenkins for managing credentials
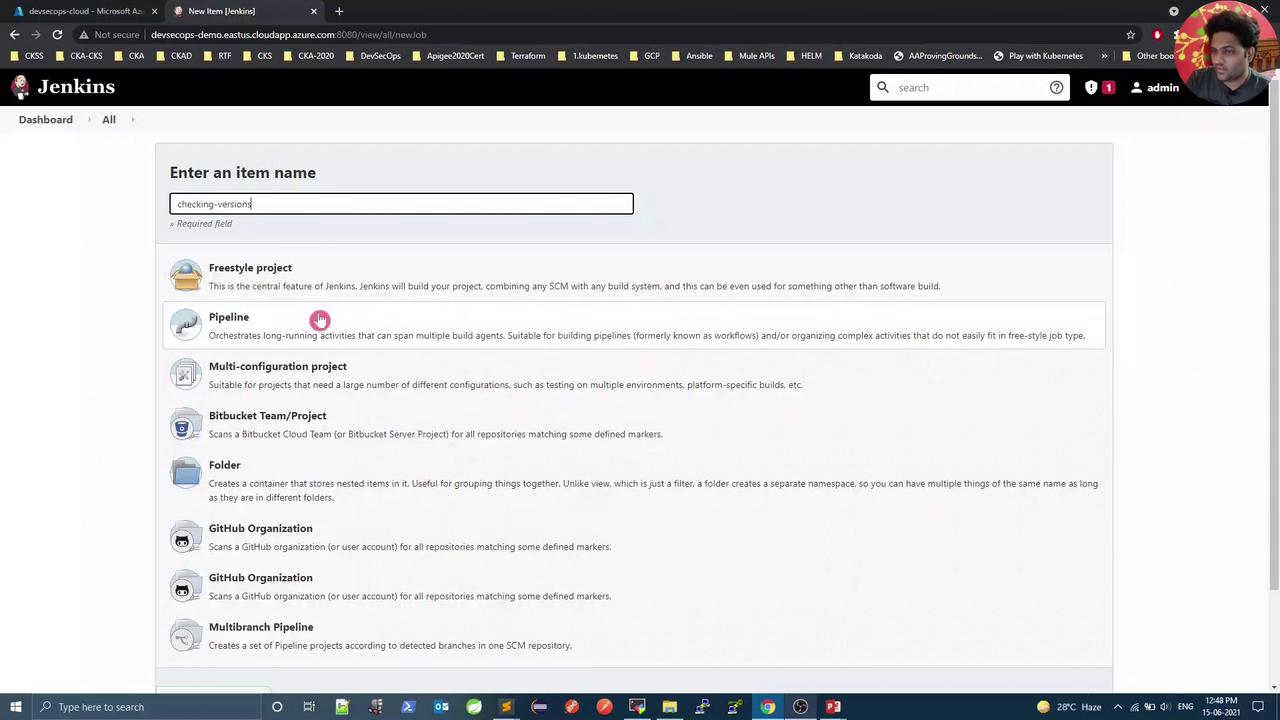
Create the Pipeline
- In Jenkins, click New Item.
- Enter checking-versions as the name.
- Select Pipeline and click OK.
Inspect the Build Results
Once the job runs, the Pipeline view will display four stages. The first three should pass, but the Kubernetes stage may fail due to missing cluster credentials: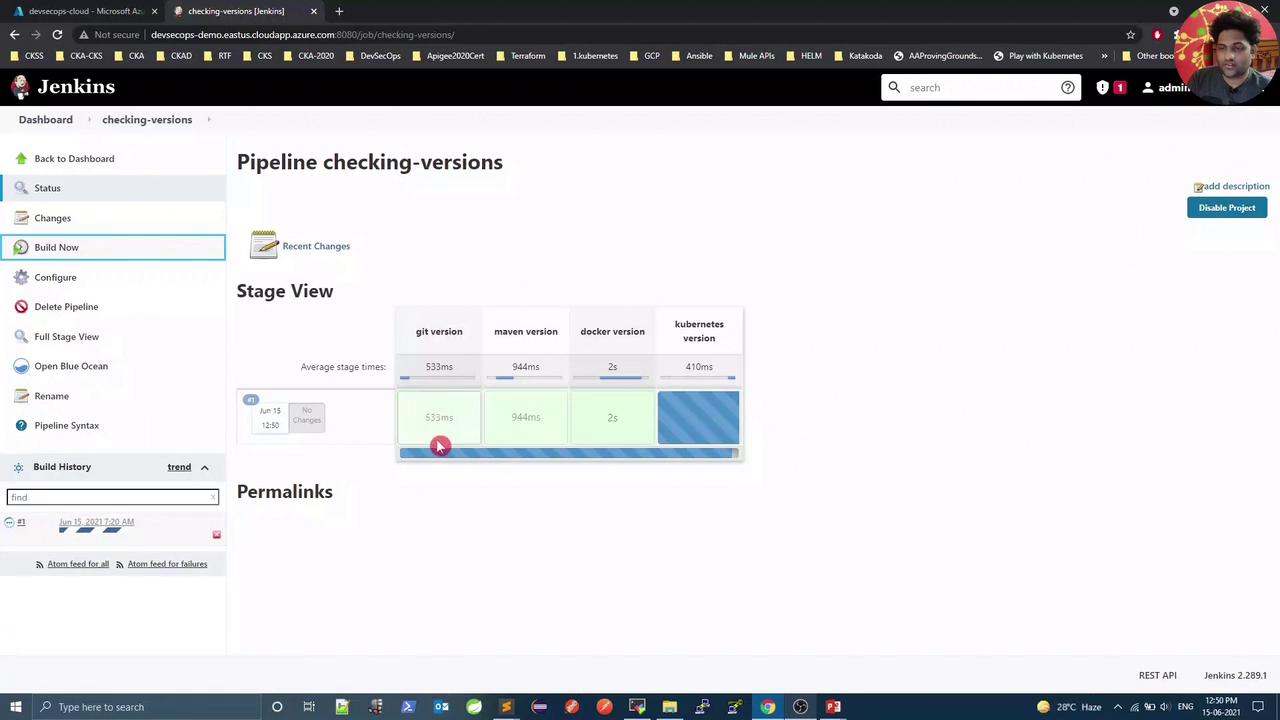
The Kubernetes CLI ran locally but failed to authenticate with the API server.
Configure Kubernetes CLI Plugin
To inject akubeconfig into your build, install and use the Kubernetes CLI Plugin.
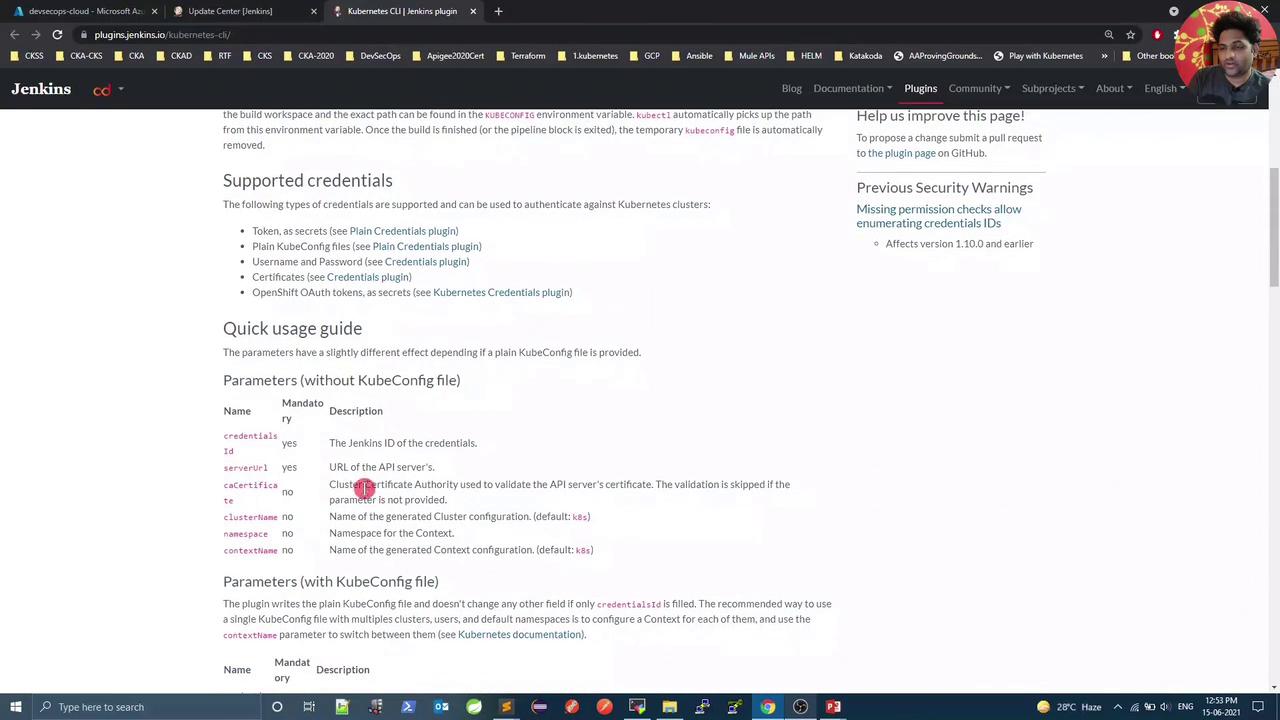
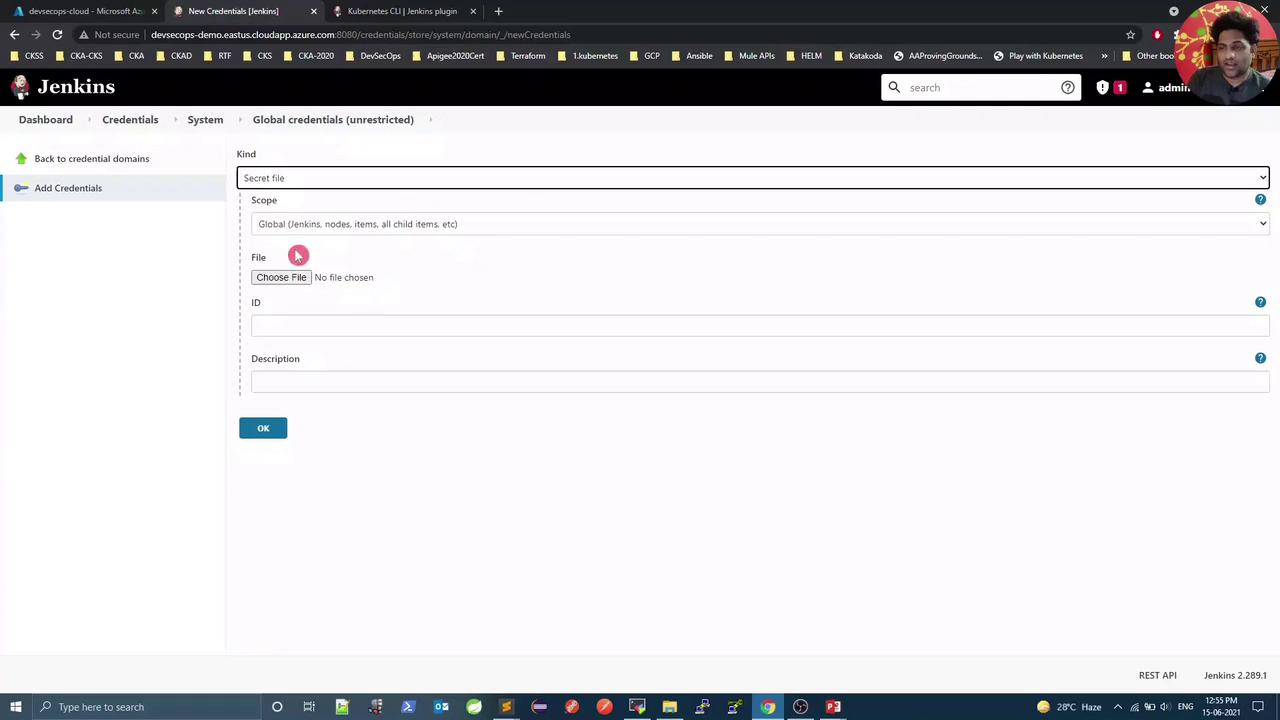
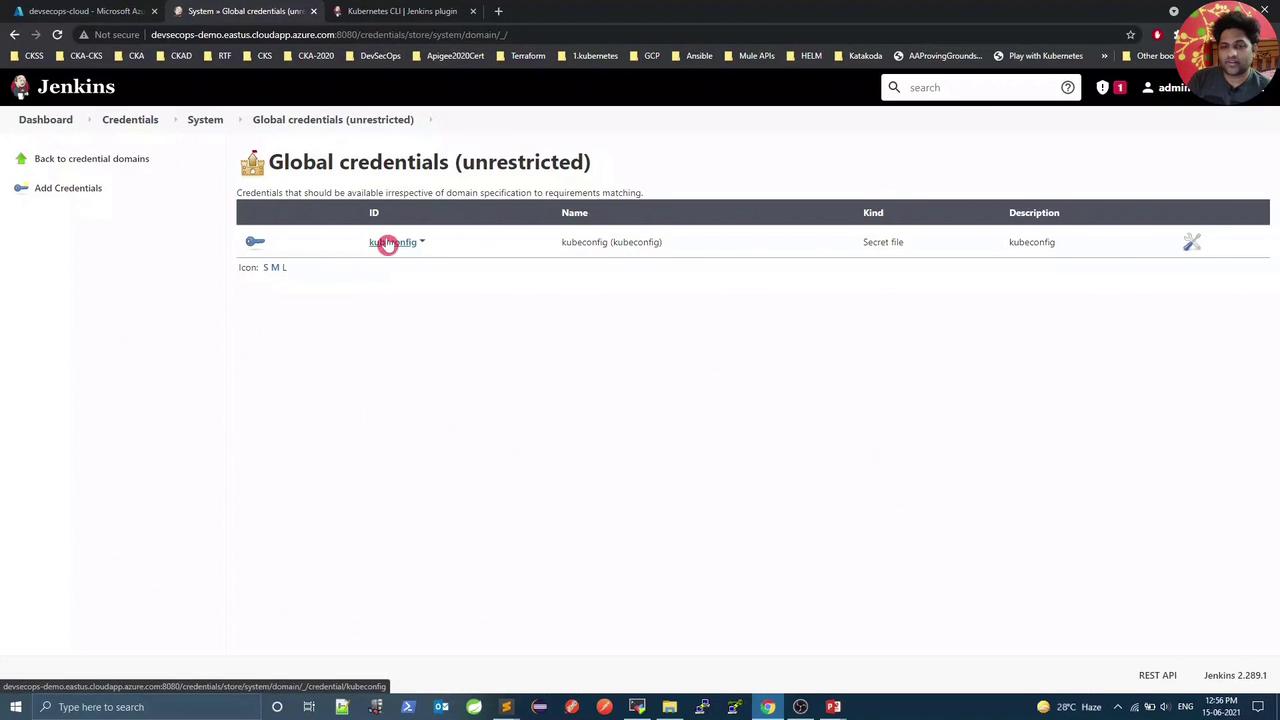
Add the Kubeconfig Credential
- Go to Manage Jenkins → Manage Credentials.
- Under Global, click Add Credentials.
- For Kind, select Secret file and upload your local
kubeconfig. - Set ID to
kubeconfig, add a description, then OK.
Update Pipeline with Kubeconfig
Edit the checking-versions Pipeline script. Wrap the Kubernetes stage withwithKubeConfig:
Verify Success
Now all four stages—including both Kubernetes client and server checks—should pass:For production, avoid using a cluster-admin
kubeconfig. Instead, create a ServiceAccount with minimal RBAC permissions for Jenkins.