- Creating a custom Slack App & bot user
- Assigning OAuth scopes for attachments and emojis
- Generating and storing an OAuth token in Jenkins
- Configuring the Slack plugin in Jenkins
- Testing notifications and troubleshooting common issues
Prerequisites: Slack Notification Plugin
Make sure the Slack Notification Plugin is installed in your Jenkins instance. It provides the
slackSend step with support for attachments and Block Kit layouts.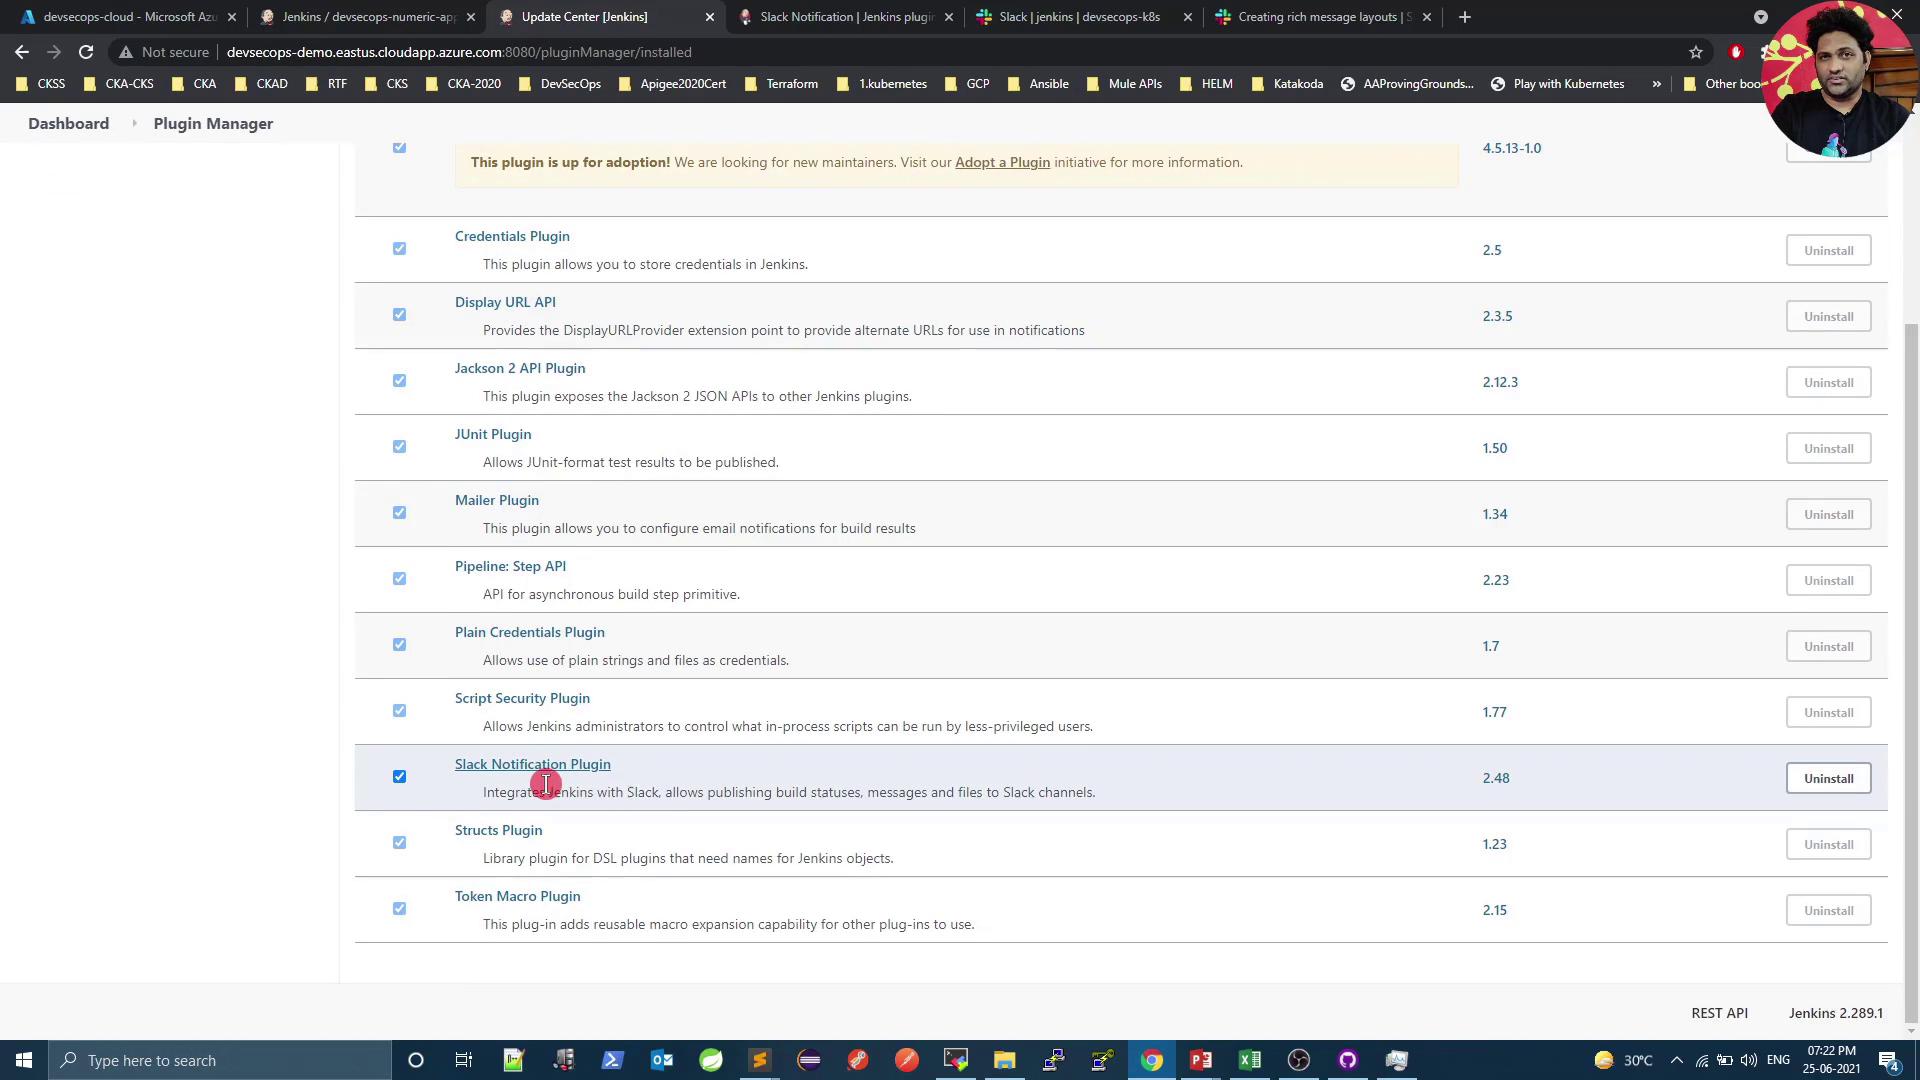
Adding Attachments
Define an attachments array to include richer content: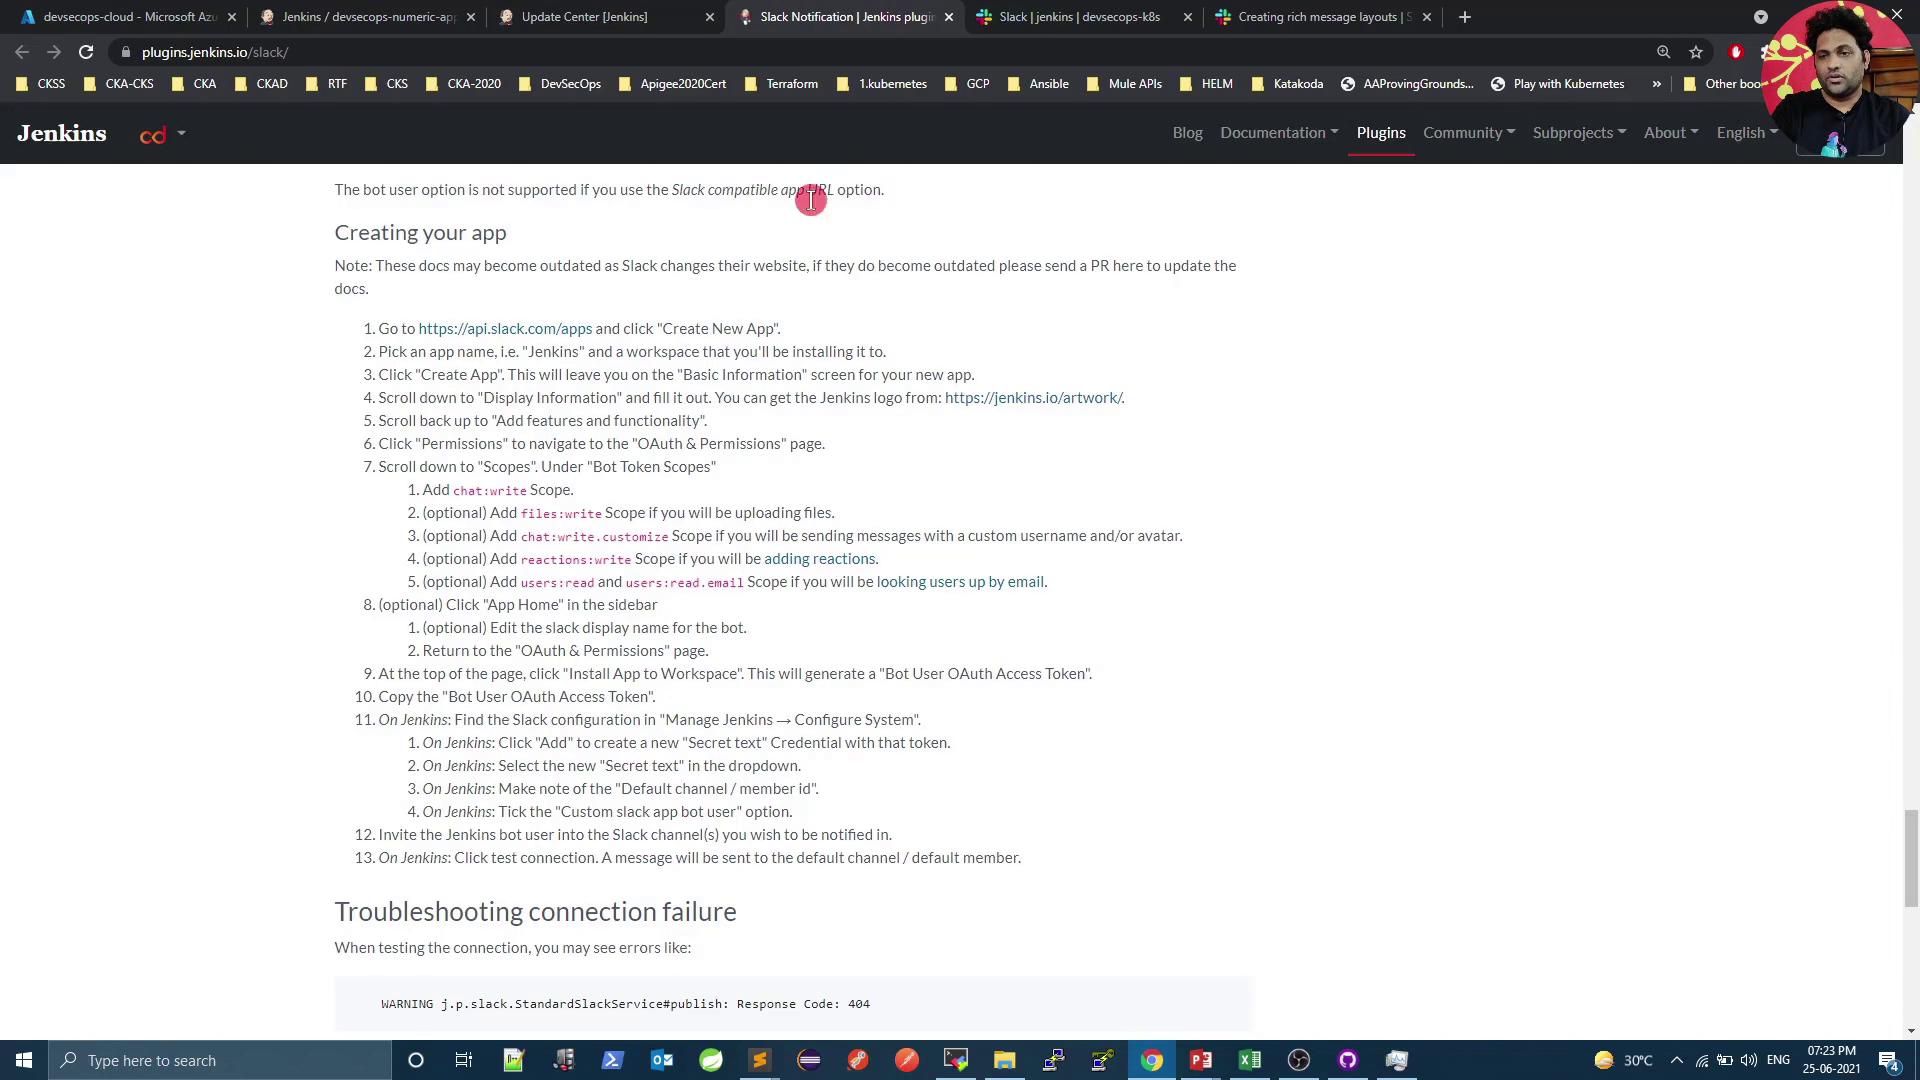
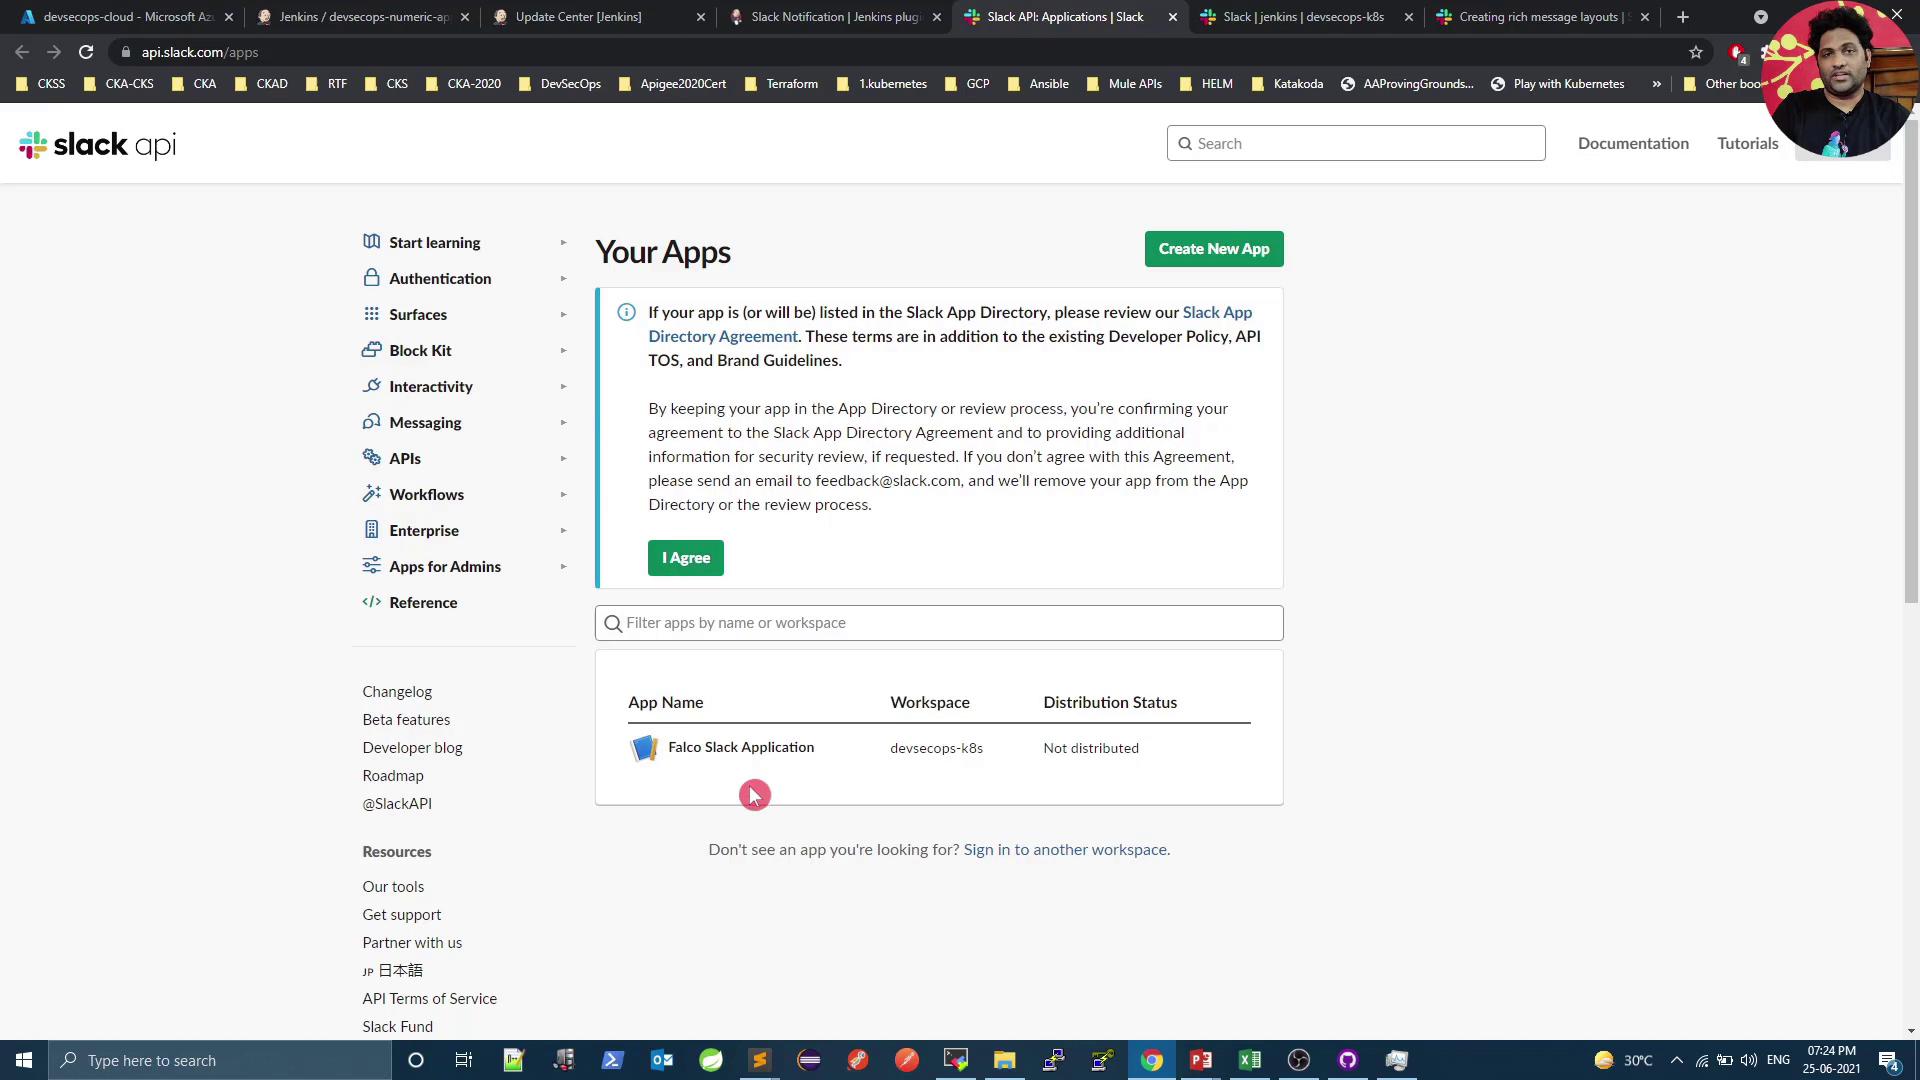
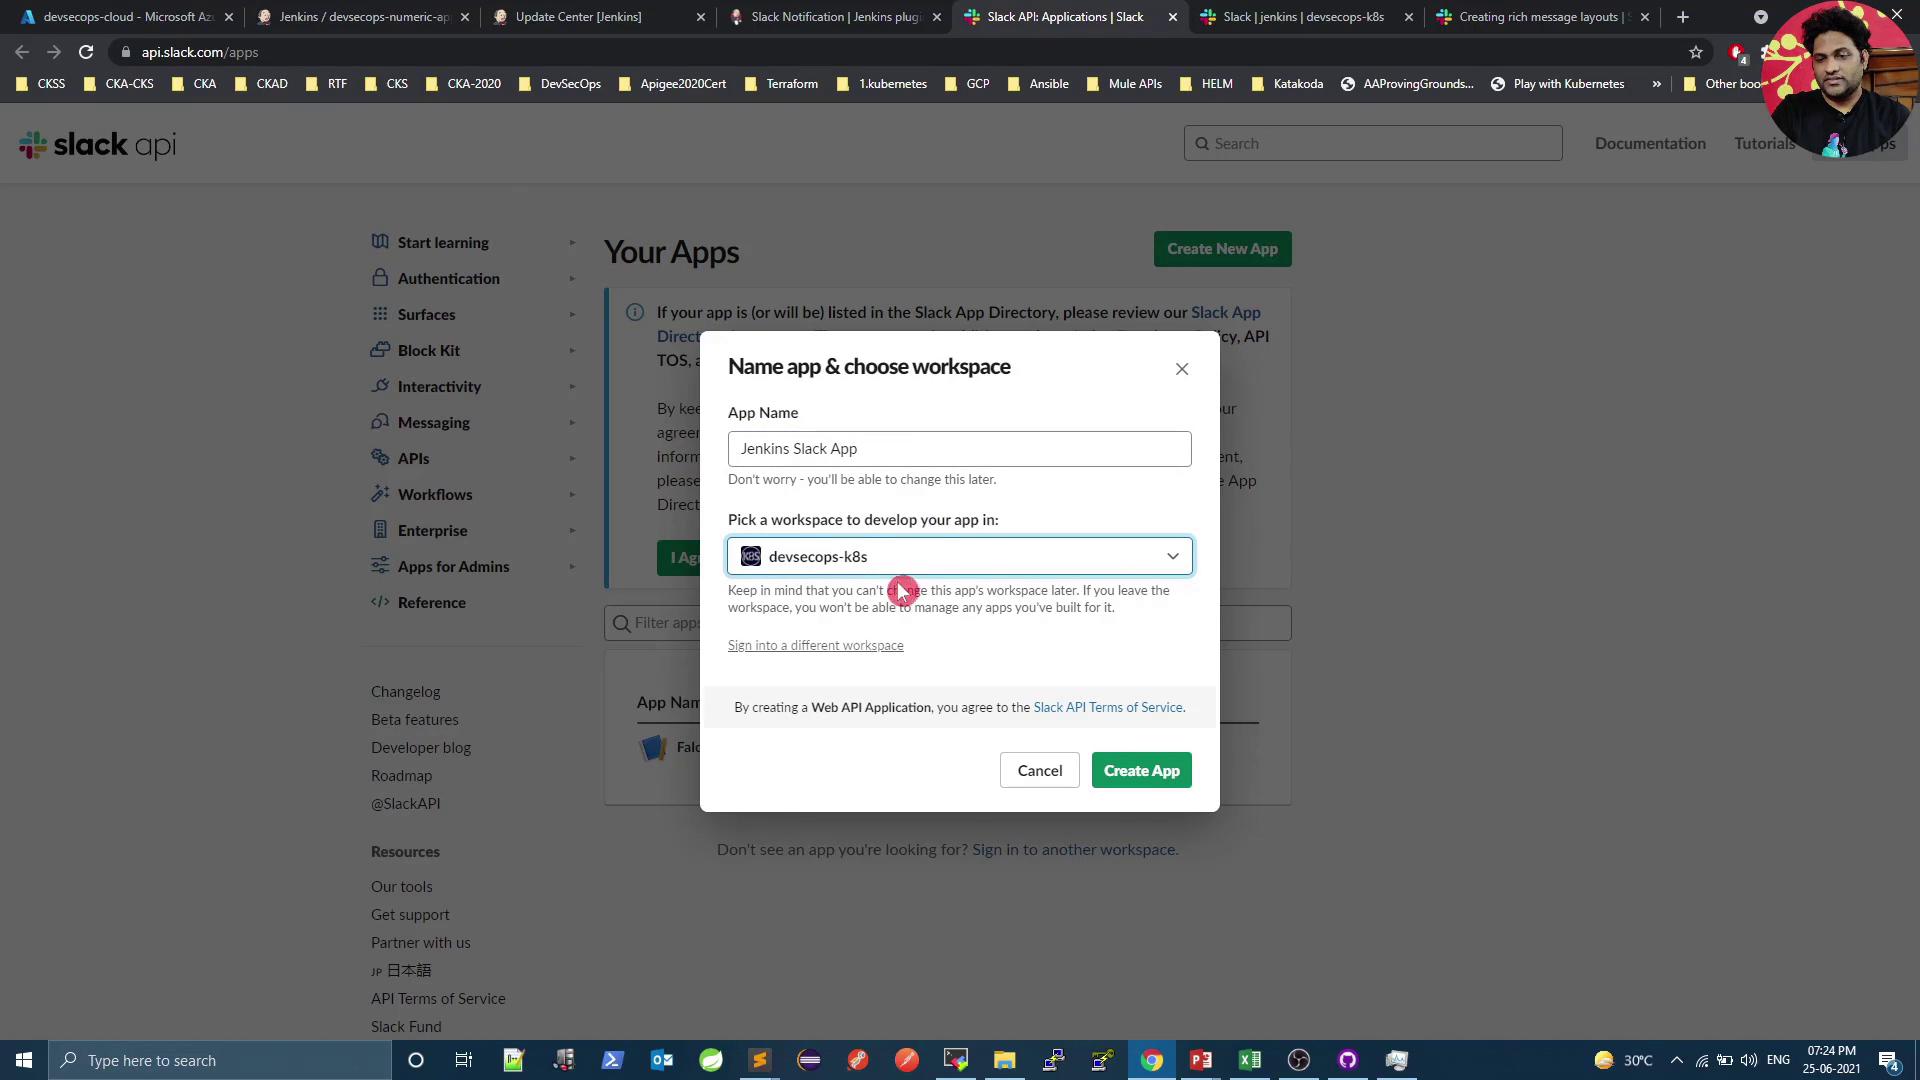
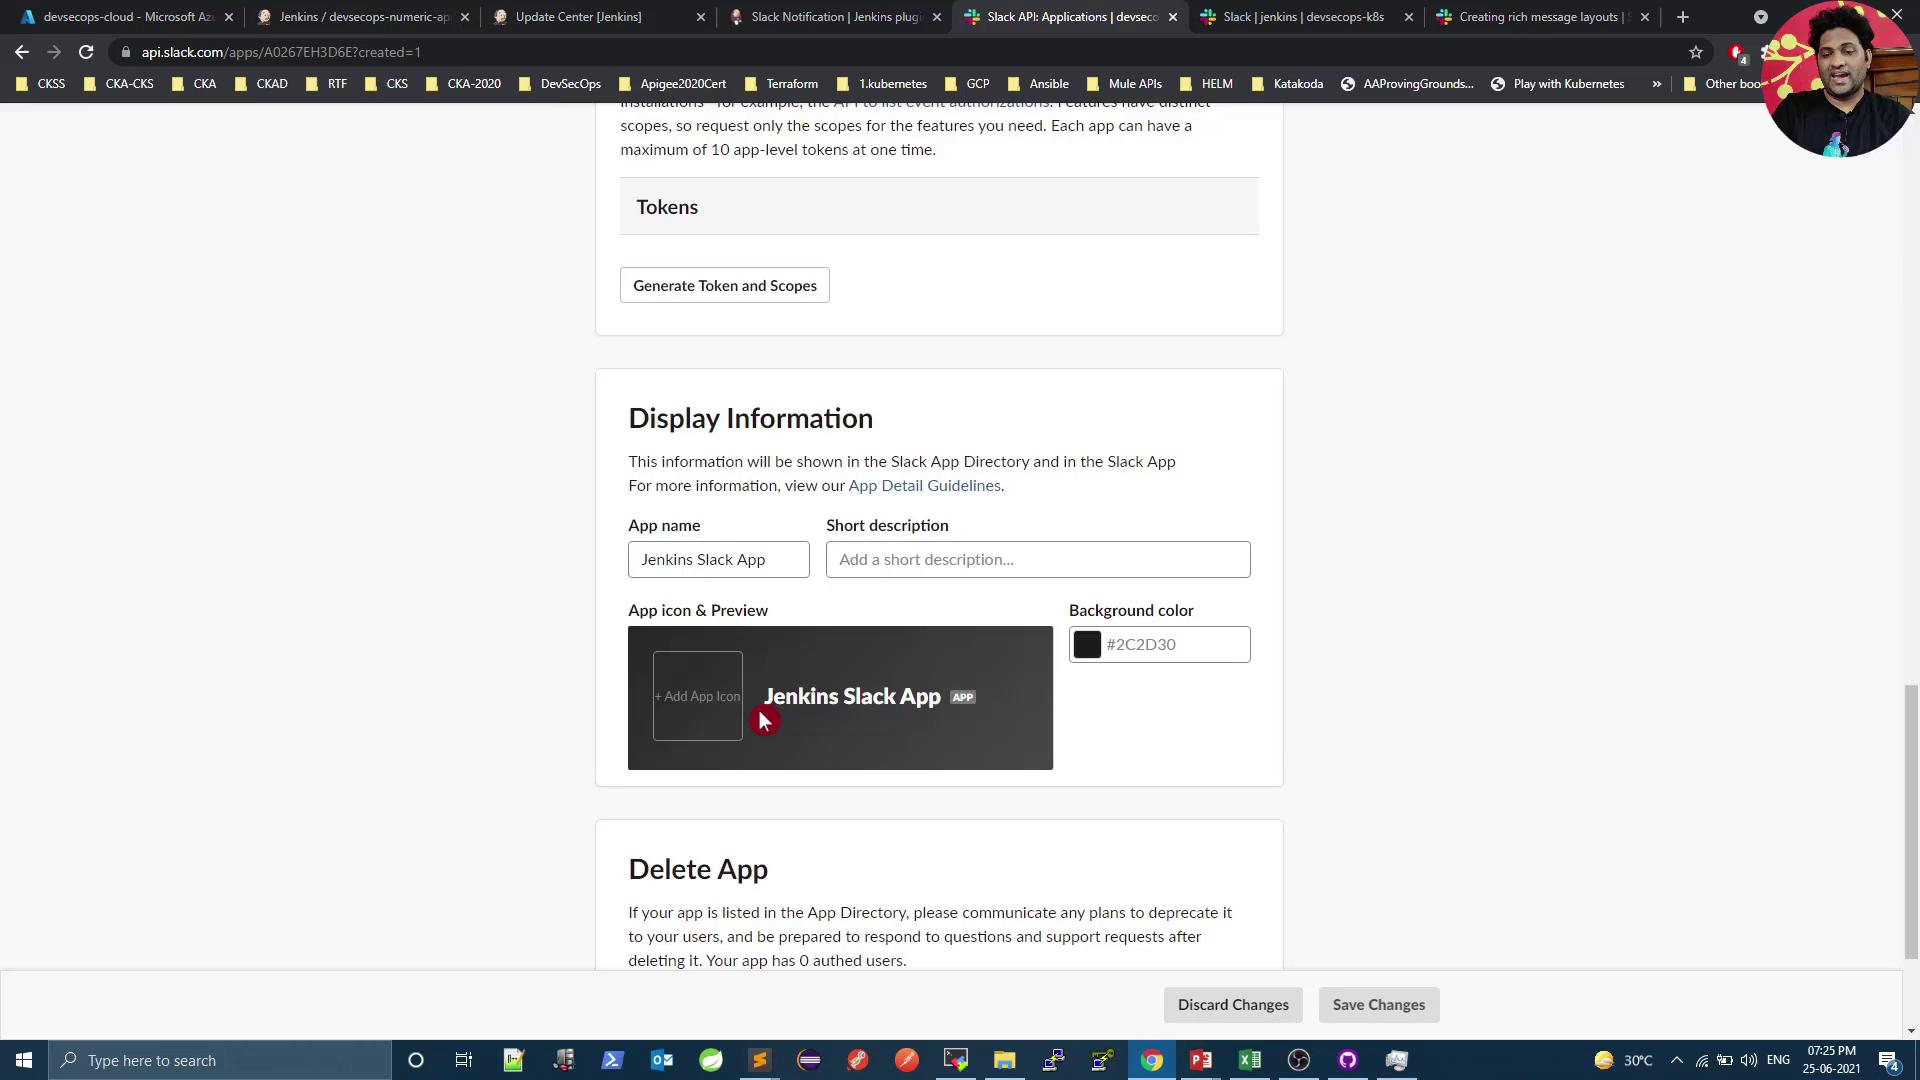
1. Create a Slack App
-
Open the Slack API dashboard:
https://api.slack.com/apps - Click Create an App and choose From scratch.
- Enter a name (e.g., Jenkins Slack App) and select your workspace.

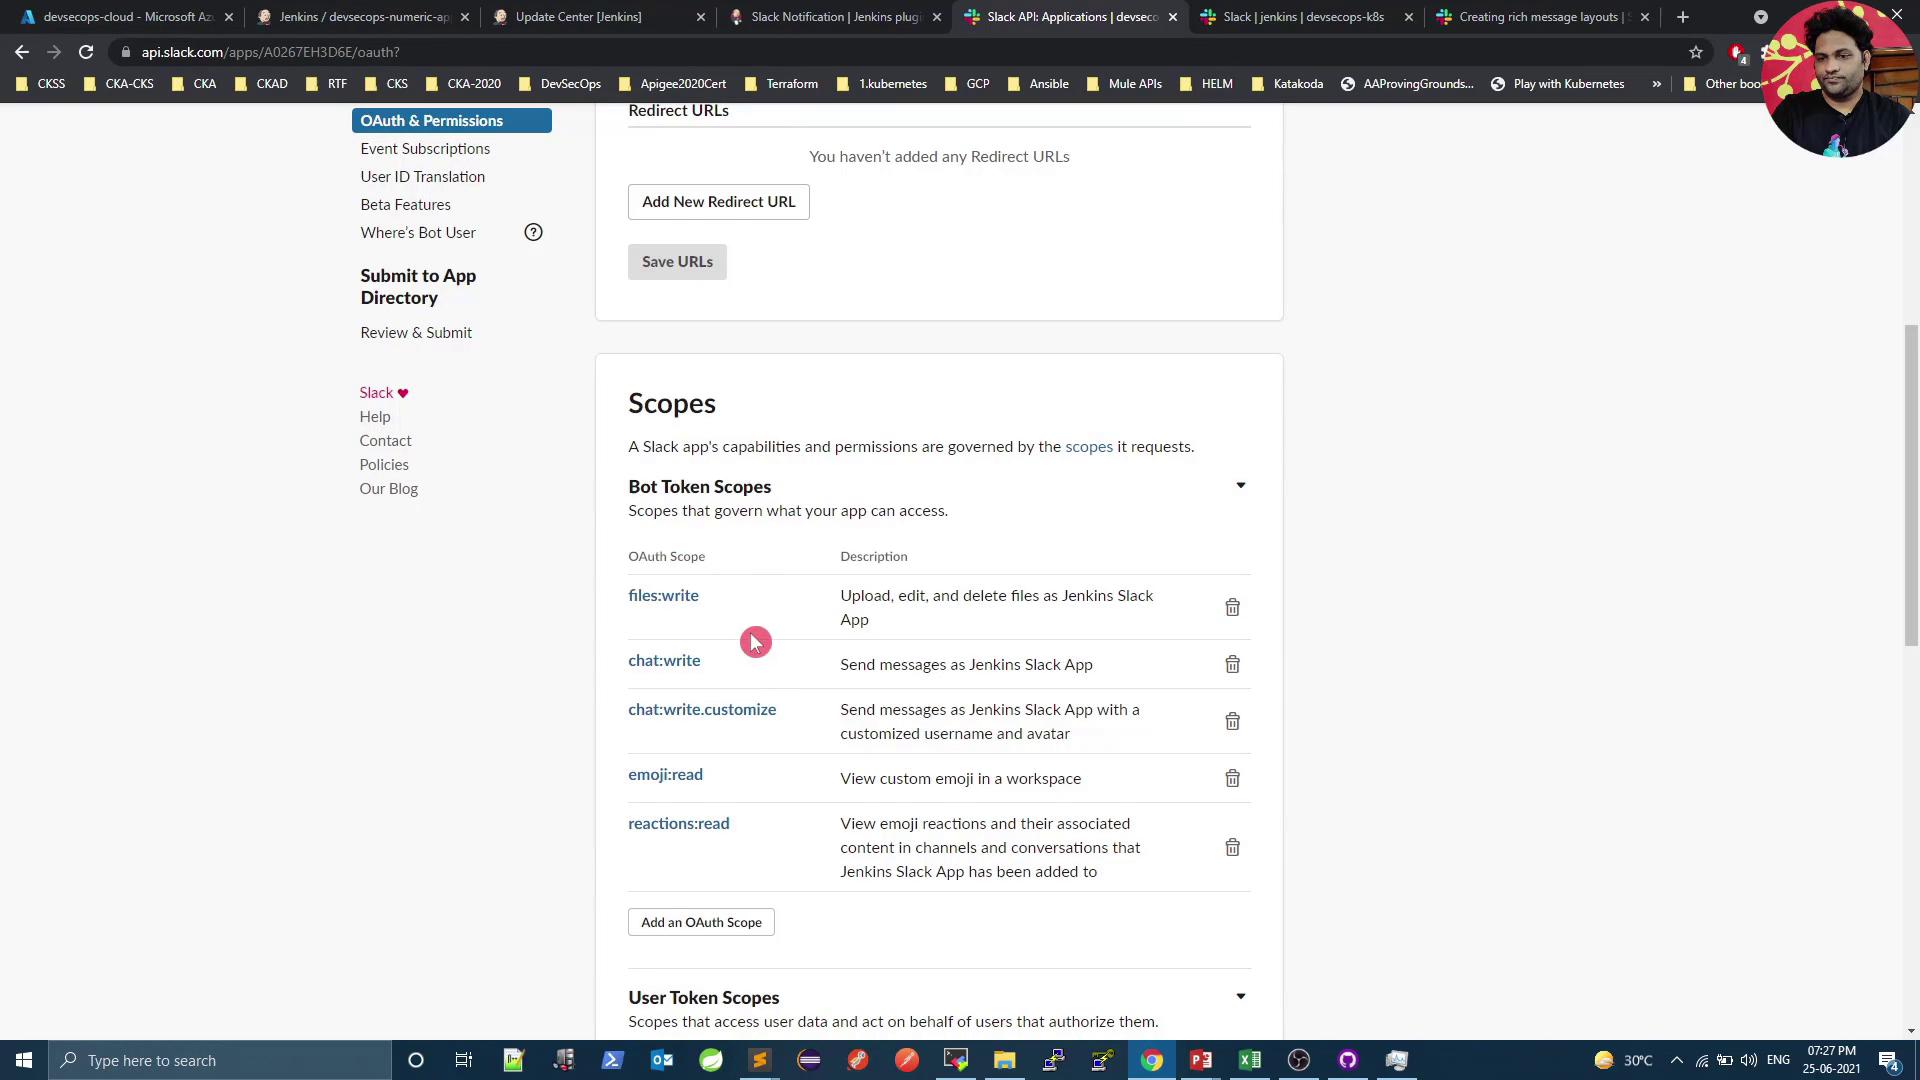
2. Assign Bot OAuth Scopes
In your app settings, go to OAuth & Permissions → Bot Token Scopes. Add the following:| Scope | Purpose |
|---|---|
| files:write | Upload and manage files |
| chat:write | Post messages in channels & direct messages |
| chat:write.customize | Use attachments and interactive elements |
| emoji:read | List custom emojis |
| reactions:write | Add or remove reactions |
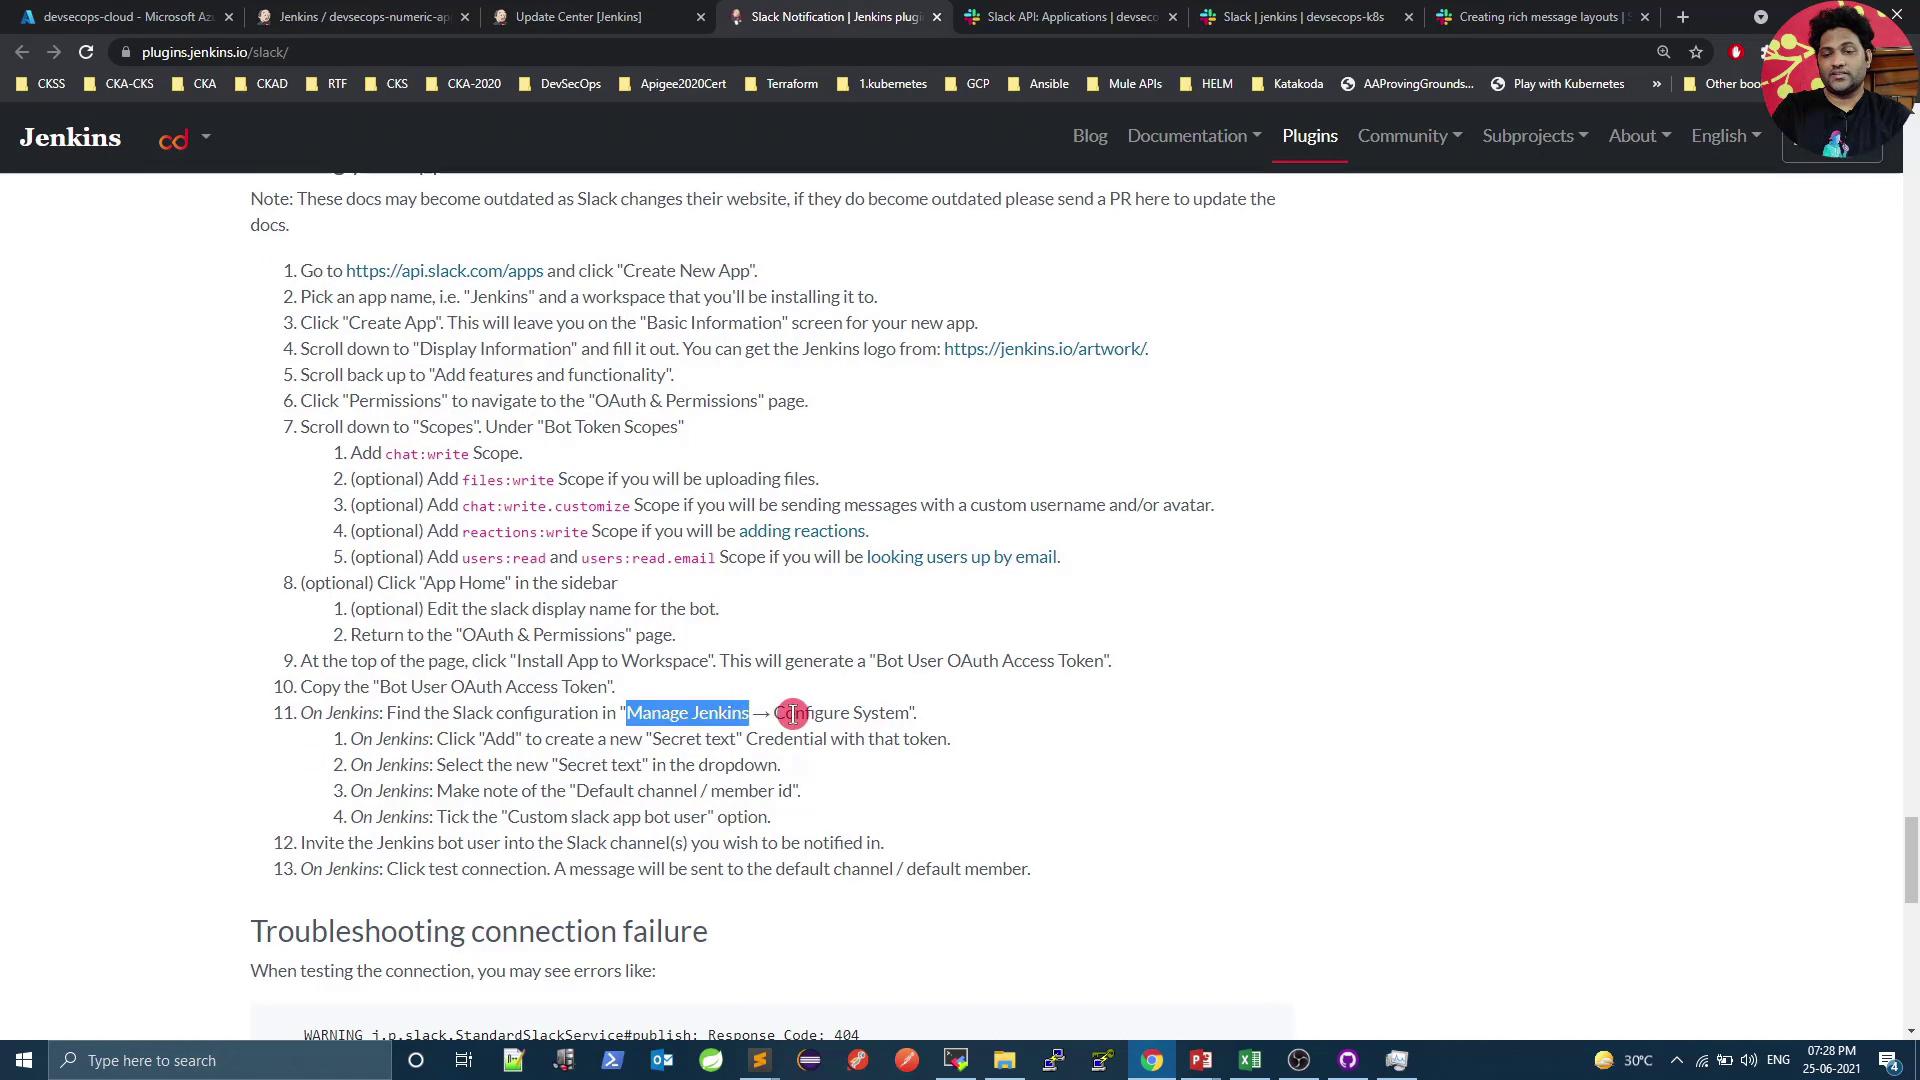
3. Configure Jenkins
- In Jenkins, navigate to Manage Jenkins → Configure System.
- Find the Slack section.
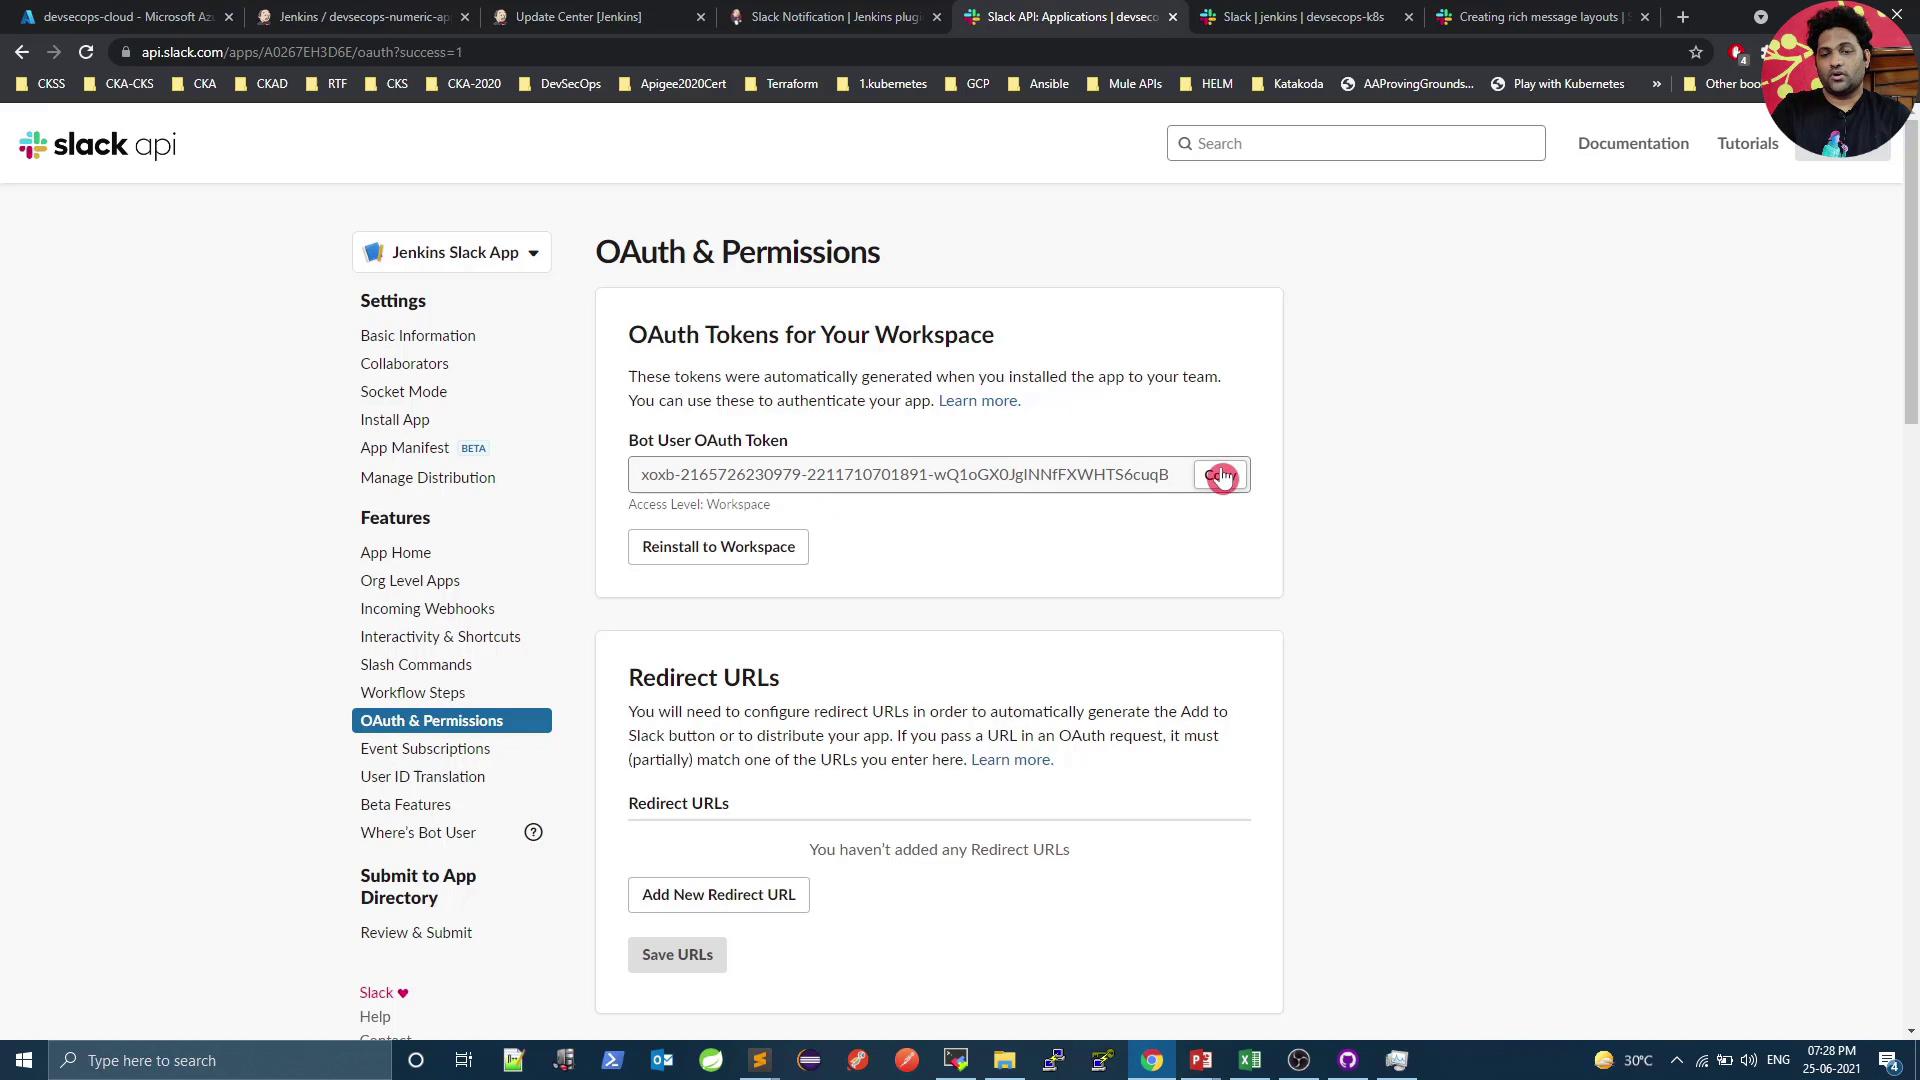
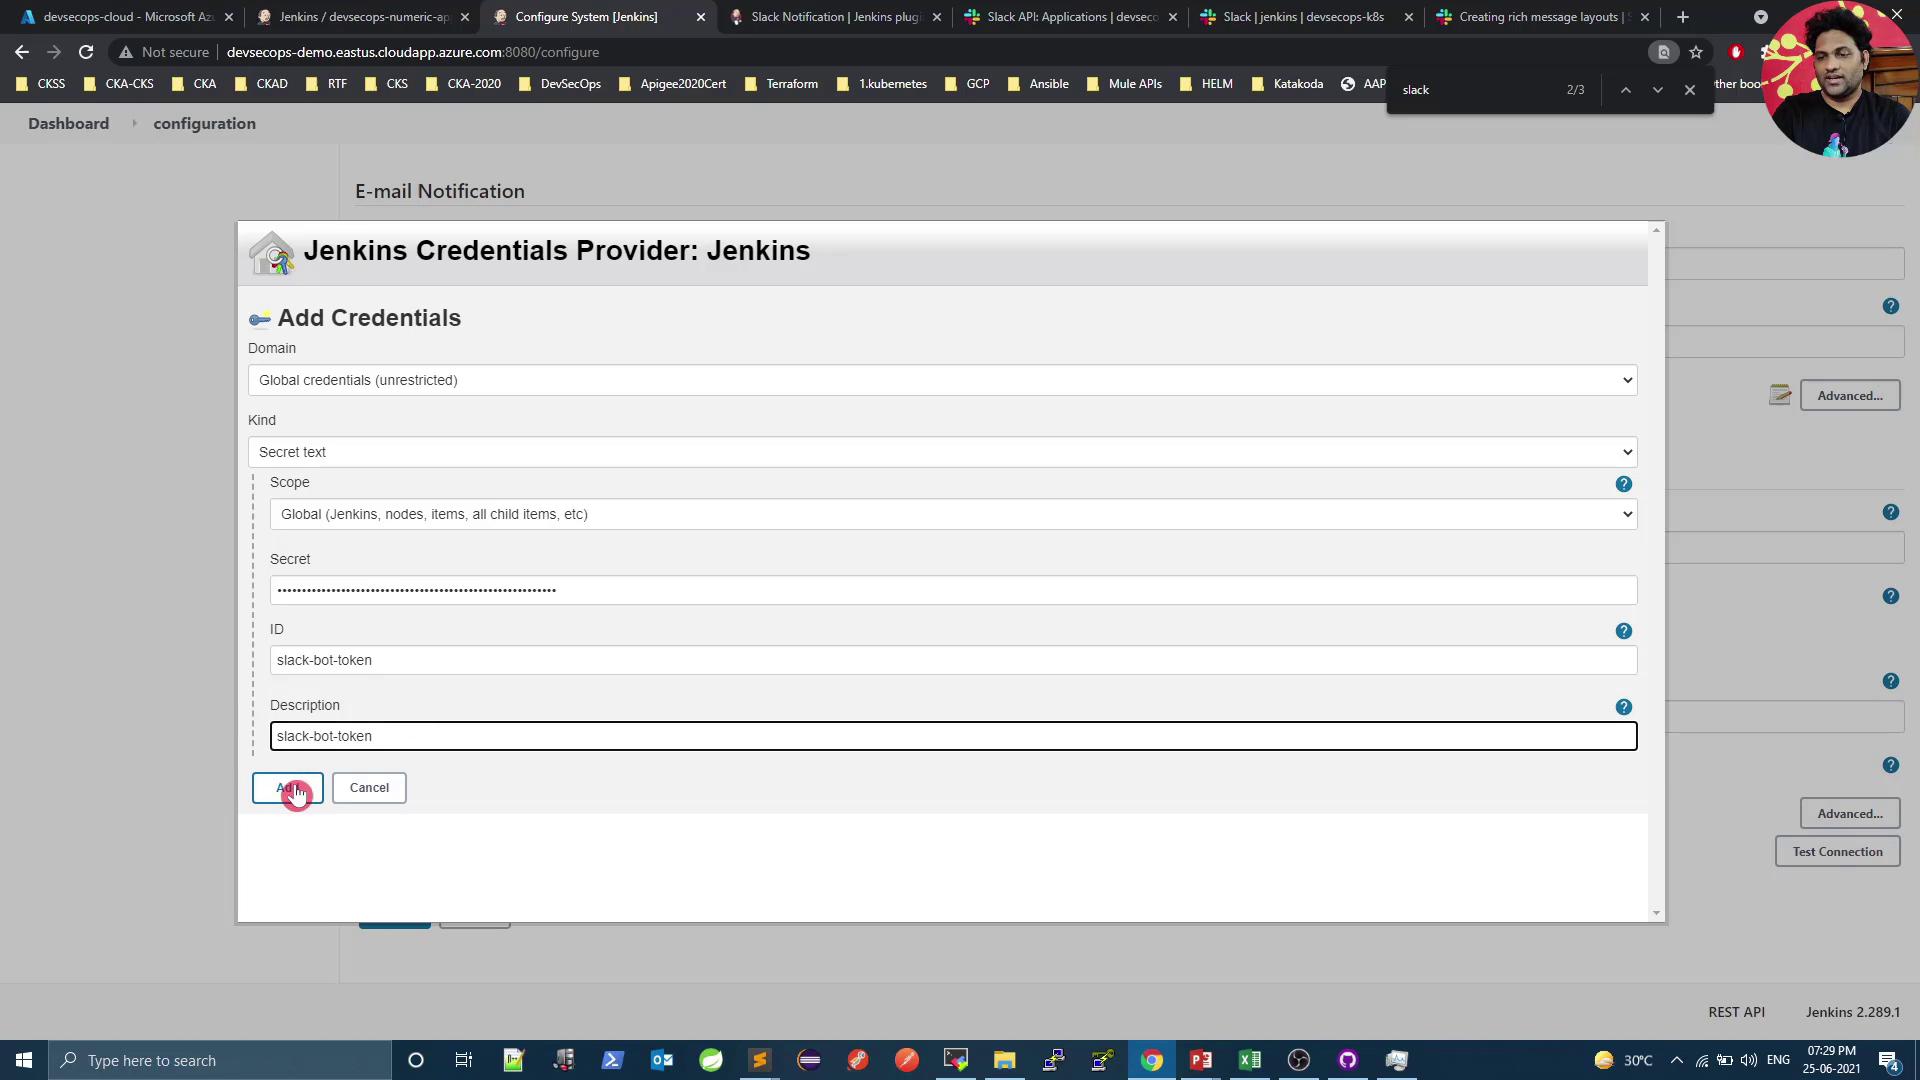
- Under Credentials, click Add → Jenkins → Secret text.
- Paste your Bot User OAuth Token and give it an ID (e.g.,
slack-bot-token).
- Back in the Slack section, set:
- Team Domain: your-workspace
- Integration Token Credential: select your secret text
- Default Channel:
#jenkins
Test the Connection
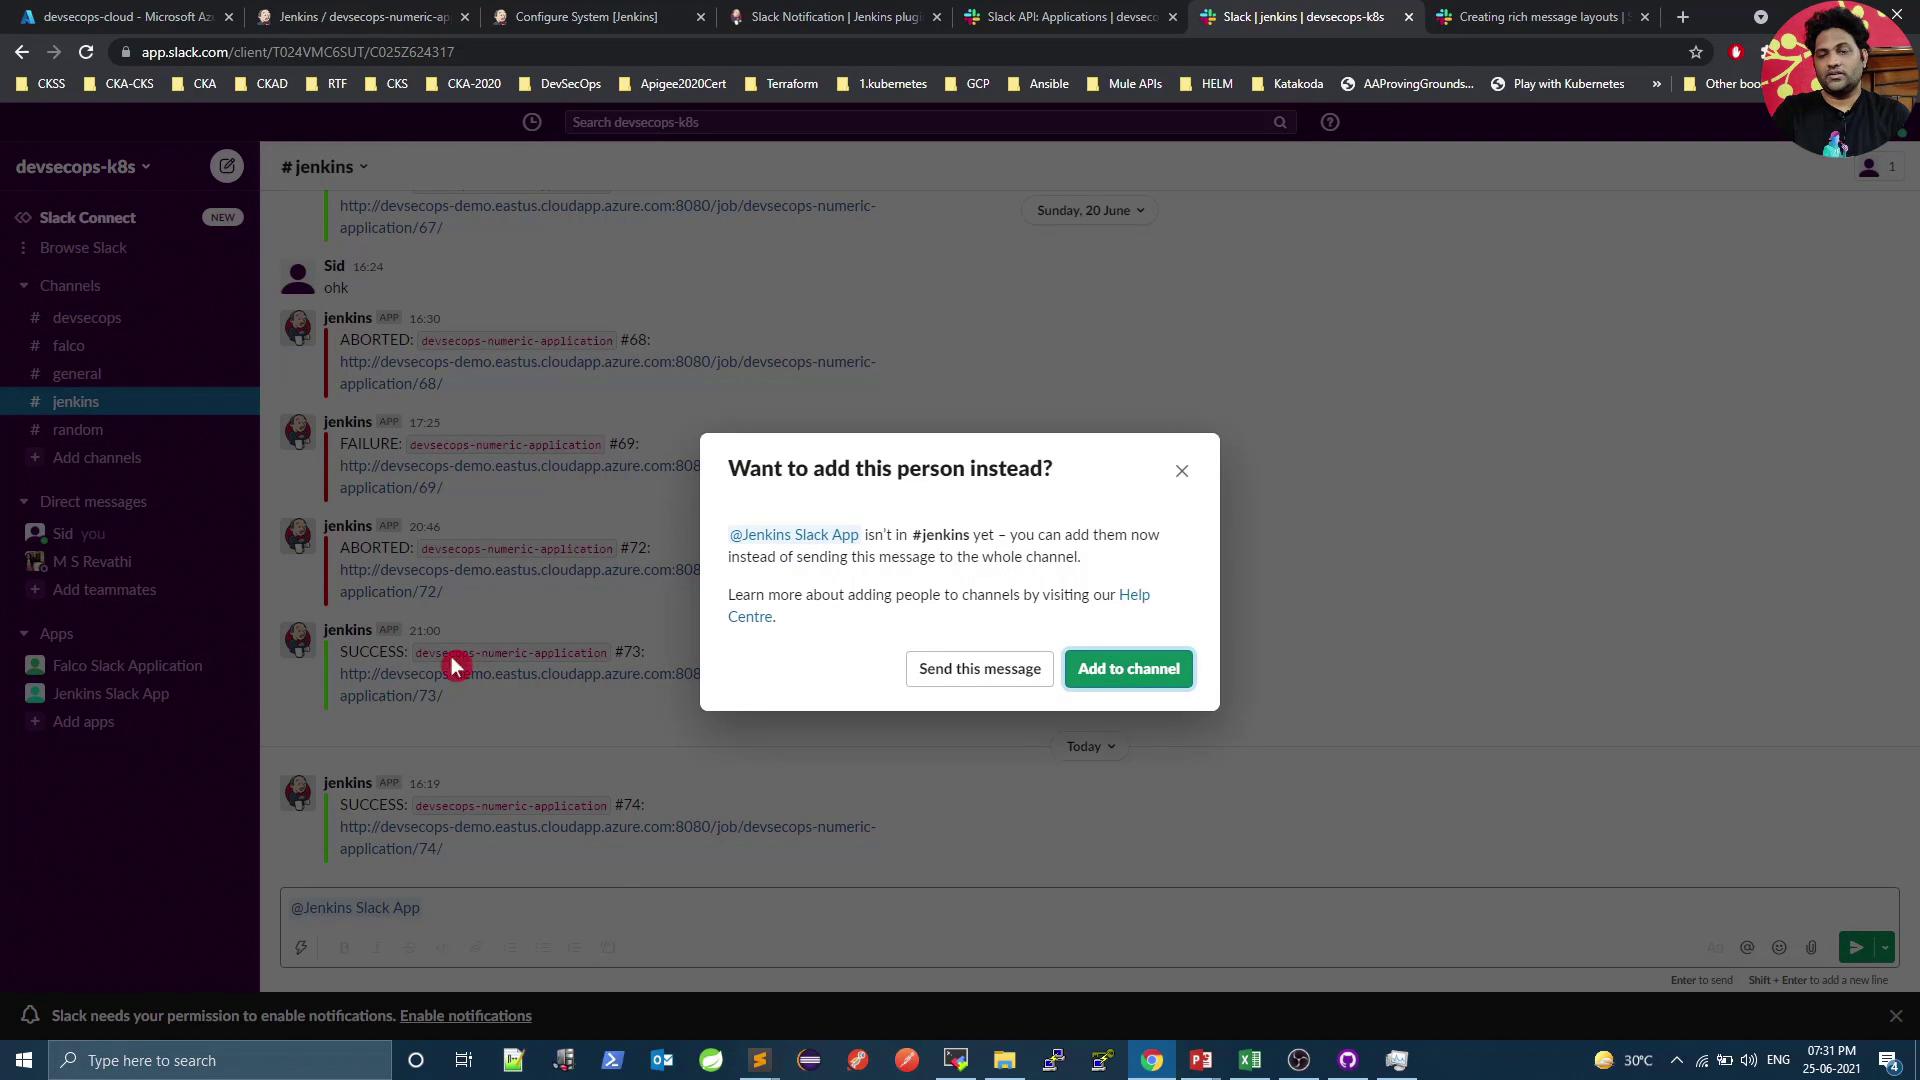
Click Test Connection.If you receive
{"ok":false,"error":"not_in_channel"}, the bot hasn’t been invited to your channel yet.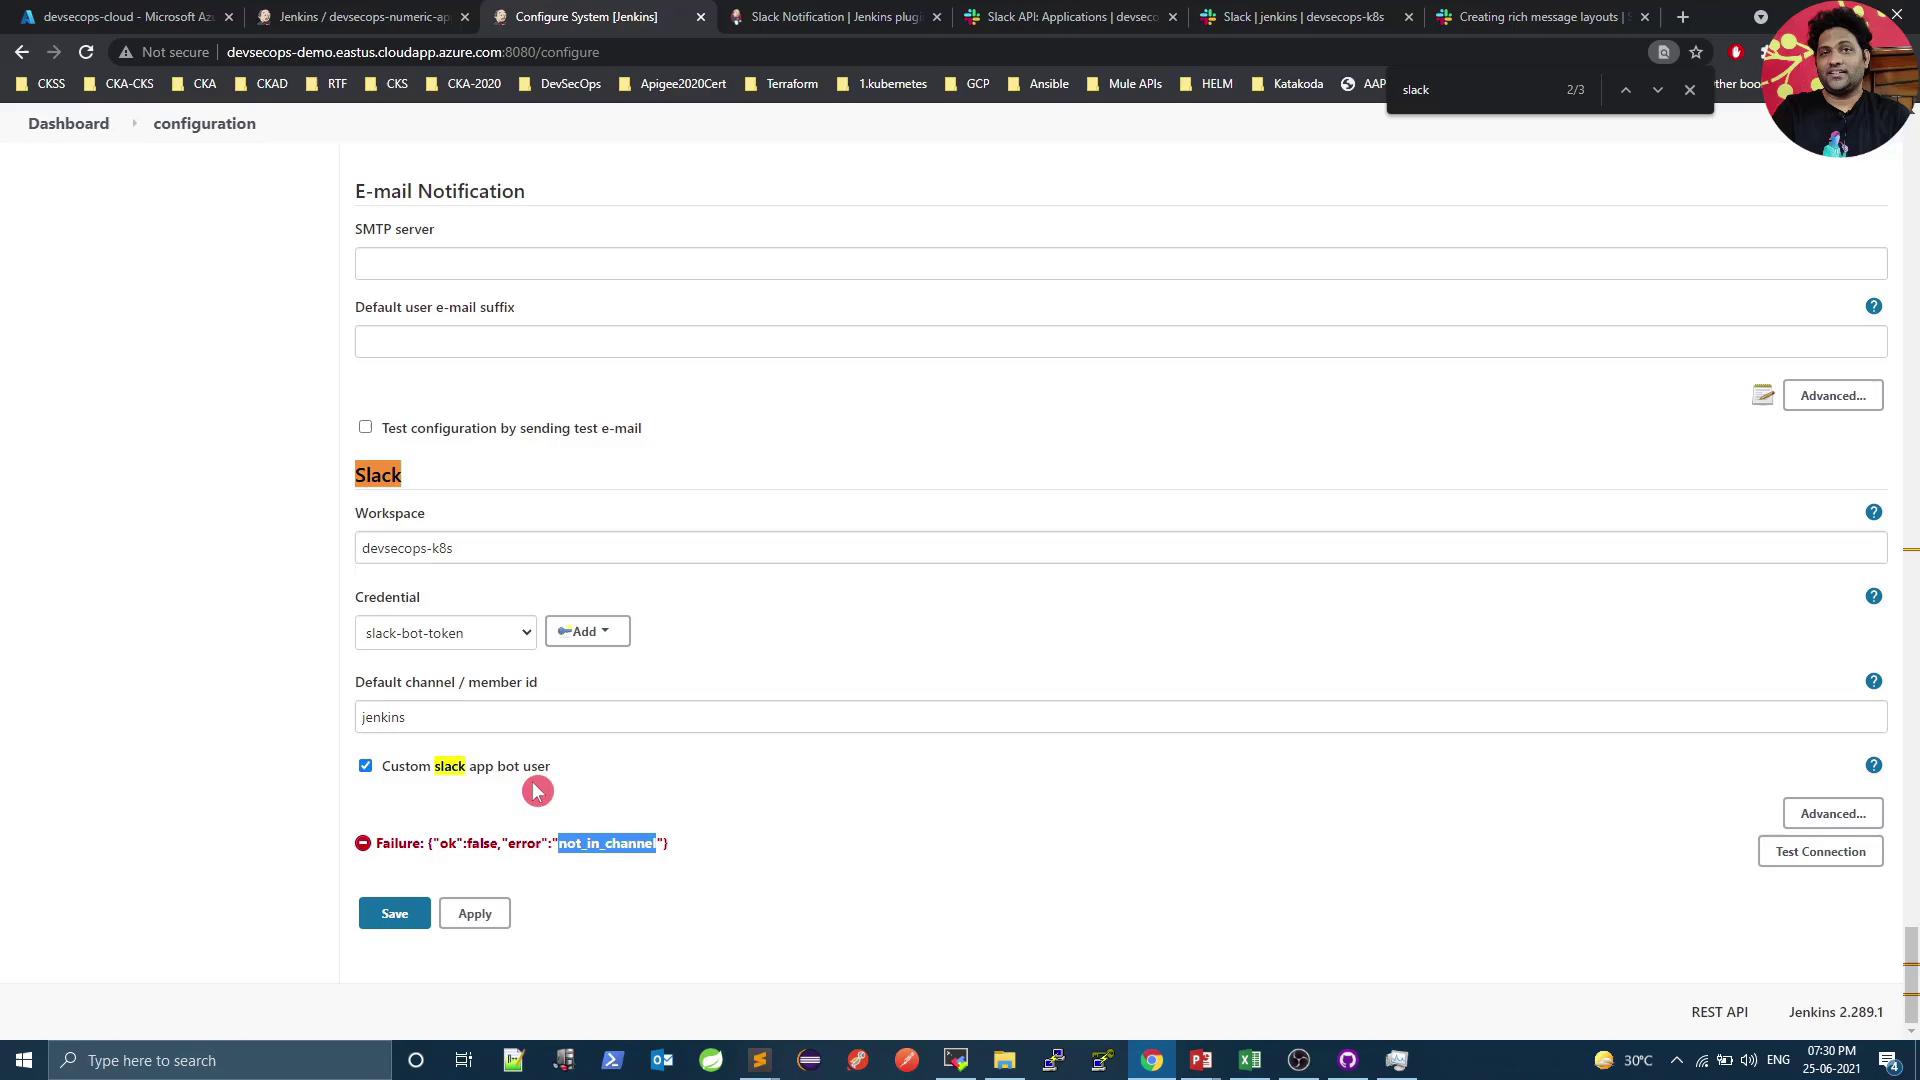
Next Steps
- Explore Slack Block Kit for advanced layouts: Block Kit Builder
- Use interactive buttons and menus in your pipeline notifications
- Integrate job logs, Git diff summaries, or Kubernetes pod links