1. Install the Audit Trail Plugin
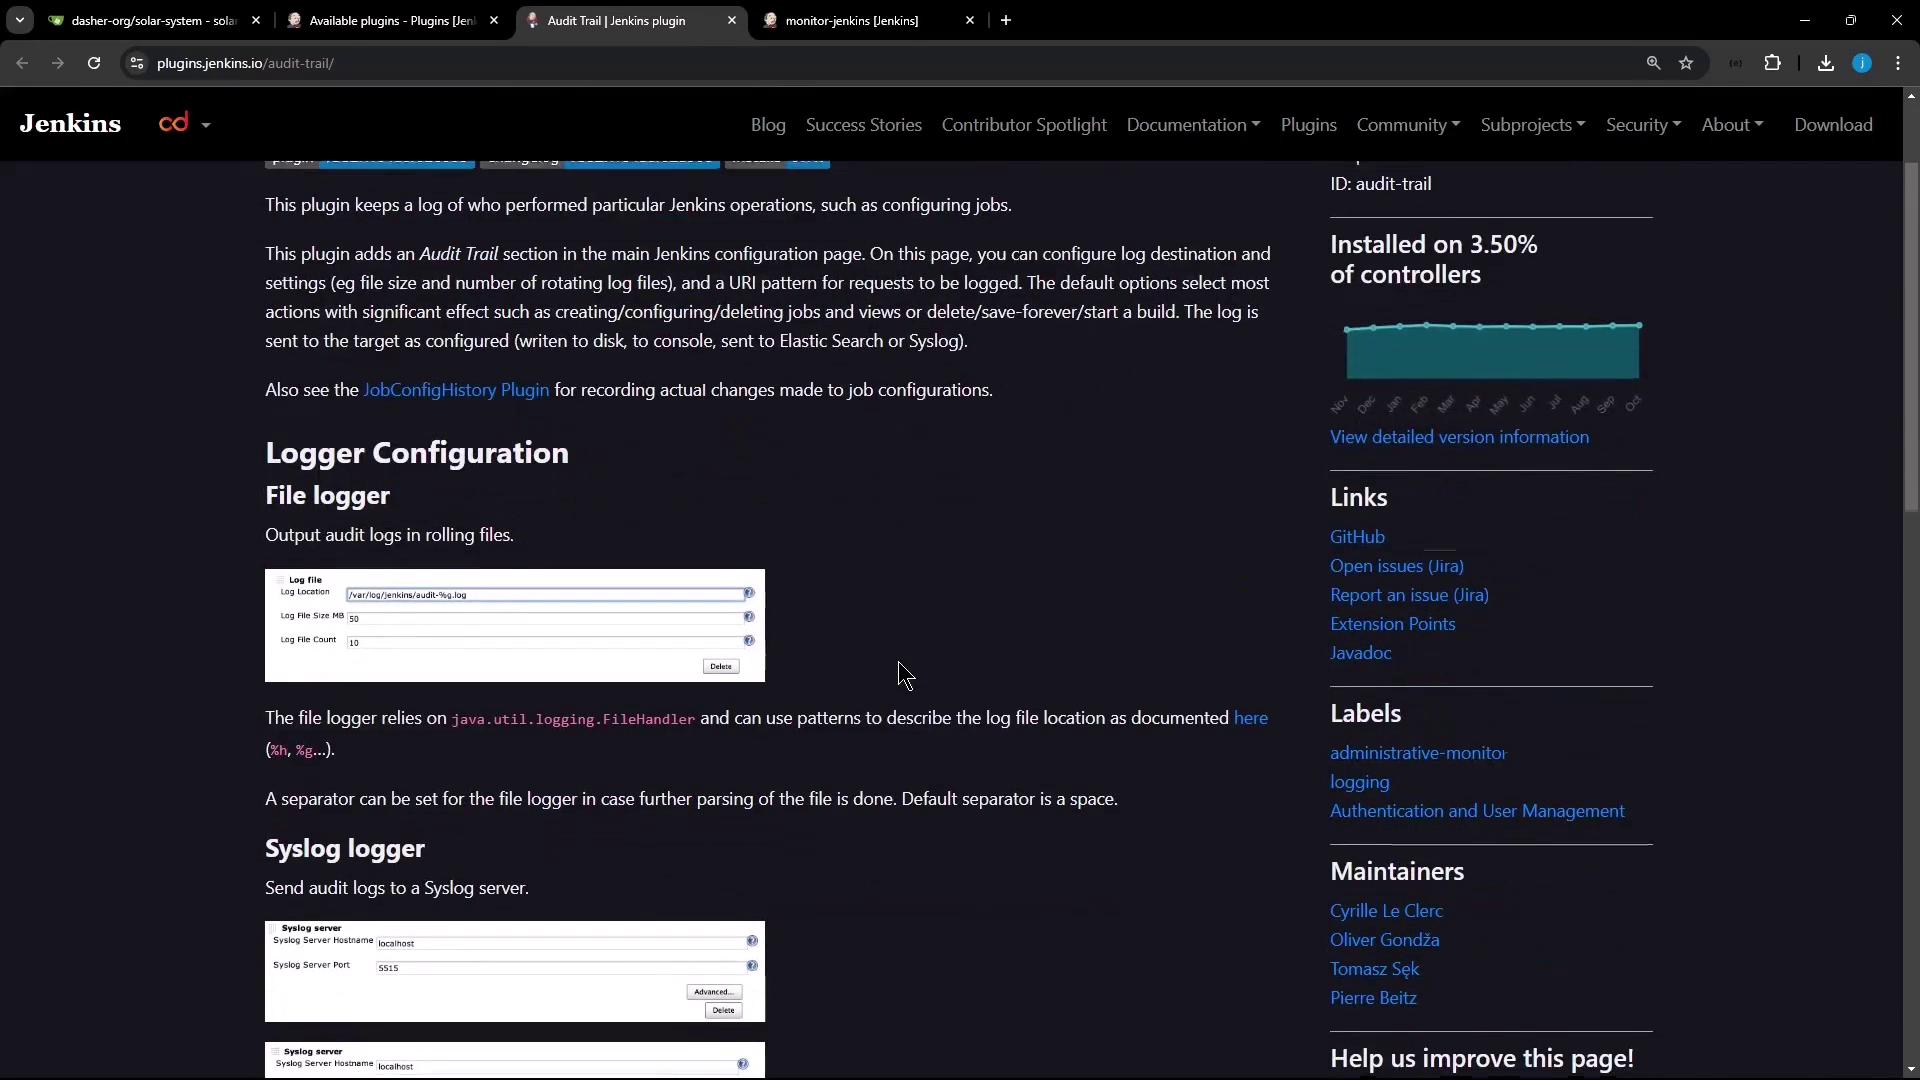
The Audit Trail plugin supports multiple destinations for logging: local files, console, syslog, or Elasticsearch.| Logger Destination | Use Case | Configuration Example |
|---|---|---|
| Log File (Daily Rotation) | Store events in timestamped files | /var/log/jenkins/audit-%g.log |
| Console | Quick debugging via Jenkins system logs | — |
| Syslog | Centralized log management | Configure host and port in plugin settings |
| Elasticsearch | Analytics and long-term retention | Provide cluster URL and index name |
You must have Jenkins Administrator privileges to install plugins and modify system configurations.
- Navigate to Manage Jenkins → Manage Plugins.
- Select the Available tab, search for Audit Trail, check the box, and click Install without restart.
- When installation finishes, go to Manage Jenkins → Configure System to set up your first logger.
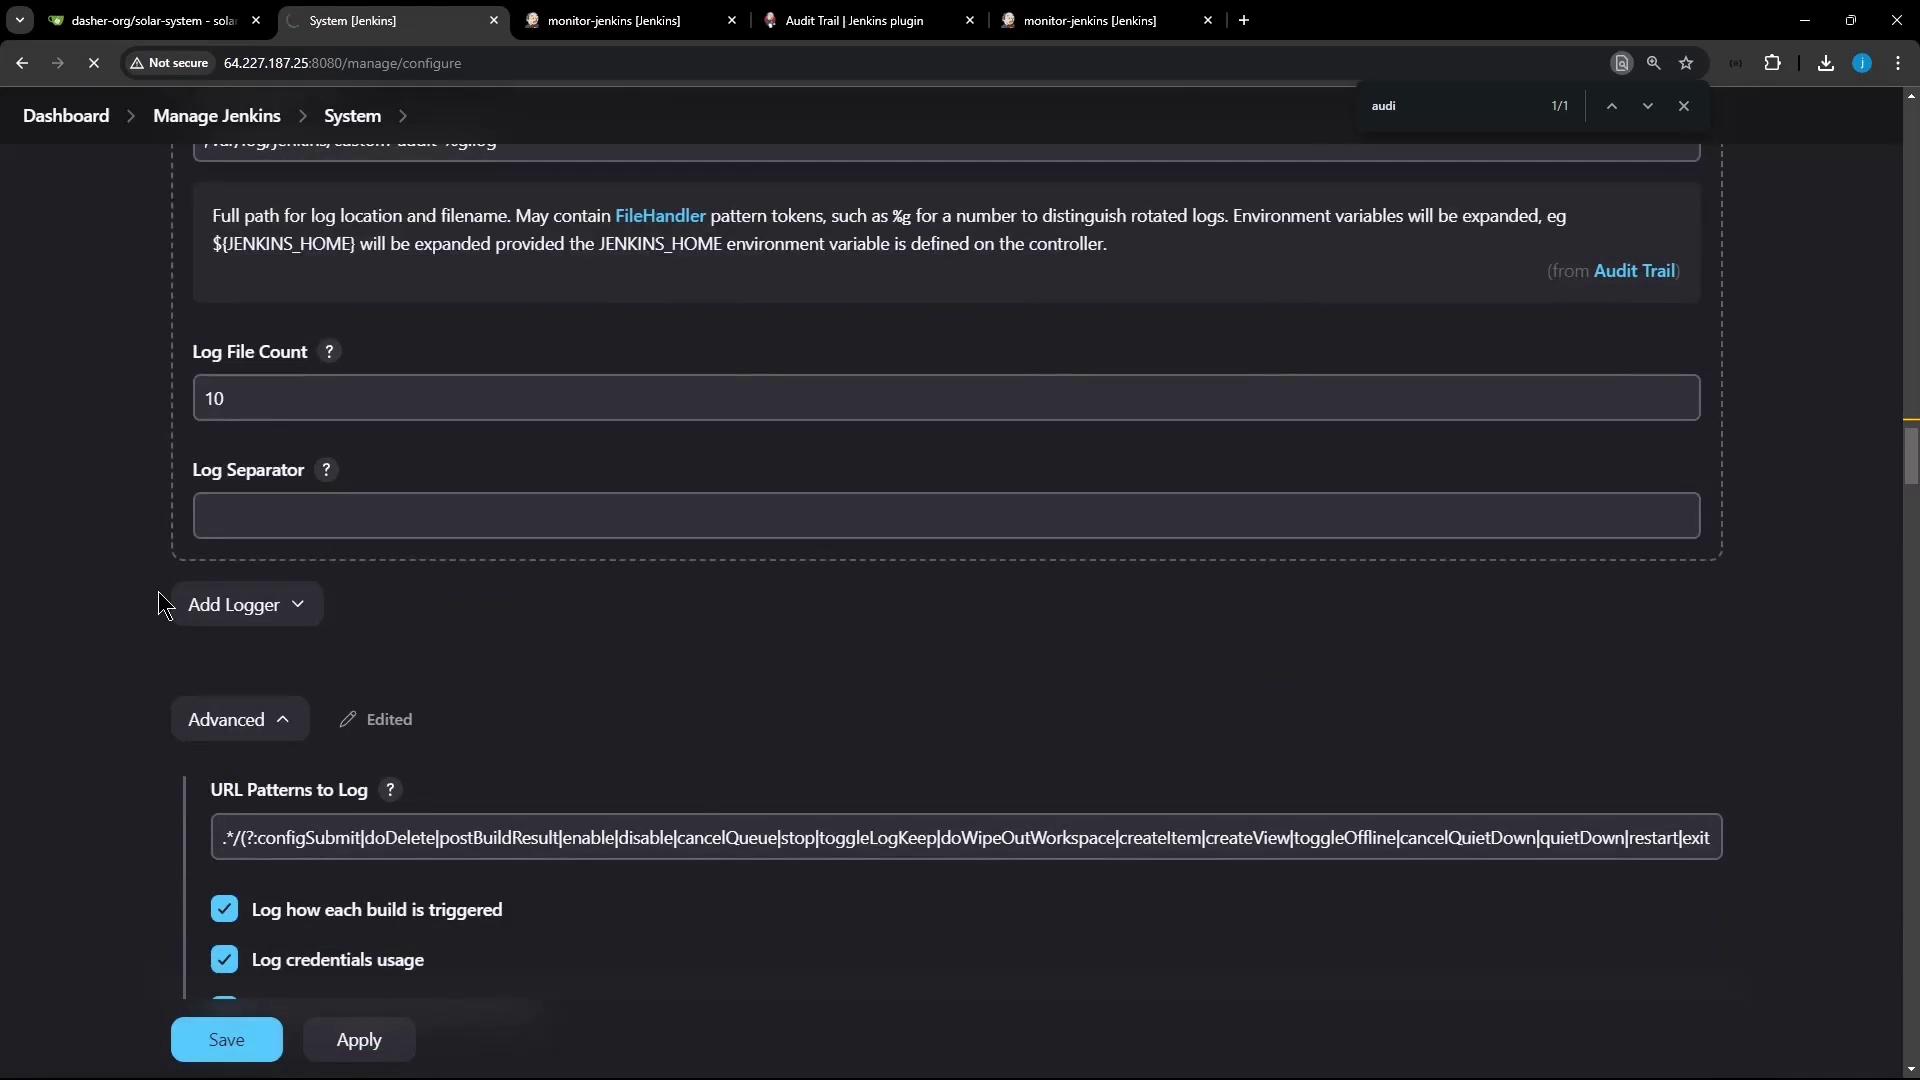
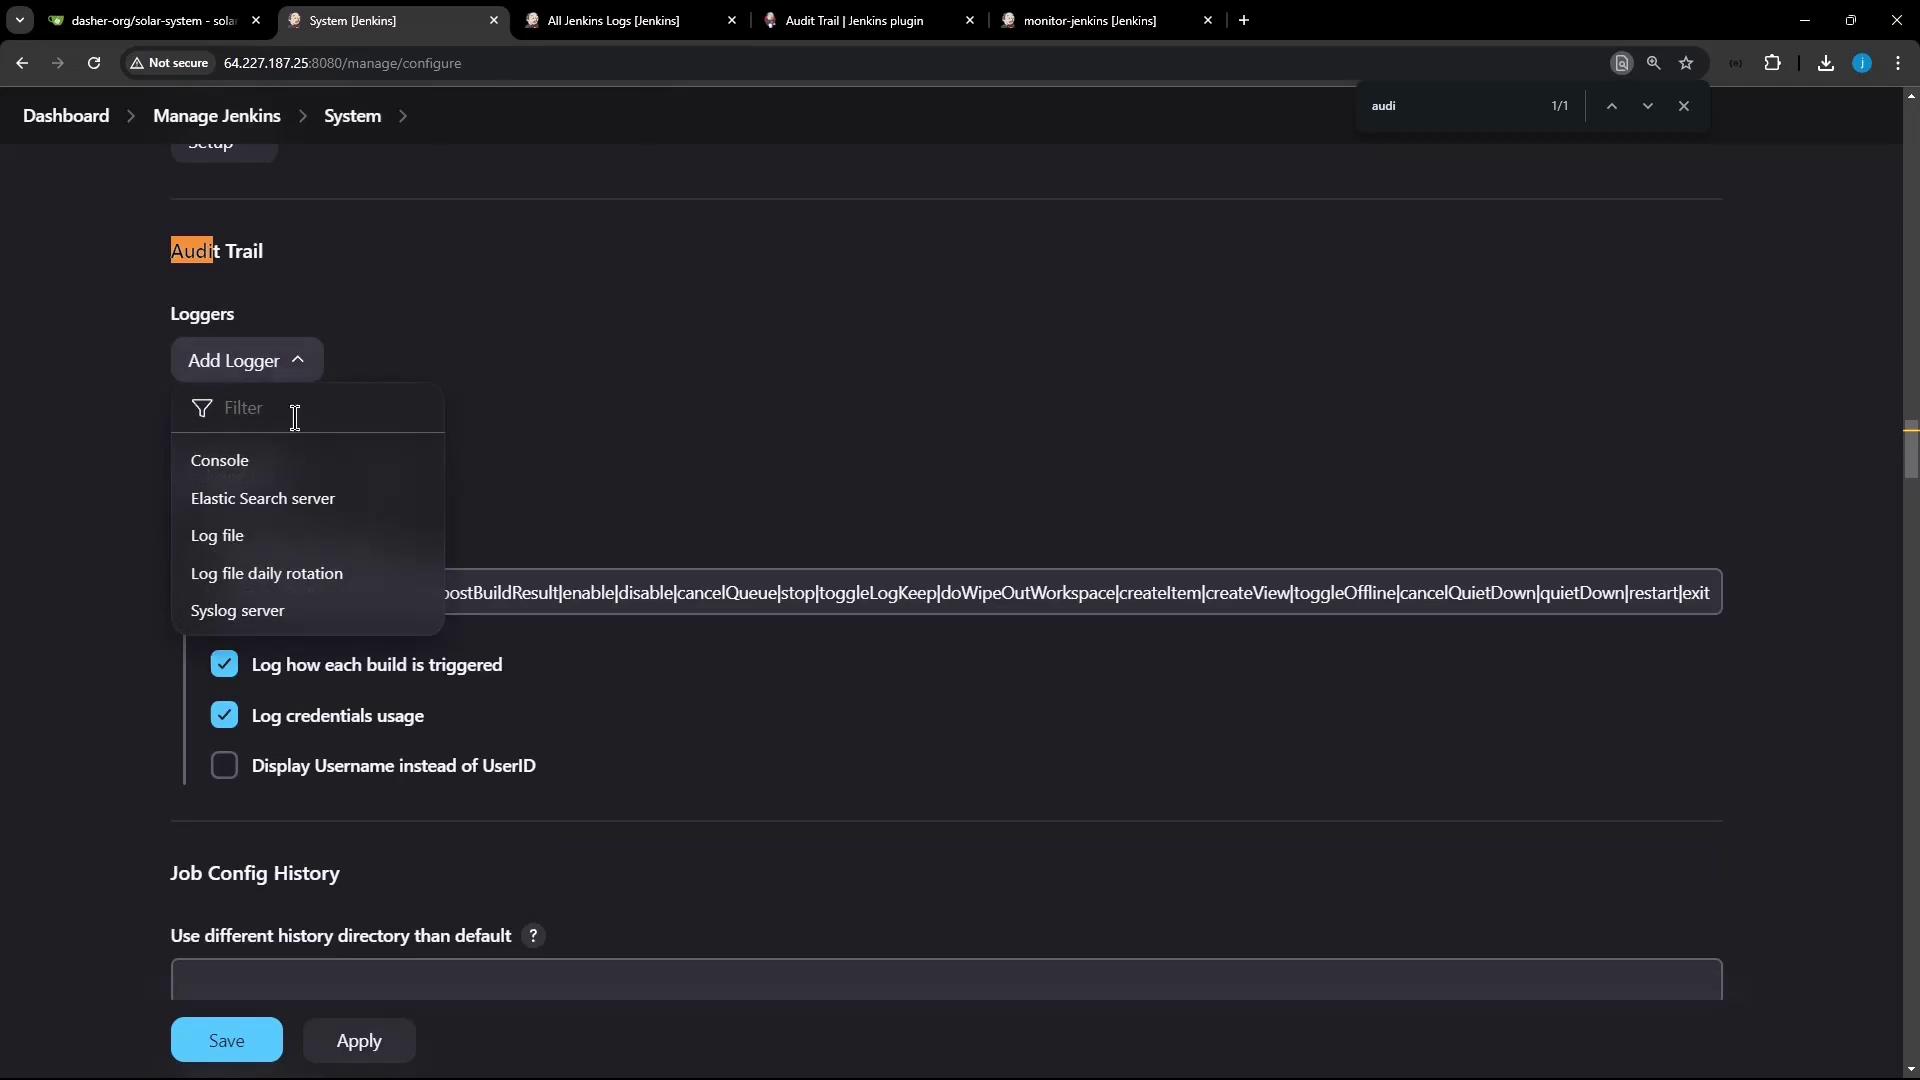
2. Configure an Audit Trail Logger
Scroll to the Audit Trail section and add a new logger for daily-rotated log files.- Click Add → Log File (Daily Rotation).
- In Log File Pattern, enter:
- Keep other options at their default values, then click Apply and Save.
Ensure the Jenkins user has write permissions to
/var/log/jenkins. Otherwise, audit entries will fail silently.3. Verify Audit Logging
Trigger actions in Jenkins and inspect the generated log files:- Open an existing job (e.g., Monitor Jenkins), click Configure, make a trivial change, then Apply & Save.
- Click Build Now to start a new build.
4. Adjust Log Rotation Settings
To control retention, modify the Max History for your daily rotation:- Return to Manage Jenkins → Configure System.
- In Audit Trail, click Edit on your log-file entry.
- Set Max History (for example,
10files). - Click Apply and Save.