Why Use Azure Key Vault?
Storing sensitive data in Azure Key Vault eliminates the need to embed credentials or encryption keys directly in your code. Your application can securely retrieve these elements at runtime. Key Vault provides robust access control using Azure Role-Based Access Control (RBAC) alongside its own data plane access policies. Even with RBAC permissions, explicit access policies are required to modify or read stored data. This separation enhances security by centralizing auditing and logging for all operations, making it easier to detect credential leaks or unauthorized access. Azure Key Vault also streamlines key generation within the cloud, reducing the challenges of on-premises key management. Multiple Key Vaults can be deployed to meet distinct access policies or to improve performance under high request volumes.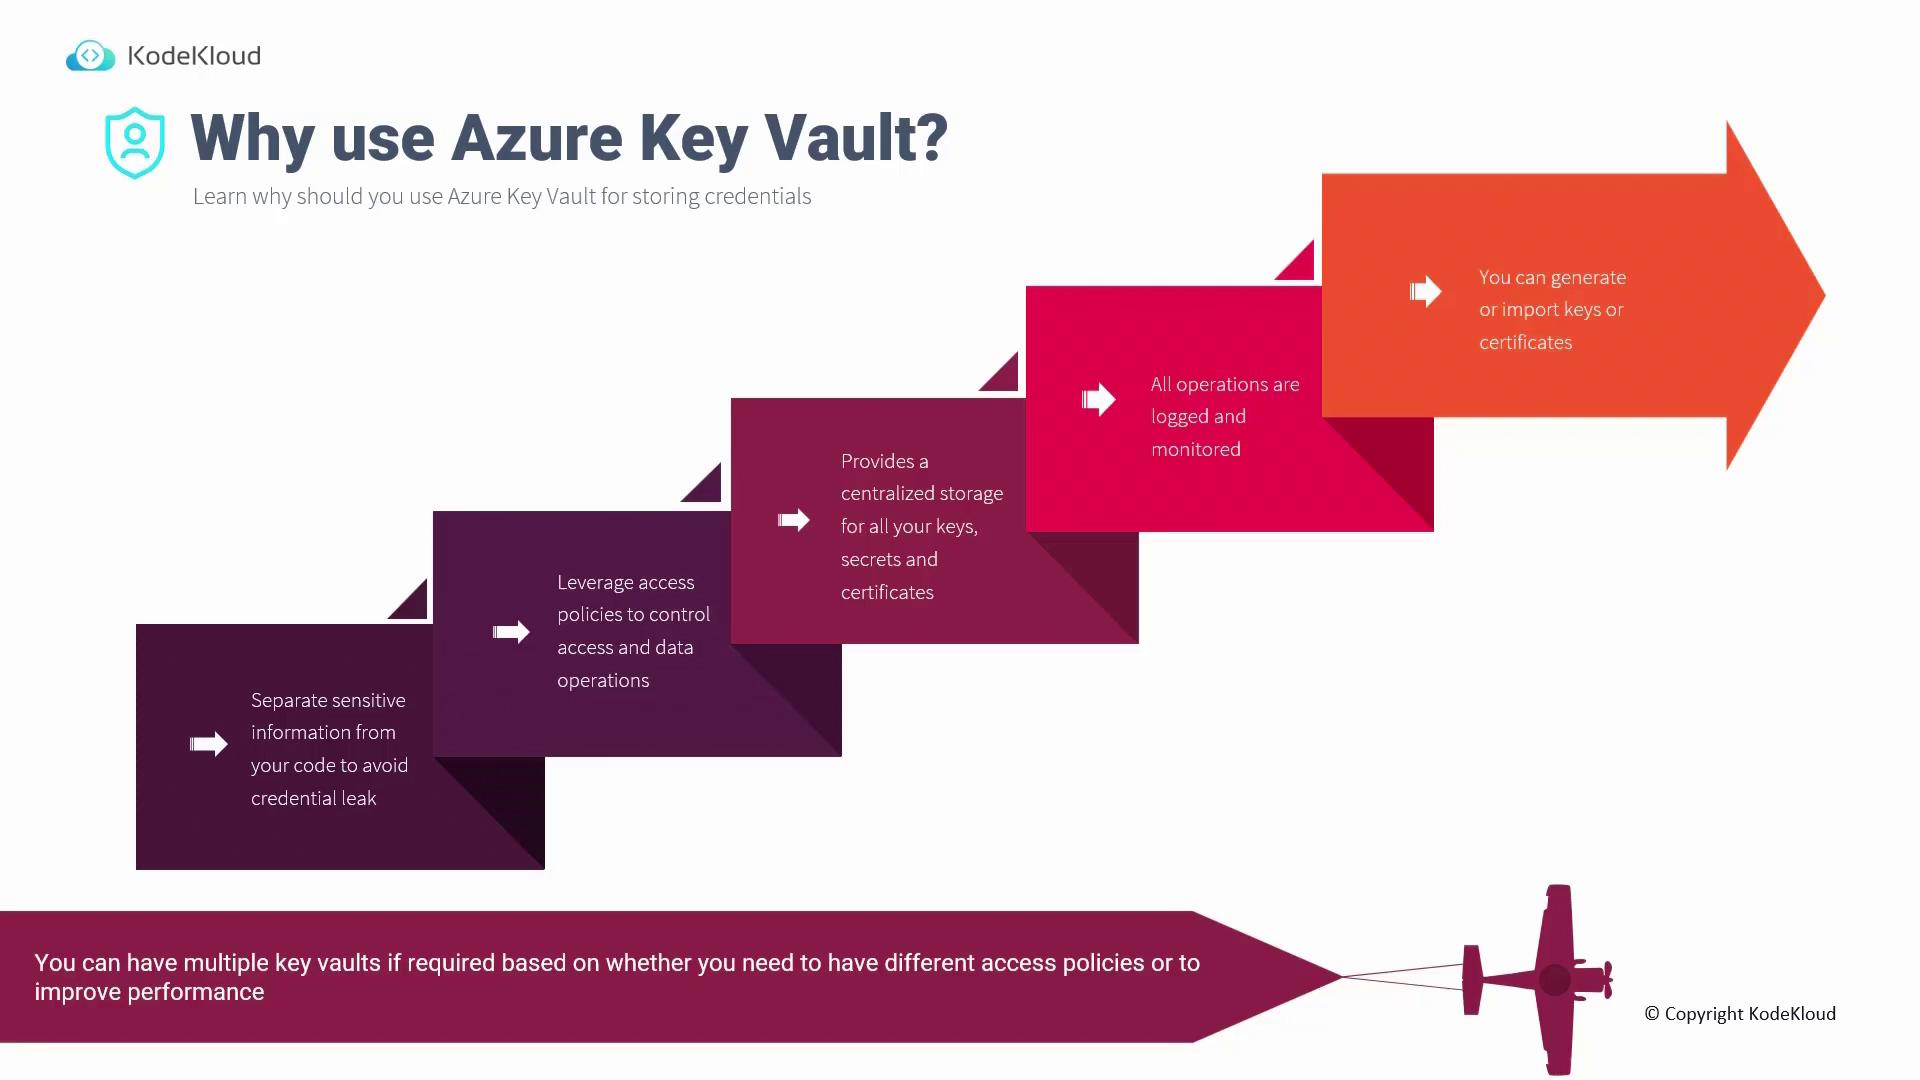
Setting Up Azure Key Vault and Managing Identities on the Azure Portal
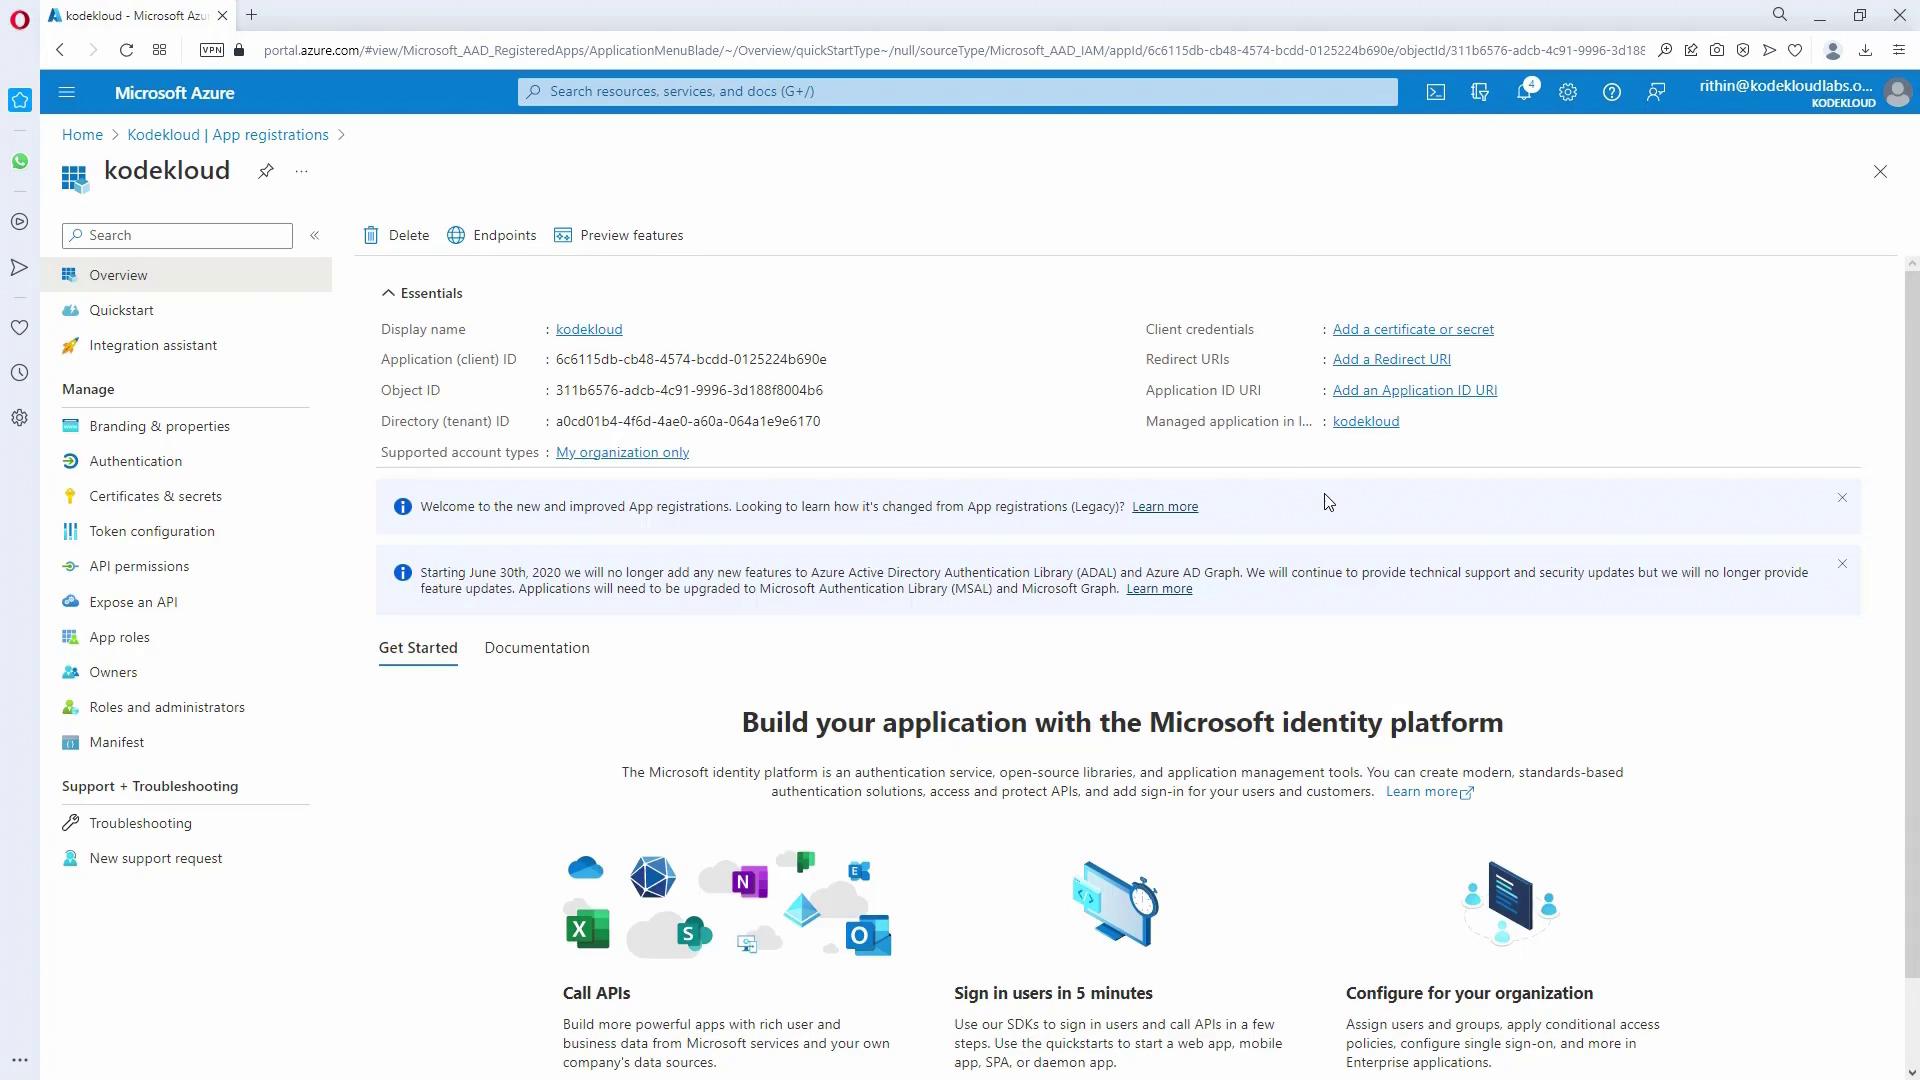
Creating an App Registration
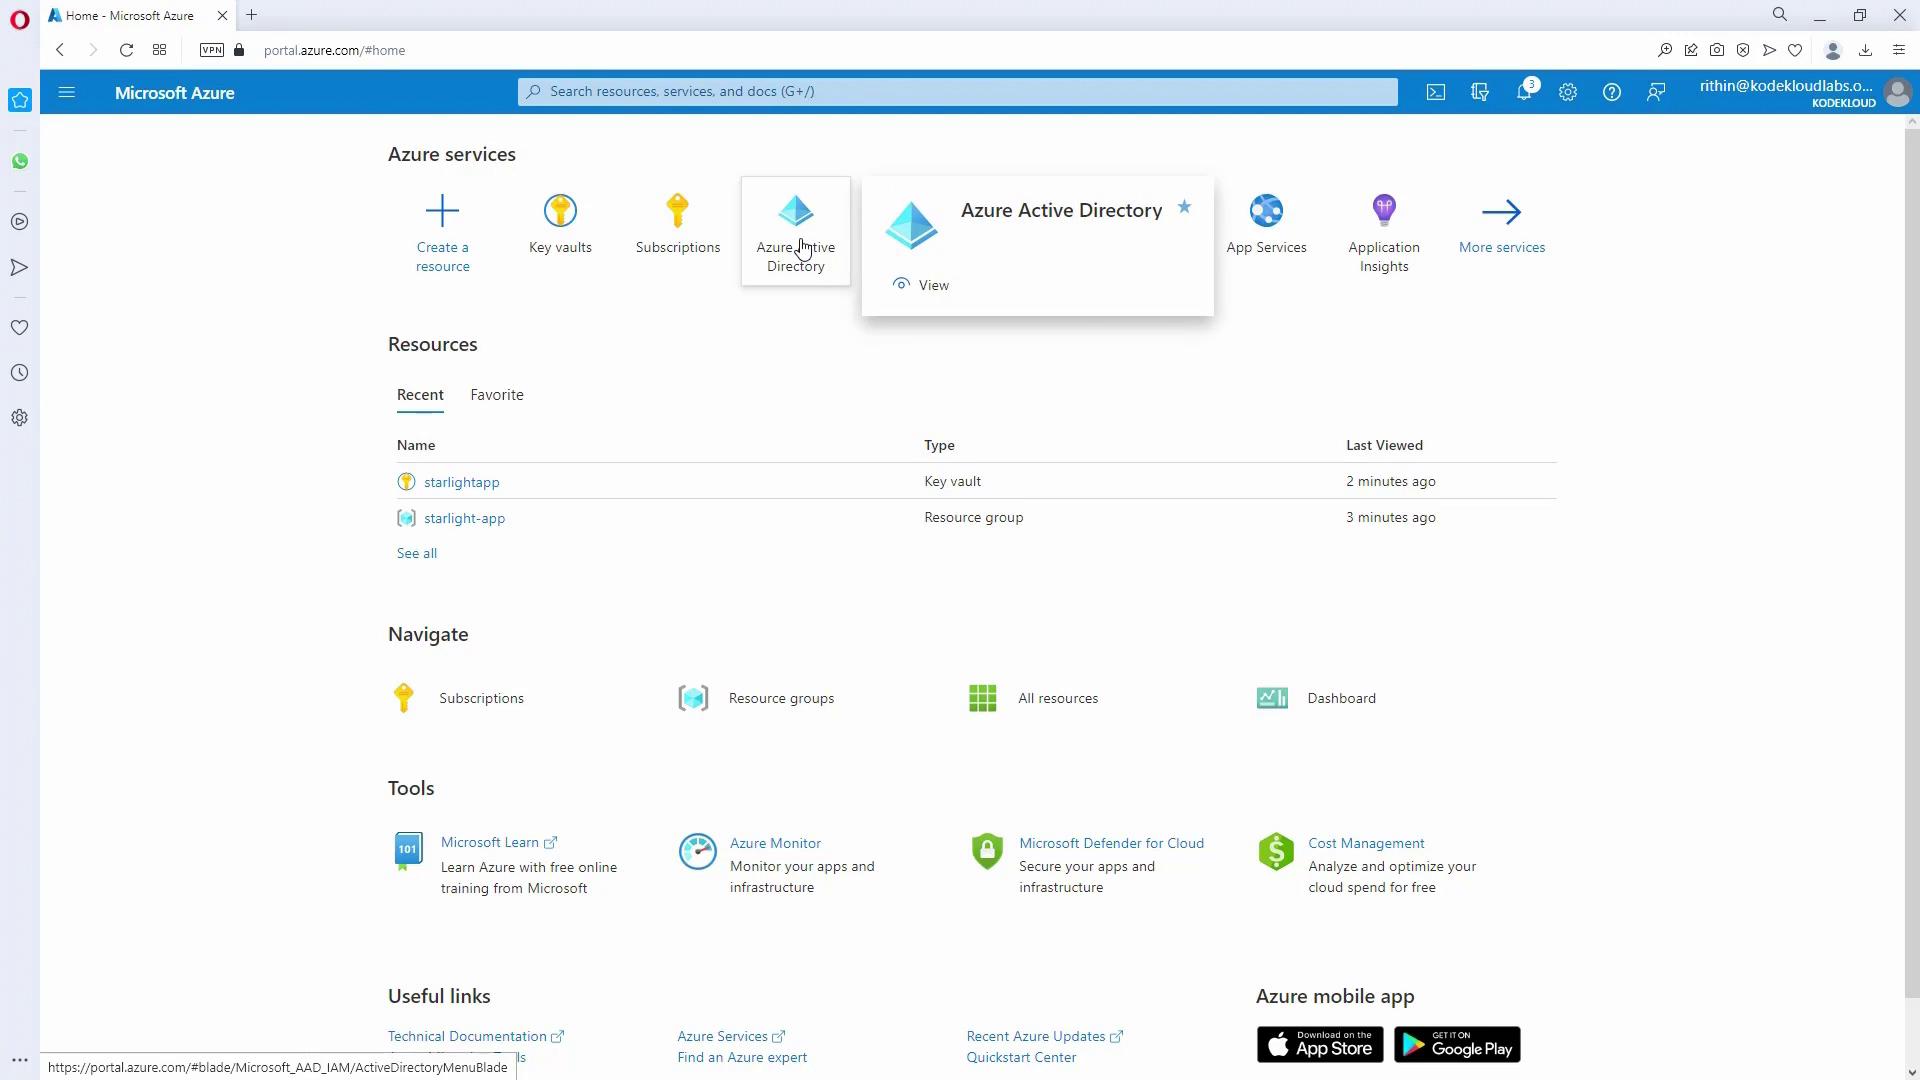
Begin by setting up an identity for your application through Azure Active Directory to securely access Key Vault.- Open the Azure Portal and navigate to Azure Active Directory.
- Under App Registrations, create a new registration (for example, “KodeKloud”).
- After registration, copy the Application (client) ID and the Directory (tenant) ID for later use.
- Go to the Certificates & Secrets section and create a new client secret. Remember to copy the secret value immediately, as it will be hidden later.
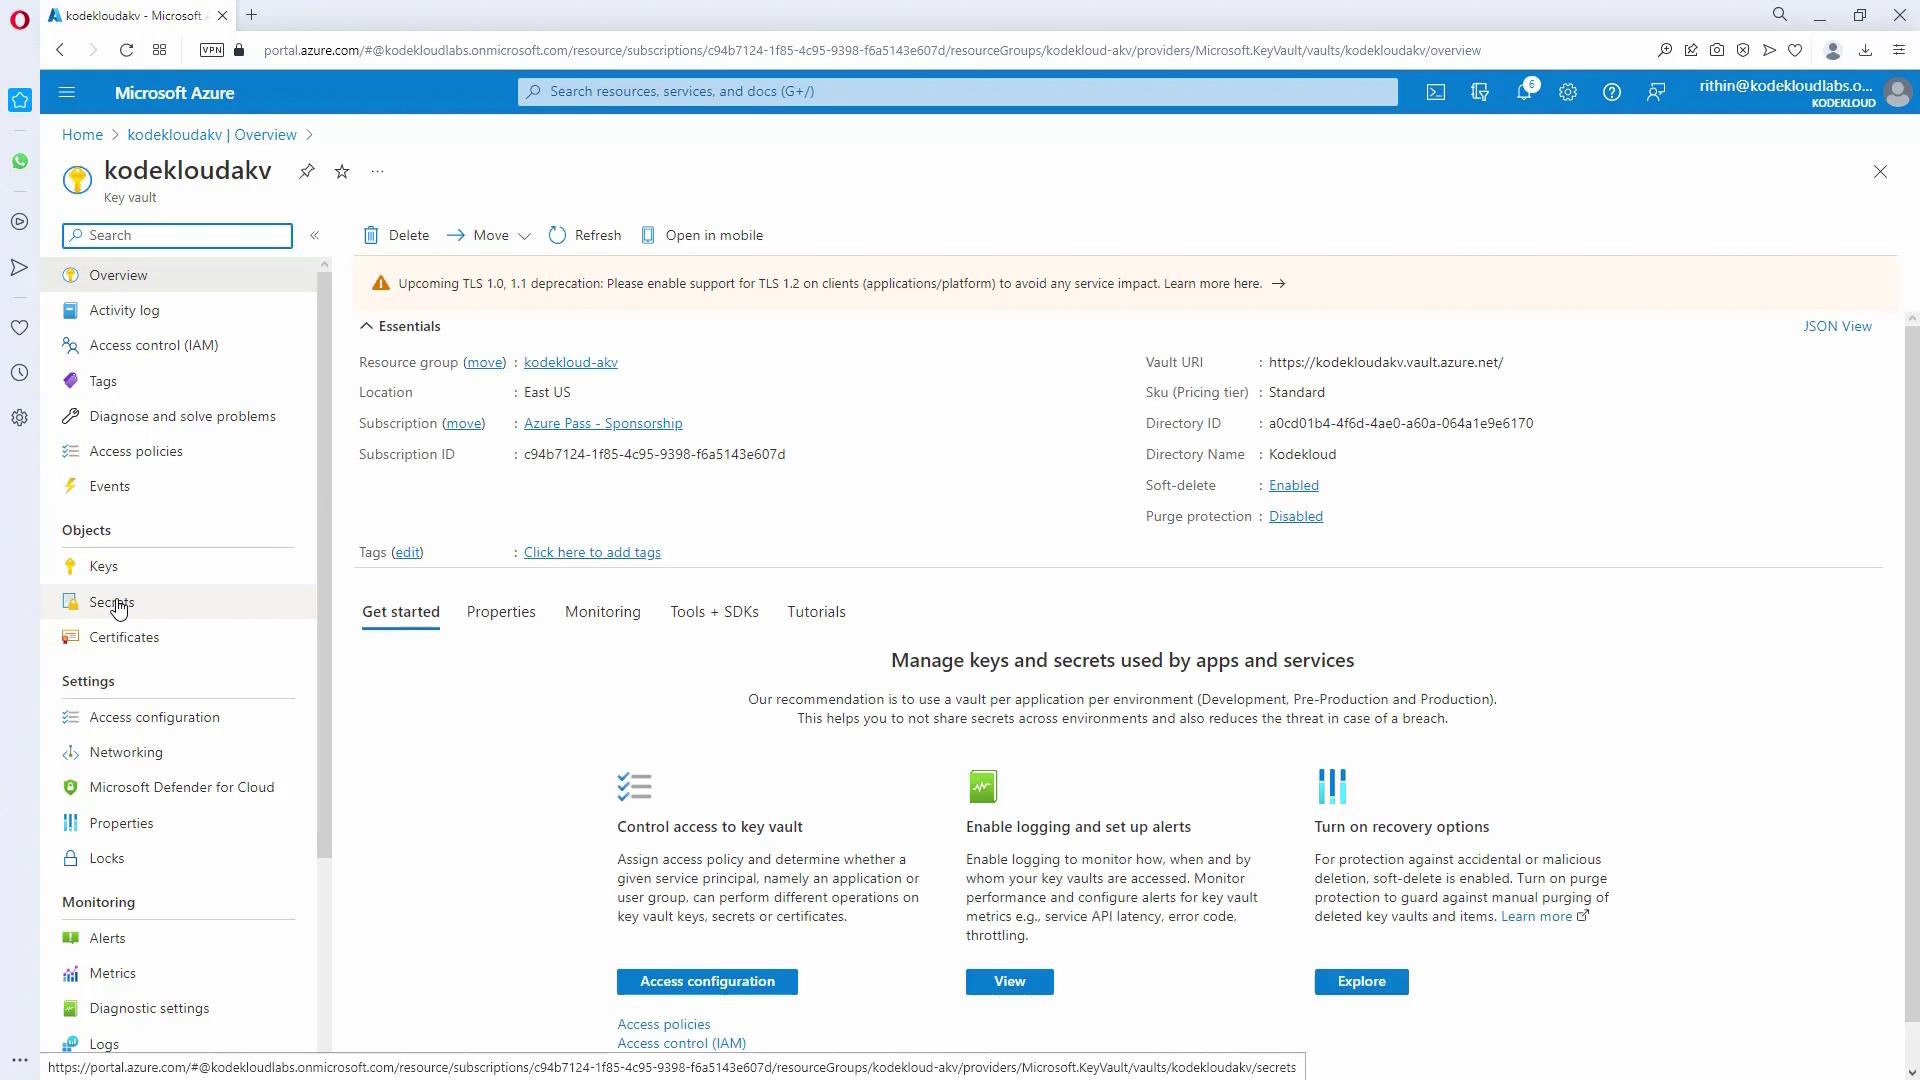
Creating a Key Vault and Adding a Secret
- In the Azure Portal, create a new Key Vault. Ensure the name is unique as it forms part of a public endpoint.
- Configure additional settings such as soft delete and retention policies according to your needs.
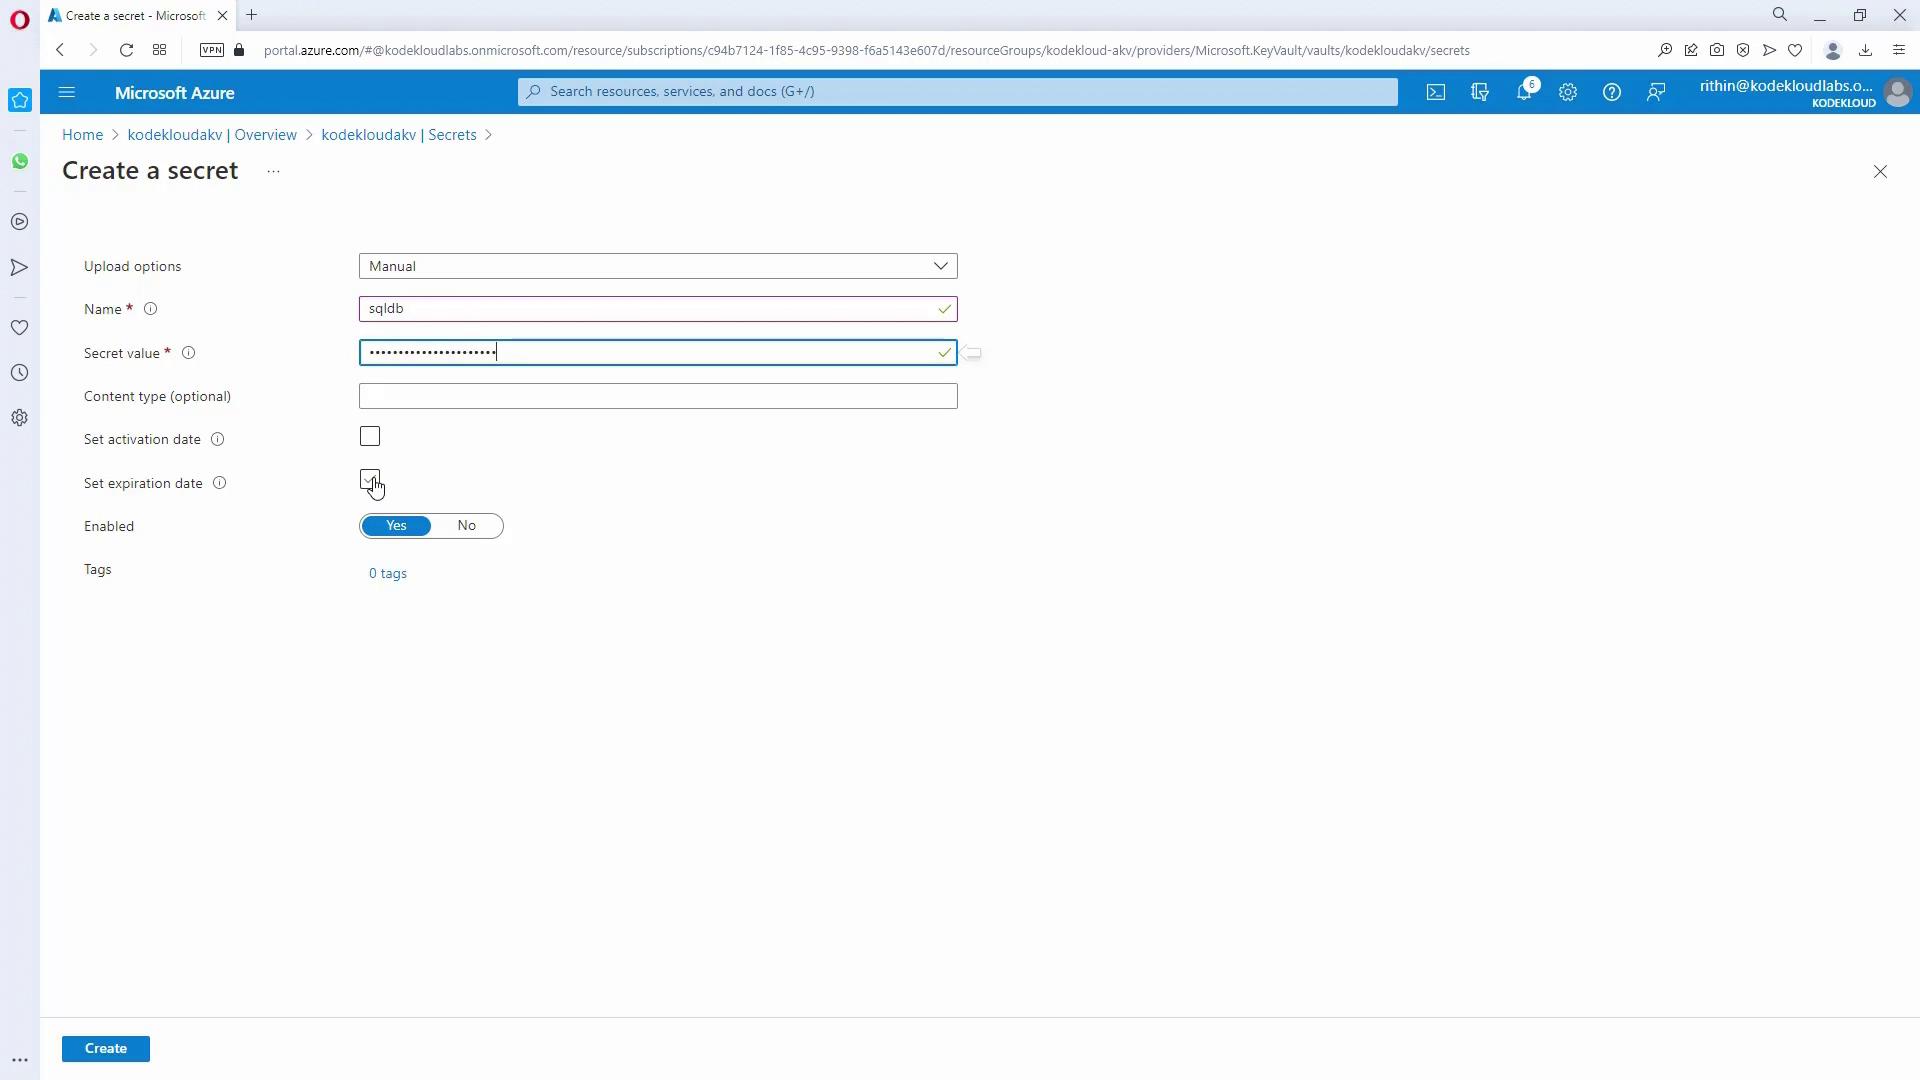
- After deployment, navigate to the Key Vault resource and select Secrets.
- Create a new secret (for example, “SQL DB”) by providing a secret value along with optional fields like activation and expiration dates.
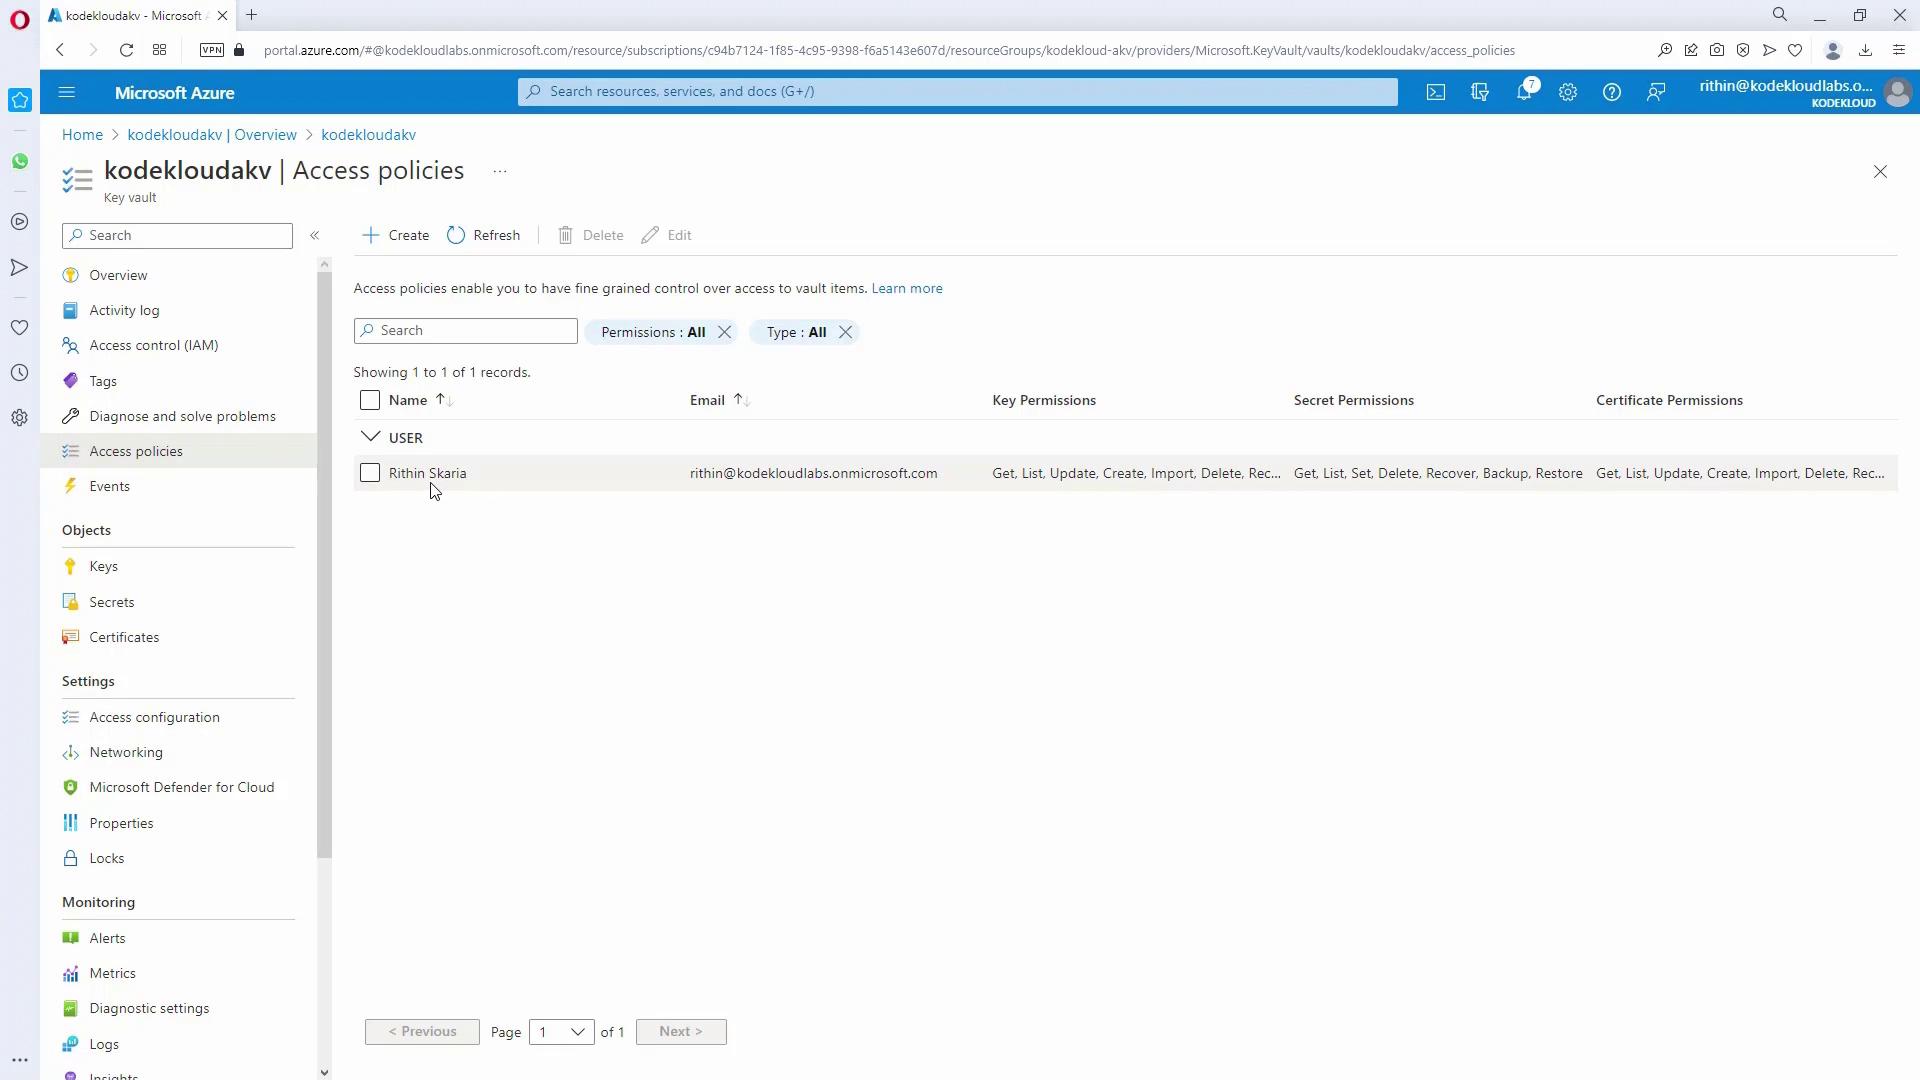
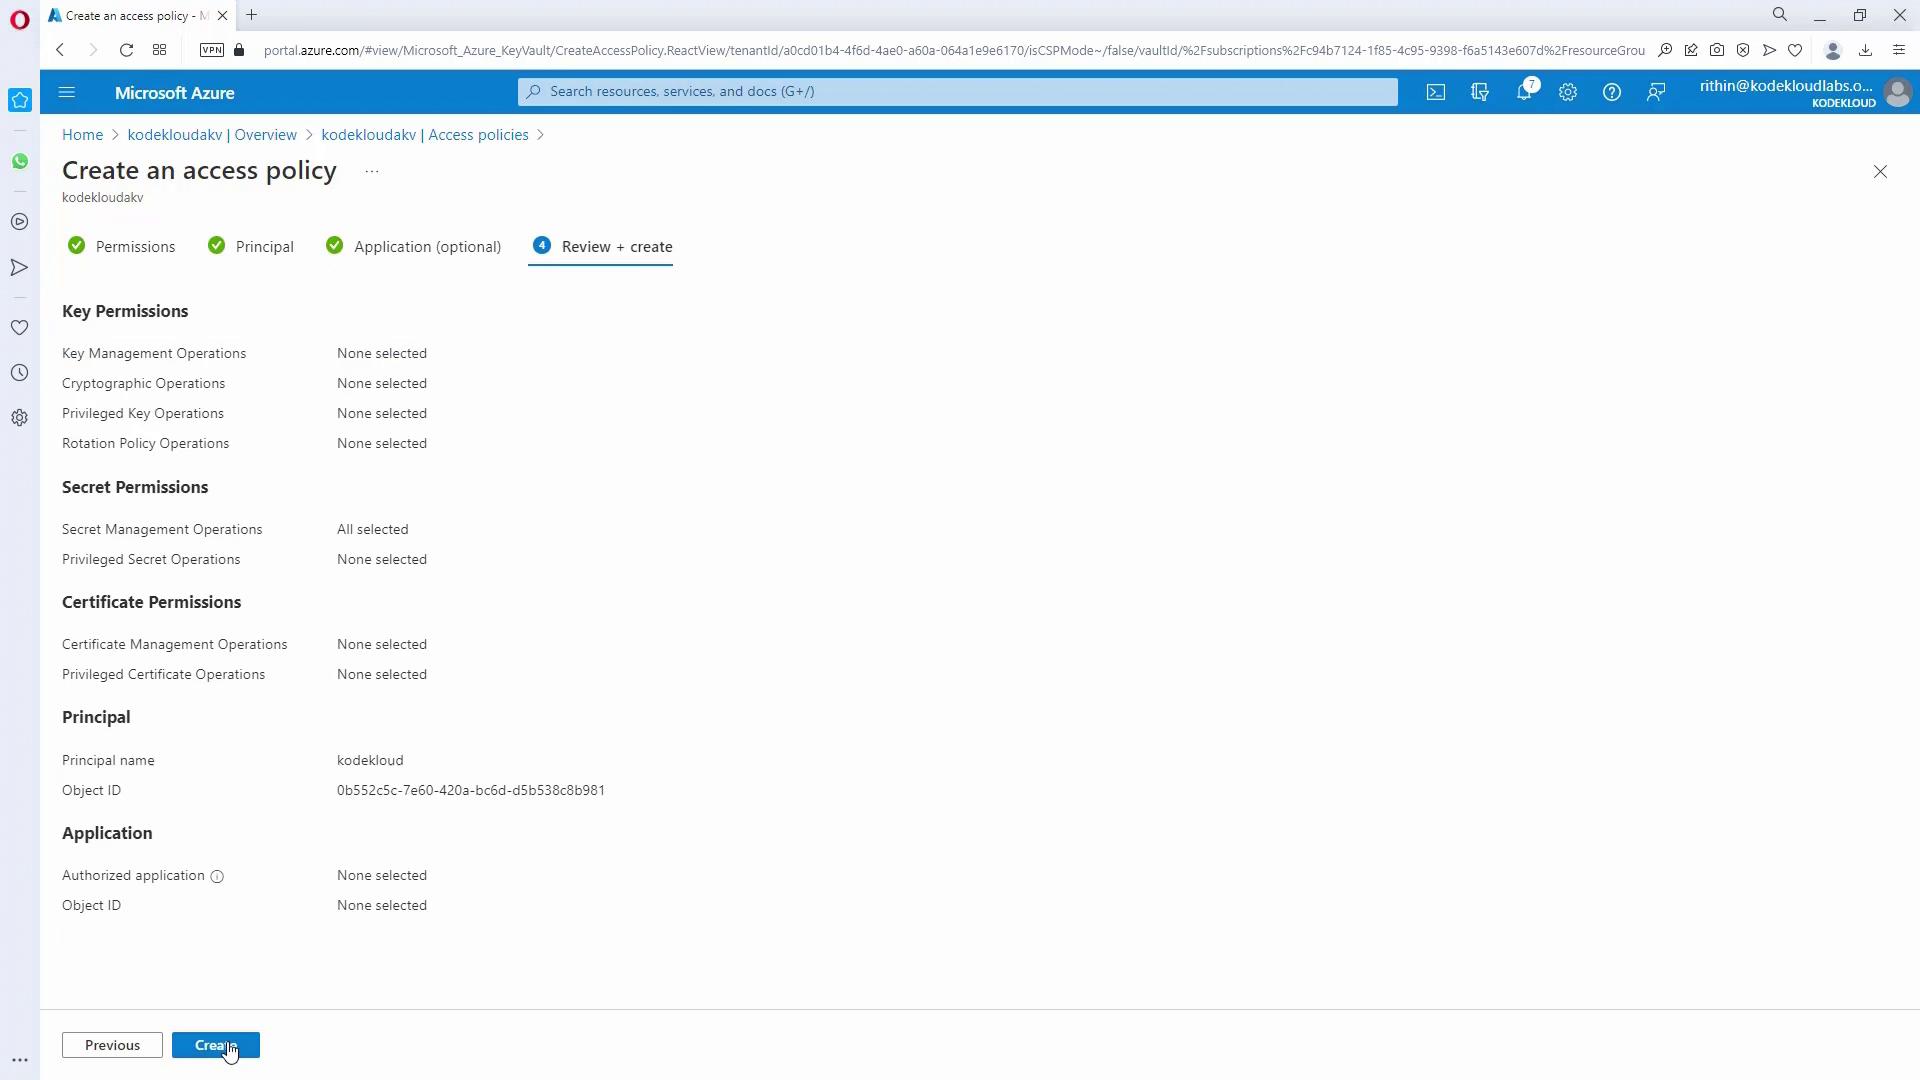
Configuring Access Policies
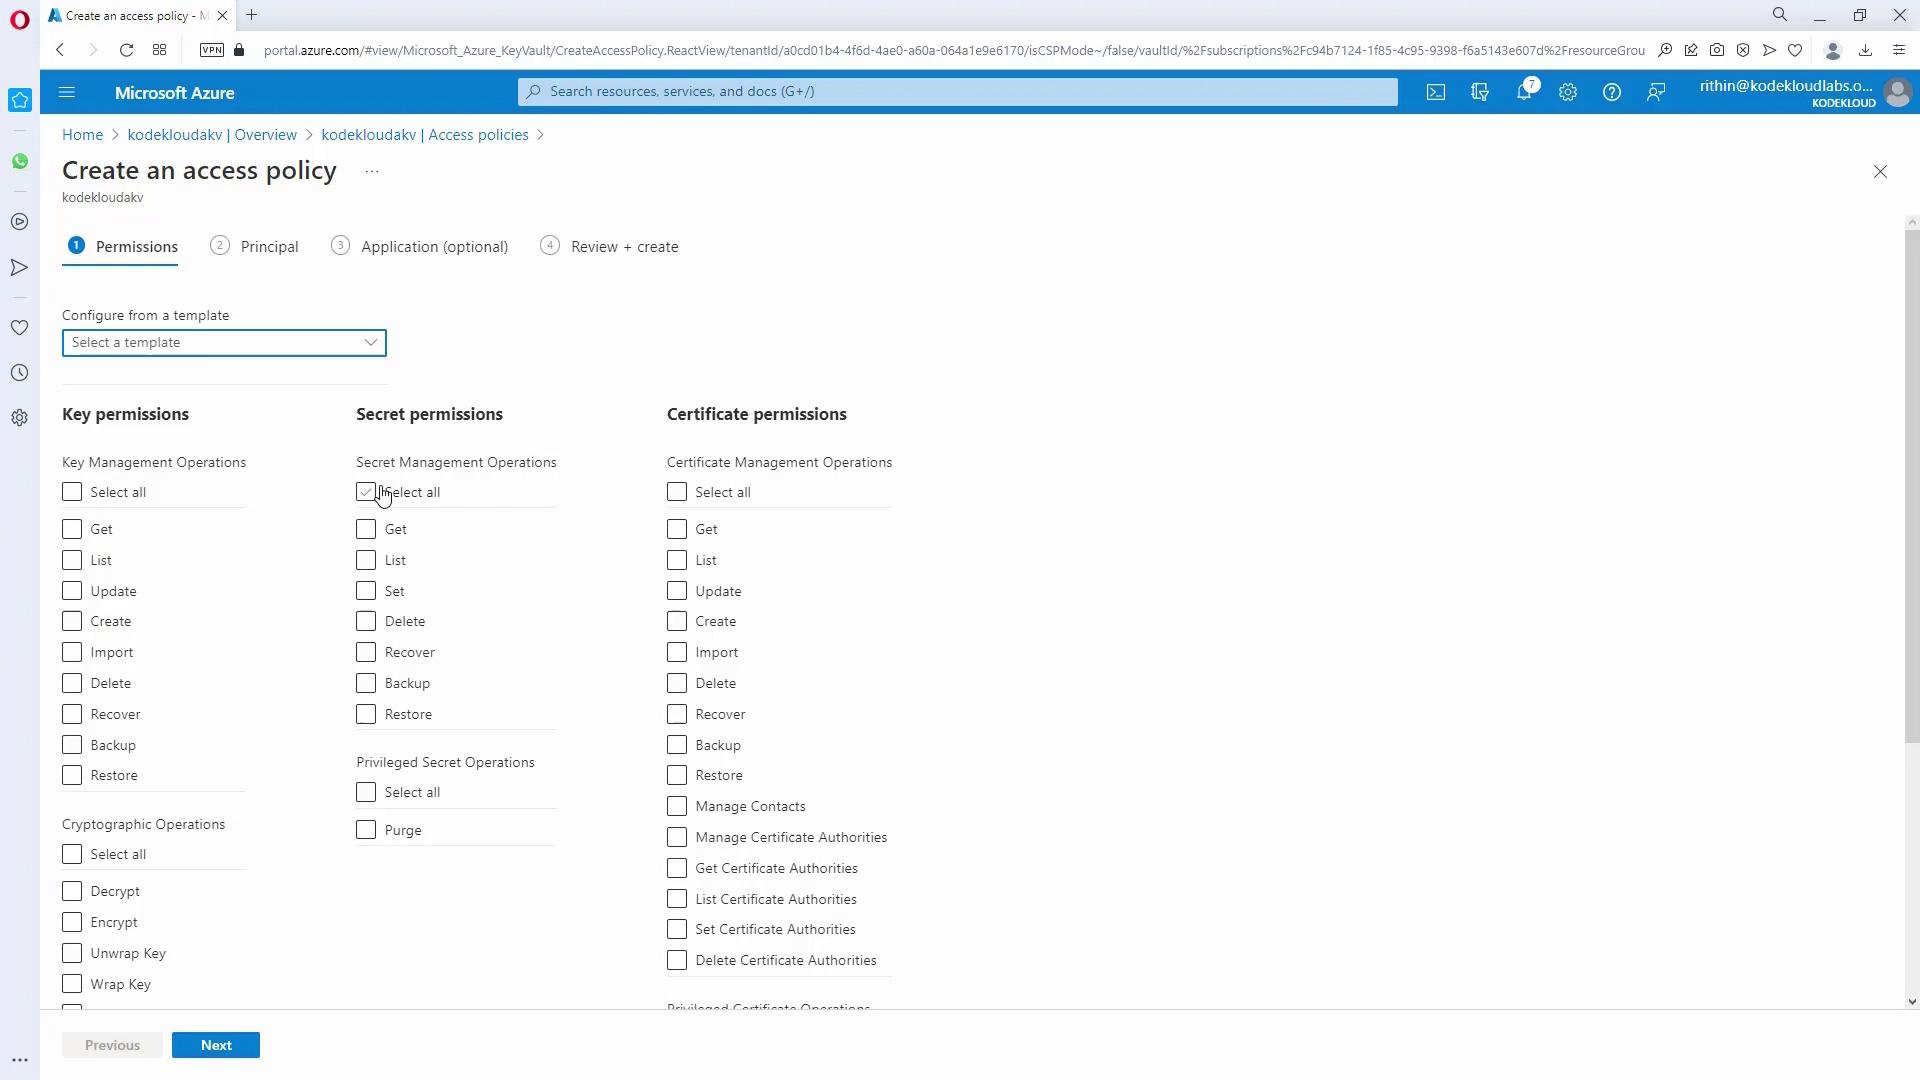
Even with RBAC management permissions, accessing secrets in Key Vault requires explicit data plane access policies.- In your Key Vault, navigate to Access Policies.
- Click Create and select the appropriate permissions (for example, grant all secret permissions when working with secrets).
- Search for and select the app registration (e.g., “KodeKloud”) that you created earlier.
- Confirm the settings and create the access policy.
For enhanced security, always review and regularly update your access policies to ensure only necessary permissions are granted.
Development with Visual Studio Code
After completing the Key Vault setup and configuring access policies, you can write and test code to interact with Key Vault using Visual Studio Code. Its robust development features, such as autocomplete and an integrated terminal, facilitate this process.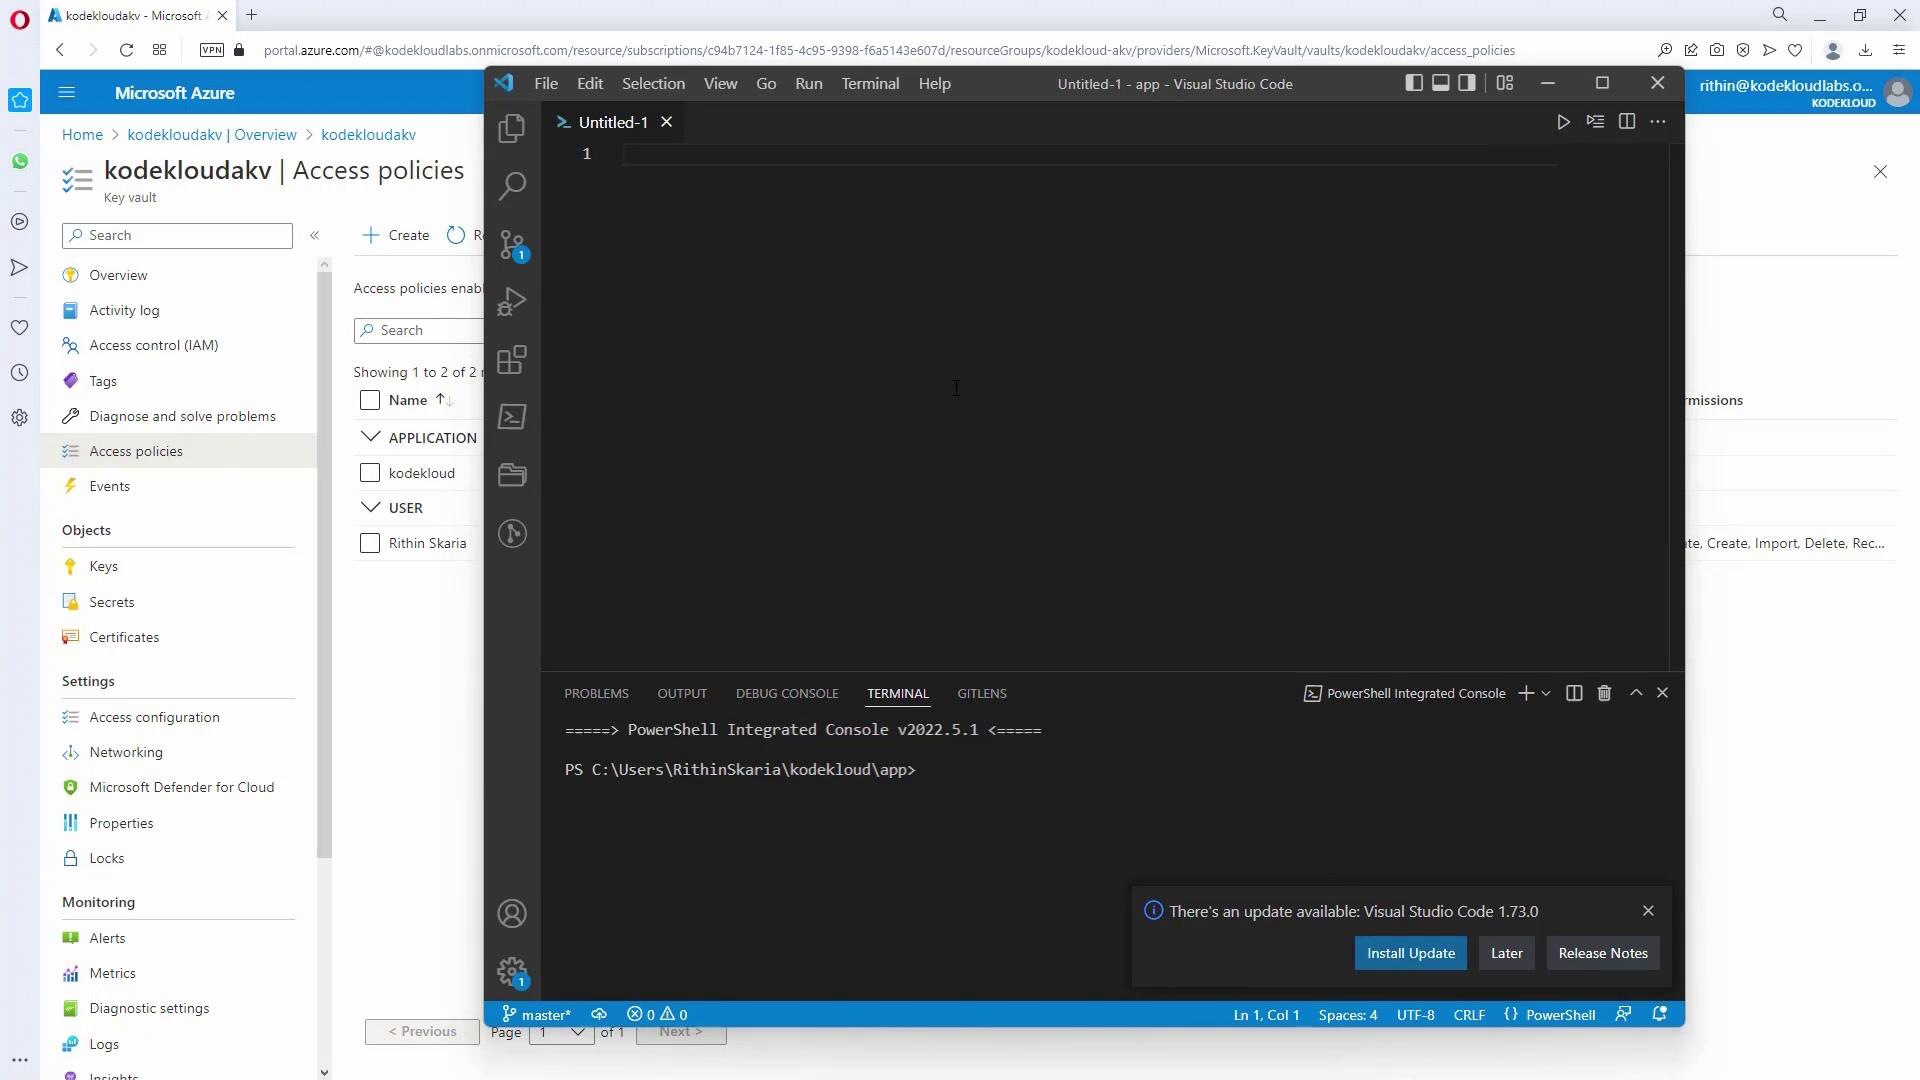
Retrieving a Token and Accessing Secrets Using PowerShell
The following PowerShell code snippet demonstrates how to retrieve an Azure AD token using client credentials and use that token to access a secret stored in Azure Key Vault.Avoid hardcoding any credentials in your scripts. Instead, consider using managed identities to eliminate the risk of exposing sensitive information.
Securing Access with Managed Identity
To enhance security and eliminate embedded credentials, you can enable a Managed Identity for your Automation Account. Managed Identity provides your application with a secure mechanism to acquire tokens without managing client IDs or secrets manually.Enabling Managed Identity
- In your Automation Account within the Azure Portal, navigate to the Identity section.
- Enable the system-assigned managed identity.
- Once the identity is enabled, note its object ID. Use this ID to grant access in Key Vault by creating a dedicated access policy.
