- Automatically forward emails in Office 365 to a designated user.
- Save email attachments directly to OneDrive for Business.
- Analyze tweet sentiments using Text Analytics and notify customer service based on the results.
- Post messages to Microsoft Teams channels.
- Set out-of-office emails automatically on weekends, ensuring timely responses even when manual activation is missed.
If you have previously used Power Automate Flow, you will find many similarities in the available connectors and workflow processes.
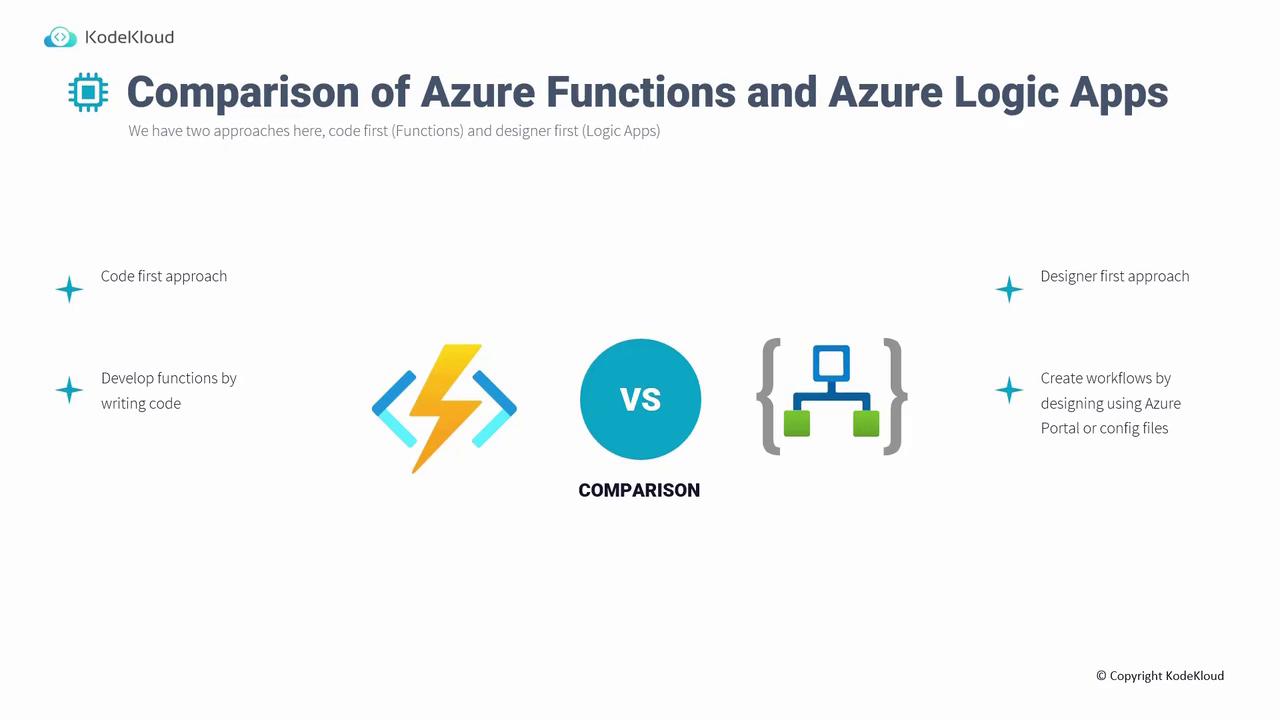
- Azure Functions: Employs a code-first strategy, enabling custom workflows using languages like PowerShell, .NET, or Python.
- Azure Logic Apps: Uses a designer-first strategy with a visual interface (Logic Apps Designer) and pre-built actions, reducing the need for manual coding.
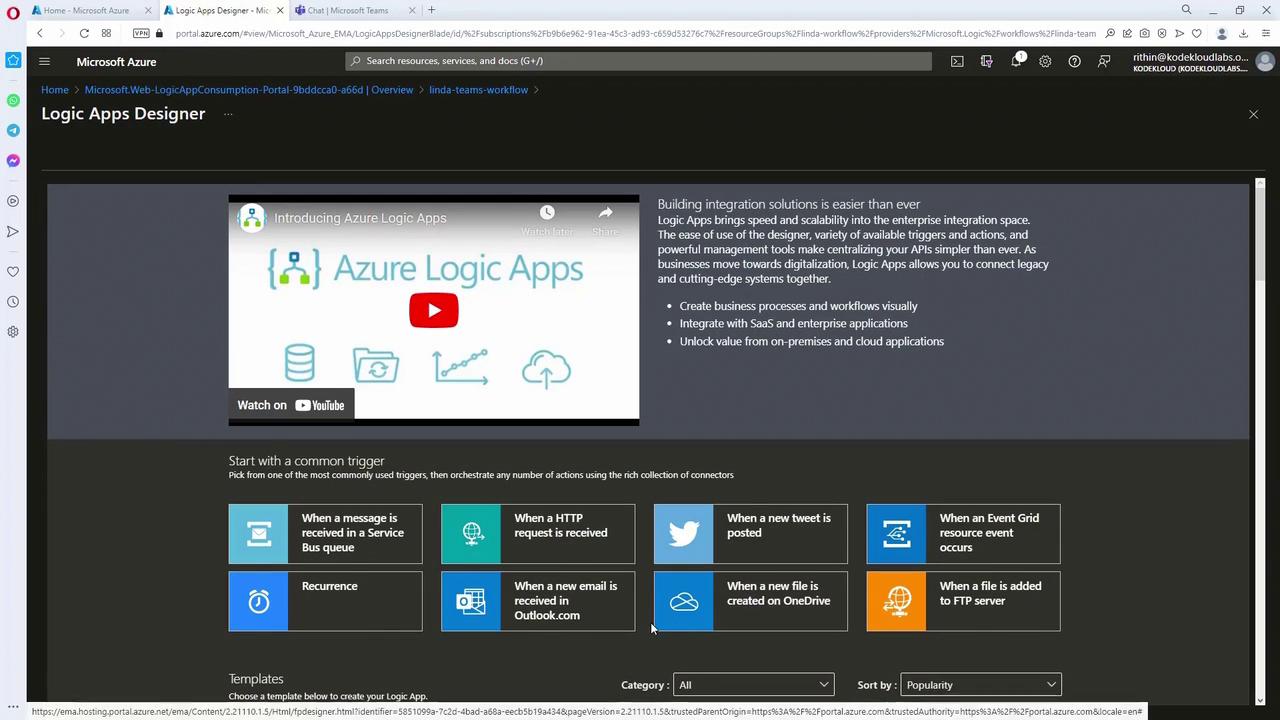
Building a Logic App in the Azure Portal
Follow this step-by-step example to create a business workflow using Azure Logic Apps. In our scenario, a new team member named Linda receives an email containing invoice numbers. The goal is to process these invoices and send back a confirmation number. To ensure Linda never misses an invoice, a workflow is designed so that every incoming invoice email triggers a message to her Microsoft Teams account. Upon her response, a confirmation email is automatically sent to notify the team.Step 1. Create the Logic App
- Log in to the Azure Portal and search for “Logic Apps”.
- Click on “Add” to create a new resource.
- Create a new resource group if required.
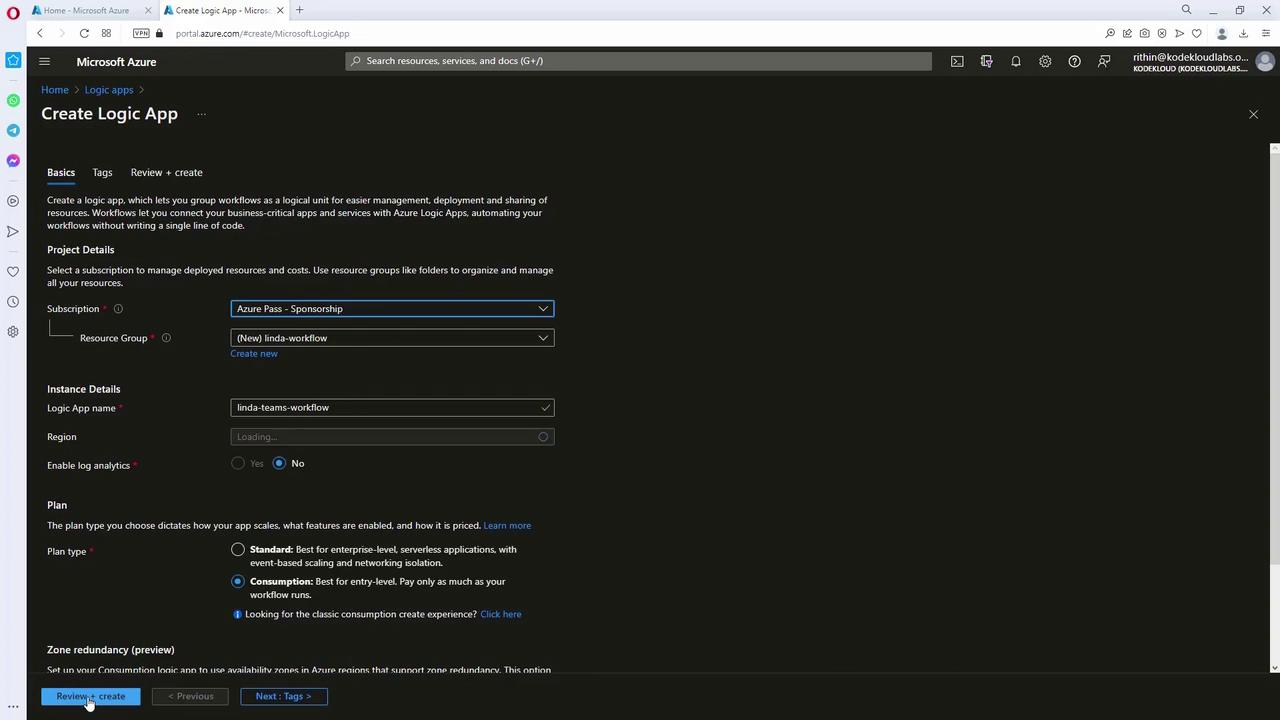
- Select the Consumption model for a serverless, cost-effective solution that charges per execution.
- Enter a name (for example, “Linda Teams Workflow”) and select a region (such as “East US”).
- Create the Logic App.
Step 2. Configure the Email Trigger
Since the workflow initiates with an email from a specific sender containing “INV” in the subject, select the Outlook 365 trigger (“When a new email arrives”).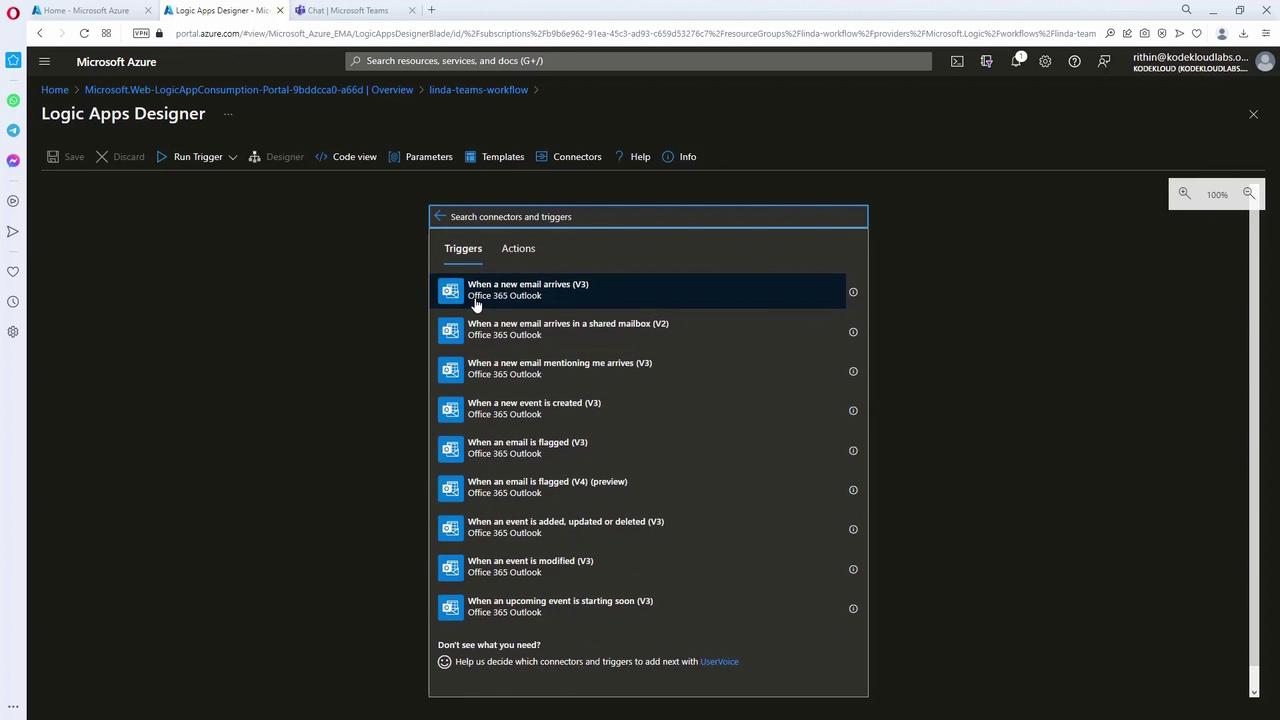
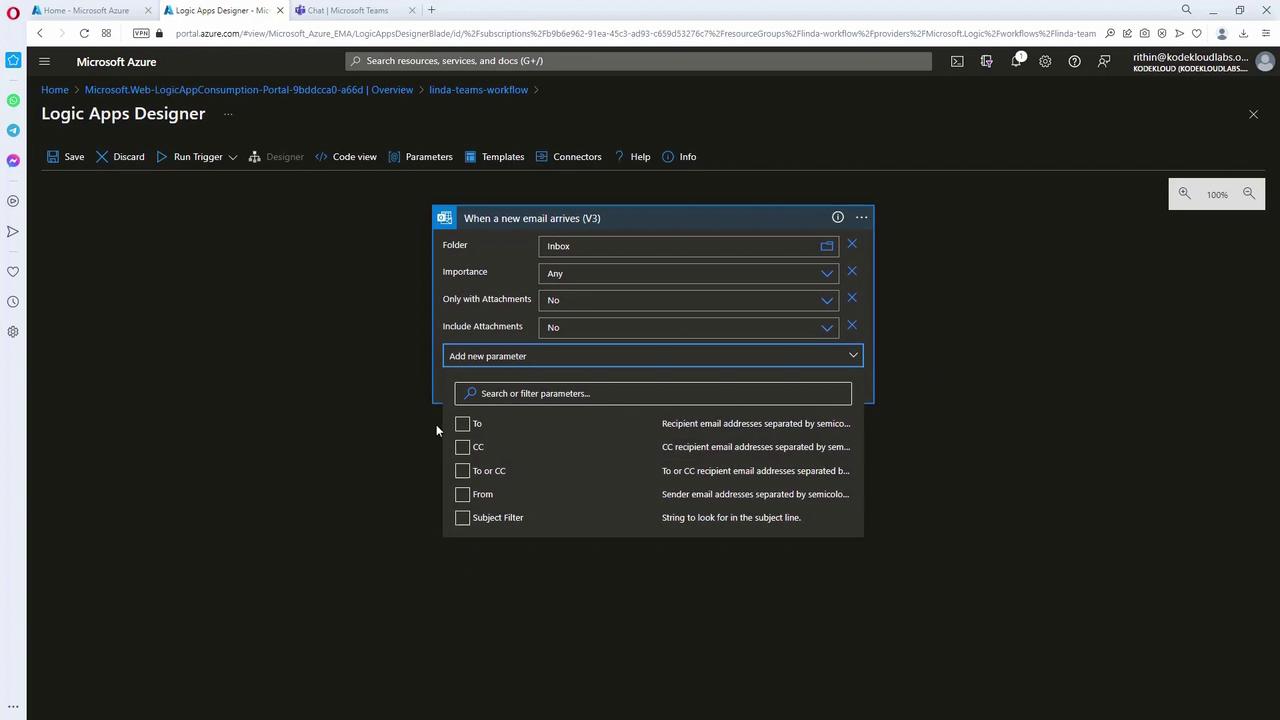
- Connect the Outlook 365 connector using Linda’s account.
- Set up the trigger with filters such as the “Inbox” folder, importance level, and a subject filter for “INV.”
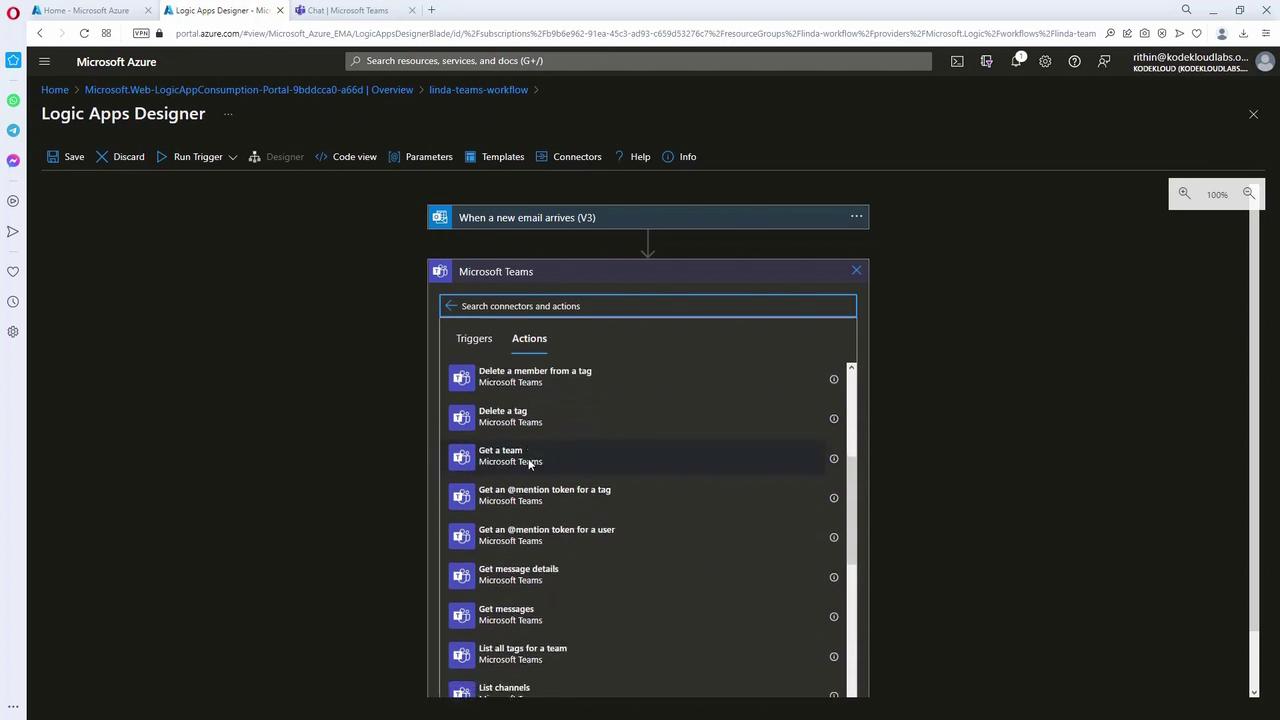
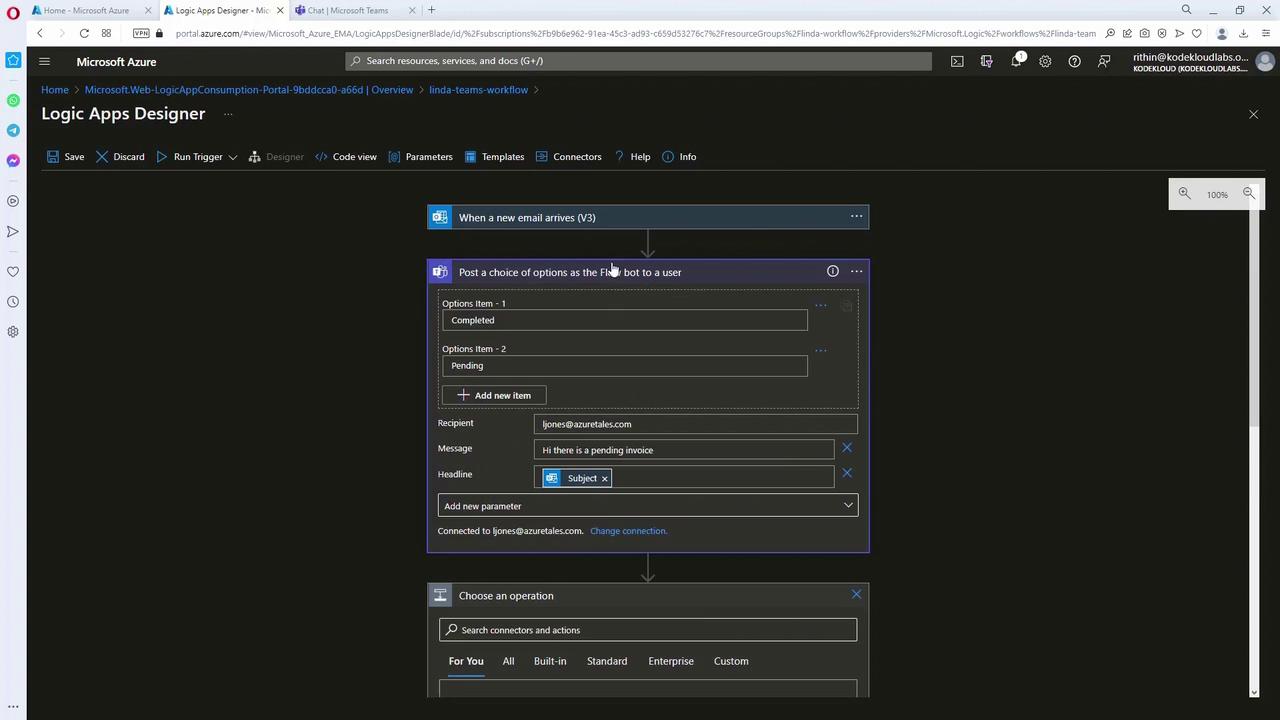
Step 3. Setting Up the Microsoft Teams Action
After the email trigger, add an action to send a message in Microsoft Teams:- Select the Microsoft Teams connector.
- Connect using Linda’s account.
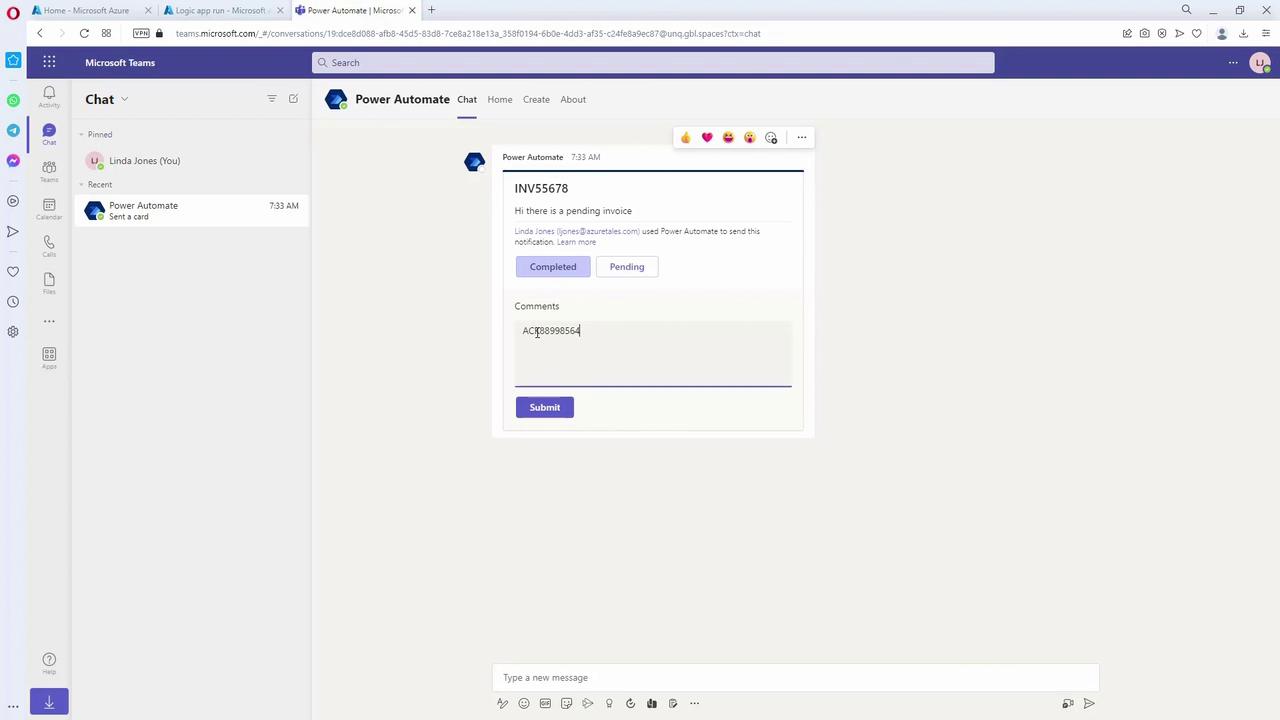
- Choose the “Post a message” action (or similar) to display a notification that includes dynamic content from the email, such as the invoice number from the subject.
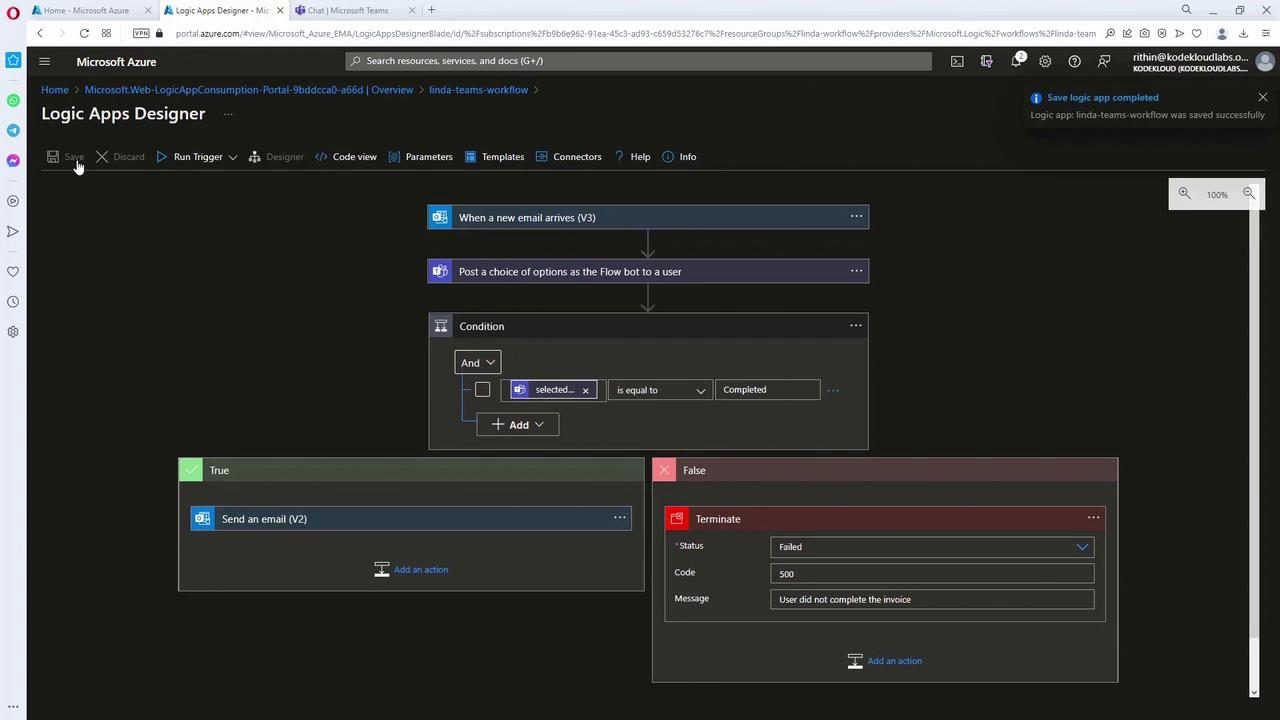
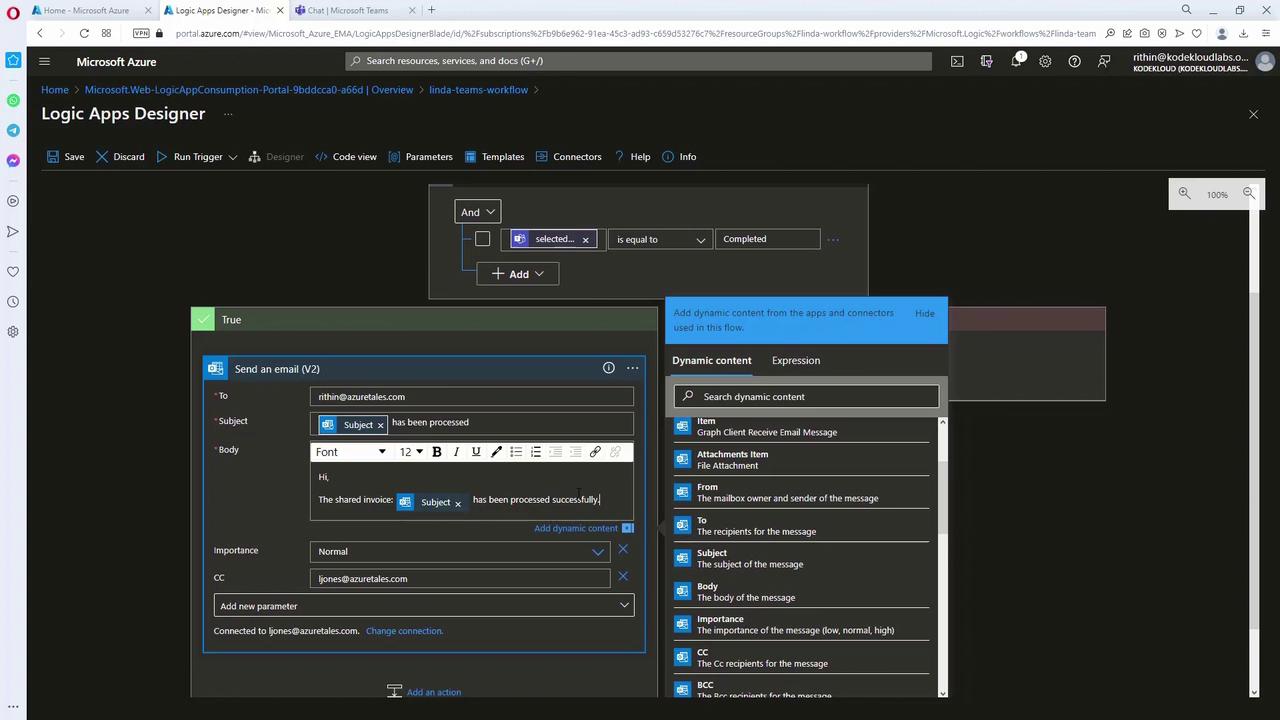
Step 4. Adding Conditional Logic Based on User Response
In order to verify whether the invoice was processed (e.g., a response of “completed” or “pending”), add a conditional branch:- Use the Control action “Condition”.
- Configure the condition to evaluate the “Selected Option” returned by the Teams connector.
- If the condition is true (response equals “completed”):
- Use the Outlook 365 action “Send an email” to notify Rithin while cc’ing Linda.
- Include dynamic content, such as the confirmation number extracted from the Teams response.
- If the condition is true (response equals “completed”):
- If the condition is false (response equals “pending”):
- Terminate the workflow, optionally logging an error message like “User did not complete” with an error code (e.g., 500).
Before testing, double-check that all dynamic content parameters are correctly mapped from previous steps to ensure the workflow runs smoothly.
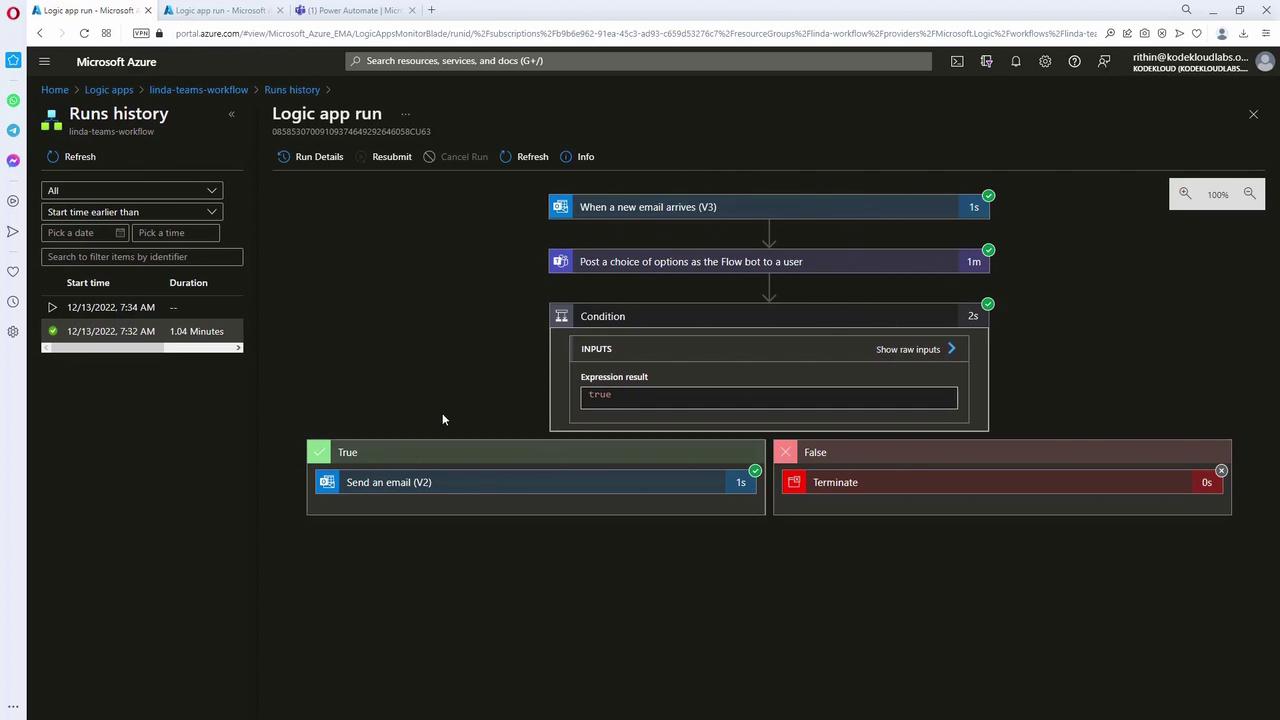
Testing the Logic App
To verify the workflow:- Send an email from Linda’s mailbox with a subject containing “INV” along with the invoice number.
- The Logic App will trigger and subsequently send a Teams message with the invoice details.
- When Linda replies (for example, with “completed” and a confirmation number), the Logic App will automatically send an email notification confirming that the invoice has been processed.