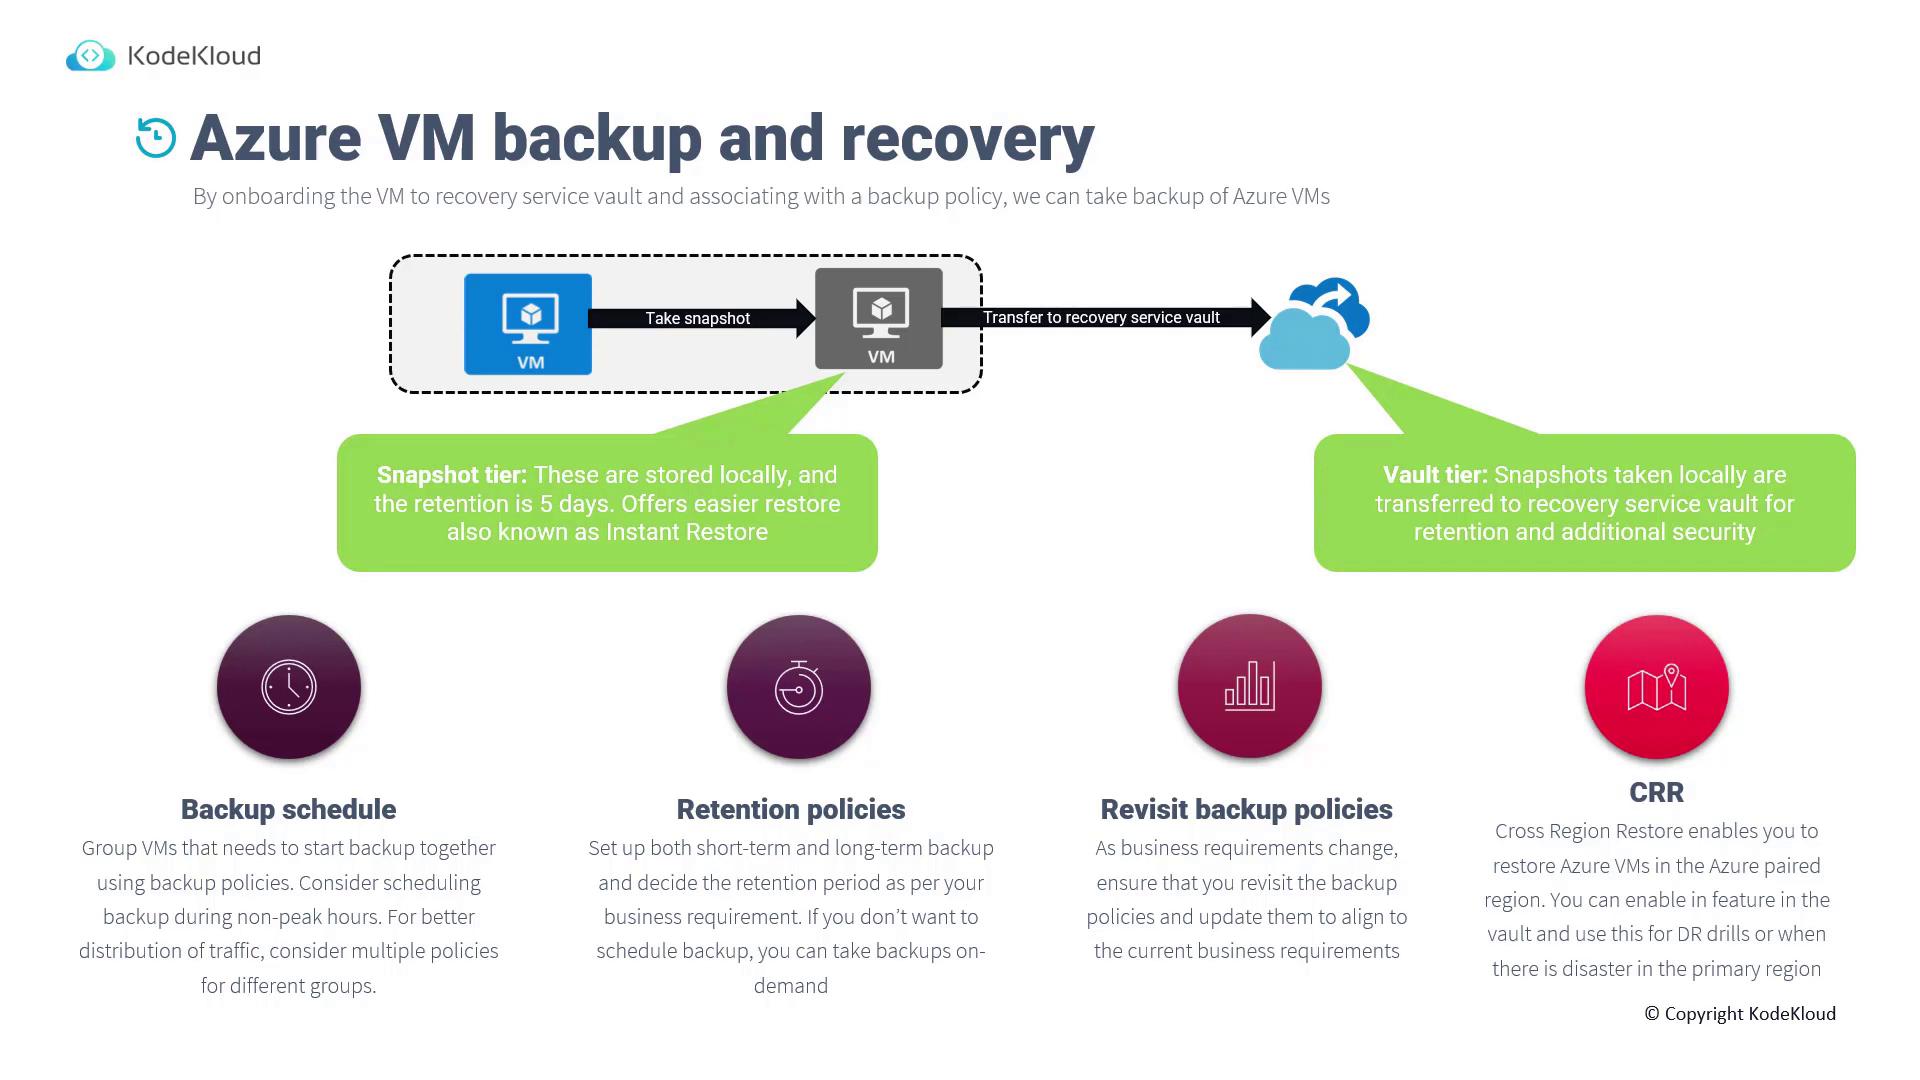
How Azure VM Backup Works
When you onboard a Virtual Machine (VM) to Azure Backup, an extension is automatically installed on the VM. Based on your backup policy, the Azure Backup service triggers the extension to orchestrate the backup process. During the backup process:- A local snapshot is created on the VM.
- The snapshot is retained locally for five days, enabling an “instant restore” without the need to retrieve data from the Recovery Services Vault.
- The backup data is then securely transferred to the Recovery Services Vault for long-term storage and compliance.
- Group VMs according to their backup policies to synchronize backup timings.
- Schedule backups during non-peak hours to manage network traffic efficiently.
- Define both short-term and long-term retention policies according to your business or compliance needs.
- For immediate needs, trigger an on-demand backup directly from the Recovery Services Vault.
Configuring Backup in the Azure Portal
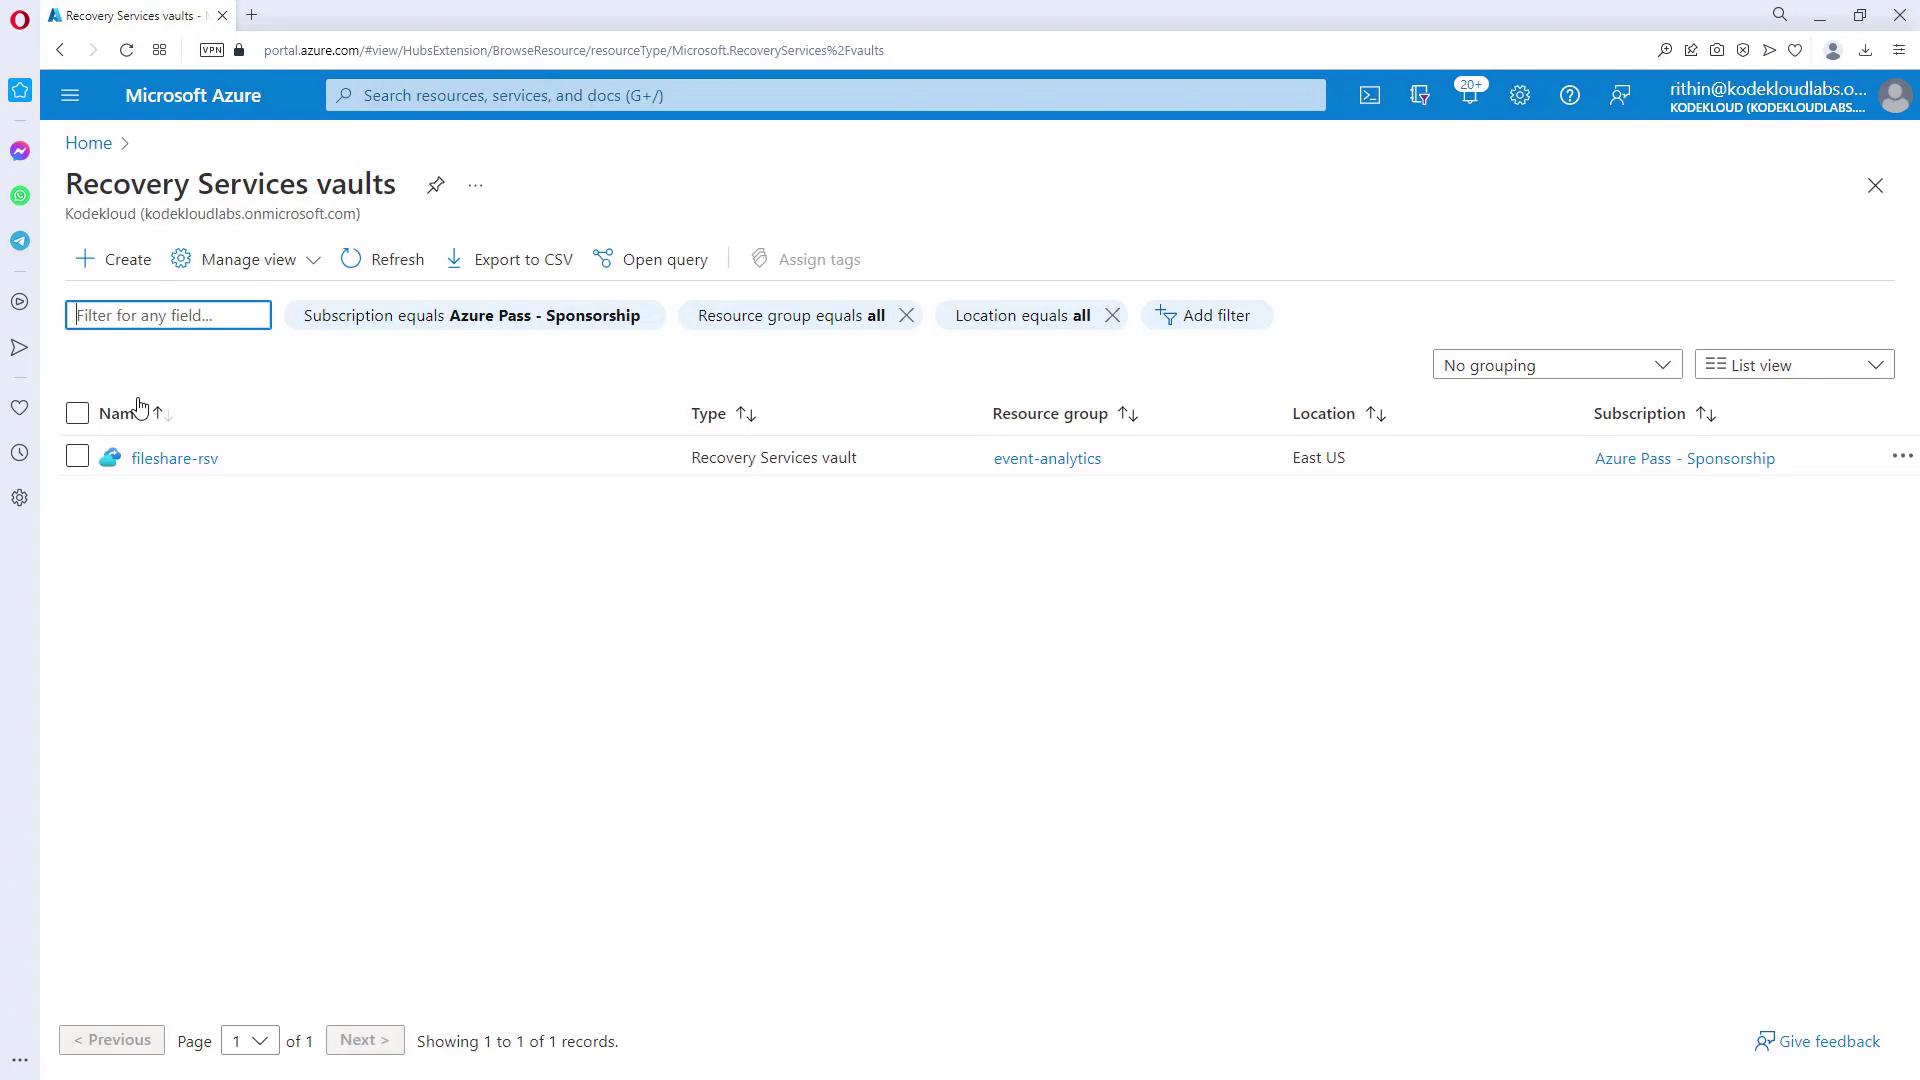
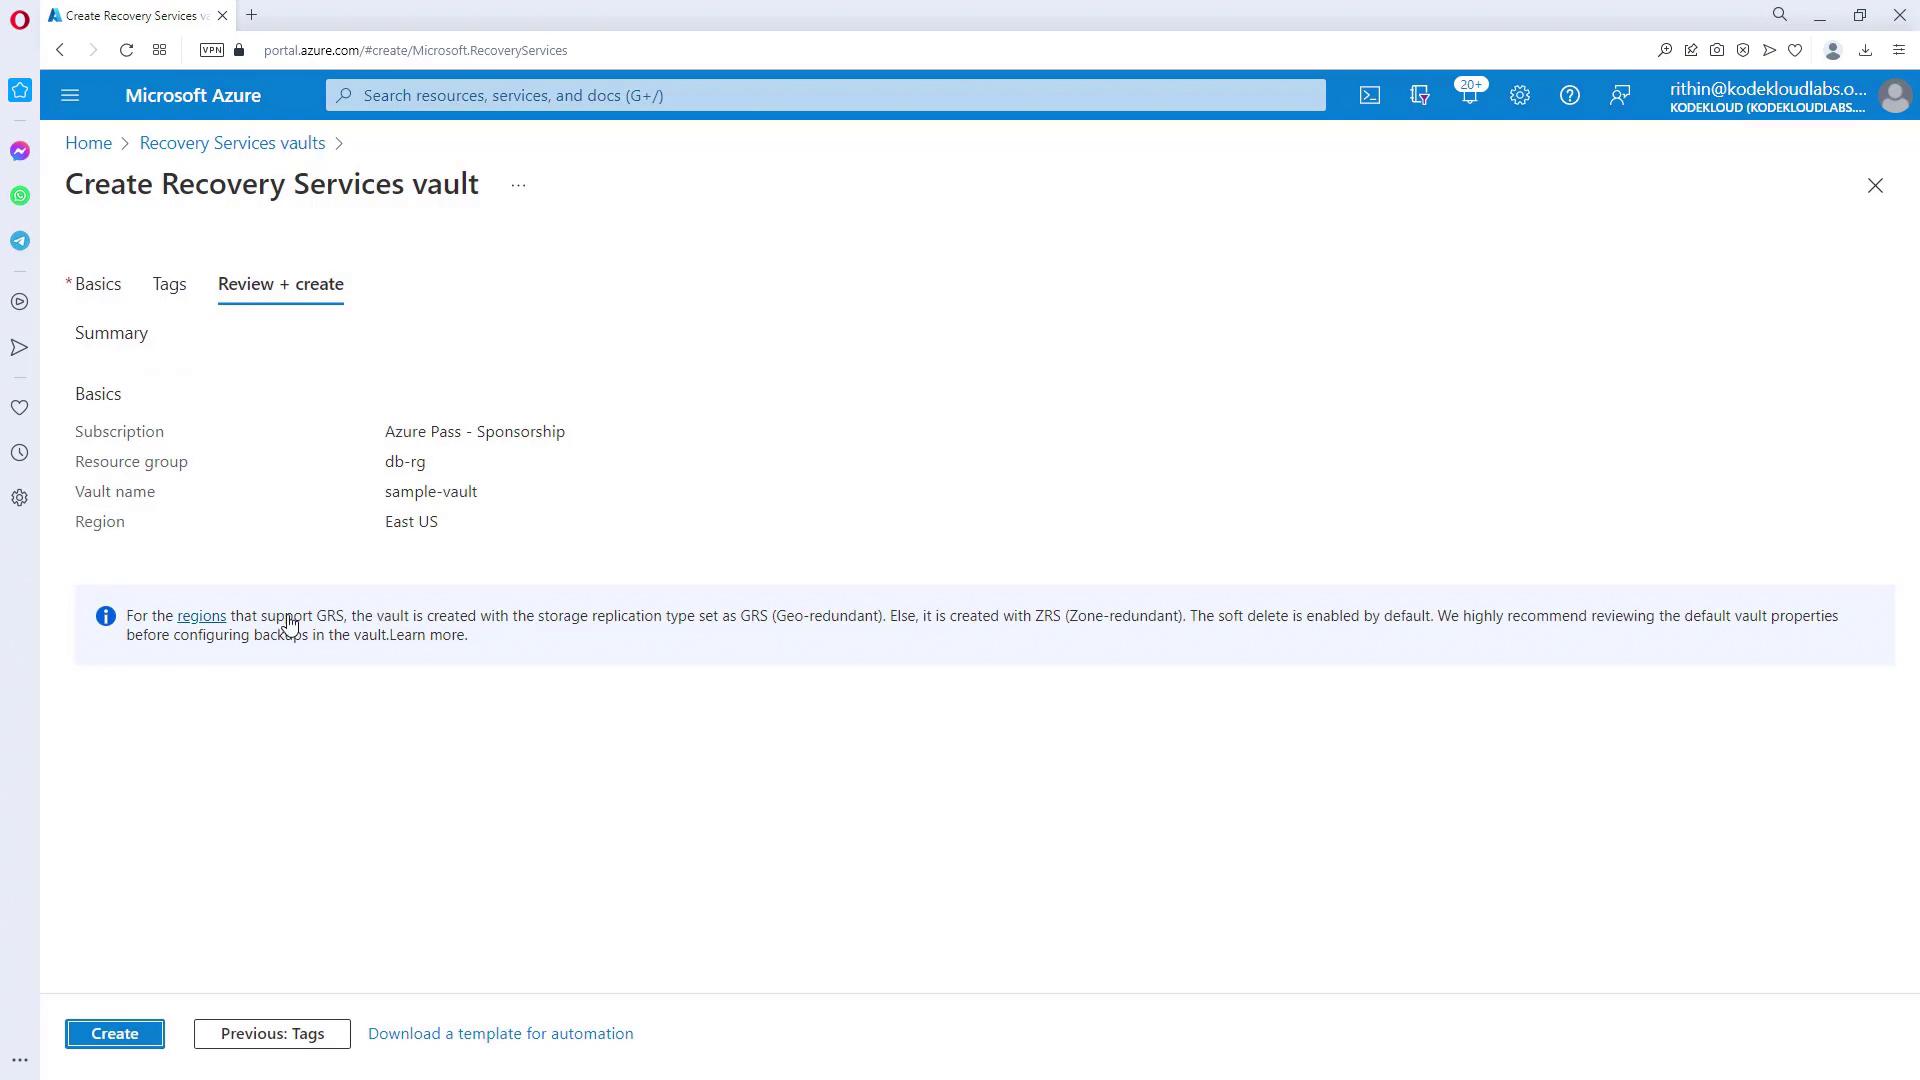
Follow these steps to configure backup for an Azure VM using the Azure portal.Step 1: Creating a Recovery Services Vault
There are two primary approaches:- Create a new Recovery Services Vault and onboard your VM(s) through it.
- For a single VM, navigate directly to the VM’s blade and enable the backup process.
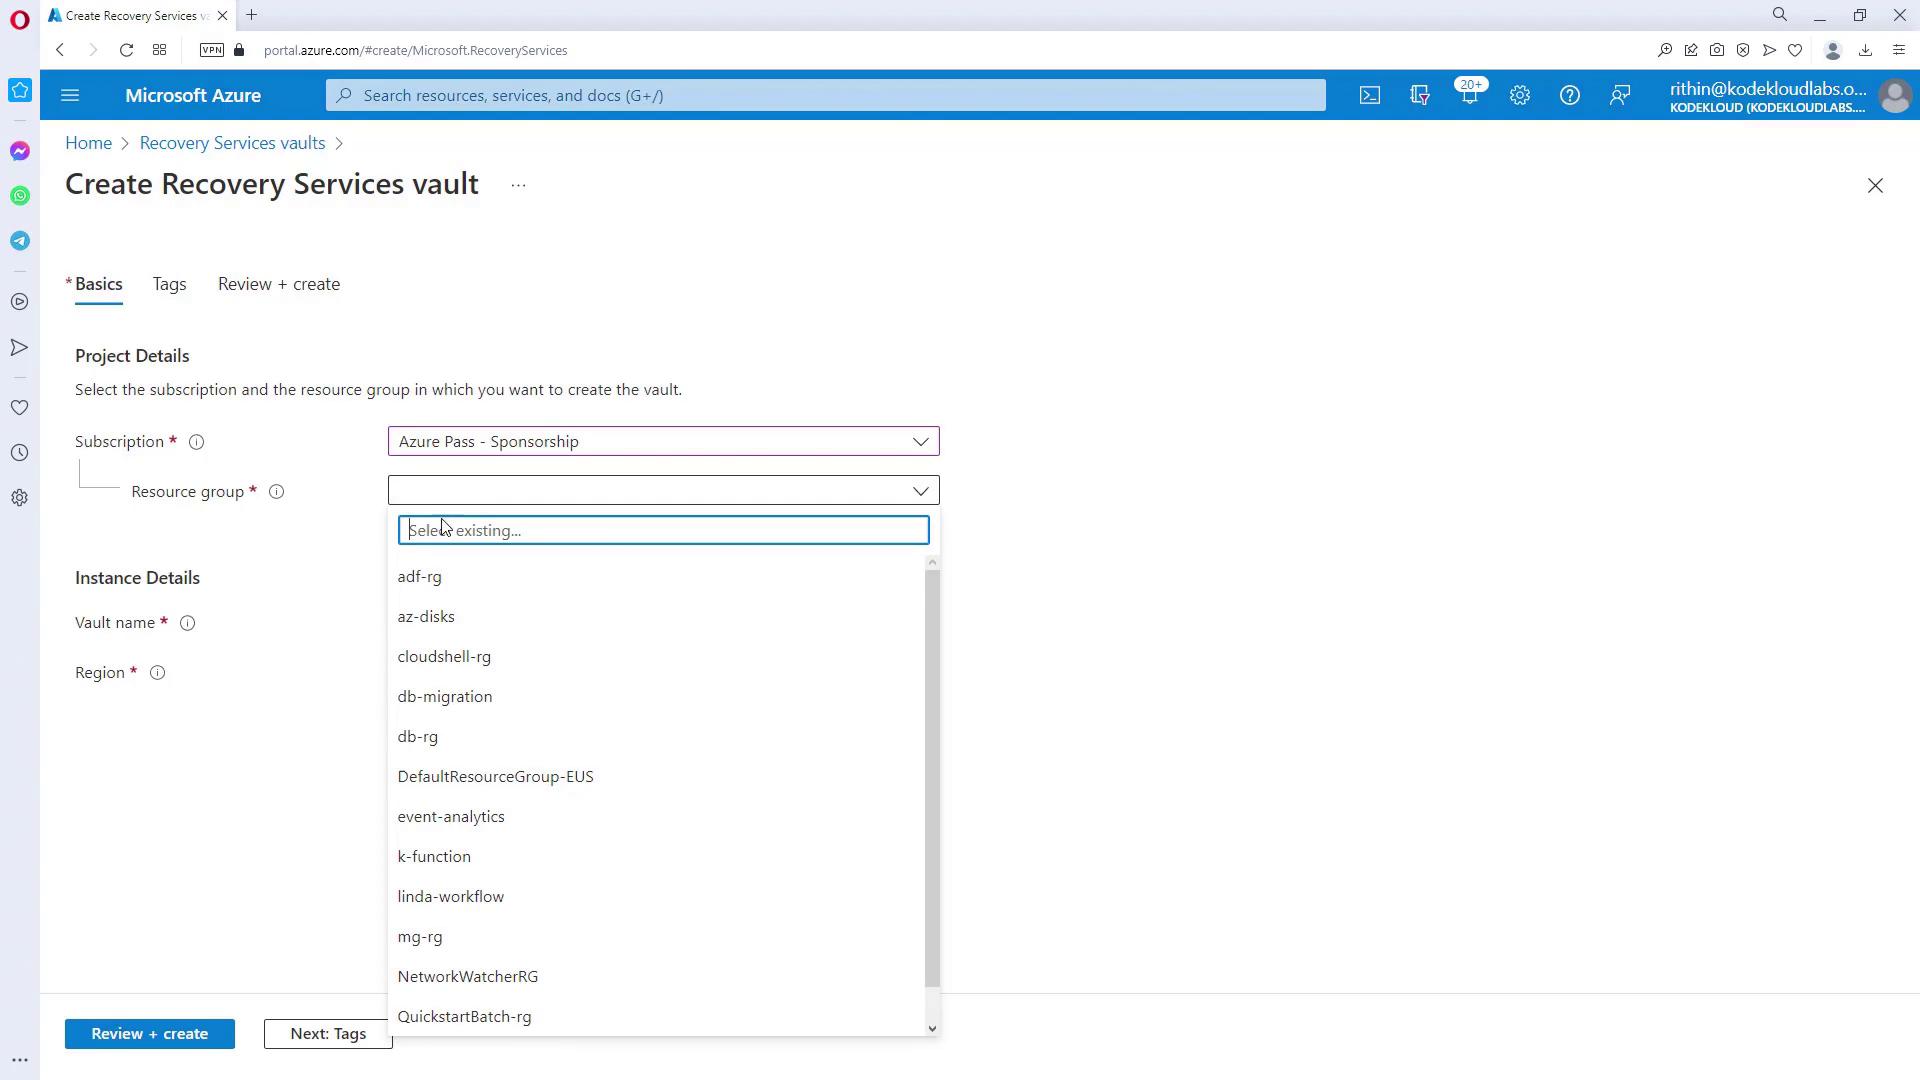
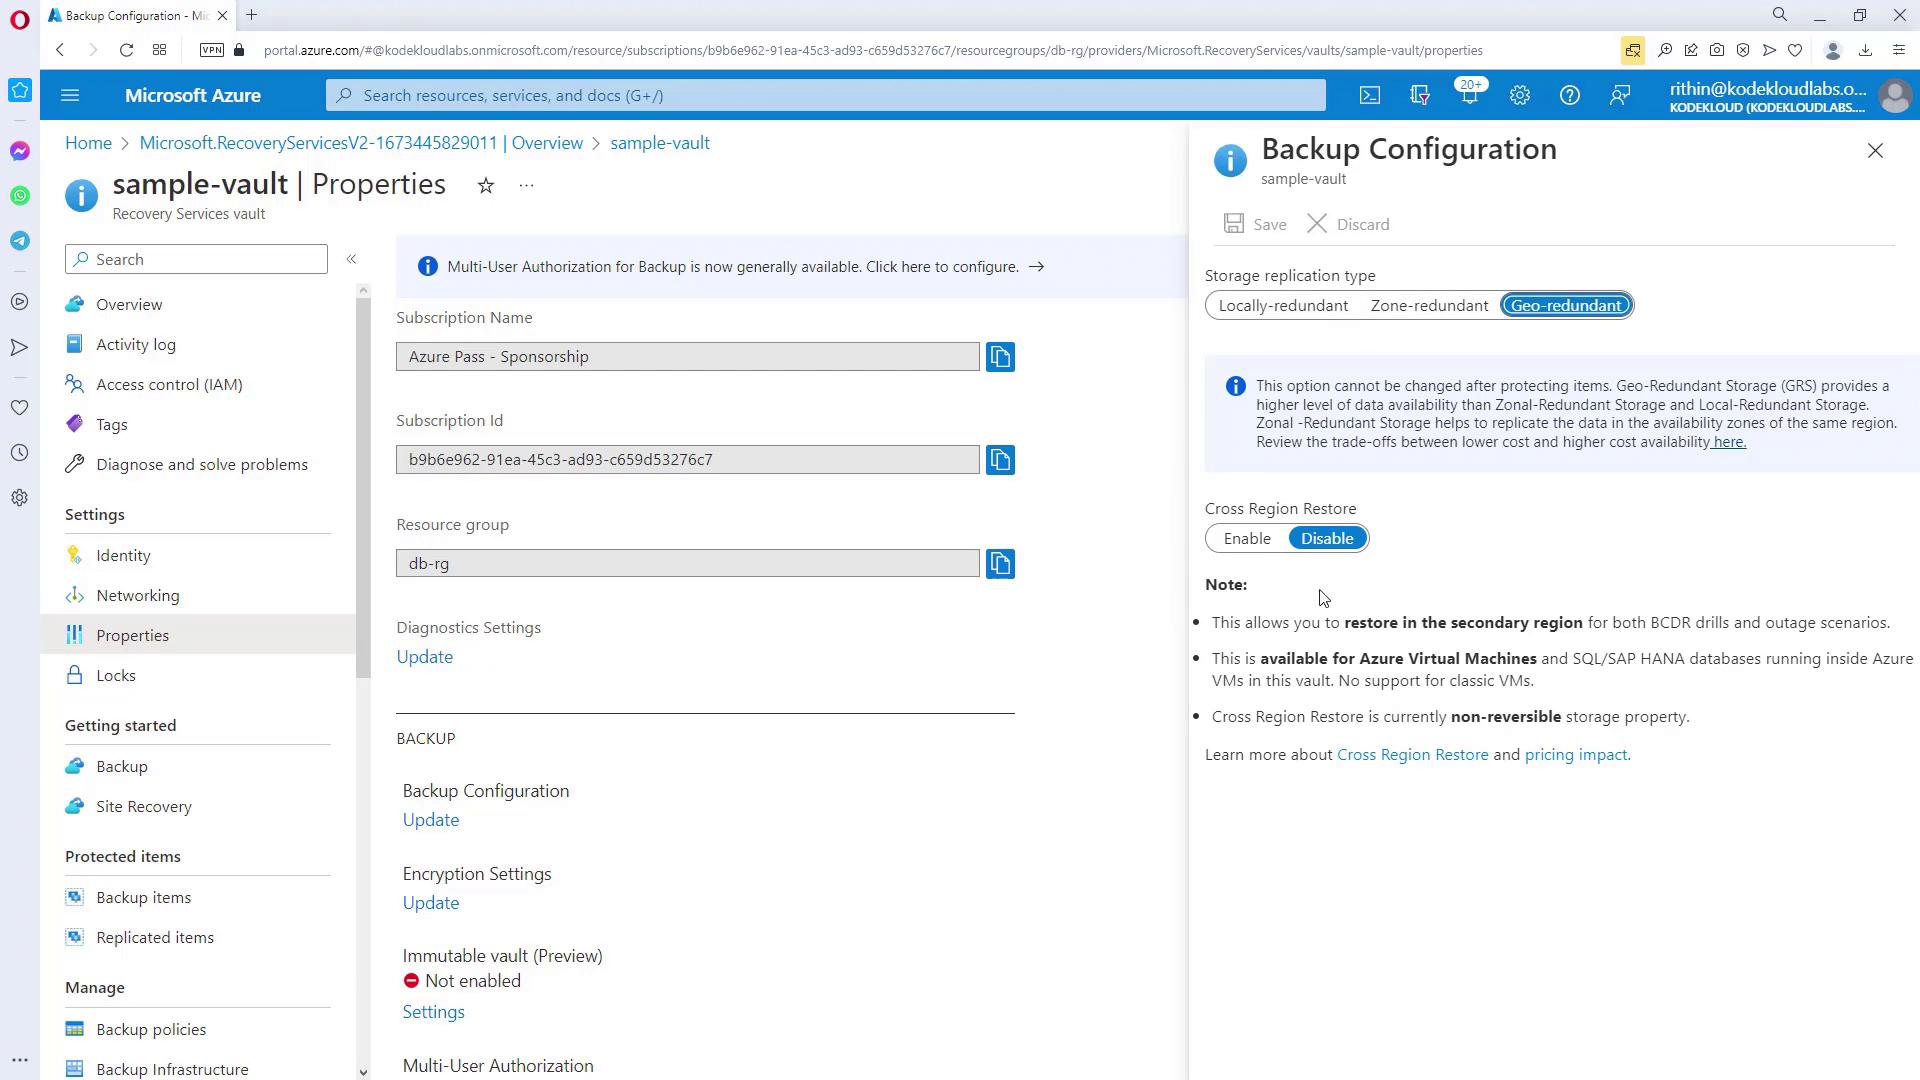
During vault creation, the default storage redundancy is set to geo-redundant (GRS). Adjust this option before onboarding any VMs if you prefer a different redundancy model.
Step 2: Configuring Backup Settings
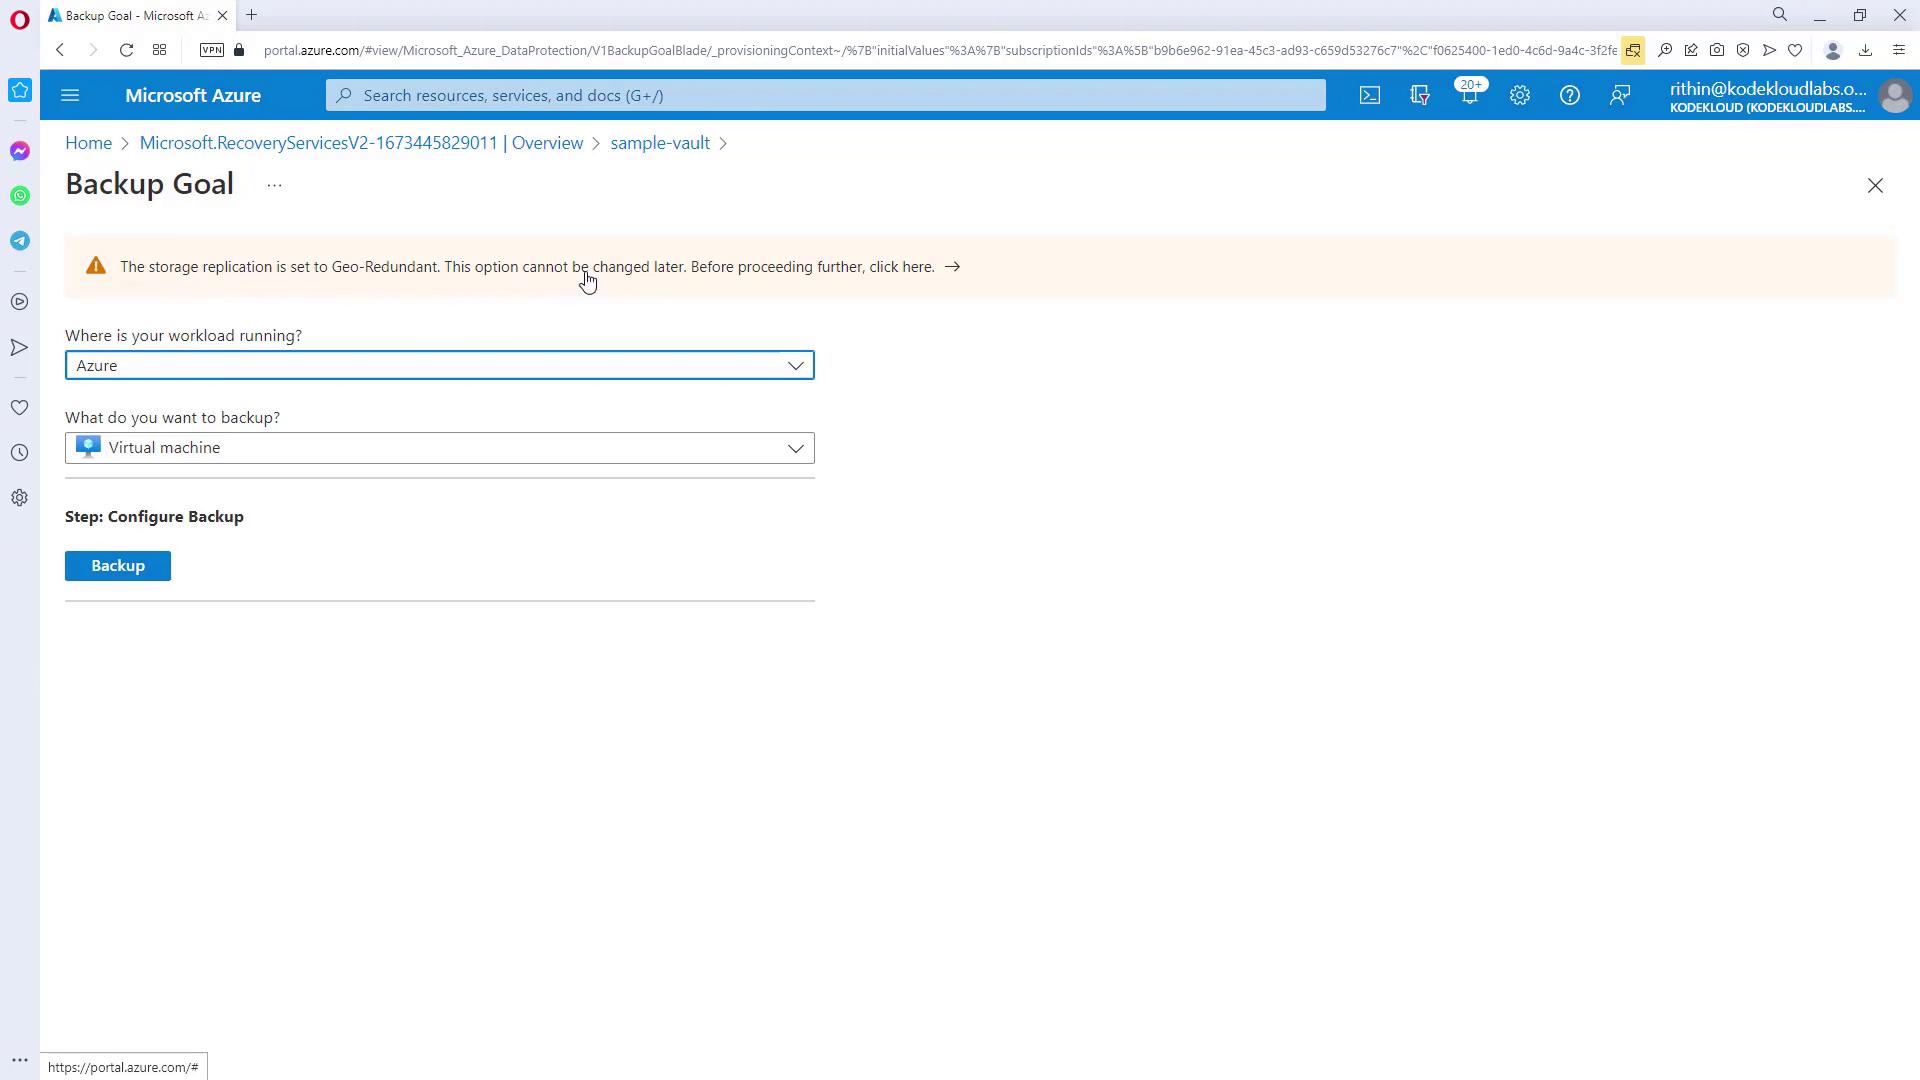
Inside the vault, click on the “Backup” option. You will be asked to specify:- The workload location (Azure, Azure Stack, or on-premises).
- The type of backup (e.g., Virtual Machine, file share, SQL Server in Azure VM, or SAP).

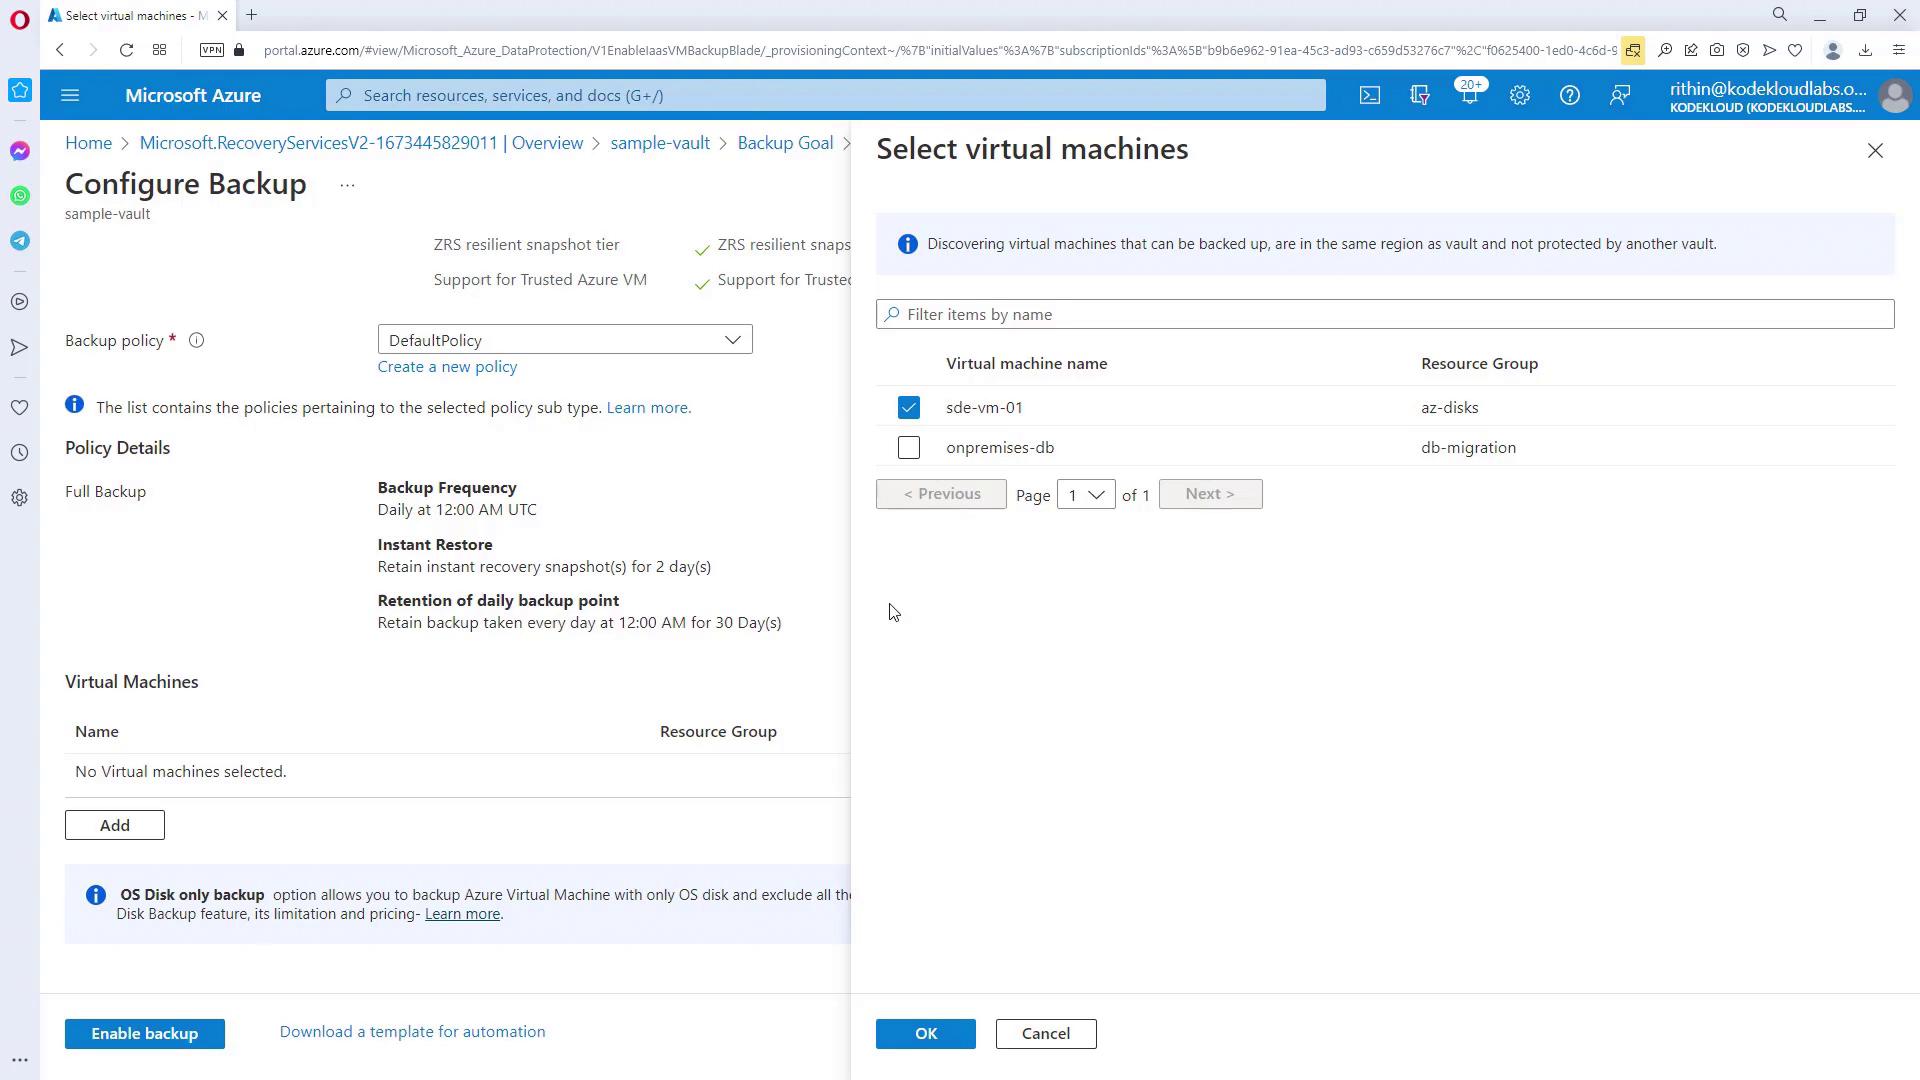
Step 3: Associating Virtual Machines with a Backup Policy
In the “Backup” section, select “Azure” as the workload location and choose “Virtual machine” for the backup type. Various backup policies may be available, such as a standard once-daily backup or policies that support multiple backups per day. Select a policy that aligns with your operational schedule and retention needs.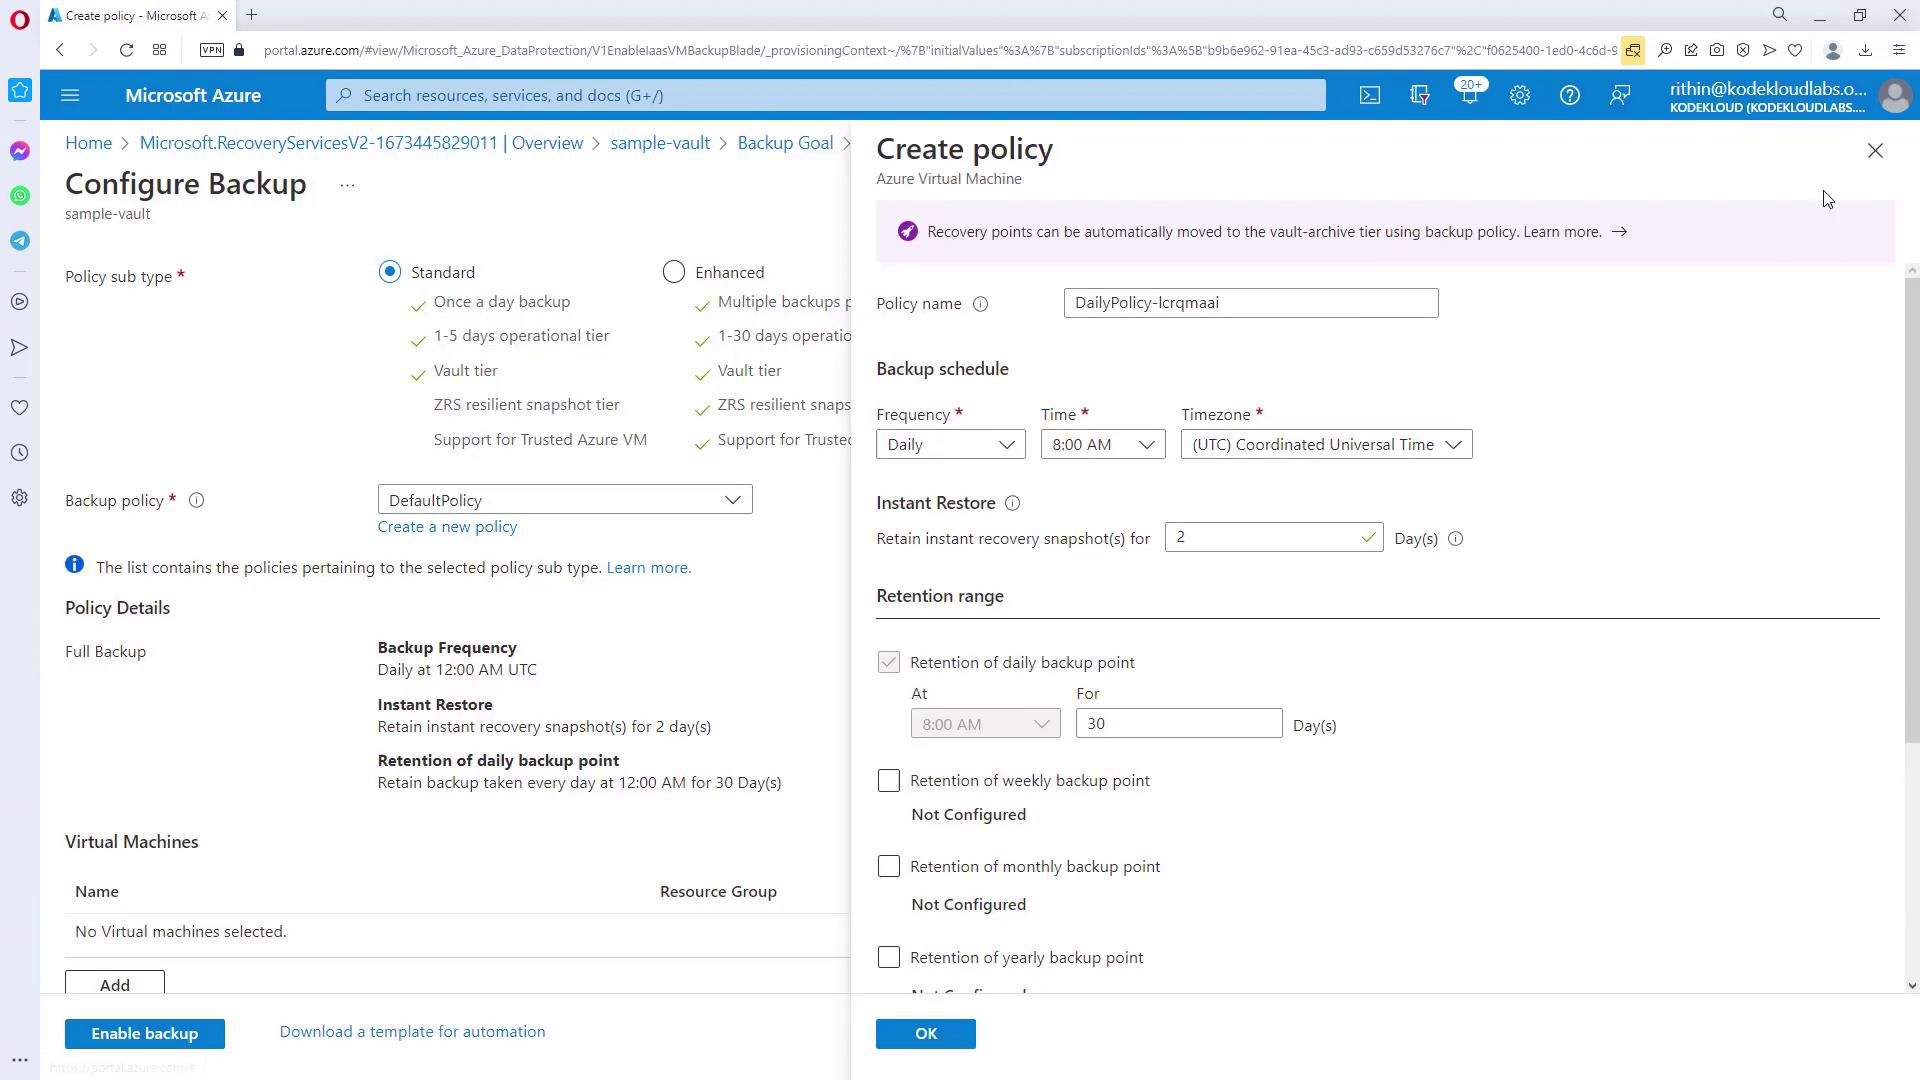
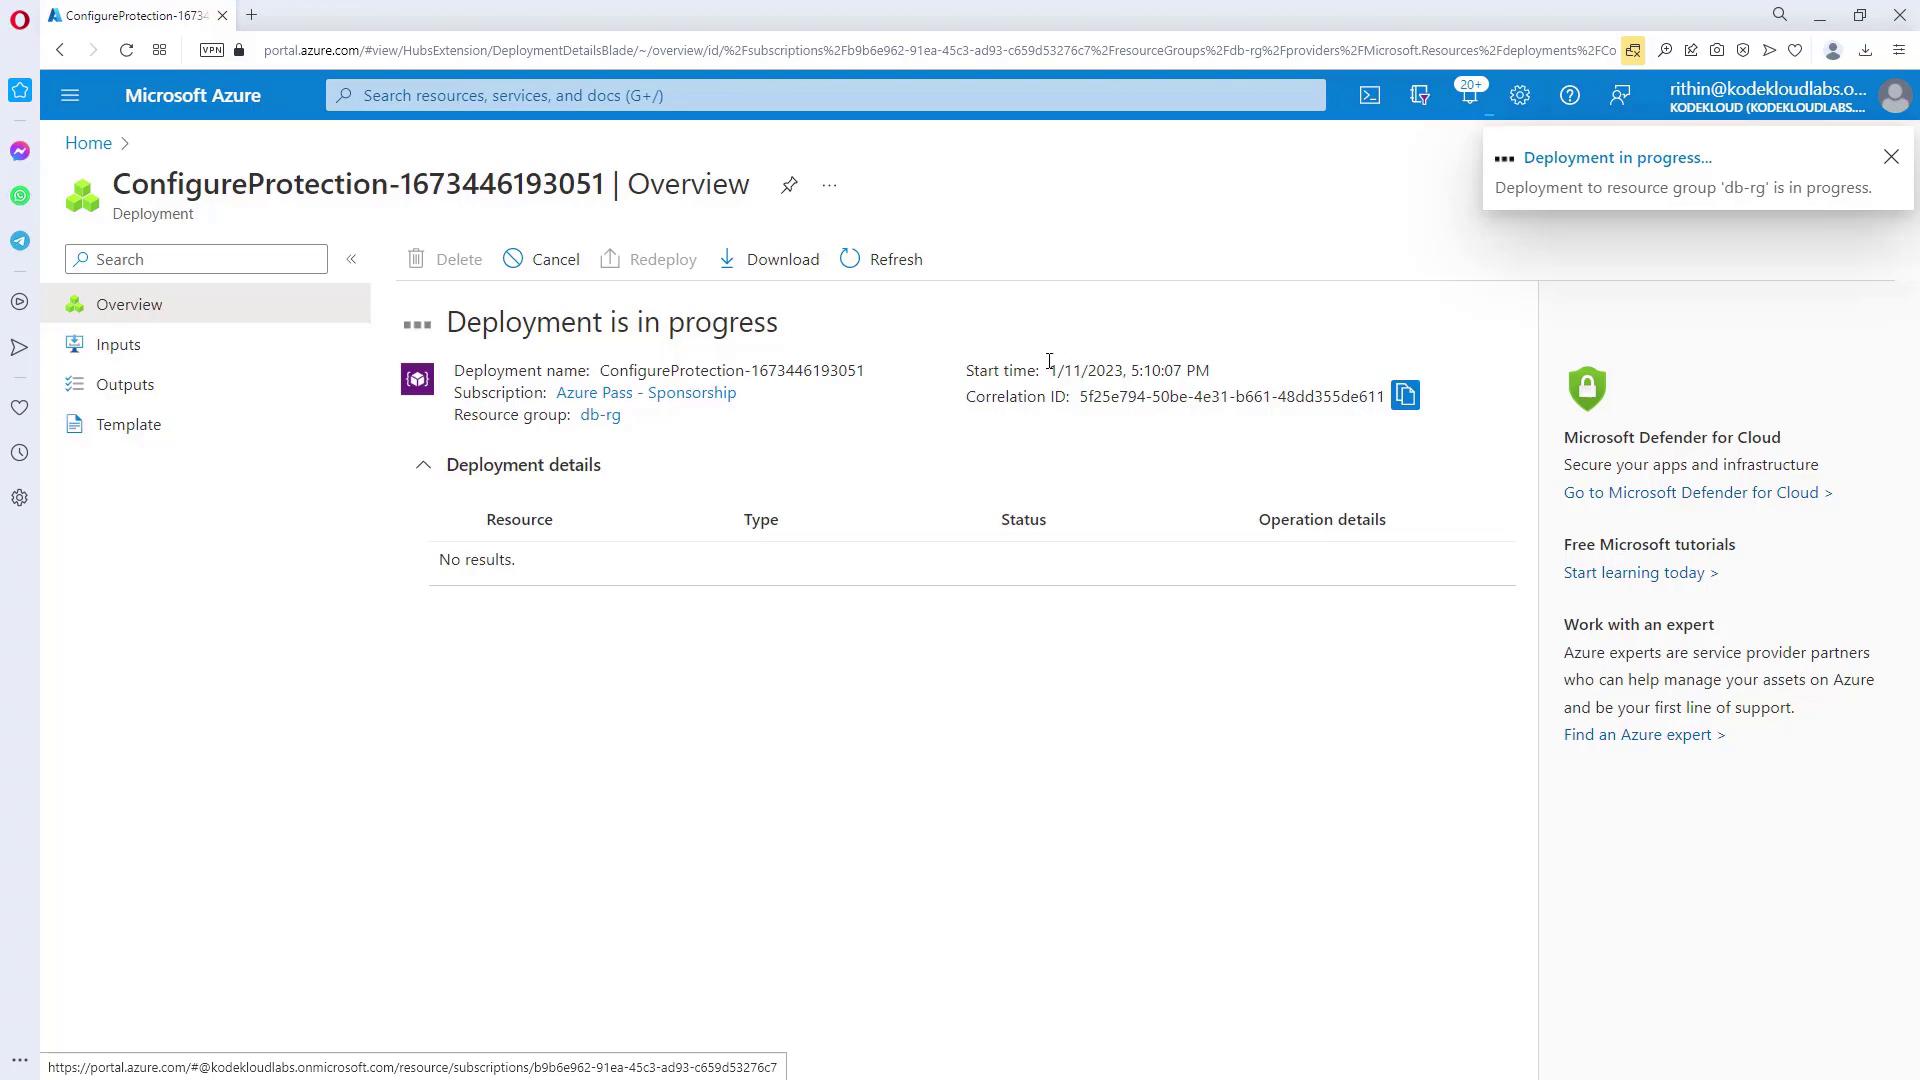
Step 4: Monitoring and Managing Backups
After enabling the backup, navigate back to the Recovery Services Vault to view your backup items. Selecting a specific VM will display detailed backup status. Initially, you might find the backup status as pending; once the backup completes, the status and date will update accordingly.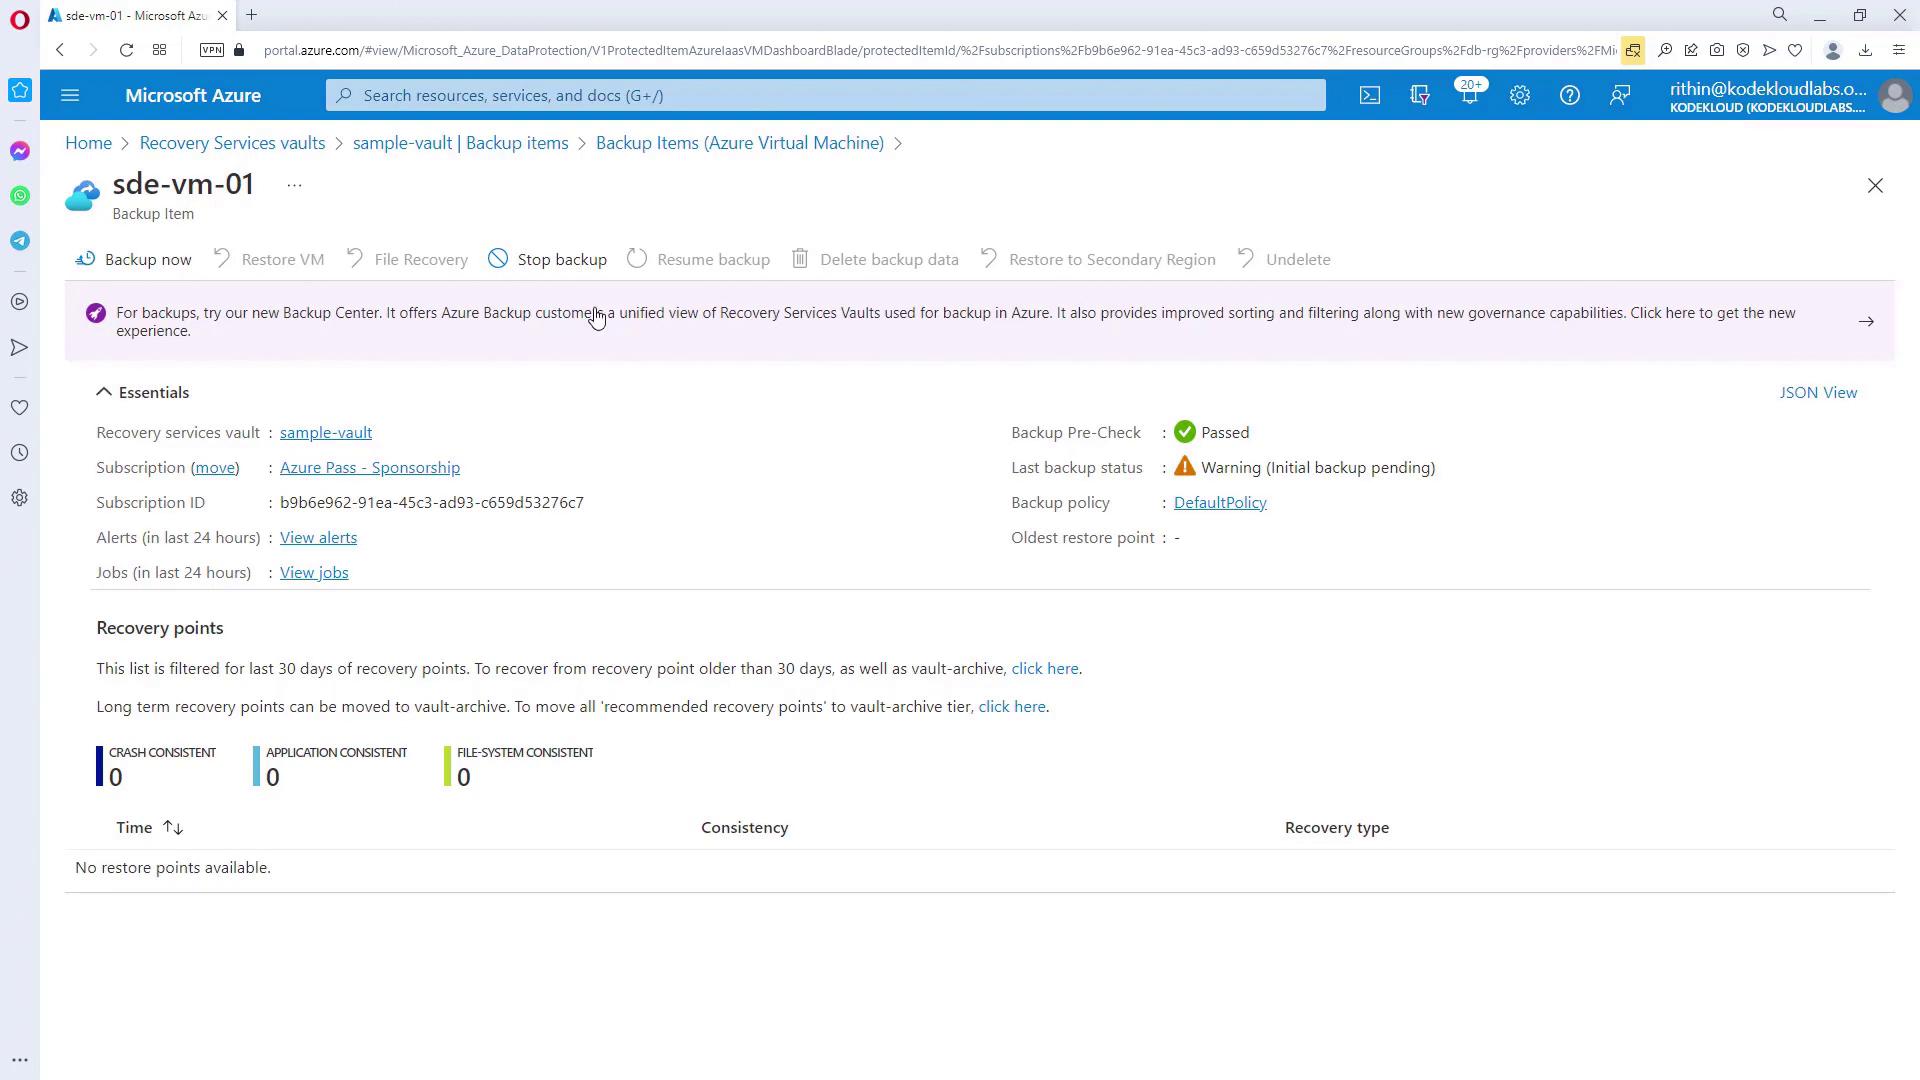
Additional Considerations
- For on-premises VMs, consider using the Azure Backup Server or System Center Data Protection Manager (DPM) based on your environment.
- Regularly review and update your backup policies to ensure they remain aligned with evolving business and compliance requirements.
- Utilize Cross-Region Restore (CRR) for disaster recovery drills or when restoring VMs in a partnered region.
Backup and recovery strategies for Azure SQL build on these concepts. Ensure that you tailor policies and settings to align with specific workload requirements.