Key Features of Azure Log Analytics
Azure Log Analytics comes with several important benefits:-
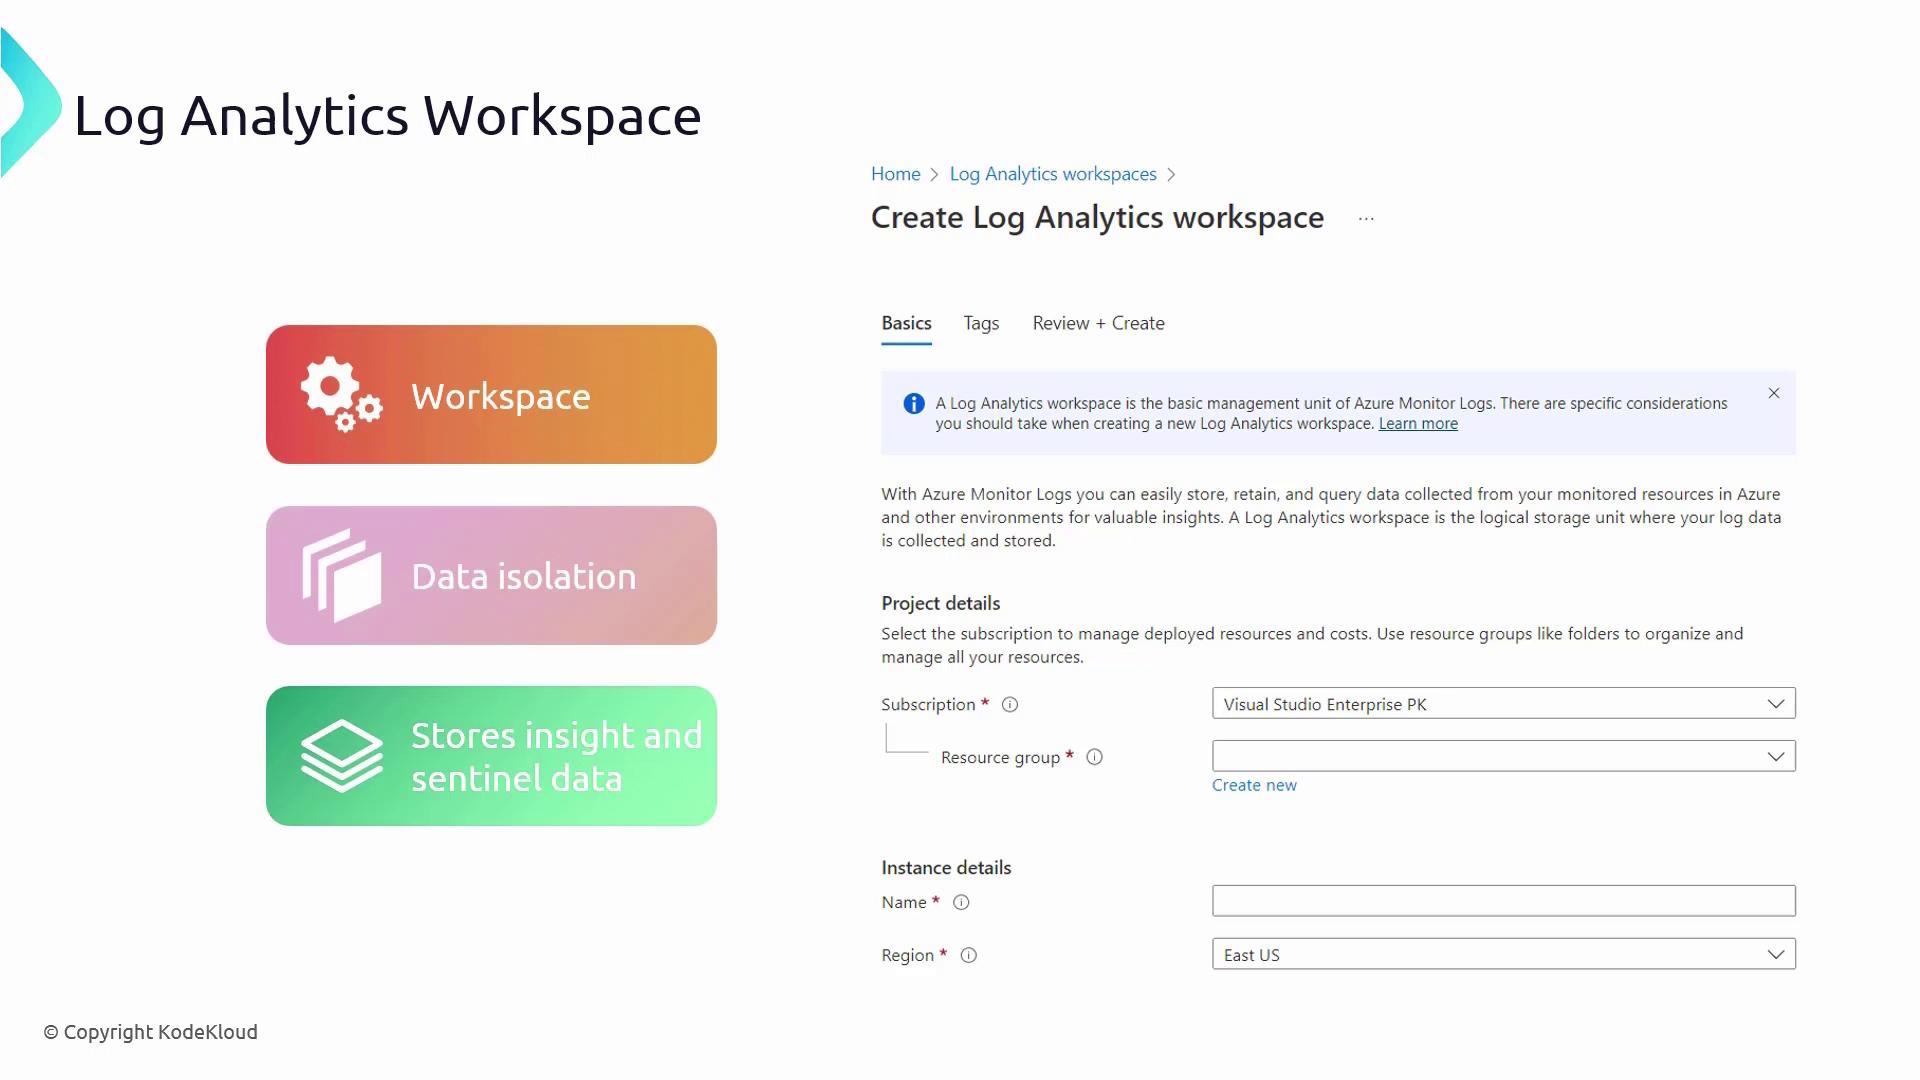
Data Collection
It centralizes data generated from cloud resources and on-premises systems into a single workspace. -
Reporting and Visualization
Leverage the Kusto Query Language (KQL) to build detailed reports and interactive dashboards for monitoring and analyzing your data. -
Data Ingestion
To ingest data, you first create a Log Analytics workspace. While you can operate multiple workspaces across various regions, many architectures consolidate logs into a centralized workspace. Depending on your project requirements, you might also deploy a dedicated workspace. -
Data Isolation
For compliance and data residency needs, you can create separate workspaces in different regions. For example, production and disaster recovery (DR) environments often require distinct Log Analytics workspaces.
Pricing Considerations
Log Analytics pricing depends on two main factors:-
Data Ingestion
Charges are applied per gigabyte ingested. For instance, the following Kusto query filters performance metrics: -
Data Retention
Data retention is set to 30 days by default (with activity logs kept for 90 days). If you need to store logs for an extended period—say 180 days—adjust the workspace’s retention settings, keeping in mind that this may lead to additional costs.
If you expect high daily data ingestion volumes (above 100 gigabytes), consider switching from the pay-as-you-go model to the commitment tier to reduce your per-gigabyte costs.
Creating a Log Analytics Workspace
A Log Analytics workspace is your central hub for collecting, analyzing, and visualizing data from a wide range of resources including Azure, Google Cloud Platform (GCP), AWS, and on-premises systems (using agents or tools like Azure Arc). Data from Application Insights and Azure Sentinel is also routed to your Log Analytics workspace. Keep in mind that if you are using Sentinel, you will be billed for both Sentinel services and the underlying Log Analytics data storage.Step-by-Step Creation Using the Azure Portal
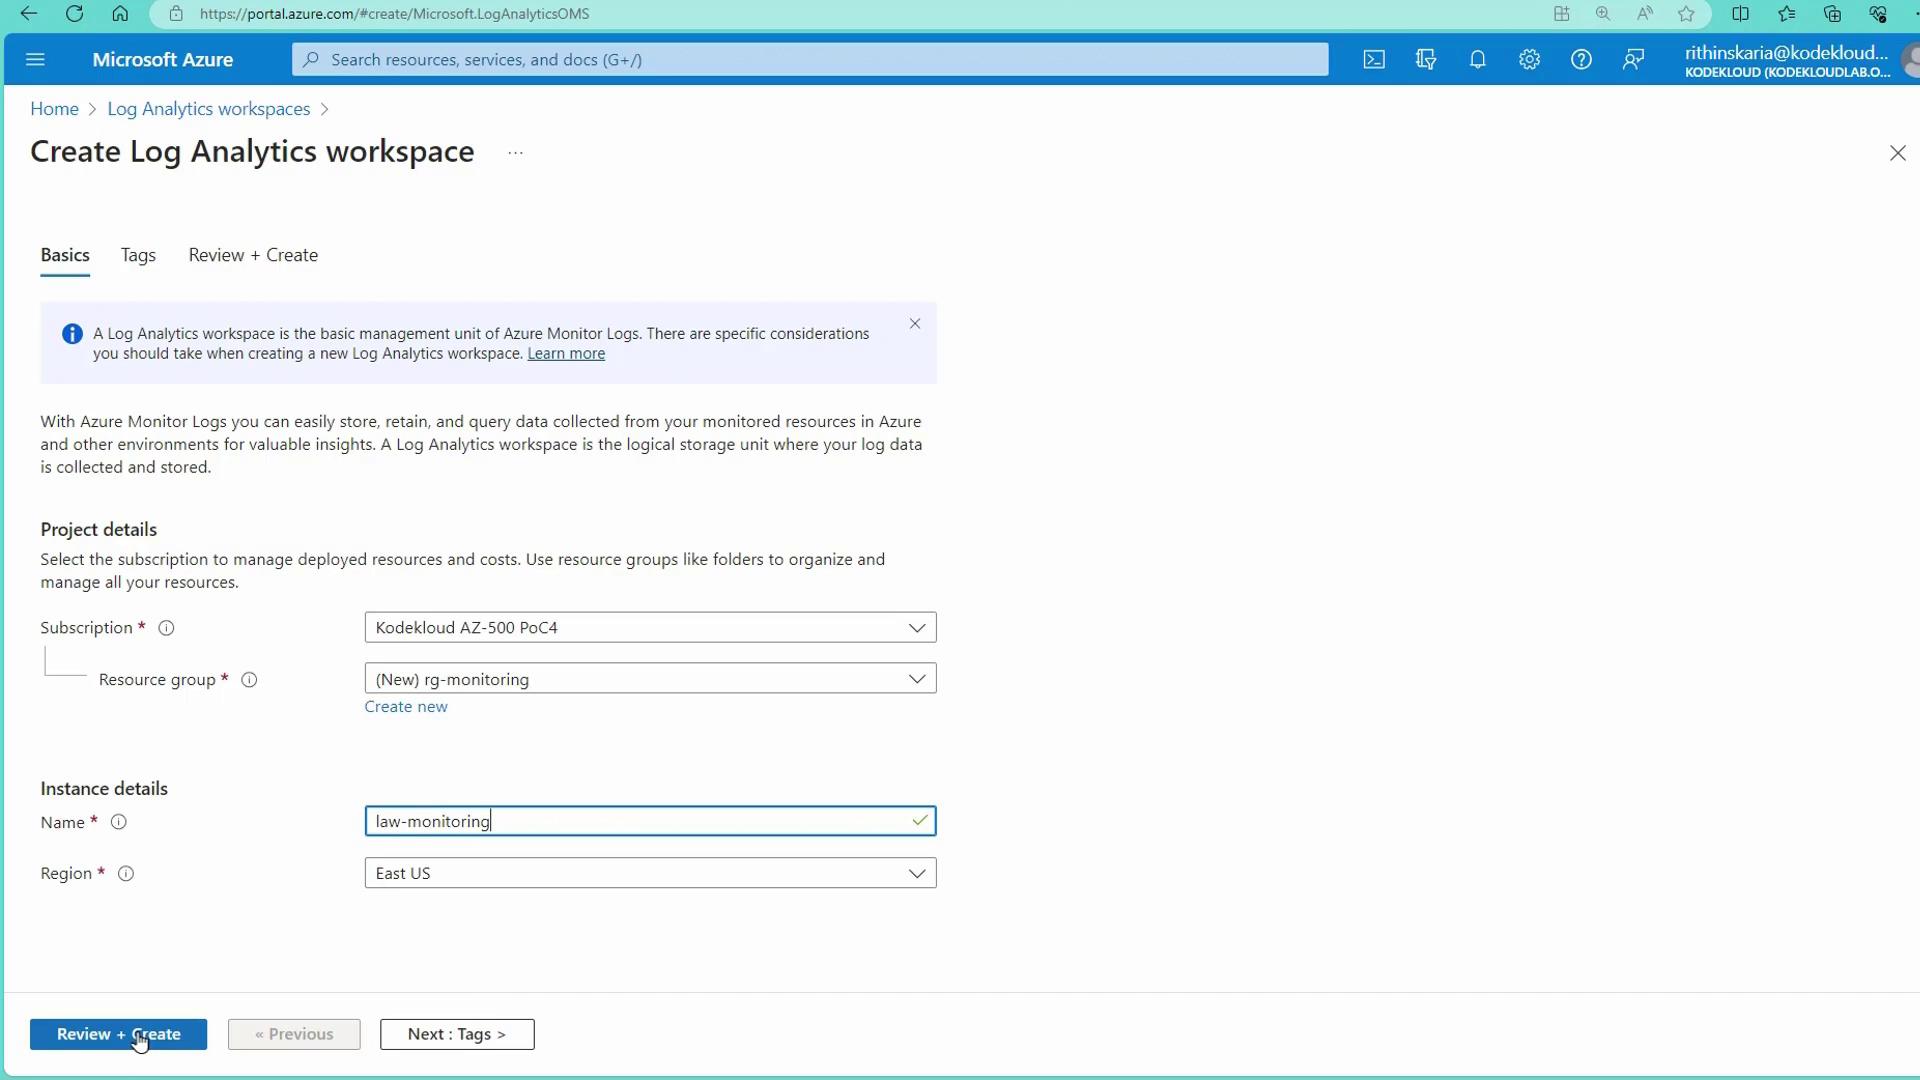
- Open the Azure Portal and search for “Log Analytics workspaces.”
- Click Create a new Log Analytics workspace.
- Set up a new resource group (for example, “RGMonitoring”) and select your desired region (e.g., East US).
- Configure the pricing tier. By default, the workspace uses a pay-as-you-go model. For high-volume ingestion environments (over 100 gigabytes per day), opt for the commitment tier to reduce costs.
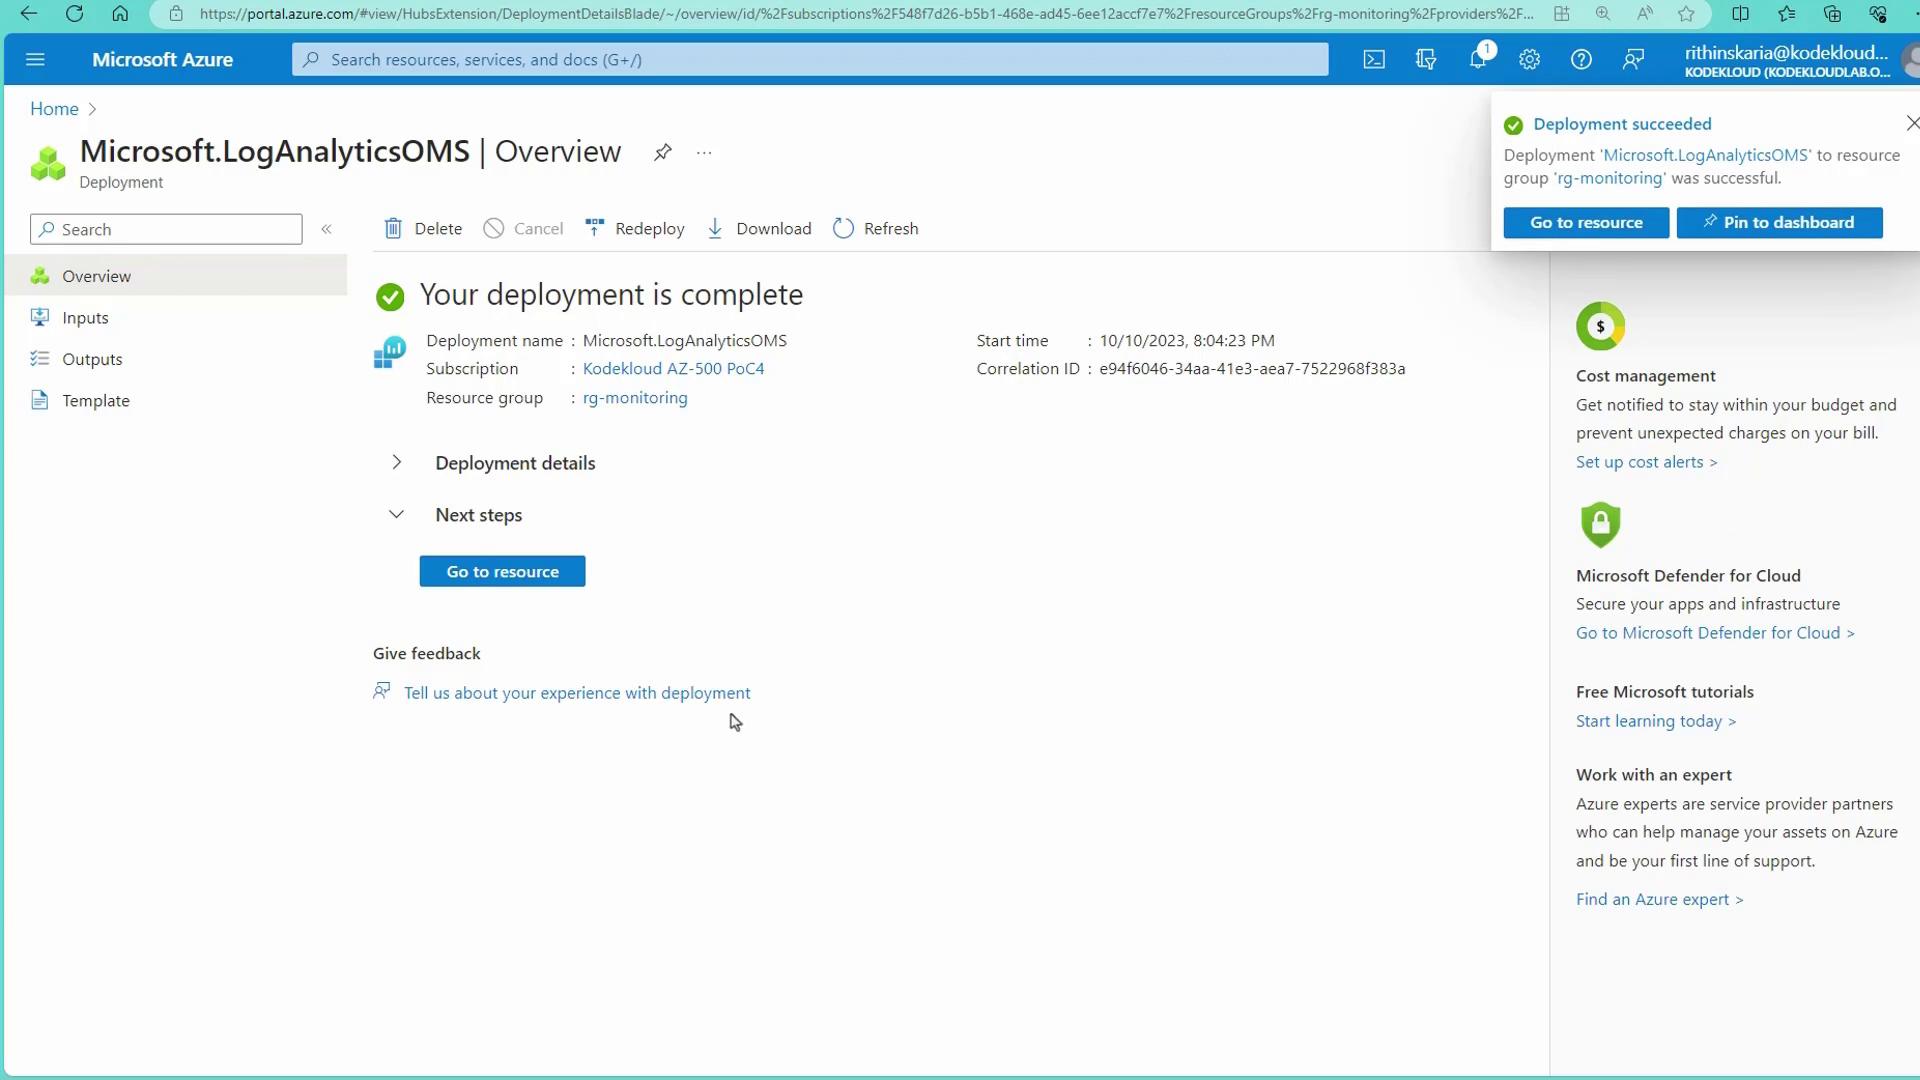
Onboarding Resources to Your Workspace
After setting up your Log Analytics workspace, the next step is to onboard your resources. This involves configuring diagnostic settings to send logs to the workspace and connecting various data sources for an integrated monitoring solution.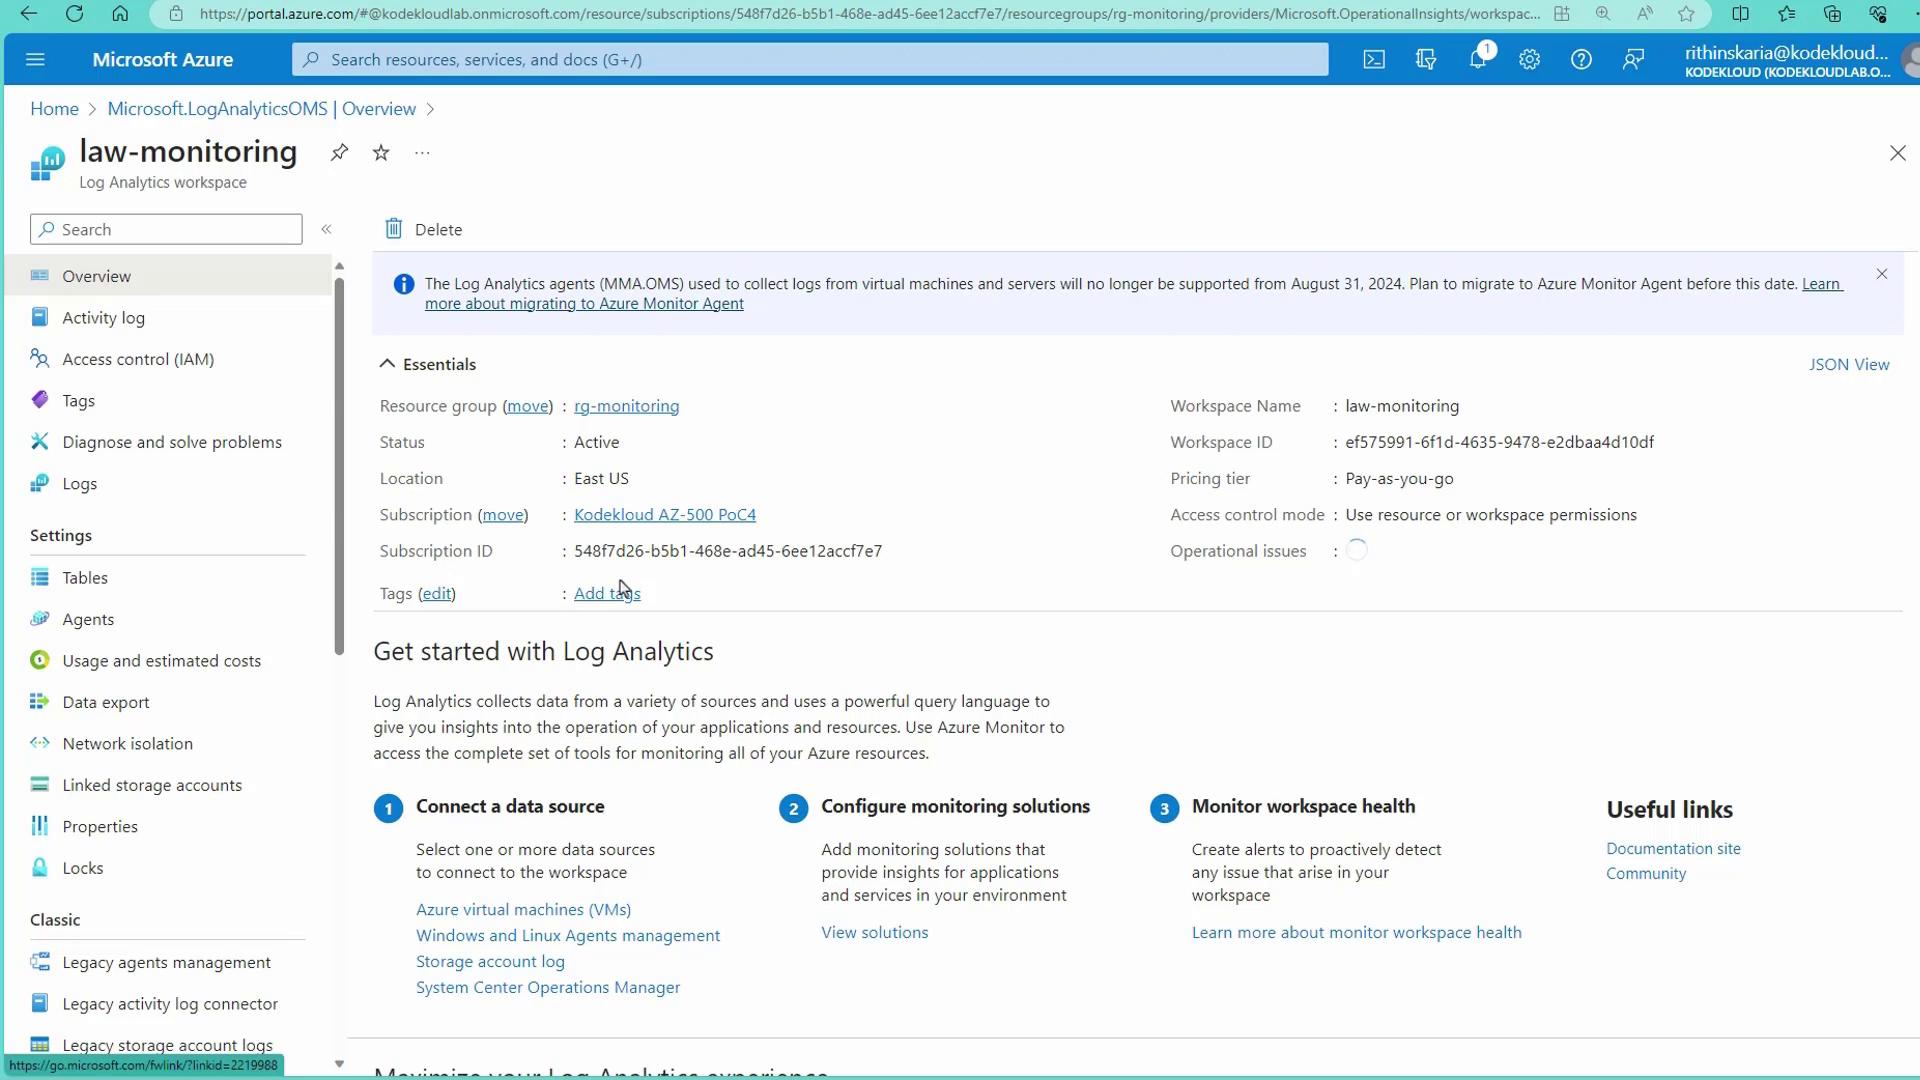
Later in this guide, we will cover how to seamlessly connect additional resources to your Log Analytics workspace to enhance your monitoring capabilities.