This guide demonstrates how to implement persistent storage in an OpenShift cluster for a Python application.
Welcome to this comprehensive guide on implementing persistent storage in an OpenShift cluster. In this demo, we’ll show you how to modify an application to read data from a file and display it on the UI under the /read_file endpoint. This solution ensures that data persists across pod instances.
The Python application has been altered to read a file located at /data/testfile.txt when the /read_file endpoint is accessed. Below is the relevant portion of the application code:
When you access /read_file without configuring persistent storage, you will encounter an error due to a missing file or directory on the pod.
To troubleshoot this error, use the OpenShift Web Console to access the pod’s terminal. This allows you to execute commands to inspect file paths and mounts within the container.
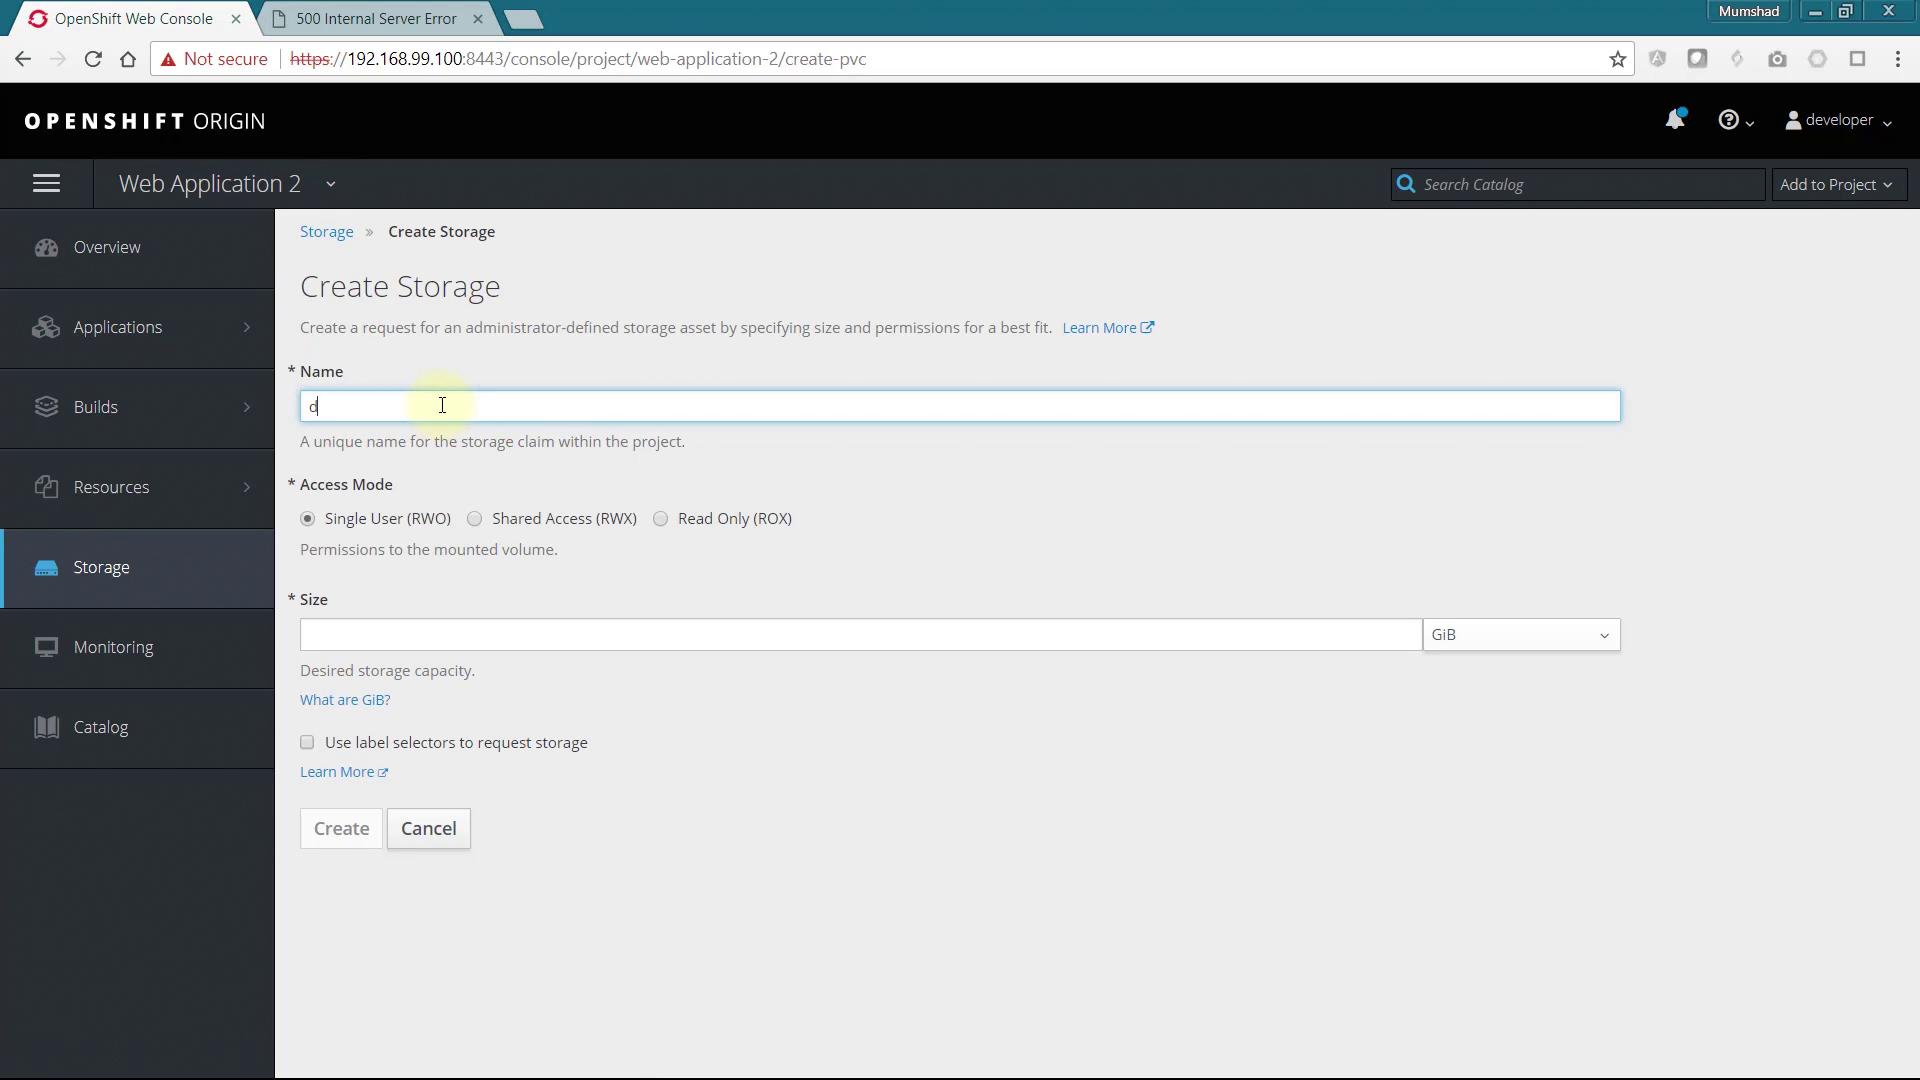
Navigate to the Storage section in the OpenShift Web Console and click on Create Storage. Provide a name for your storage claim and specify the desired size.
After creating the storage claim, update the deployment configuration by adding the newly created storage under volumes. Apply the changes to your deployment with this command:
You’ll be prompted to provide the mount path for the volume. In this example, the mount path is /data.Once the storage is attached, verify the new mount point within the pod’s terminal. Then, create a test file with the following content:
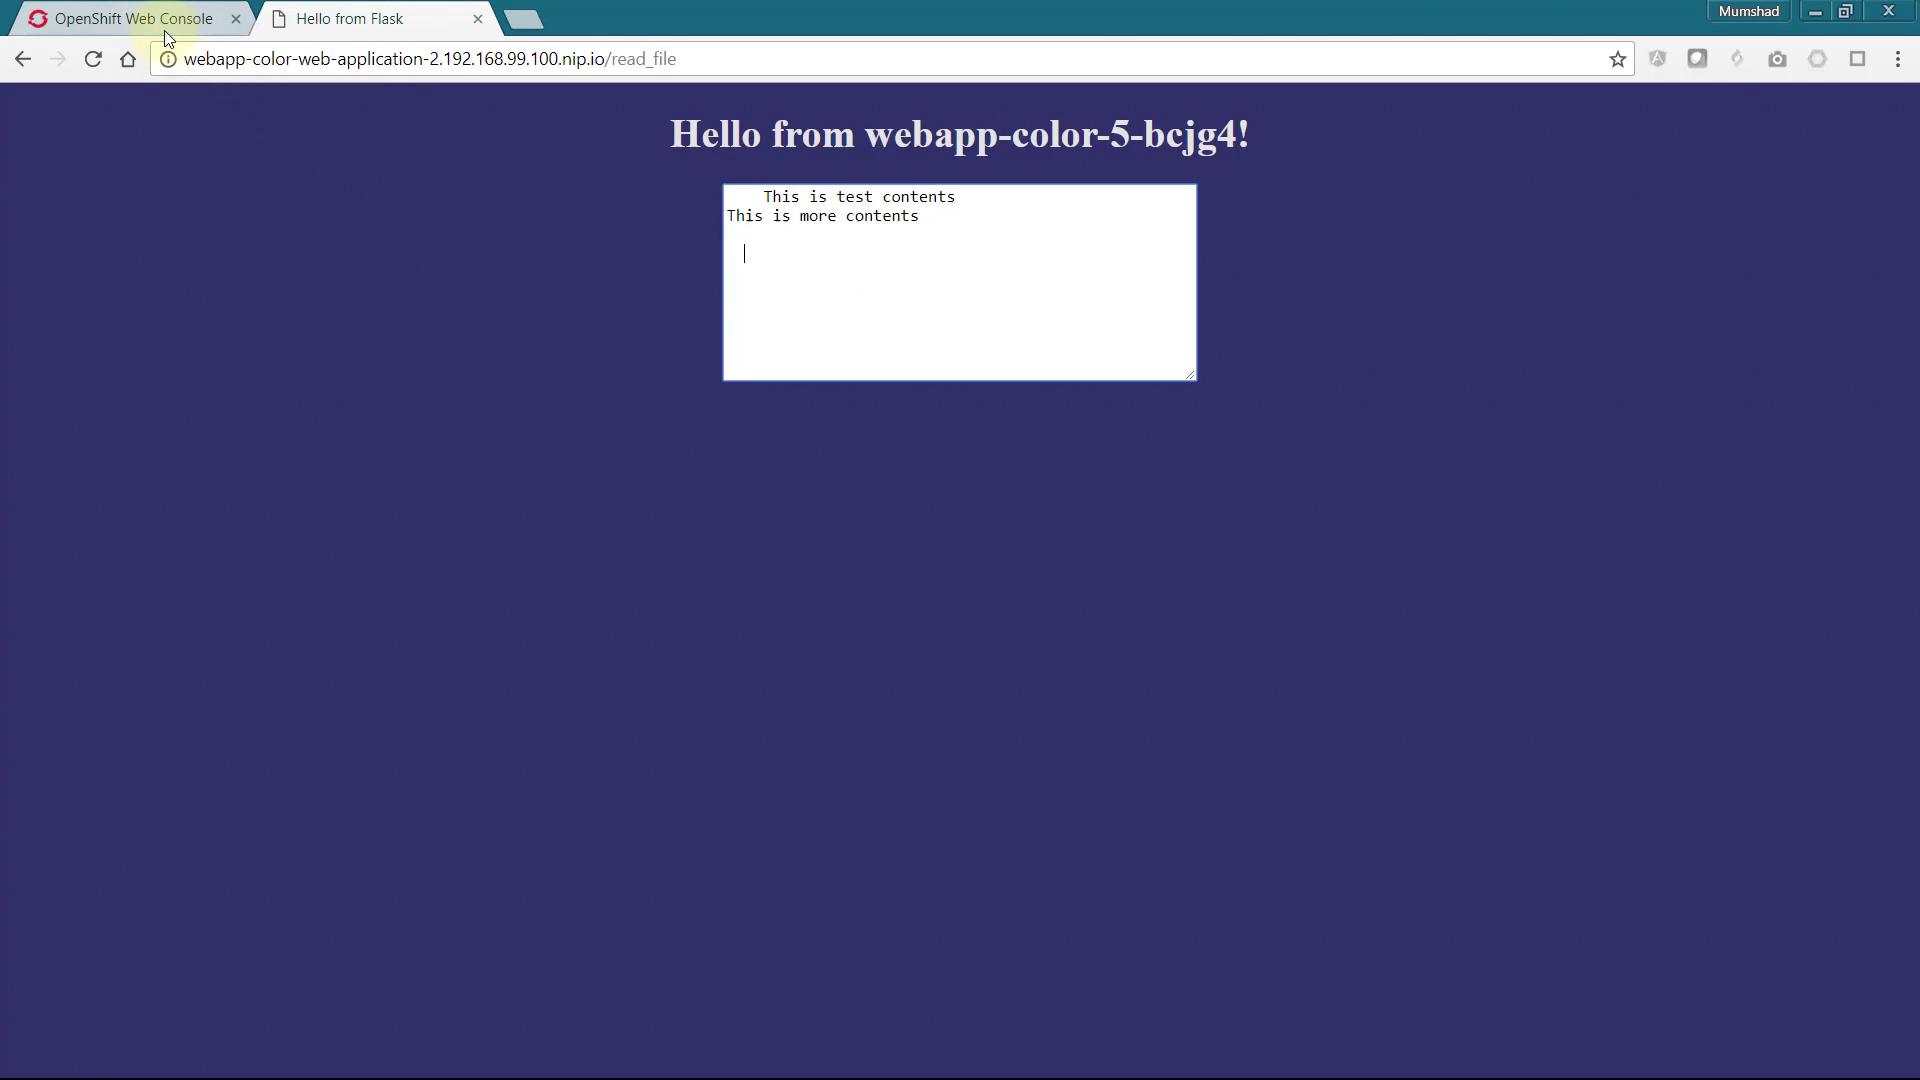
After saving the file, accessing the /read_file endpoint in your browser will display the file’s contents. Any subsequent updates to the file can be viewed by refreshing the browser.
When scaling your application, all replicas will share the same persistent storage. As new instances are deployed, each replica will display the identical file contents. This verifies that the persistent storage is functioning correctly across the entire deployment.
Using persistent storage in OpenShift not only ensures data durability but also simplifies troubleshooting and scaling. Make sure to follow best practices when configuring your deployments.
That’s it for this guide. Happy coding, and see you next time!