Dockerfile, and several Kubernetes manifest files.
Prerequisites
- A GitLab account with at least Developer access in your target group.
- The repository’s clone URL (ending in
.git). - (Optional) A Personal Access Token if you’re importing a private repository.
If your source repo is private, create a Personal Access Token with the read_repository scope and use it when prompted for credentials.
Step-by-Step Import Guide
-
Copy the Git URL
Grab the HTTPS or SSH clone URL of your source repository, ensuring it ends with.git. -
Start a New Project
In GitLab’s top bar, click the + icon and select New project/repository. -
Select Import Method
Choose Import project, then click Repo by URL. -
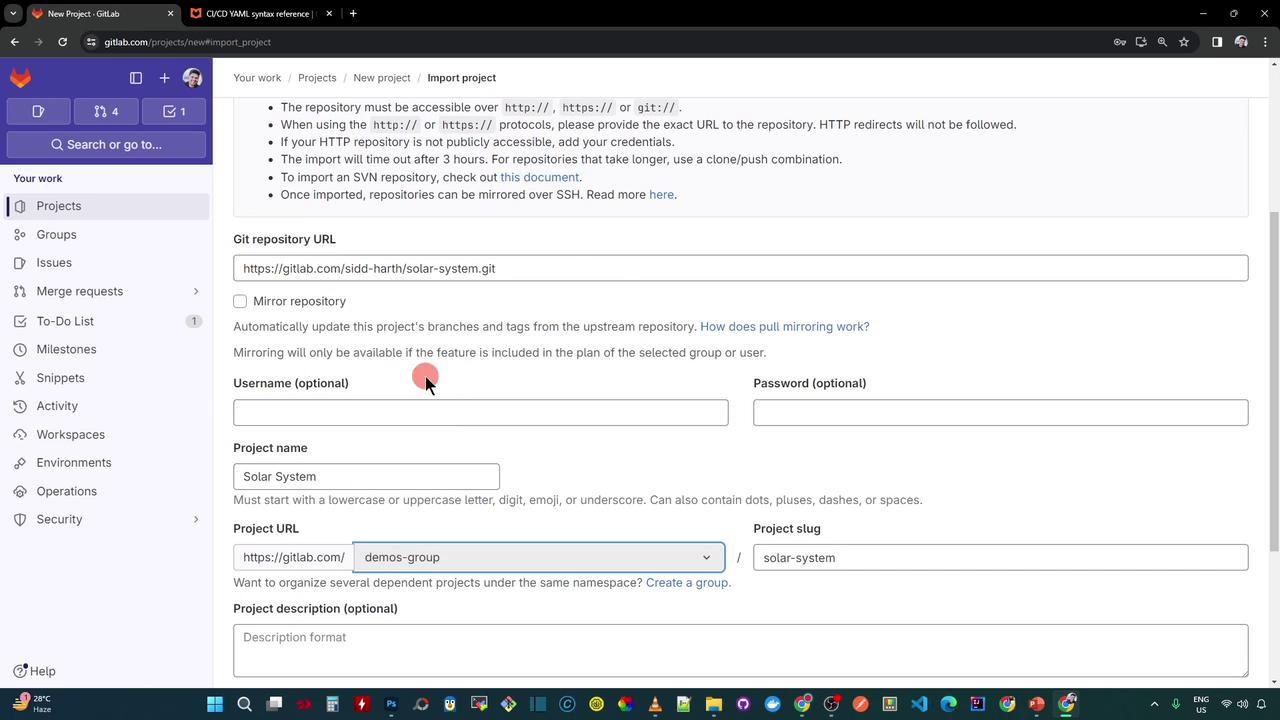
Fill in Import Details
- Git repository URL: Paste the
.gitlink. - Project name: Enter
Solar-System. - Project slug: Adjust only if you want a custom URL path.
- Group (Namespace): Pick your target group, e.g.,
demos. - Visibility: Set to Public, Internal, or Private.
- Git repository URL: Paste the
-
Create the Project
Click Create project. GitLab will clone and import your repository—this can take a few moments. -
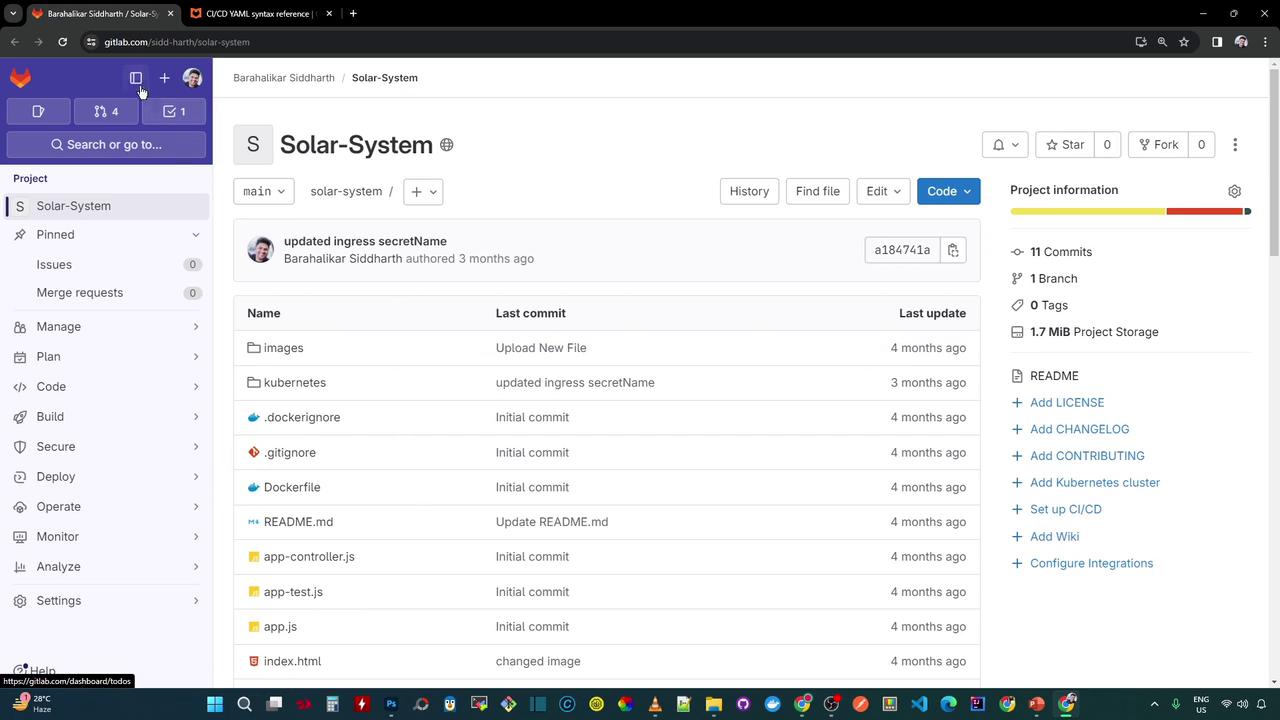
Verify the Import
Once completed, you’ll see your full project structure exactly as it was in the source:
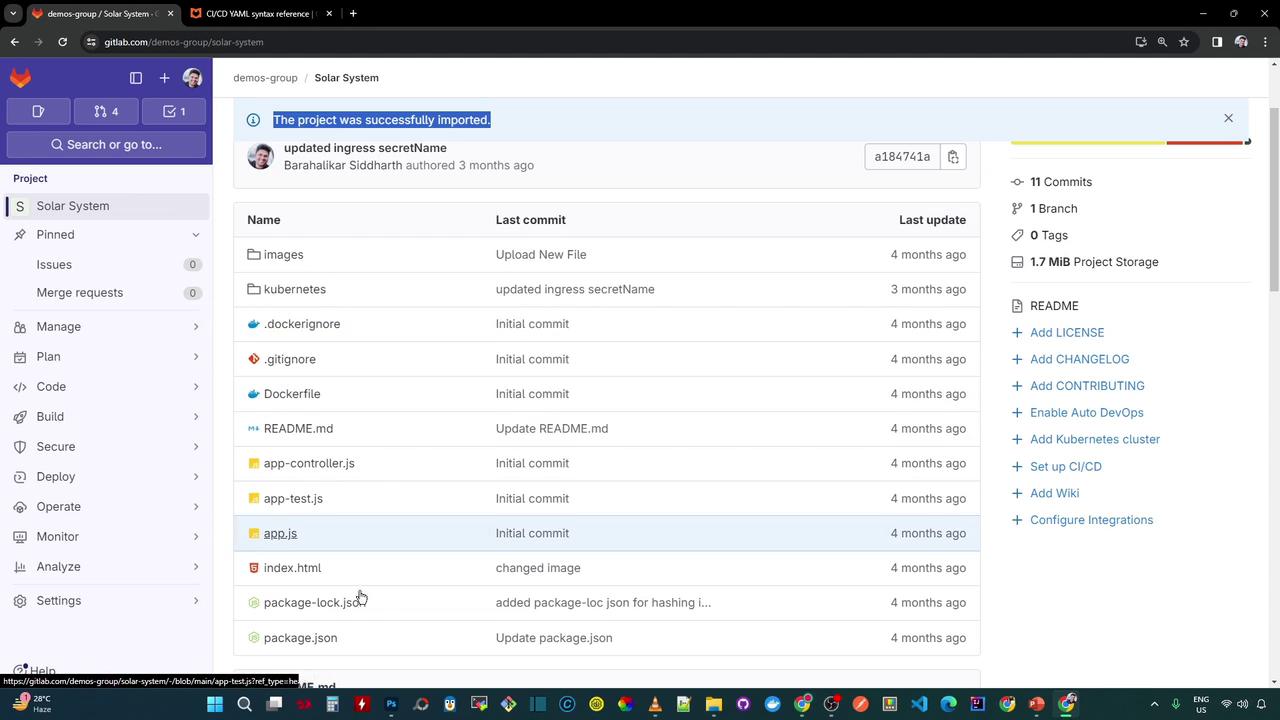
demos group on GitLab. Next, we’ll implement the CI/CD pipeline to run unit tests, measure code coverage, and deploy to Kubernetes.
Import Form Field Reference
| Field | Description | Example |
|---|---|---|
| Git repository URL | Clone URL of the source repo (must end in .git) | https://.../repo.git |
| Project name | Display name in GitLab | Solar-System |
| Project slug | URL-friendly identifier | solar-system |
| Namespace (Group) | Target group or personal namespace | demos |
| Visibility Level | Public, Internal, or Private | Public |