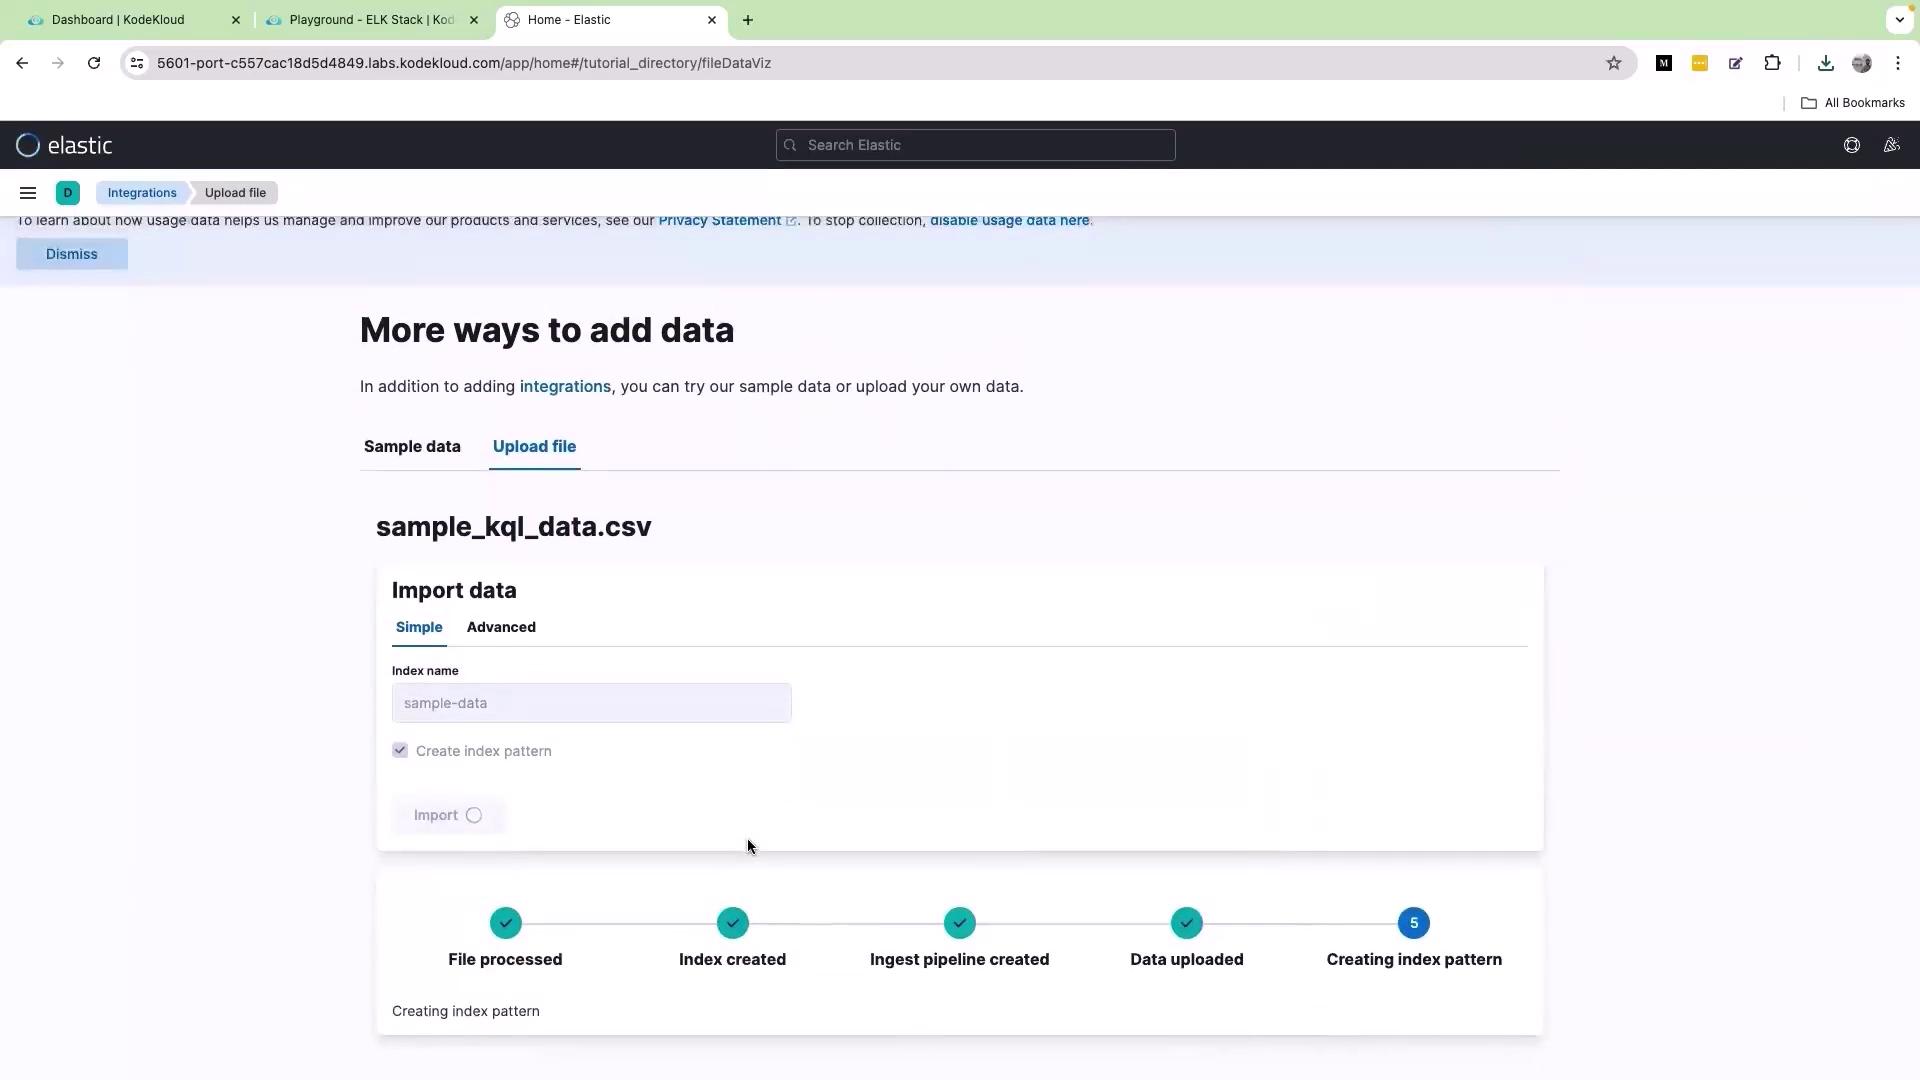
Uploading the Sample Data
To begin, open the Kibana interface in your web browser and click on the Upload a file option. Drag and drop the file named “sample_kql_data.csv” into the browser window. Once dropped, scroll down and click Import. Assign a descriptive name for the dataset (for example, “sample data”), then click Import again to complete the process.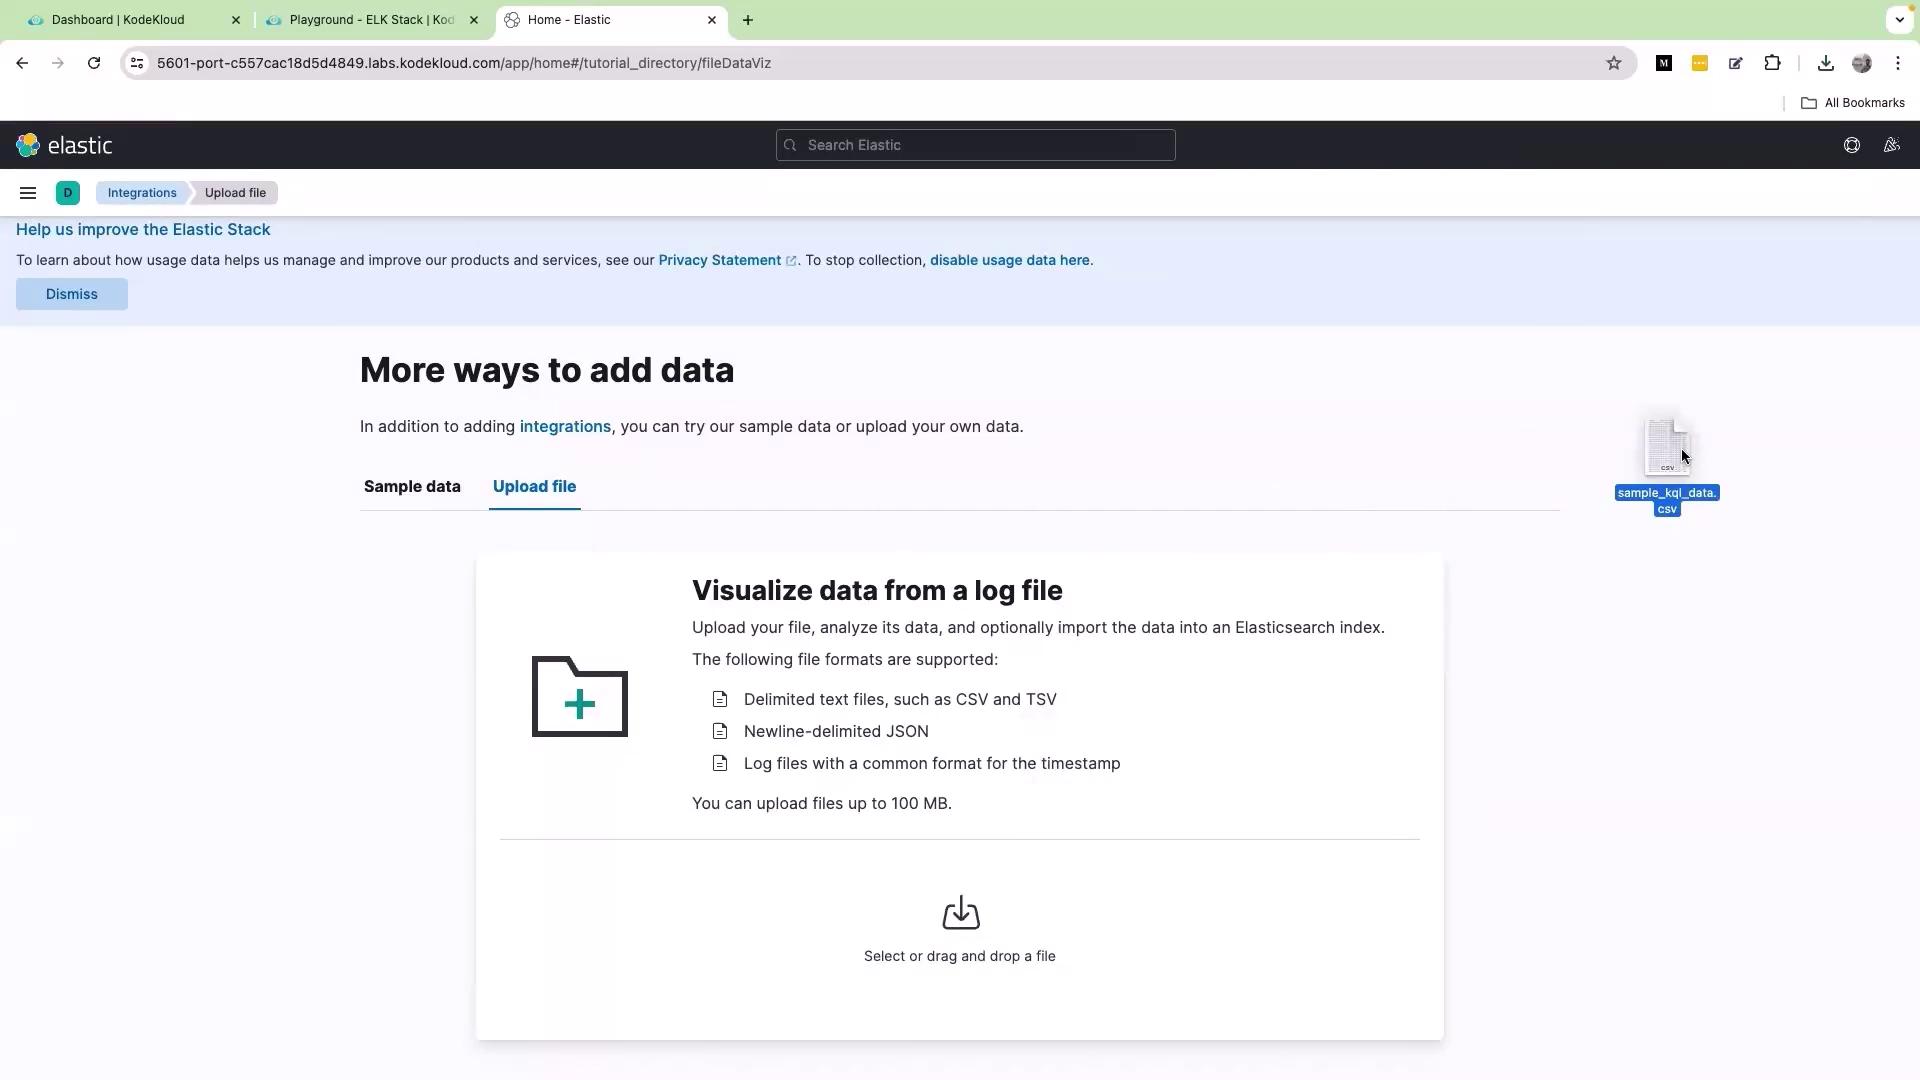
Exploring Available Fields
Once your sample data is uploaded, the first step is to review the available fields in your dataset. Each field acts as a key paired with its respective data value. For instance, a field named “action” might record various user interactions like “view”, “click”, “purchase”, “log in”, and “log out”.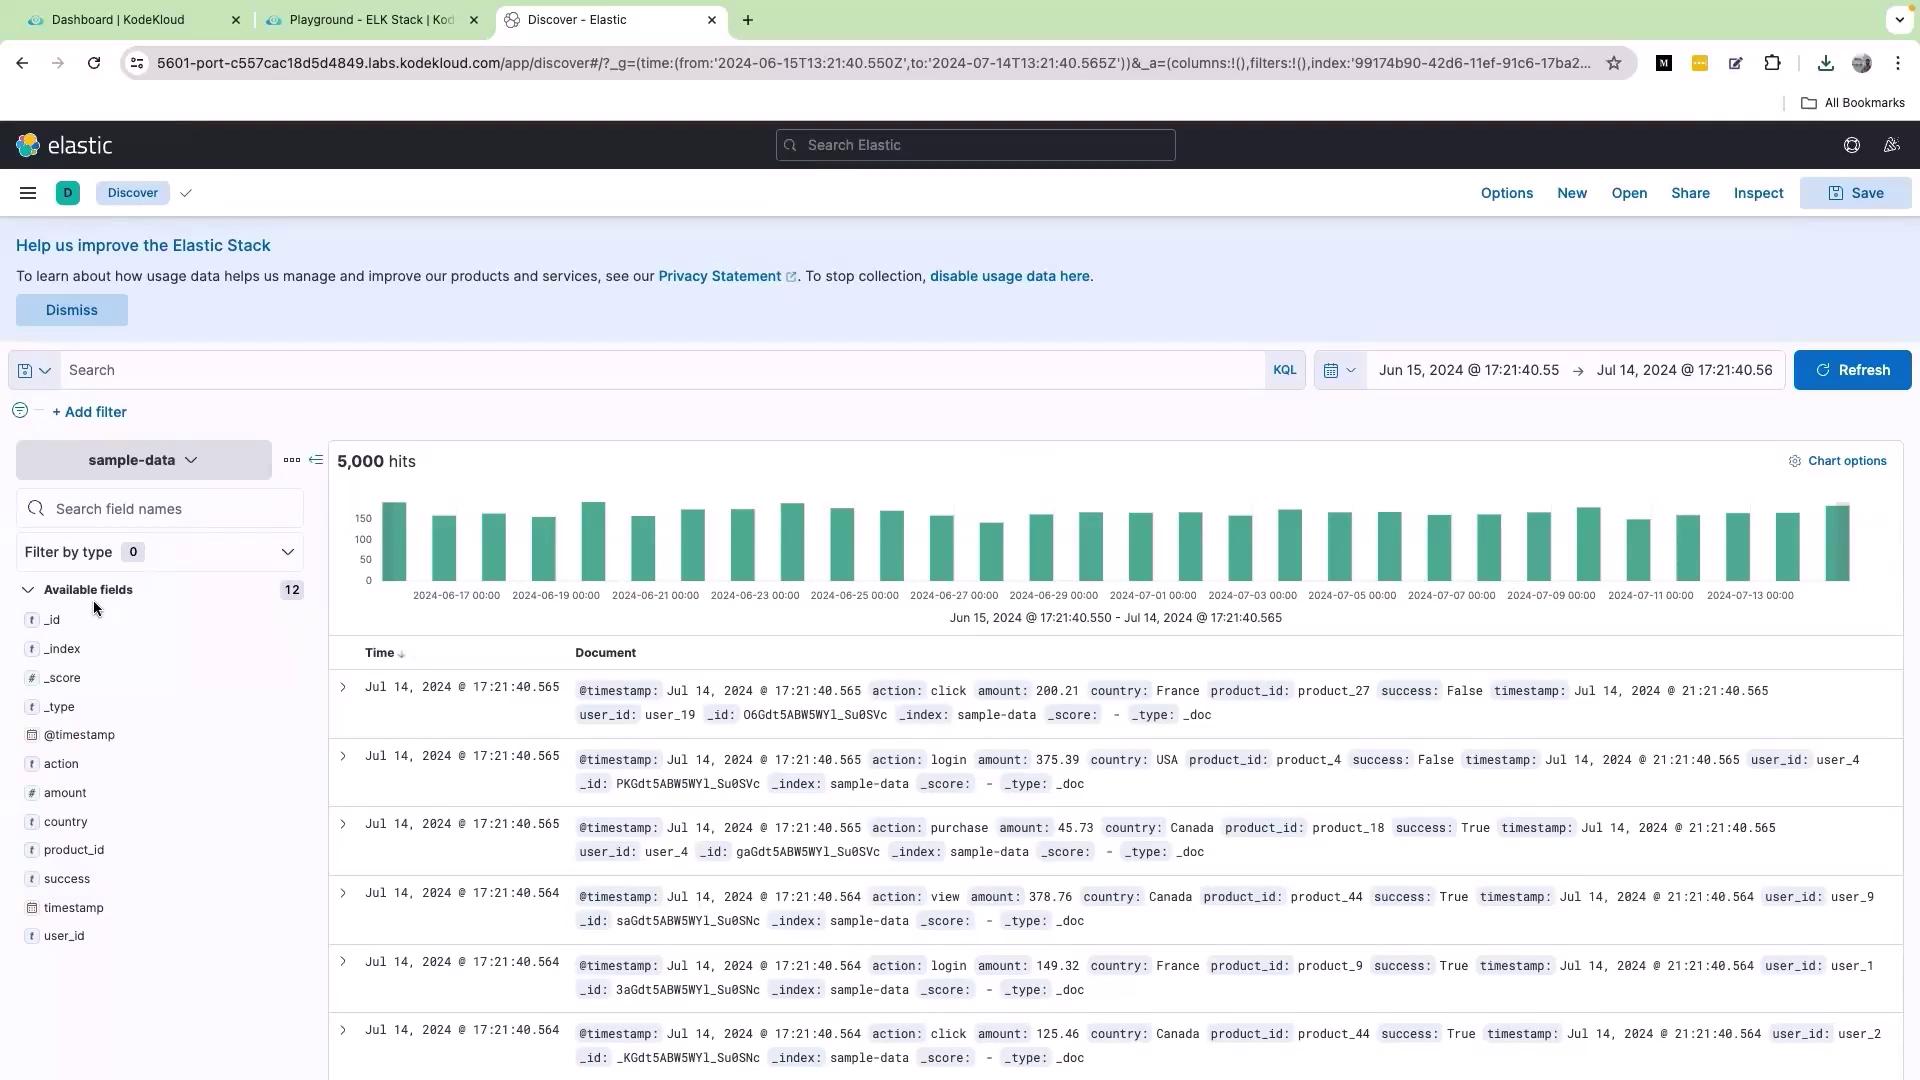
Running Basic KQL Queries
Filtering logs with KQL is straightforward. To display only the logs where the action is “purchase”, enter the following query into the search bar: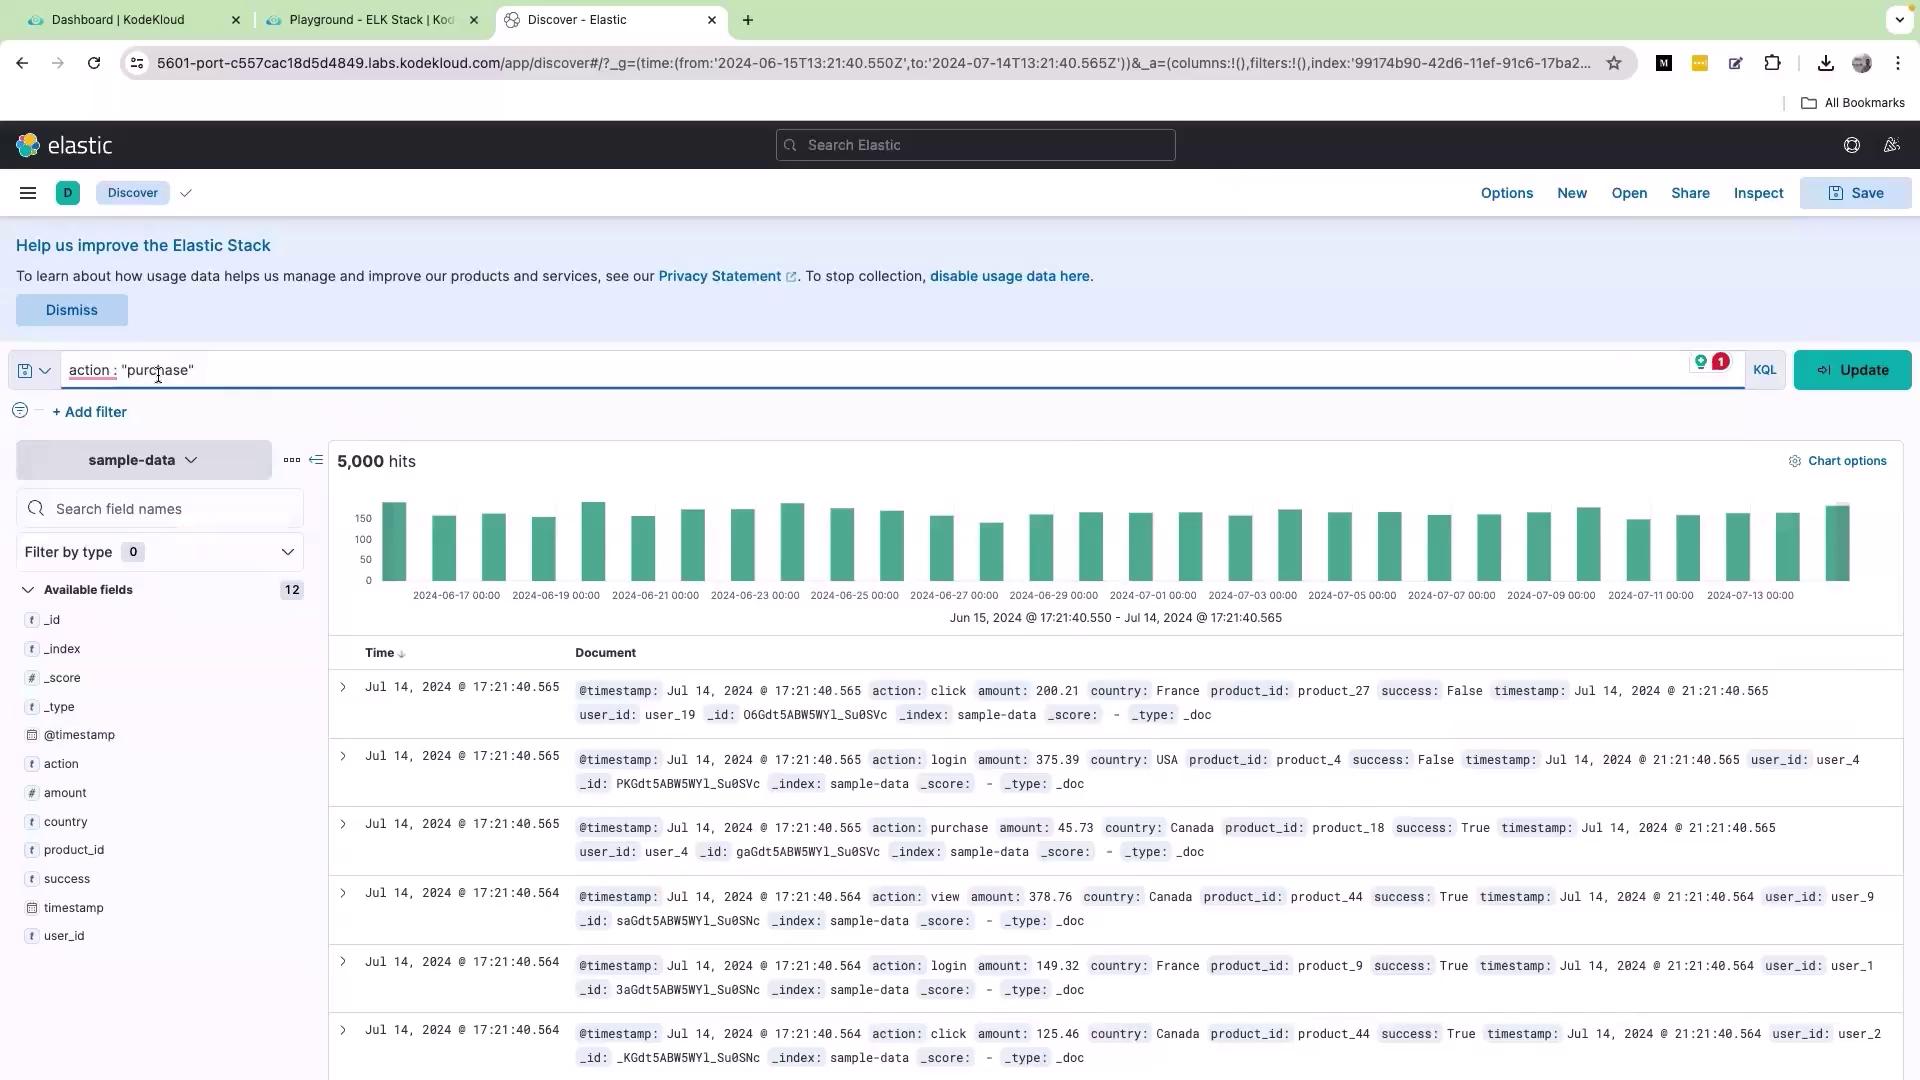
Filtering Numeric Fields
To analyze logs where numeric values meet specific conditions, consider filtering logs where the “amount” is greater than 100. This query is useful for identifying transactions or interactions that exceed a certain value: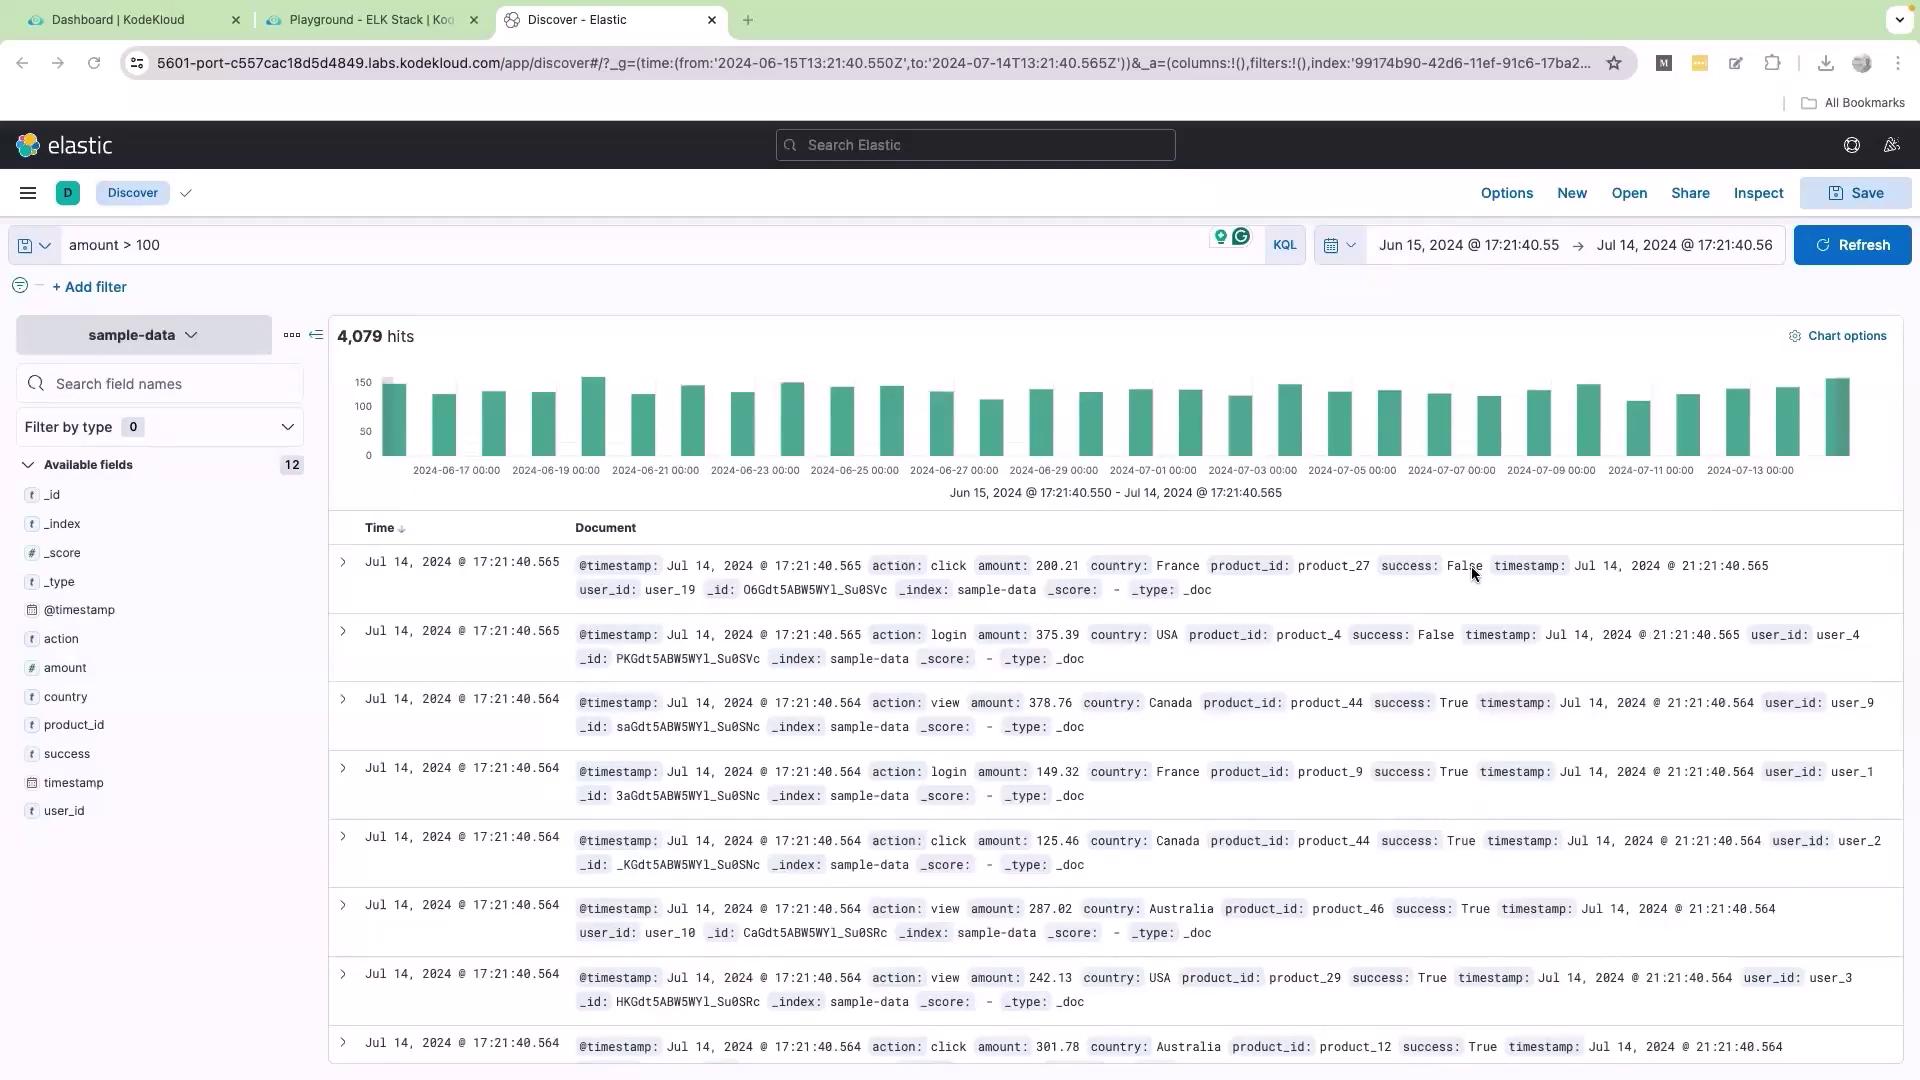
Working with Boolean Fields
KQL supports Boolean queries which are useful for filtering actions based on true/false values. For example, if you have a Boolean field named “success” that indicates whether an action was successful, you can query for successful actions with:Remember that KQL is case sensitive. Ensure that the Boolean value matches the case used in the data.
Combining Queries
KQL allows you to combine multiple conditions using logical operators. For instance, if you need to view logs where the action is “purchase” and the amount is greater than 200, use the following query: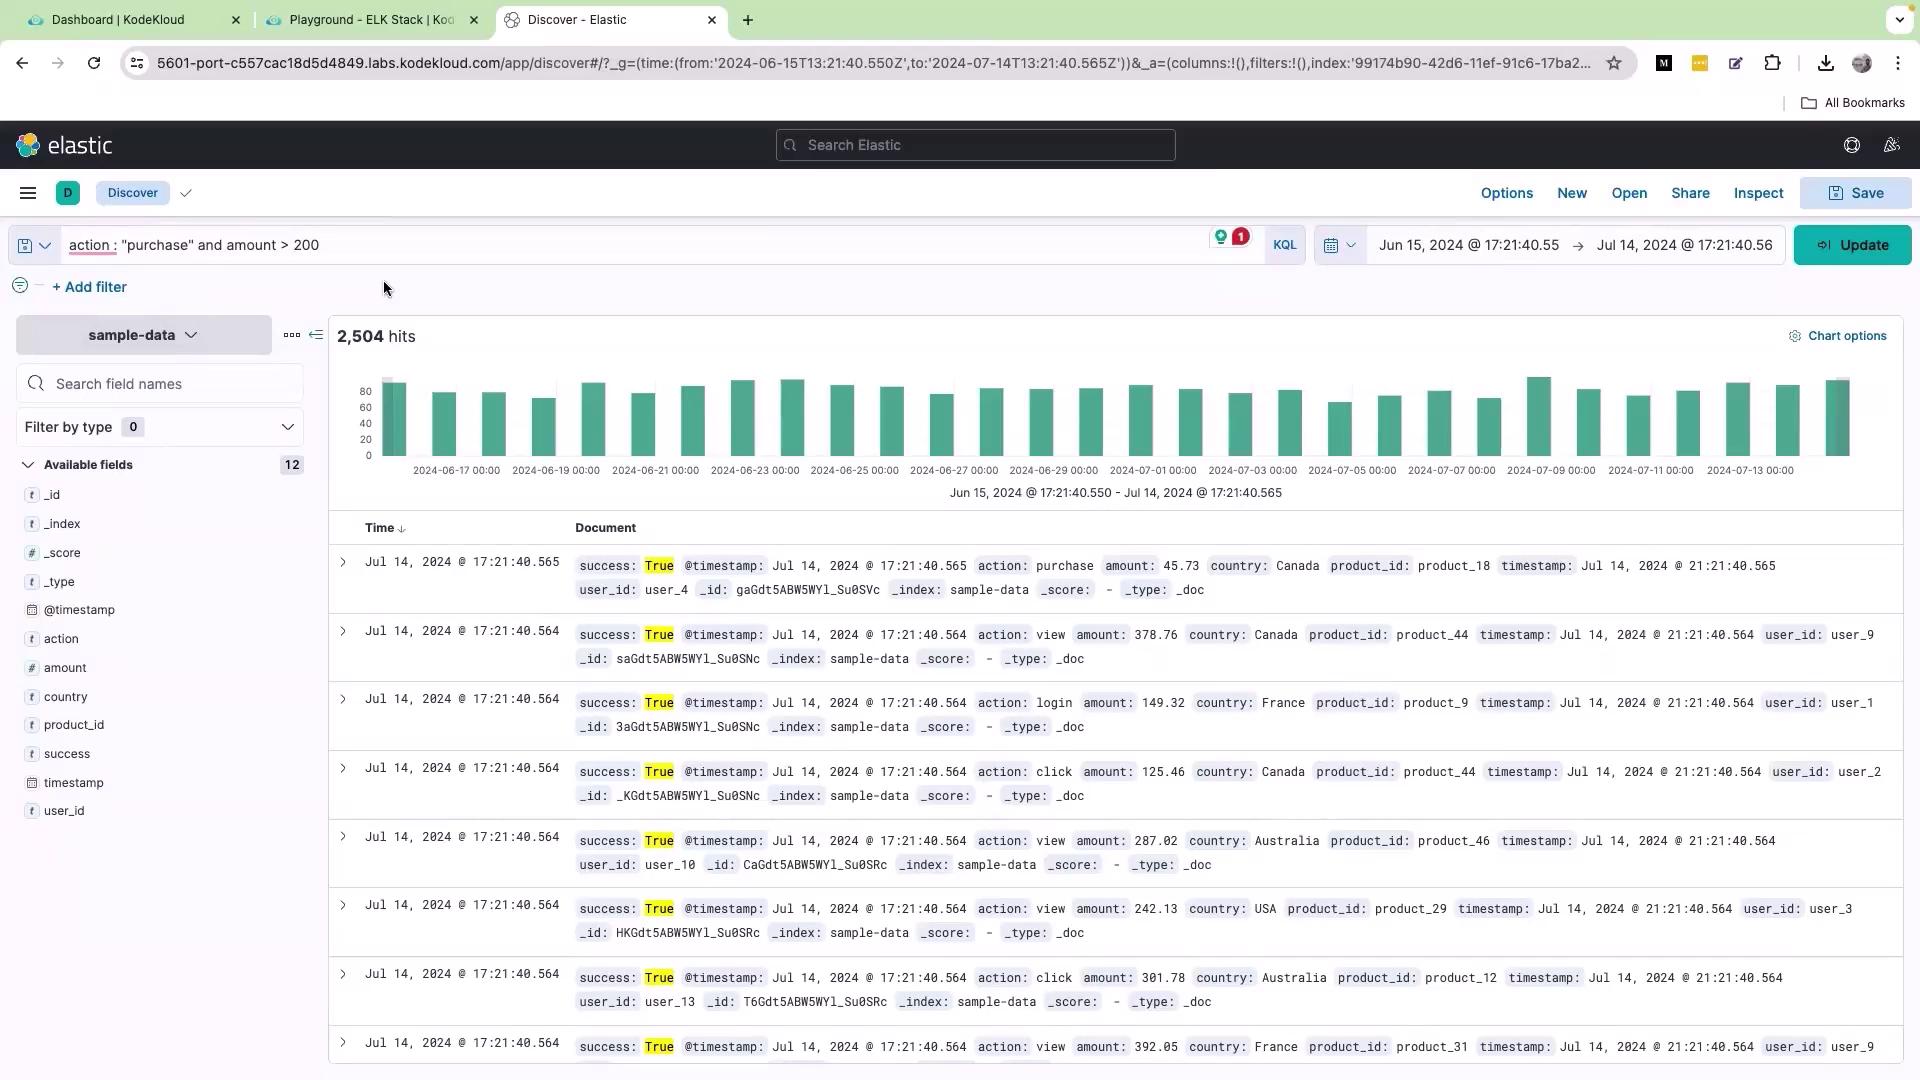
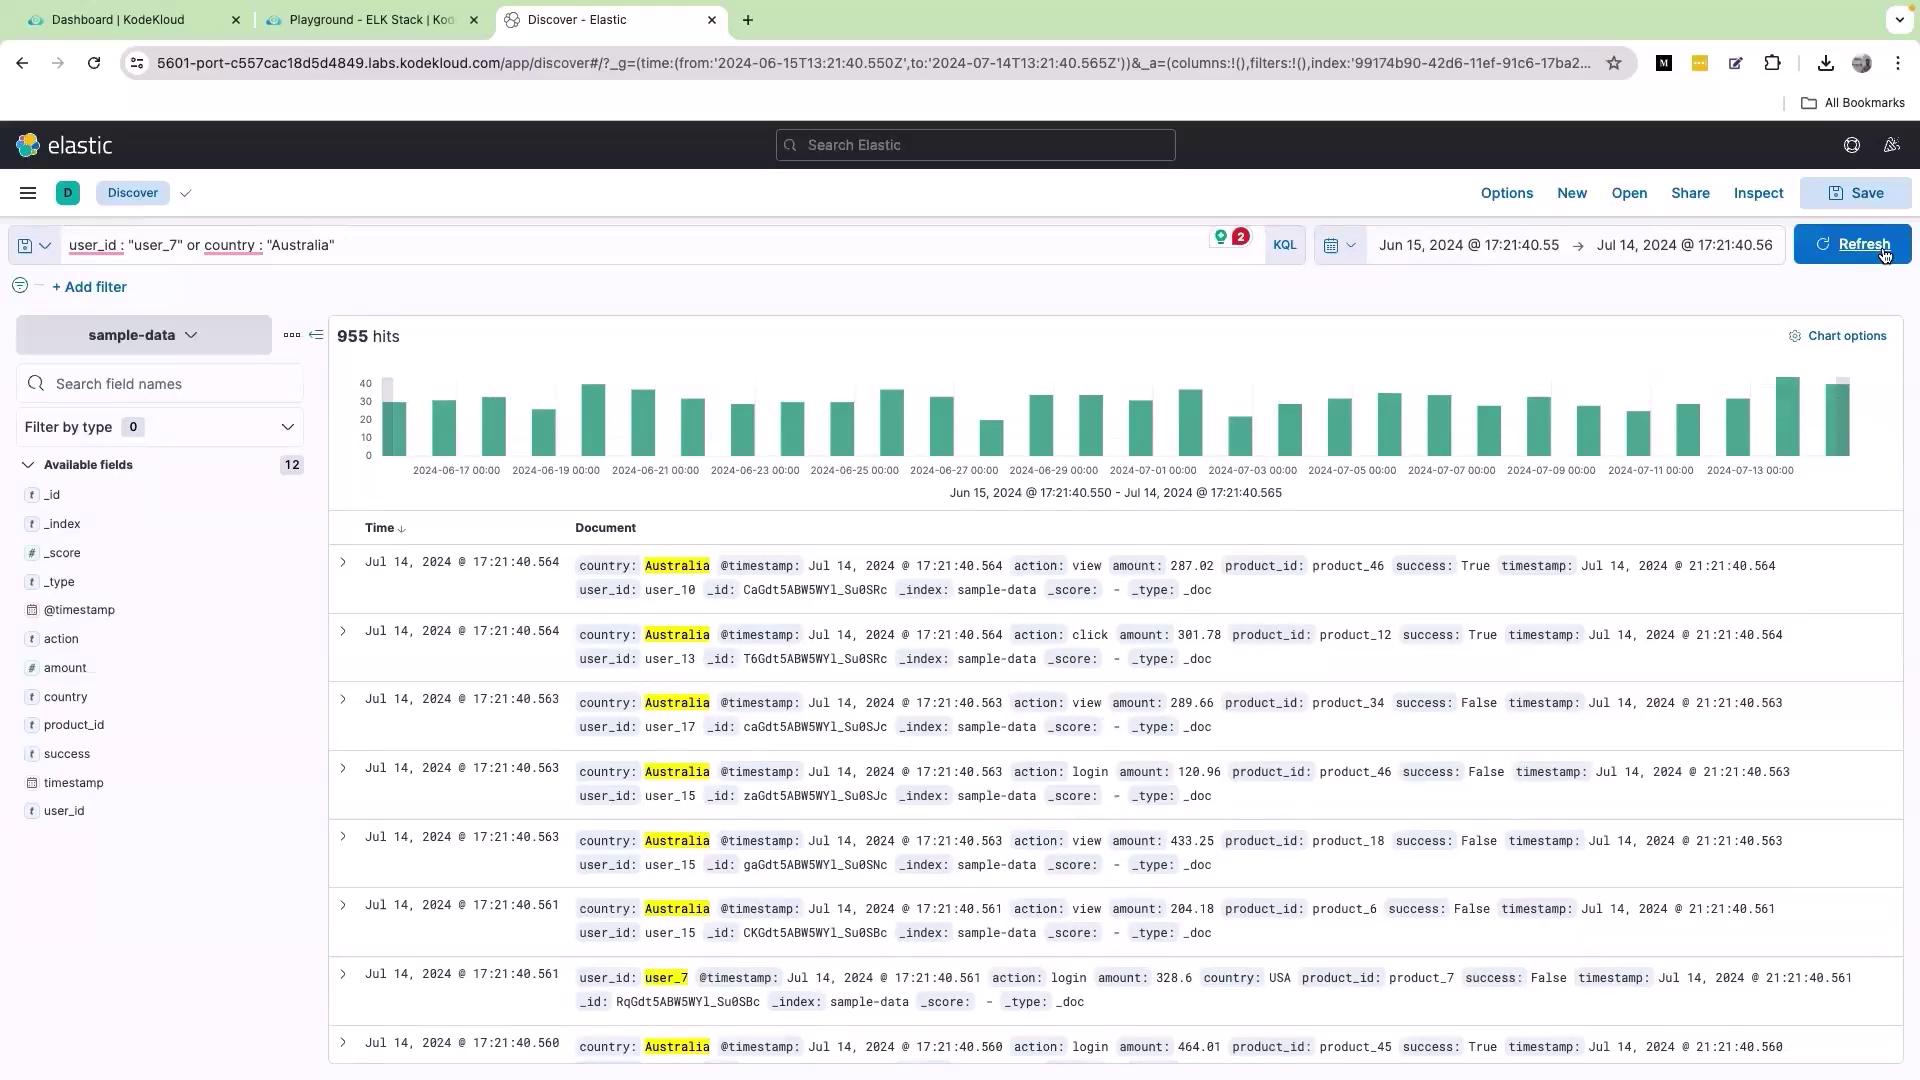
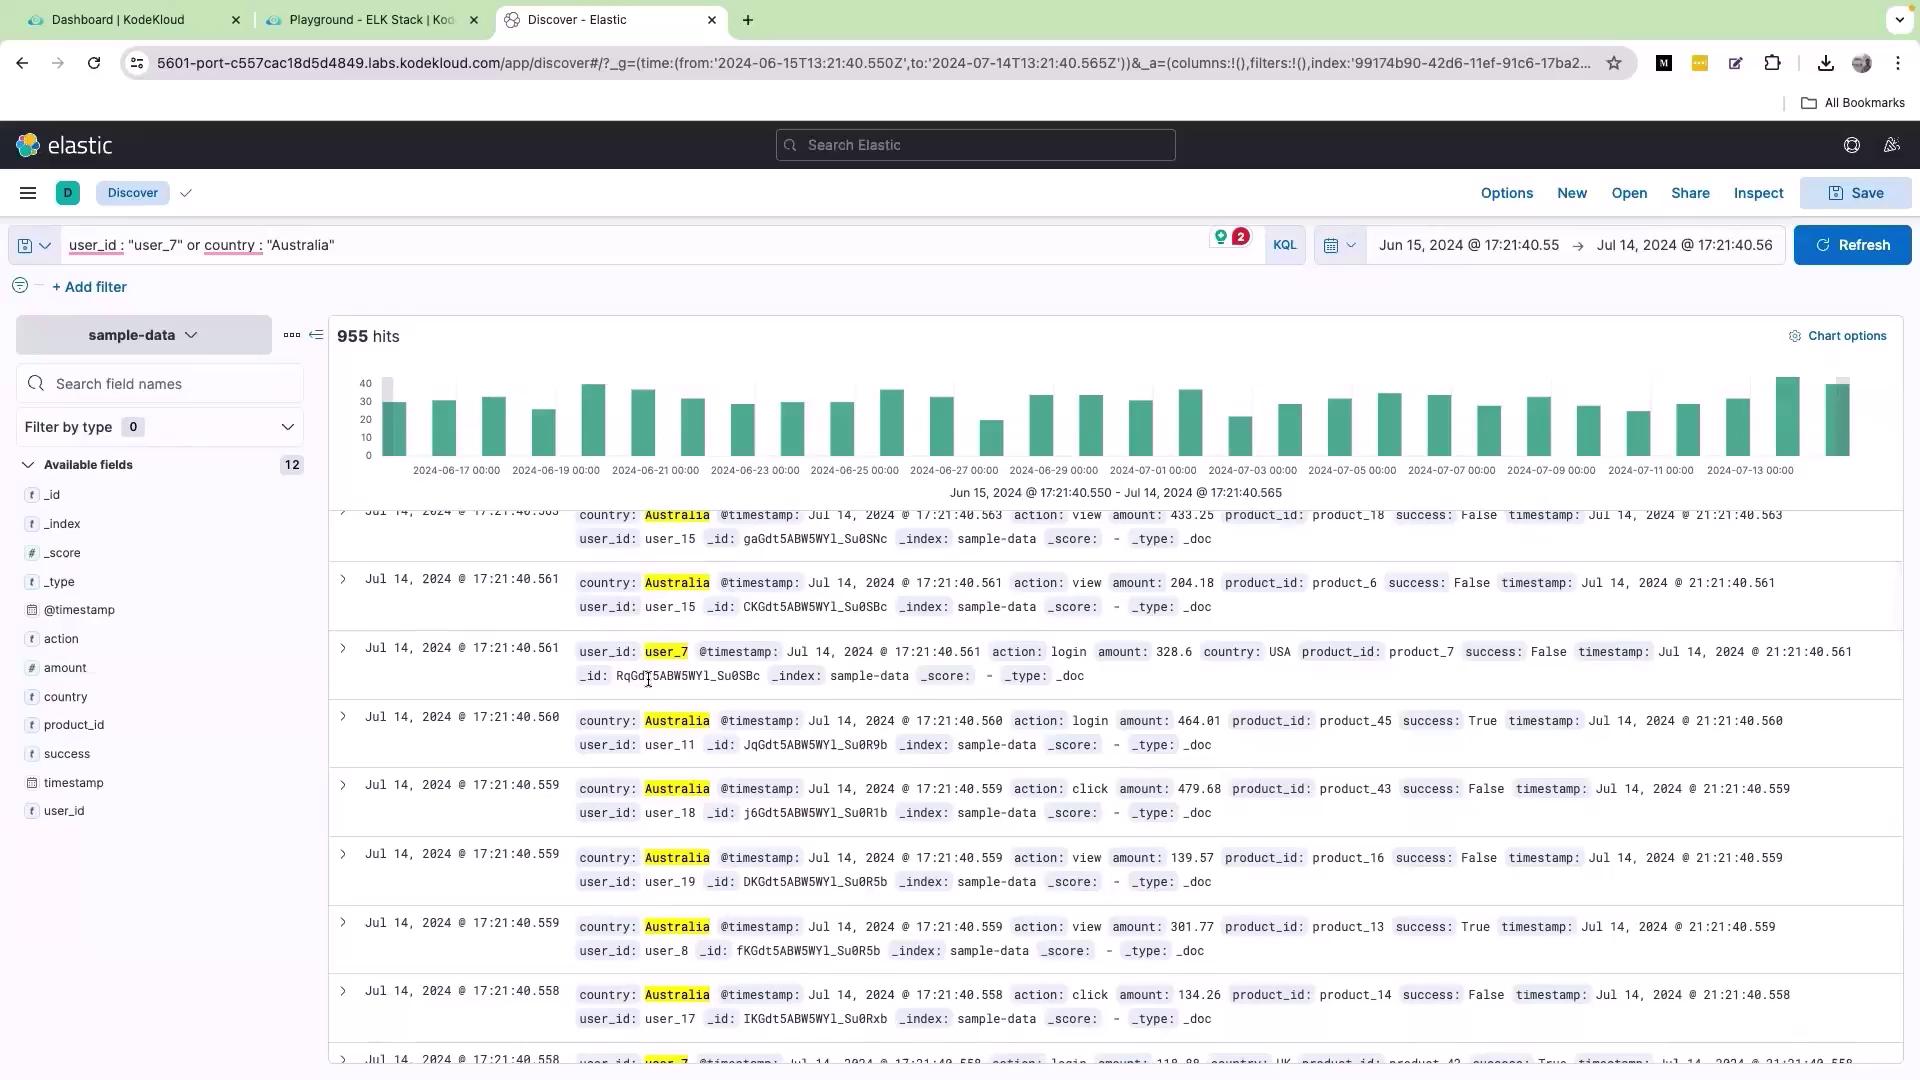
Using OR for Alternative Conditions
If you need to filter logs based on alternative conditions, the OR operator is very effective. For example, to retrieve records where the user ID is “user_7” or the country is “Australia”, enter the following query: