1. Create an OpenAI API Key
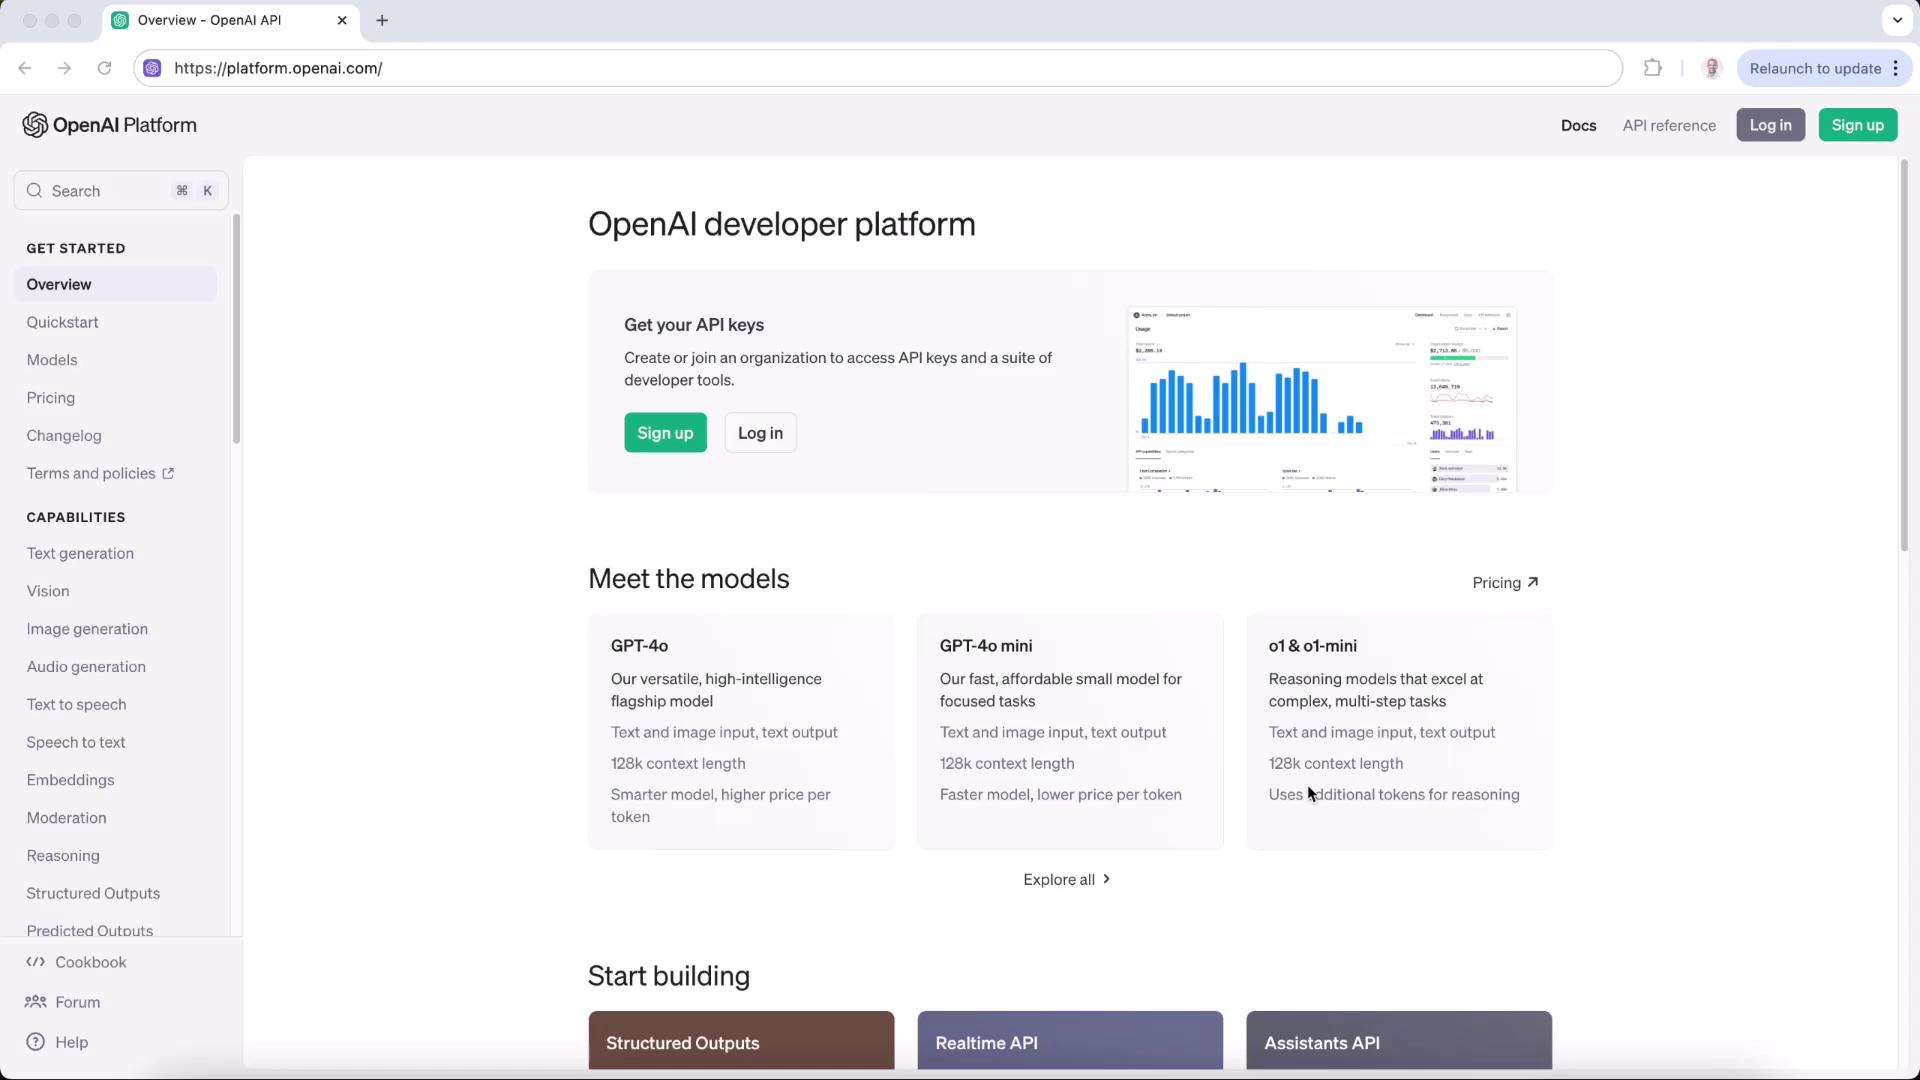
- Sign in or sign up at platform.openai.com.
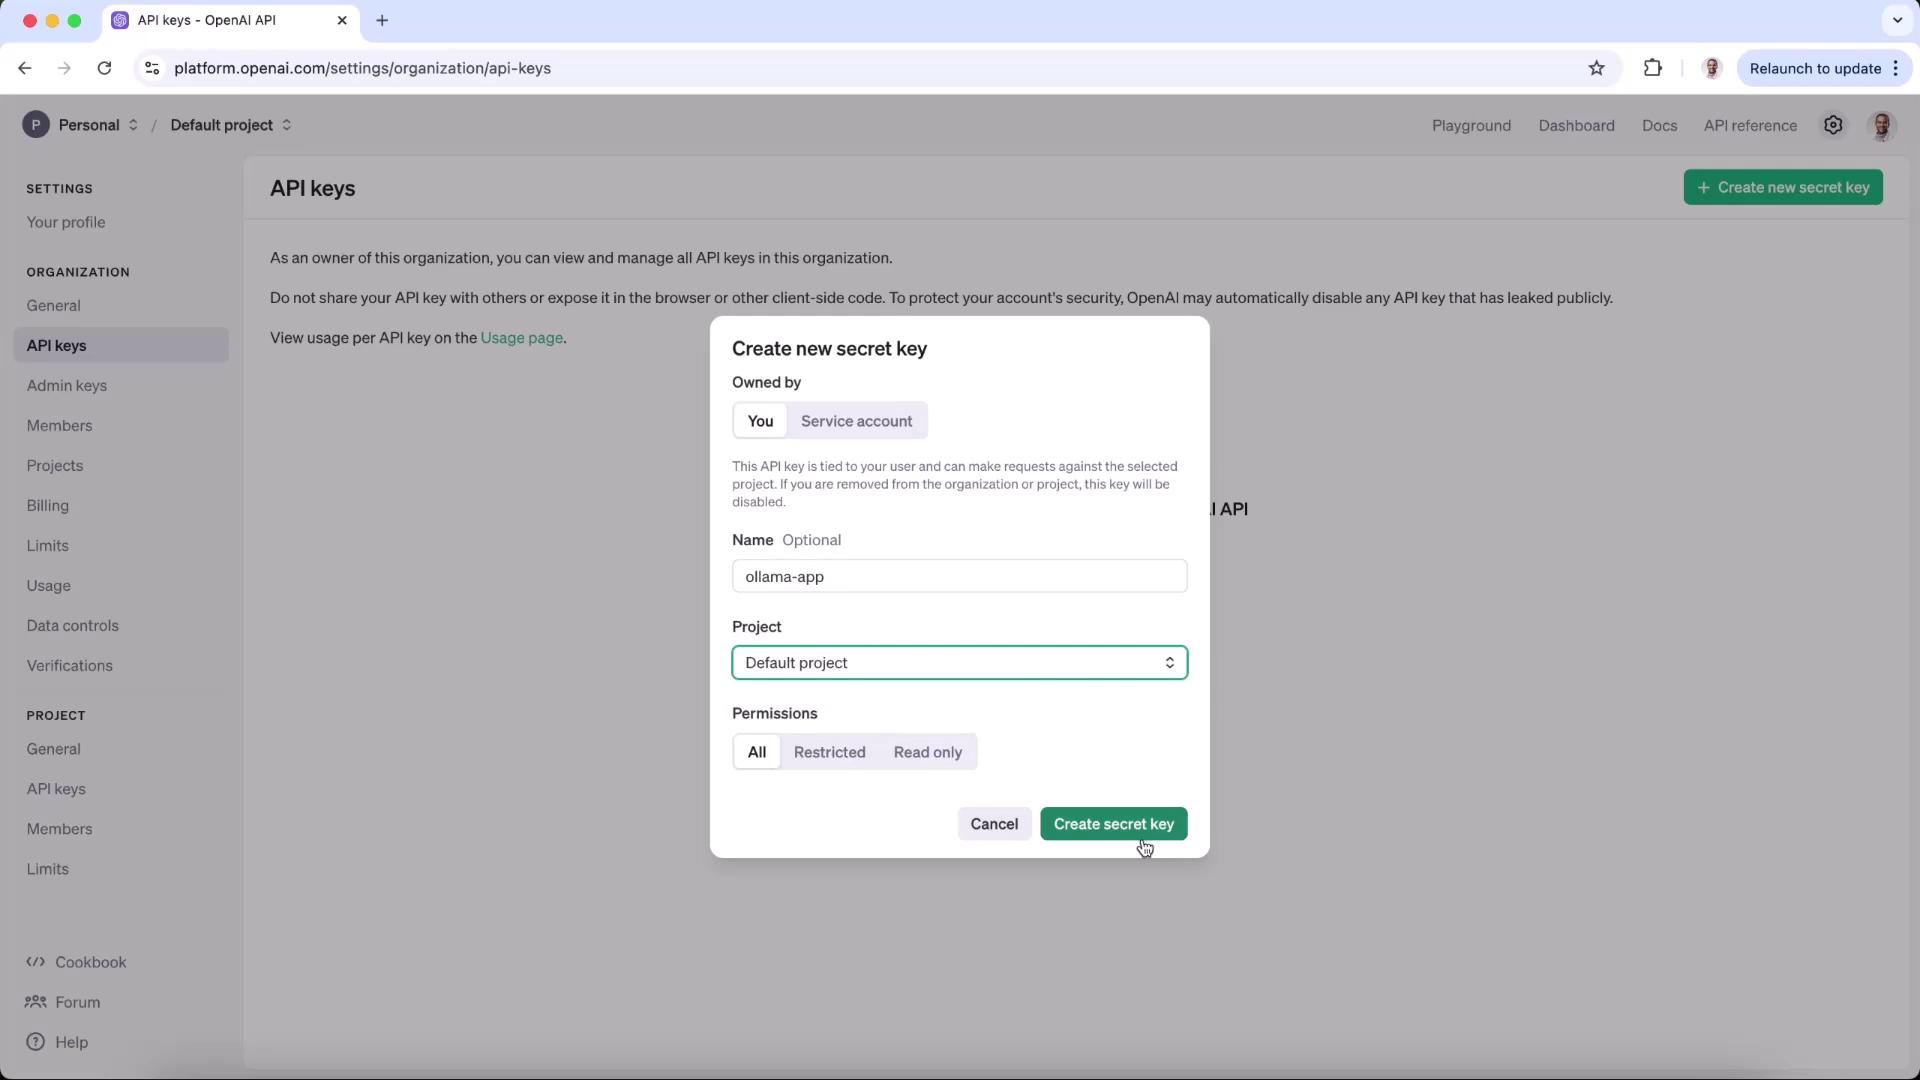
- Navigate to Settings → API keys, then click Create new secret key.
- Provide a name (e.g., “Ollama app”), assign it to your default project, set permissions, and copy the secret key.
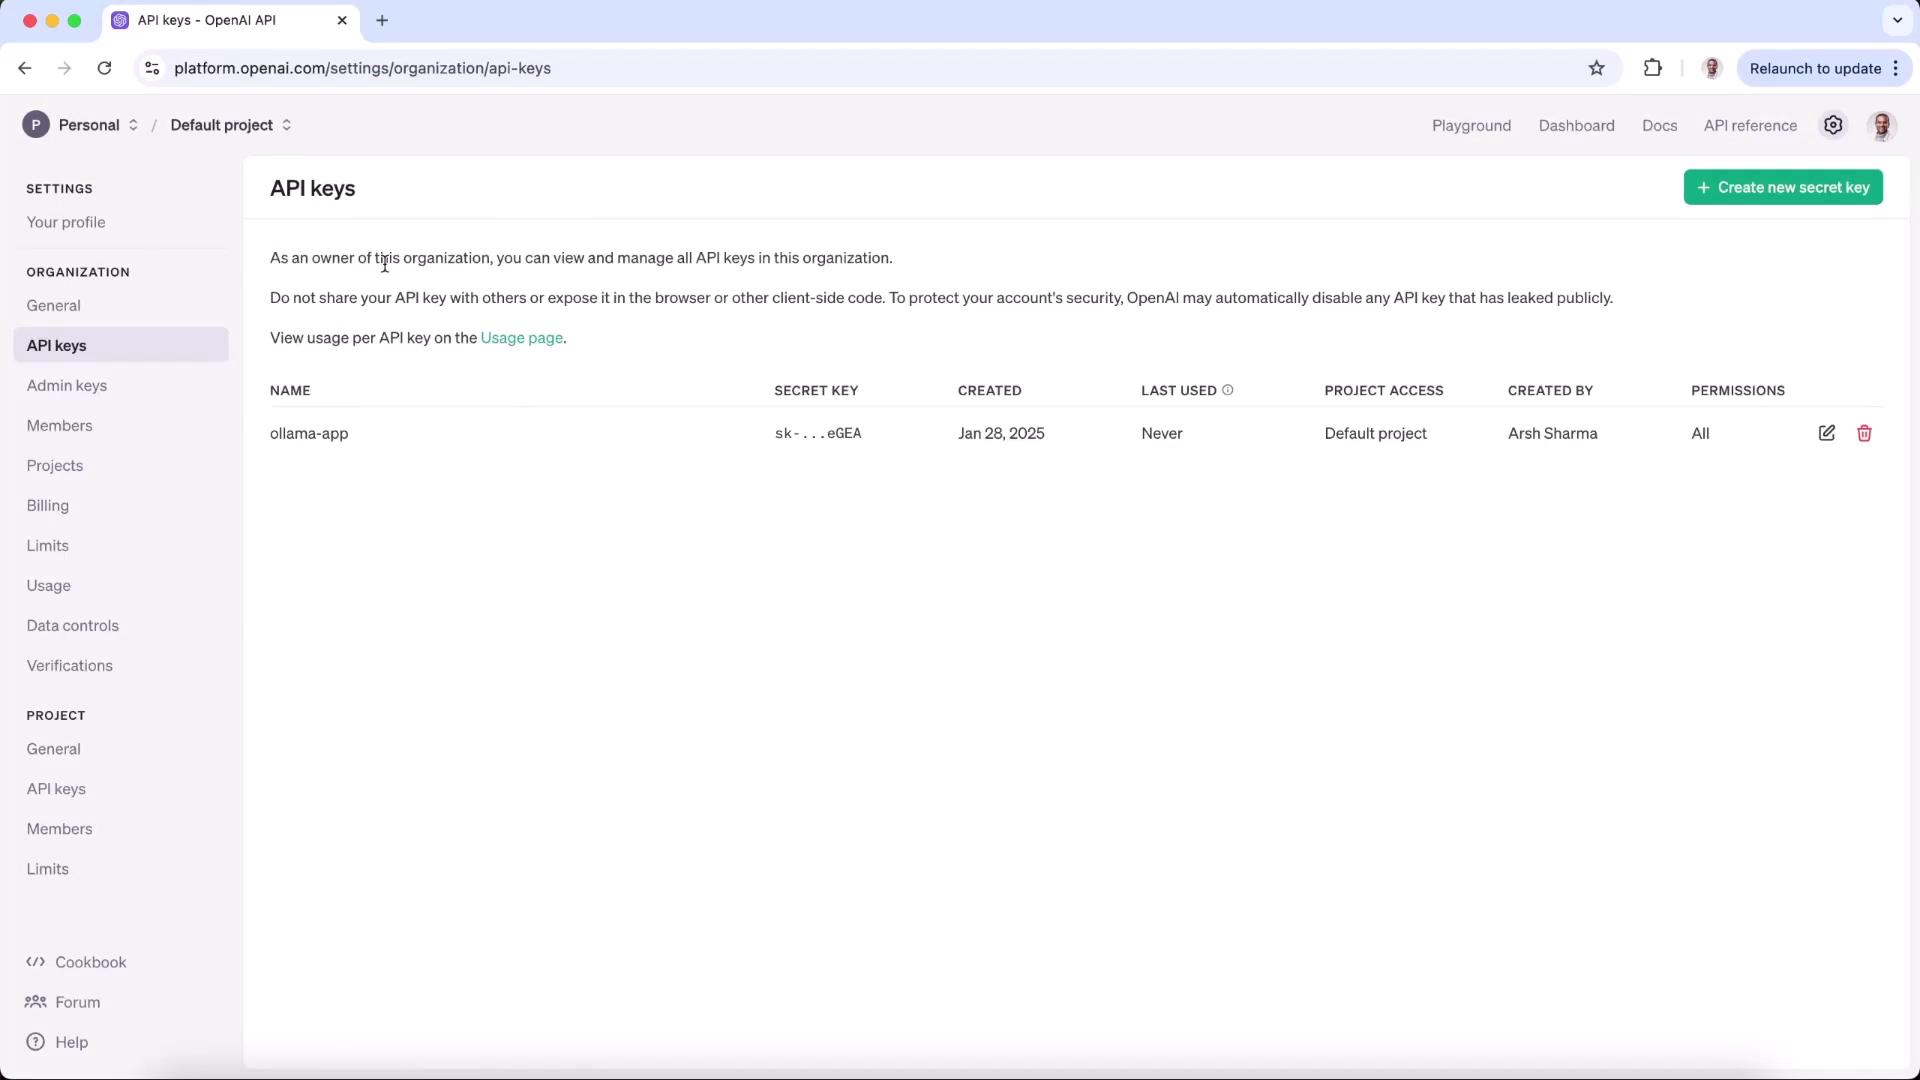
- Confirm that your new key appears under API keys.
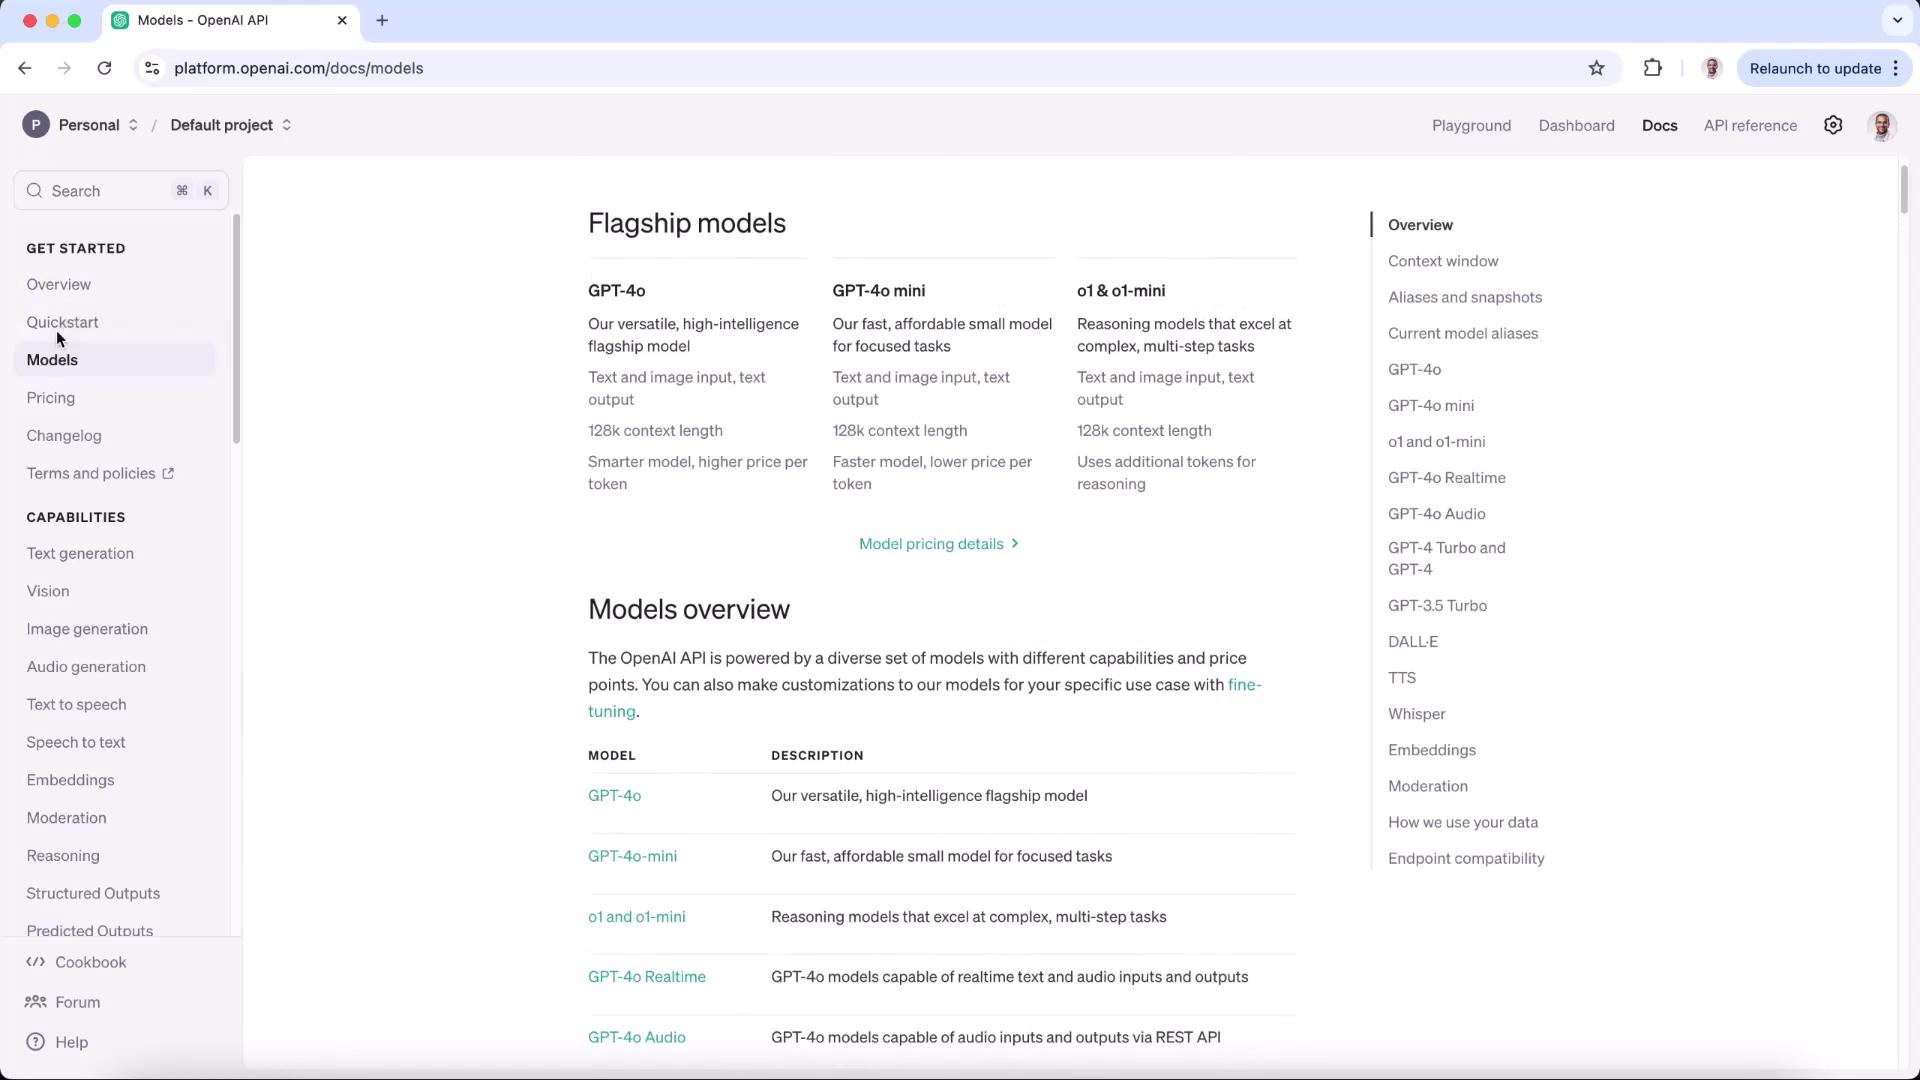
2. Choose a Model
Open the Quickstart Guide or the Models Reference to compare models. In this demo, we’ll use gpt-4o-mini.| Environment | Endpoint | Model | Authentication |
|---|---|---|---|
| Local (Ollama) | http://localhost:11434 | o1-mini | none |
| Production (OpenAI) | https://api.openai.com/v1 | gpt-4o-mini | Bearer API Key |
3. Update Your Environment Variables
In your project’s.env file, replace the Ollama endpoint with OpenAI’s and add your secret key:
4. Update the Flask Server
Install the OpenAI Python client andpython-dotenv if you haven’t already:
https://api.openai.com/v1. Requests over HTTP will be rejected with a 403 error.
:::
5. Run and Test
- Activate your virtual environment:
- Start the Flask server:
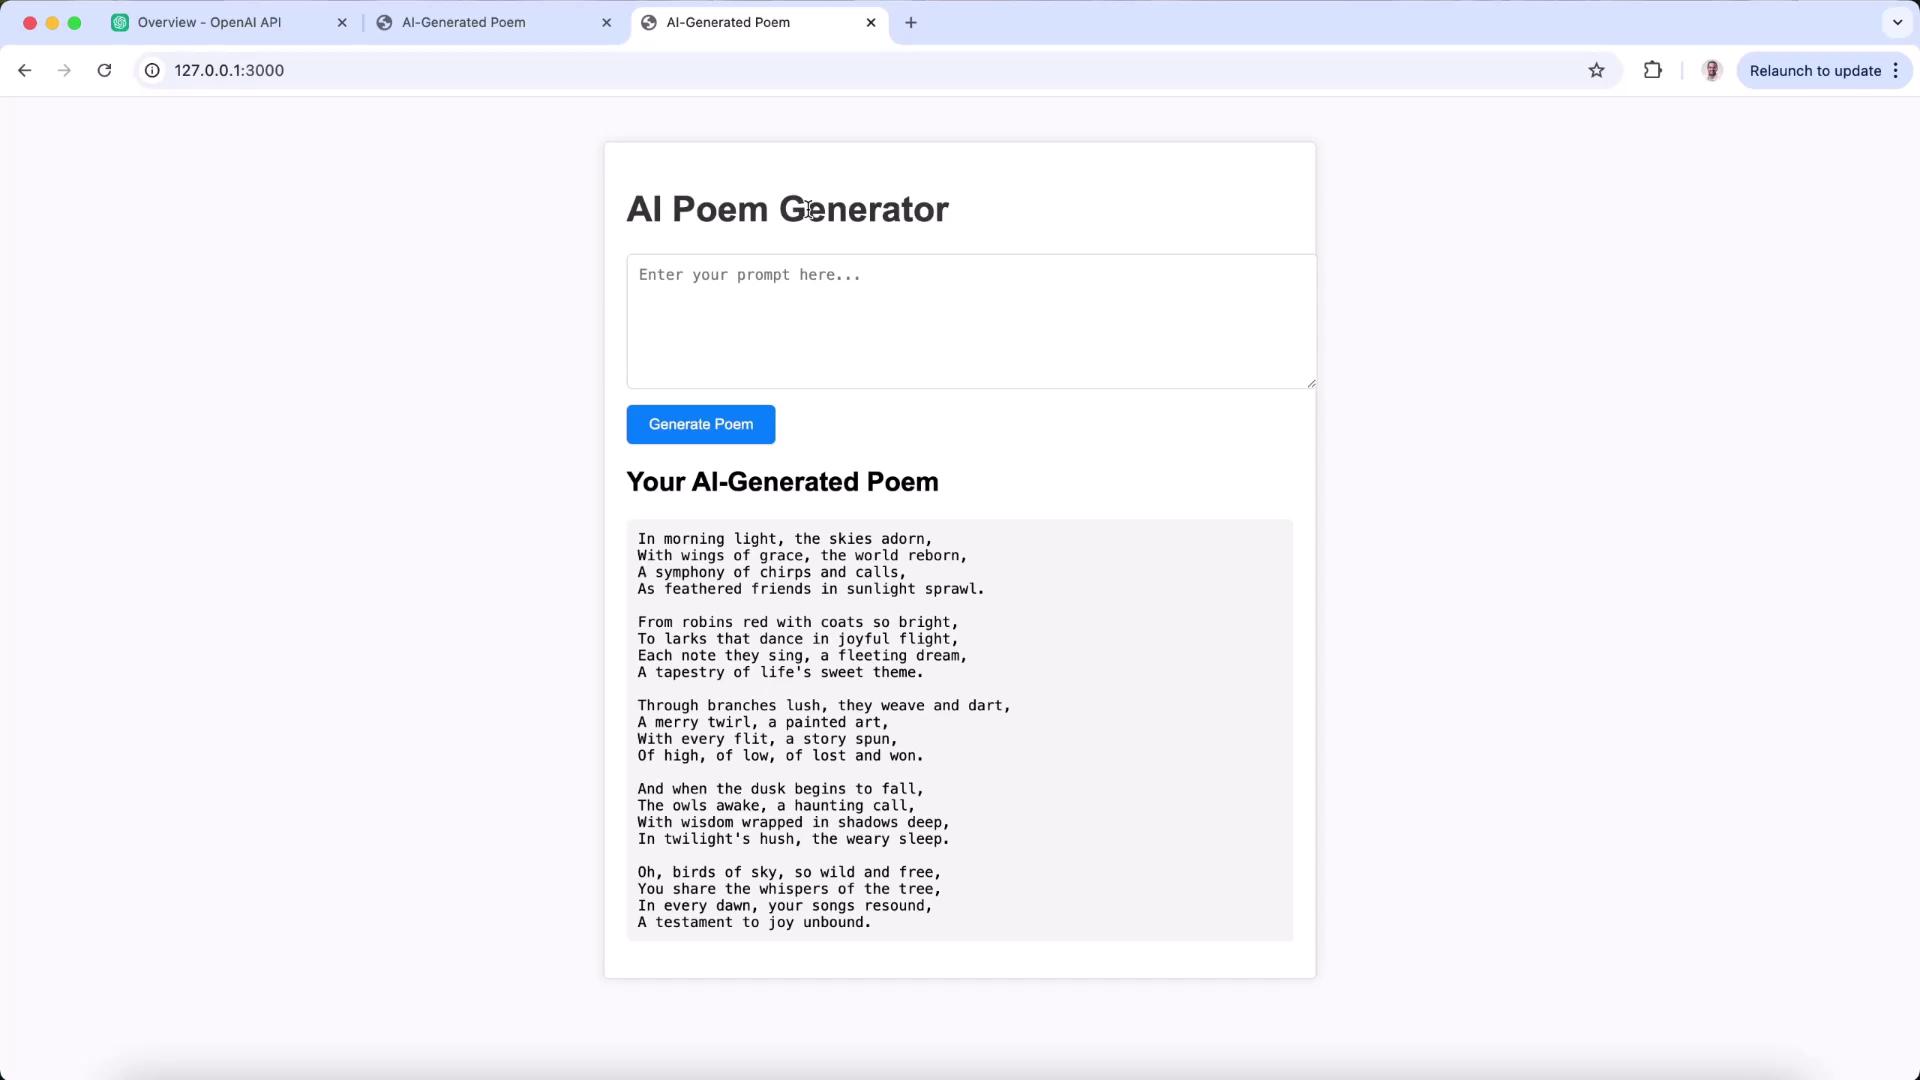
- In your browser, go to http://127.0.0.1:3000, enter a prompt (e.g., “a poem on birds”) and click Generate Poem.
http://api.openai.com, you’ll see:
https:// endpoint resolves this.
With just an environment-variable tweak, your app seamlessly transitions from local Ollama LLMs to production-ready OpenAI models.