This article explores SUID, SGID, and the Sticky Bit permissions in Unix/Linux systems for managing security and resource access.
In Unix/Linux systems, managing permissions is critical to maintaining security and efficient resource access. In this article, we explore three special permissions—SUID, SGID, and the Sticky Bit—that allow controlled elevation of privileges and help manage collaborative environments.
Understanding these permissions ensures that applications can safely operate with elevated privileges without compromising system integrity.
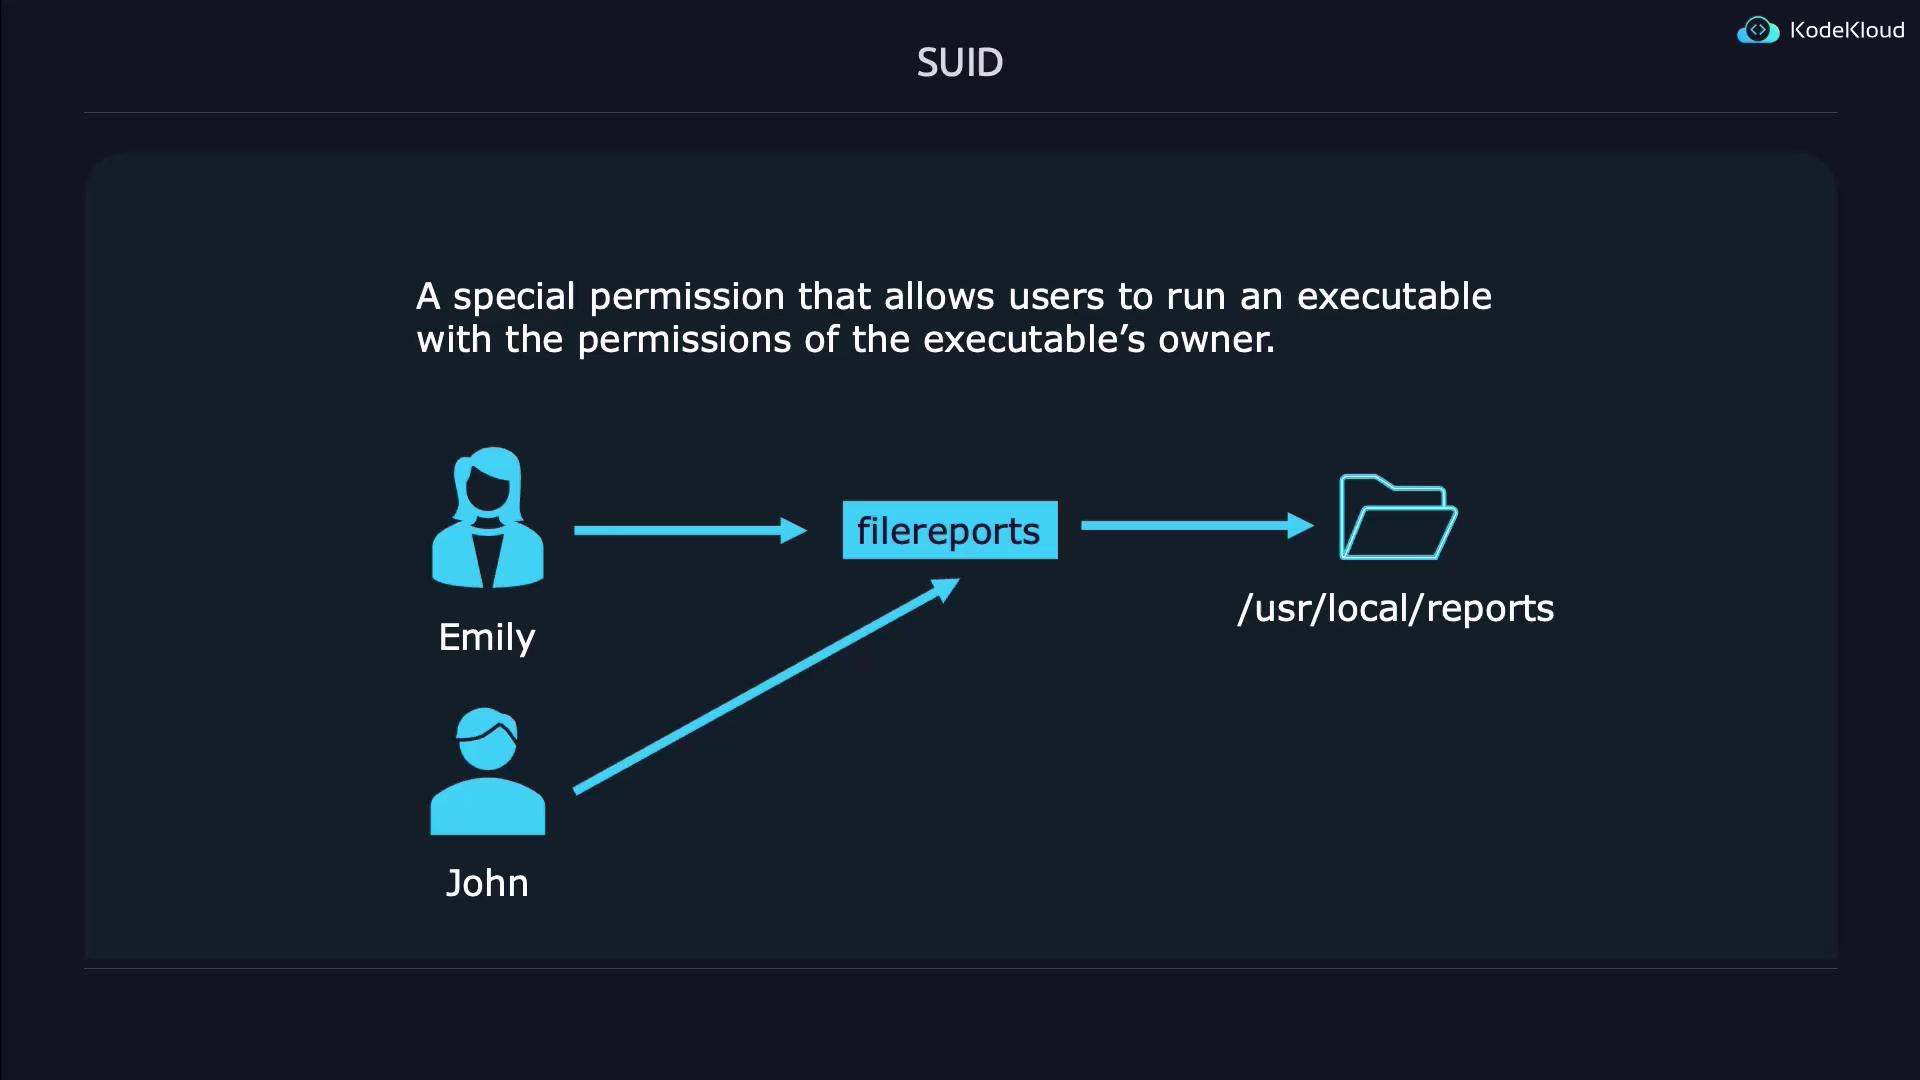
SUID is a permission that, when applied to an executable file, enables the process to run with the file owner’s privileges instead of those of the user who launched it. This feature is particularly useful when an application requires access to restricted resources. For example, if Emily develops a reports application that needs to access files under /usr/local/reports, she can allow John to run the application without granting him unfettered access to her directory.
Below is a step-by-step demonstration of setting and verifying the SUID bit:
Copy
Ask AI
# Create the test filetouch suidfile# Check default permissionsls -l suidfile# Output: -rw-rw-r-- 1 jeremy jeremy 0 May 8 01:22 suidfile
To set the SUID bit, which is represented by a leading digit of 4 in the permission mode, execute:
Copy
Ask AI
chmod 4664 suidfilels -l suidfile
Notice that the execute bit for the owner may be displayed as a capital “S” when it is not enabled. Including the execute permission (for example, using 4764) will show a lowercase “s” instead.
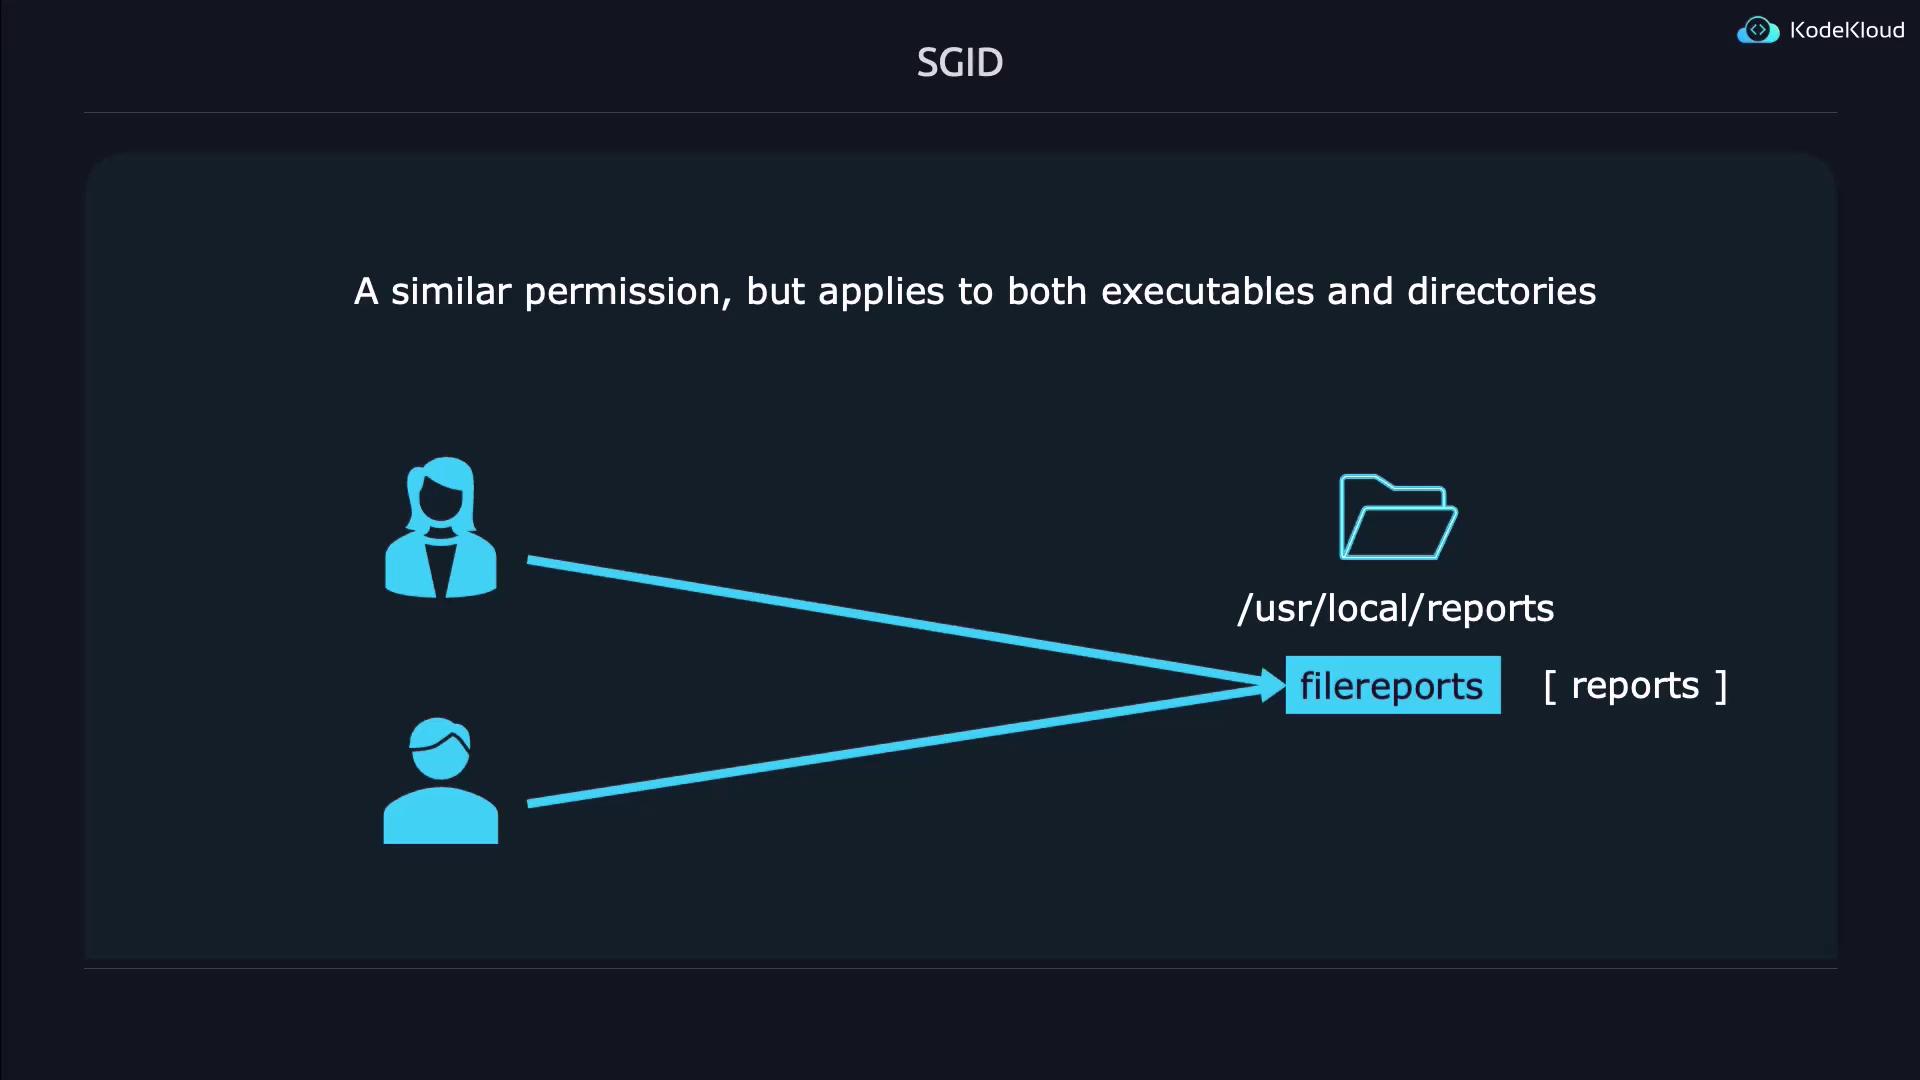
SGID works similarly to SUID but applies to the group ownership of an executable or directory. For executables, SGID allows any user running the file to do so with the file’s group privileges. When applied to a directory, any new file or directory created inherits the group’s ownership, which is invaluable for collaborative work environments.For instance, if a reports application is associated with the reports group, both Emily and John can access executable files, and newly created files inside the directory will automatically inherit the reports group.
Combining SUID and SGID on a single file is straightforward. Since SUID is represented by 4 and SGID by 2, the combined digit is 6. For example, to apply both on a file called both:
Copy
Ask AI
touch bothchmod 6664 bothls -l both
To efficiently locate files using these special permissions, use the find command:
Copy
Ask AI
# Find files with the SUID bit setfind . -perm /4000# Find files with the SGID bit setfind . -perm /2000# Find files with either SUID or SGID (or both) setfind . -perm /6000
The Sticky Bit is a special permission applied primarily to directories to control file deletion. When set, it restricts file deletion within the directory so that only the file owner, the directory owner, or the superuser can delete or rename files. This is especially beneficial for shared directories where multiple users have write access but should not be able to remove files created by others.
Creating a directory with a Sticky Bit is illustrated below:
Copy
Ask AI
# Set the Sticky Bit using a shorthand commandchmod 1777 stickydir/ls -ld stickydir/# Expected output: drwxrwxrwt 2 jeremy jeremy 4096 May 8 01:29 stickydir/
In the permission output, a lowercase “t” signifies that the Sticky Bit is active along with the execute permission. If the execute permission is revoked (for example, by setting mode 1666), the indicator changes to an uppercase “T”:
Copy
Ask AI
chmod 1666 stickydir/ls -ld stickydir/
A lowercase “t” denotes that the Sticky Bit is set and execute permission is enabled, while an uppercase “T” indicates that only the Sticky Bit is set.
Understanding and properly configuring SUID, SGID, and the Sticky Bit is crucial for managing permissions in Unix/Linux environments. With SUID, programs can execute with the file owner’s privileges; SGID facilitates group-controlled execution and inheritance; and the Sticky Bit secures shared directories against unauthorized file deletions.By leveraging these permissions, system administrators can implement controlled privilege escalations while ensuring robust security. For further reading, check out the Kubernetes Documentation and explore how secure permissions integrate within broader system management practices.Happy experimenting, and enjoy the power of controlled permission management!