This guide teaches beginners to provision a Kubernetes cluster using
In this guide, you’ll learn how to provision a Kubernetes cluster using Azure Kubernetes Service (AKS) on Microsoft Azure. This step-by-step tutorial is designed for beginners and includes detailed instructions to help you get started quickly.
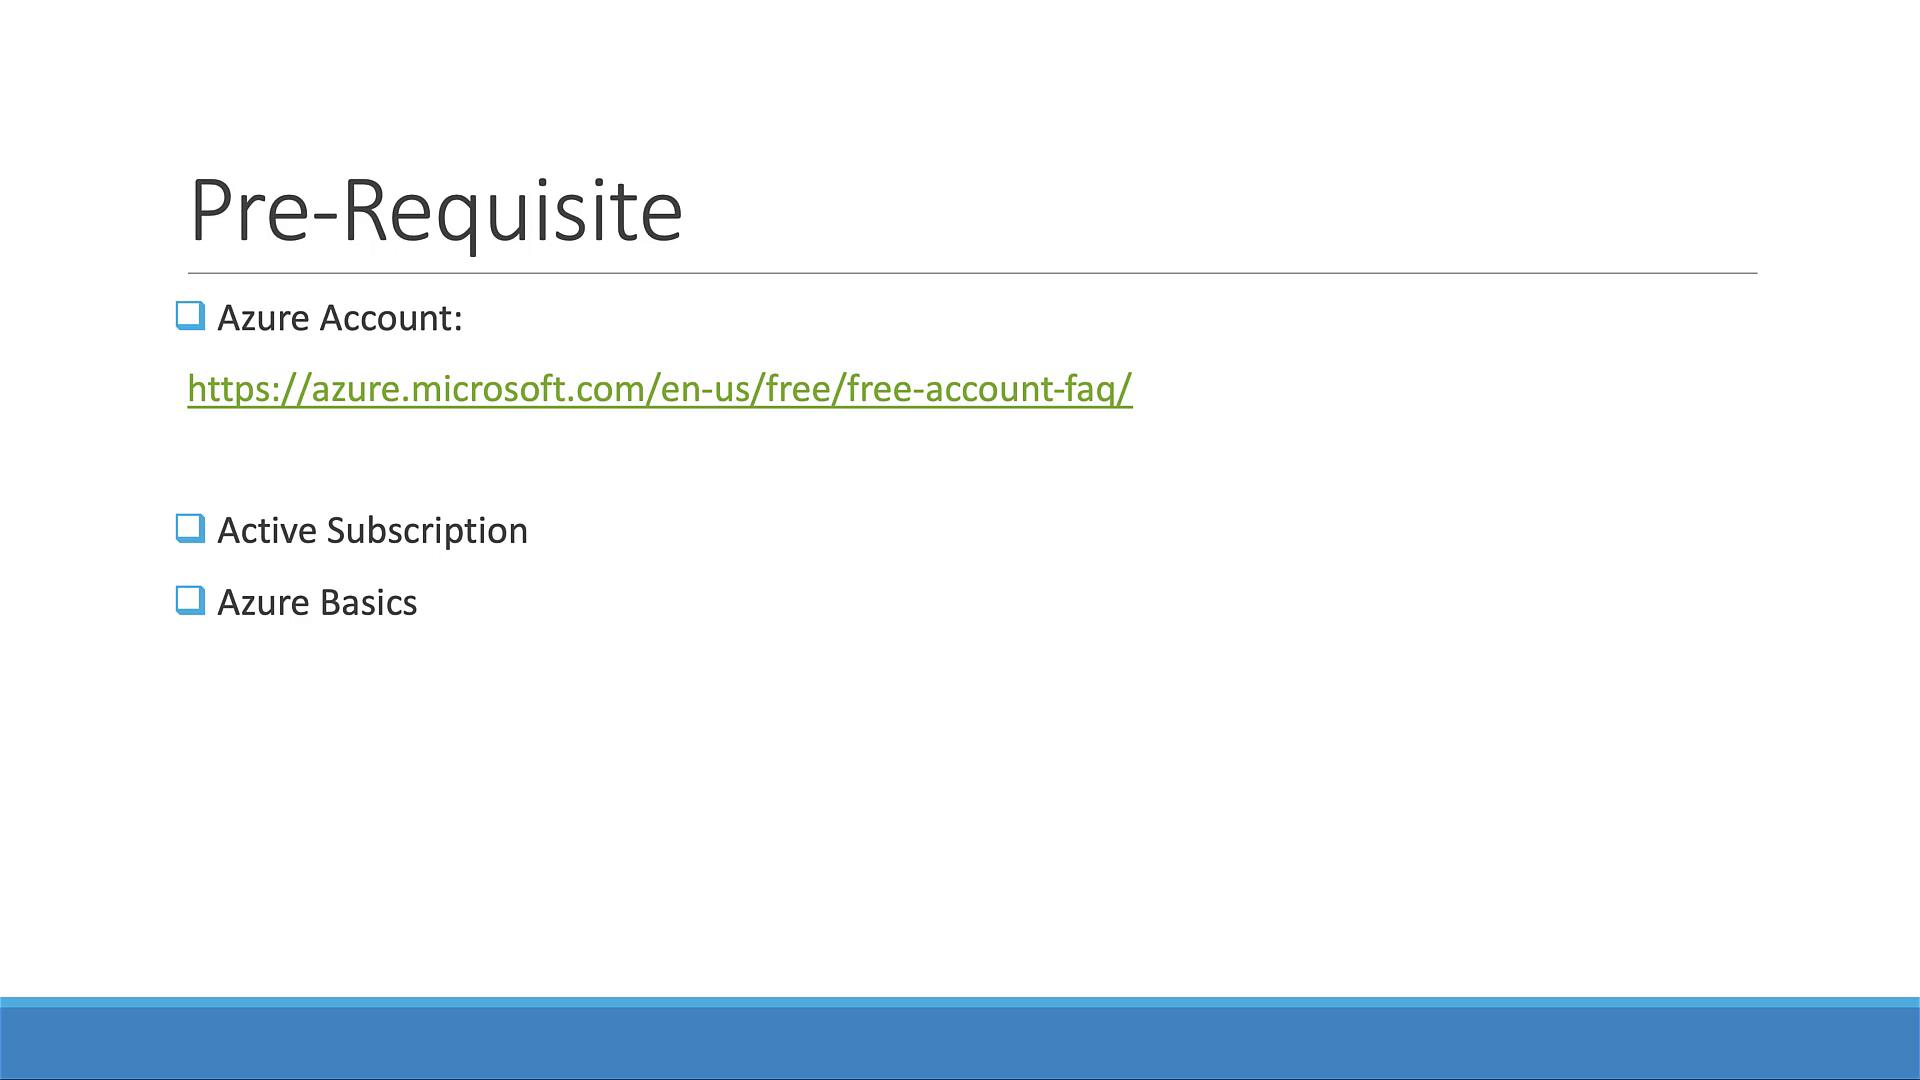
Before you begin, ensure you have an active Azure account. If you’re new to Azure, take advantage of the 12-month free access and familiarize yourself with basic Azure configurations.
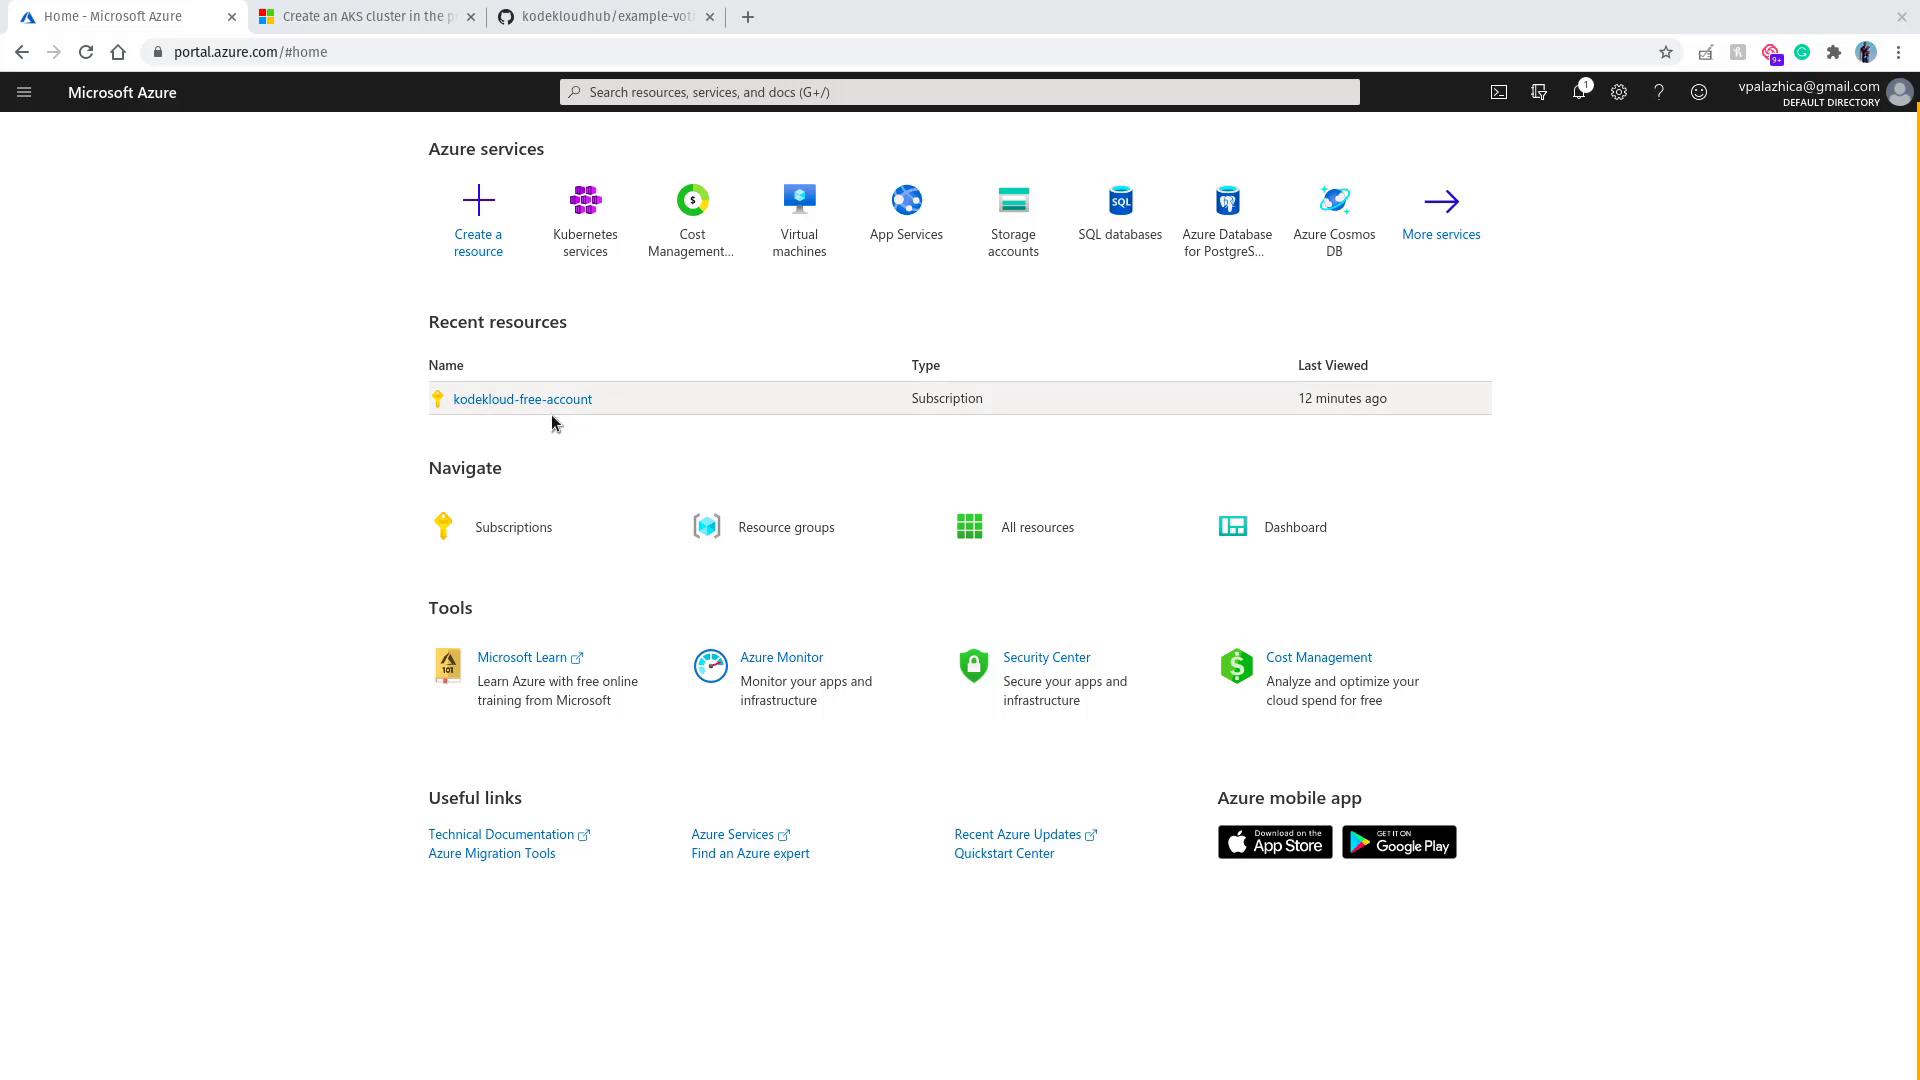
Once logged into your Azure account, you will be greeted with a dashboard displaying various services. In this demonstration, we are using the free “KodeKloud free account.” To find the Azure Kubernetes Service (AKS), either search for “AKS” or select it directly from the available services list.
Since no cluster exists yet, you’ll need to add a new cluster. This will take you to the “Create Kubernetes cluster” screen. Make sure that the appropriate subscription is selected, especially if you are using a free-tier subscription.
Resource Group: Create a new resource group. For demonstration purposes, name it “voting app resource group”.
Cluster Name: Choose an identifiable name such as “example voting app”.
Kubernetes Version: Leave the default version (e.g., 1.16).
Node Configuration: Considering this is a free-tier demonstration, select one node for the node size and leave the remaining options at their default values.
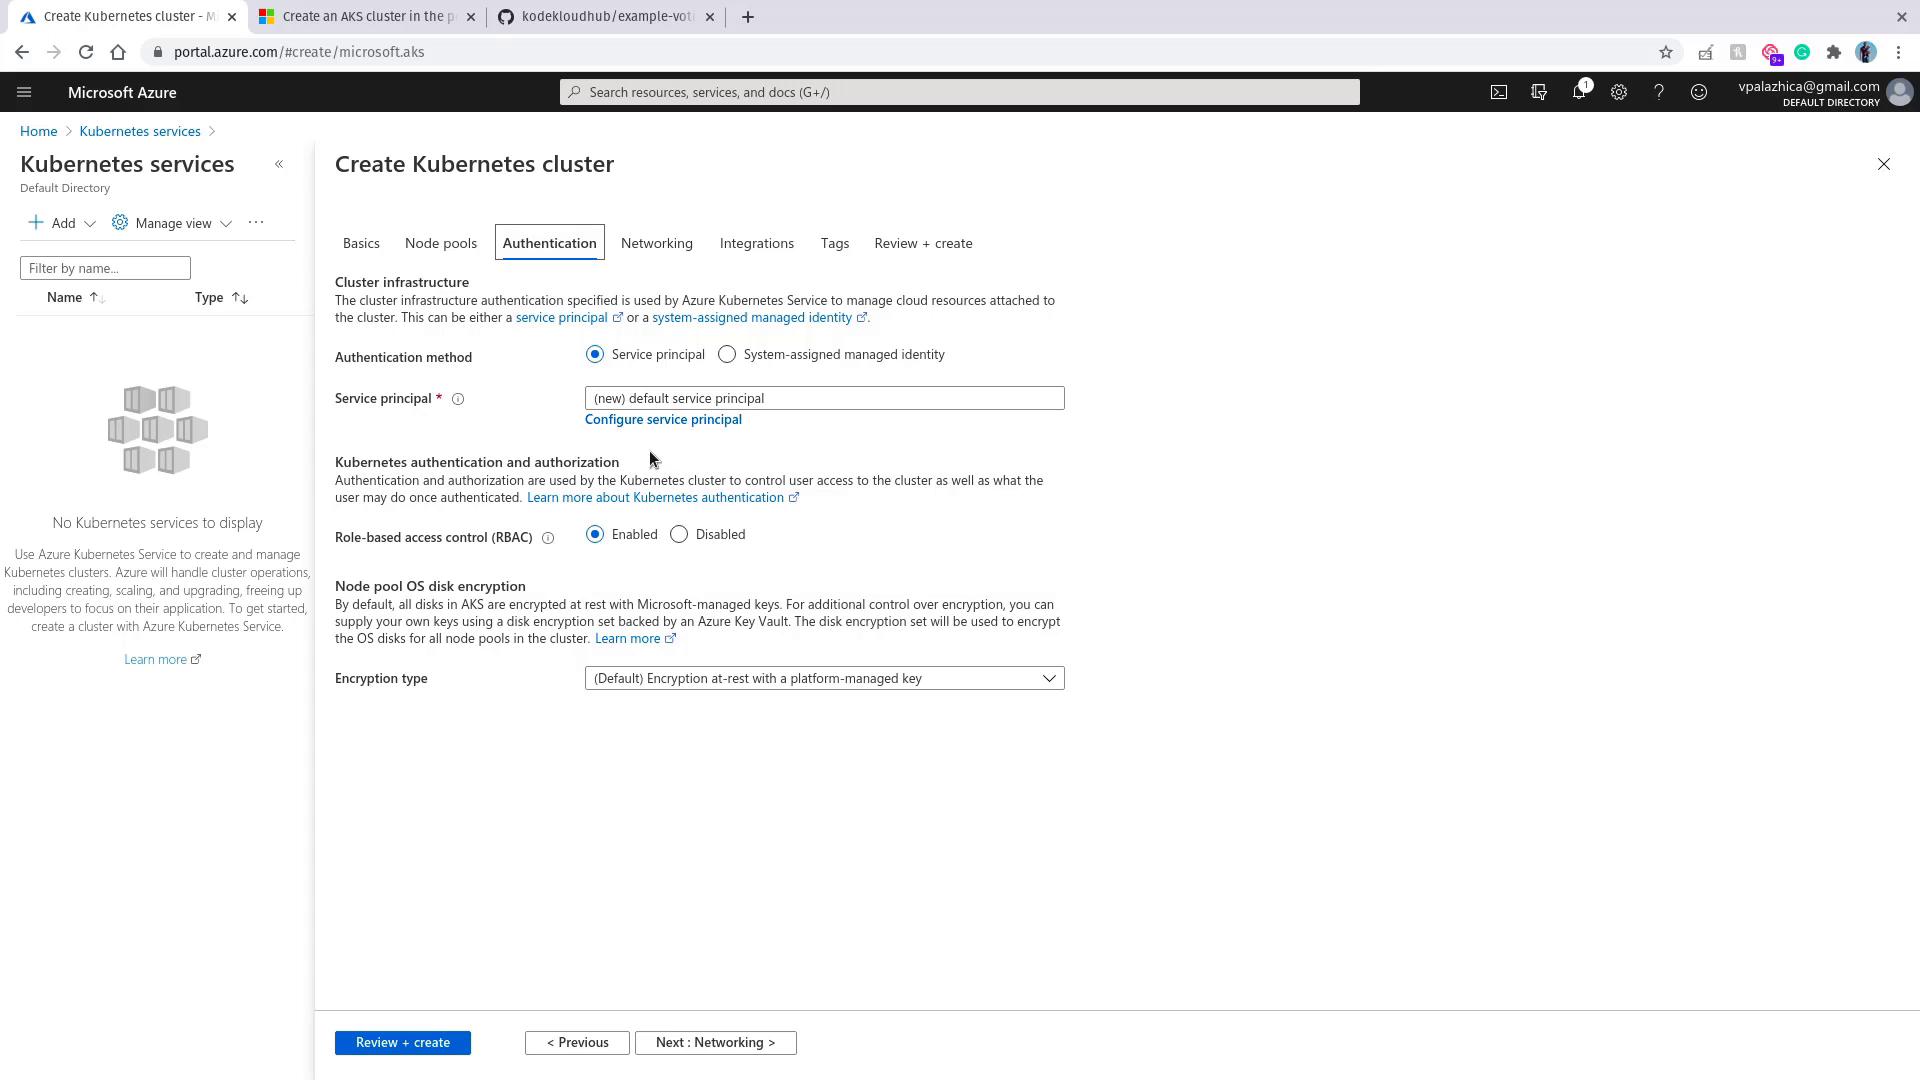
Under Authentication settings, select the option to create a new service principal. This service principal allows AKS to manage associated cloud resources seamlessly.
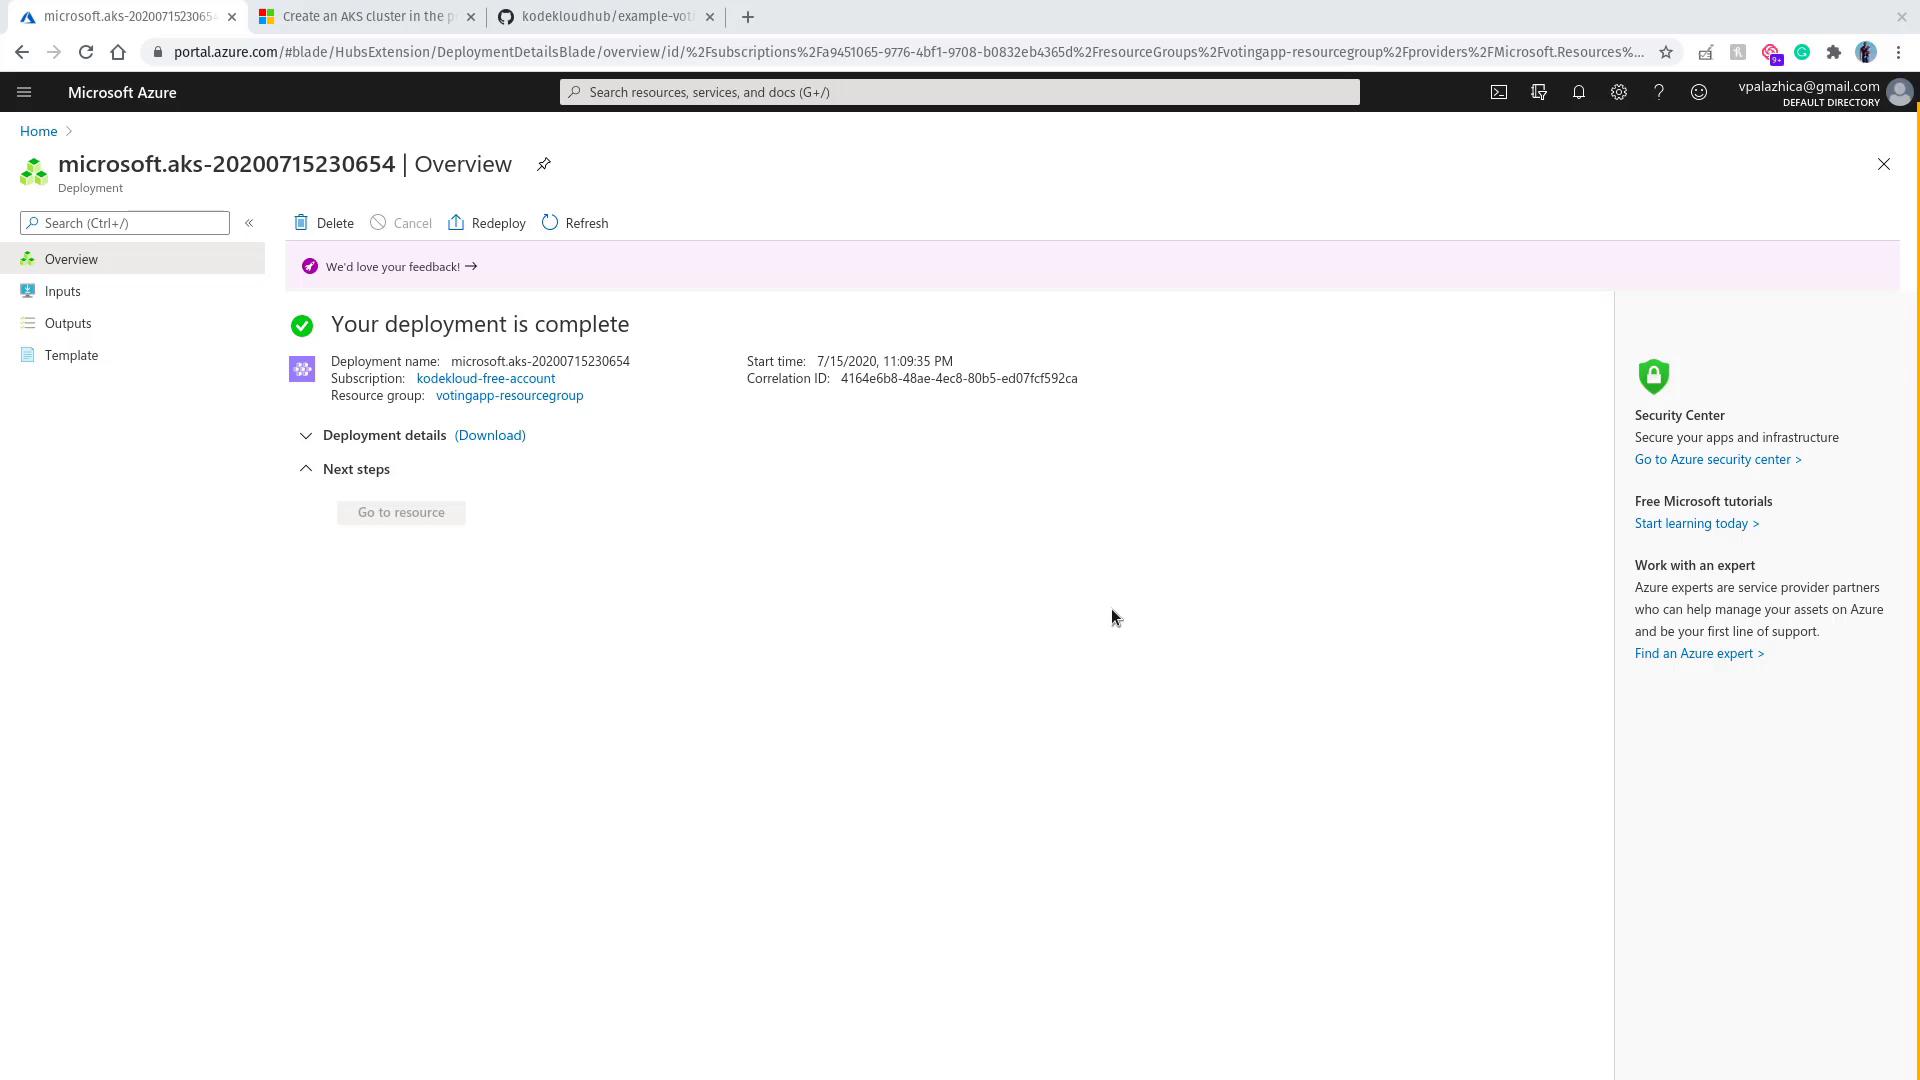
After verifying your configuration, click on Review and create. Once the Create button becomes available, click it to initiate the deployment. The process starts with provisioning your resource groups, followed by the creation of your Kubernetes cluster. Please be patient, as the full deployment might take some time.Upon successful deployment, Azure will display a confirmation message.
To locate your newly created resources, enter “voting app” in the Azure search bar. You should see both the Kubernetes service and your cluster. Next, access your cluster using the Azure Cloud Shell, which appears at the bottom portion of the screen. If prompted, follow the steps to create storage for Cloud Shell.While the Cloud Shell initializes, review these essential commands to connect to your AKS cluster:
Copy
Ask AI
az aks get-credentials --resource-group myResourceGroup --name myAKSClusterkubectl get nodes
Copy
Ask AI
# Expected OutputNAME STATUS ROLES AGE VERSIONaks-agentpool-14693408-0 Ready agent 15m v1.11.5
Additionally, you might encounter a snippet in a Kubernetes configuration file like:
Copy
Ask AI
apiVersion: apps/v1
Scroll to the bottom of the documentation (if referenced) for further instructions on connecting to your cluster. The Azure Cloud Shell comes pre-installed with the kubectl client, so you can quickly grant access to your cluster.
In the Cloud Shell window, execute the following command to configure kubectl. Replace “myResourceGroup” and “myAKSCluster” with your actual resource group and cluster names:
Copy
Ask AI
az aks get-credentials --resource-group myResourceGroup --name myAKSCluster
After running the command, you will see messages similar to:
Copy
Ask AI
Your cloud drive has been created in:Subscription ID: a9415065-9776-4bf1-9708-80832eb4365dResource group: cloud-shell-storage-eusStorage account: cs21032002001aa74File share: cs-vpalazhica-gmail-com-10032002001aa74Initializing your account for Cloud Shell...Requesting a Cloud Shell...Succeeded.Connecting terminal...Welcome to Azure Cloud ShellType "az" to use Azure CLIType "help" to learn about Cloud Shellaed2c8b3-0ba6-4e8f-b3b3-630db5d6Azure:~$
After configuring, verify connectivity by running:
Copy
Ask AI
kubectl get nodes
For example, the output may appear as follows:
Copy
Ask AI
NAME STATUS ROLES AGE VERSIONaks-agentpool-29238863-vms00000 Ready agent 6m12s v1.16.10
In some cases, the result app service may initially show a pending state while the load balancer is being provisioned. Give it a few minutes to complete this process.
Once all deployments are confirmed (each showing one out of one pod ready) and the load balancers for both the voting and result services have been provisioned, you can test the applications:
Open your browser in a new tab to access the voting application using the external IP provided for the “voting-service”.
Similarly, open another tab to access the results application using the external IP of the “result-service”.
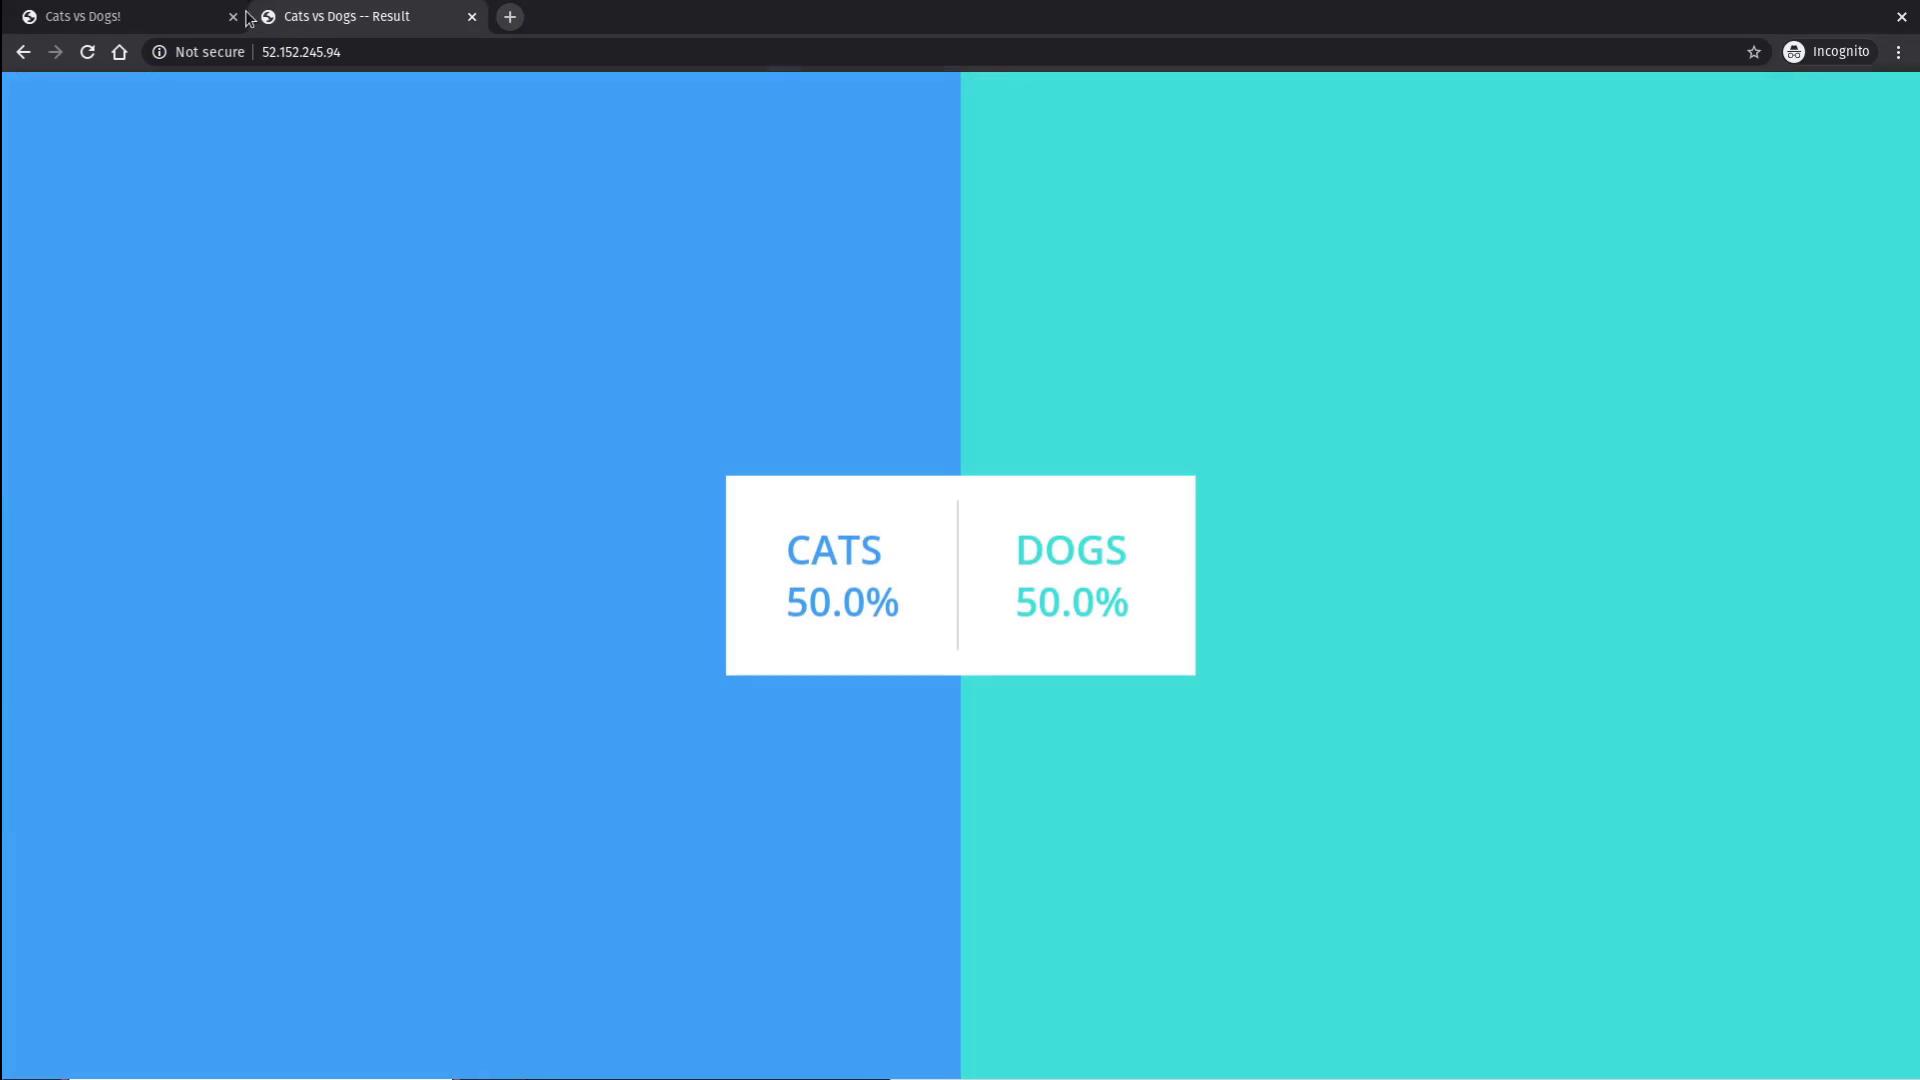
Vote on the application and watch the result update in real time. This confirms that the applications are functioning correctly.
After finishing your demonstration and learning session, remember to delete the cluster and clean up your resources to prevent any unexpected charges.That concludes this Kubernetes on Azure AKS tutorial. Happy learning, and see you in the next guide!