This article provides step-by-step instructions for installing Helm and deploying the Prometheus Helm chart on a Kubernetes cluster.
In this lesson, we will guide you step-by-step through installing Helm and deploying the Prometheus Helm chart (kube-prometheus-stack) on your Kubernetes cluster. Follow these instructions to set up monitoring in your environment.
Before installing the Prometheus chart, you need to have Helm installed on your system. For detailed installation instructions specific to your operating system, refer to the official Helm Documentation. For a standard Linux machine, you can use the built-in installer script.
Alternatively, you can install Helm using popular package managers. For example:
Copy
Ask AI
brew install helm
Copy
Ask AI
choco install kubernetes-helm
Copy
Ask AI
scoop install helm
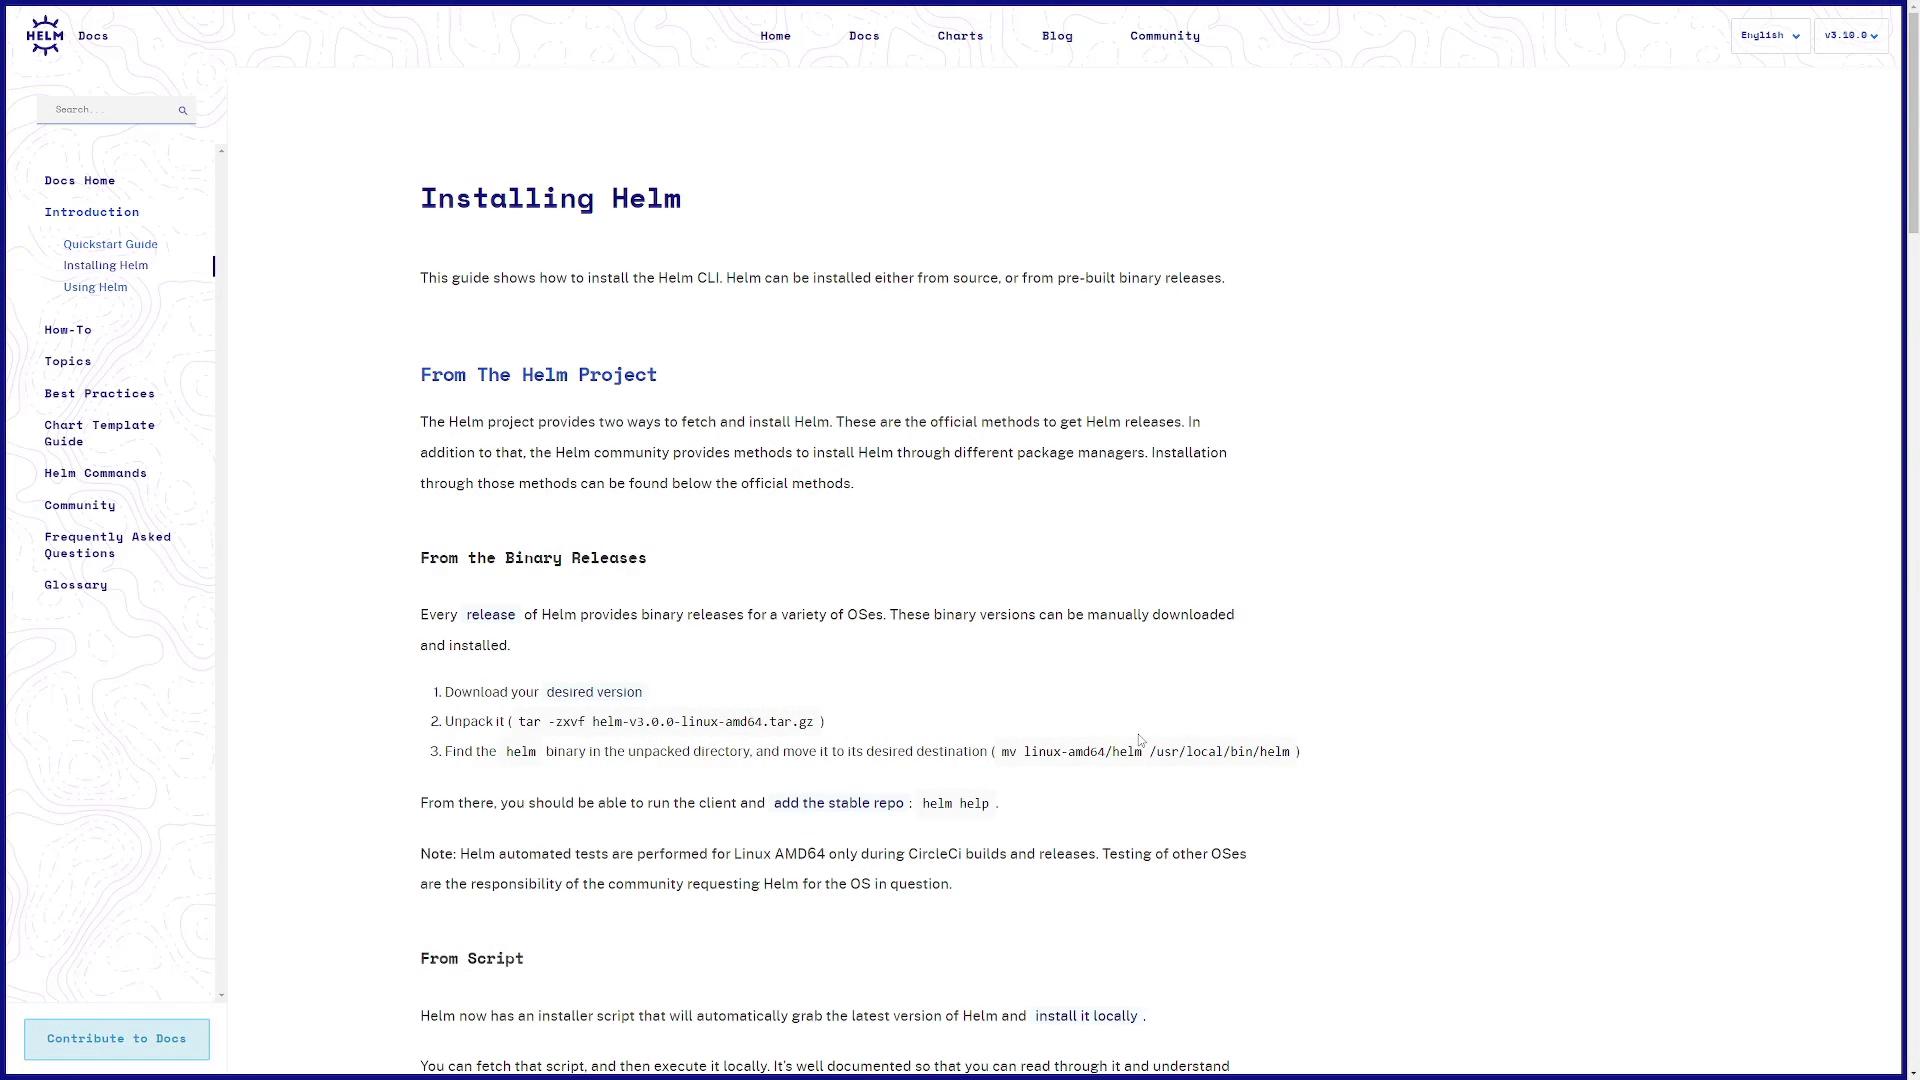
The installer script is favorable because it automatically detects your operating system and manages the installation process.On the Helm documentation page, you’ll see instructions similar to the example below:
Scroll down on the page to review alternative installation options for your package manager of choice.
This command deploys the chart using default configuration values. You can choose any release name that aligns with your naming conventions.The Helm documentation provides a detailed walkthrough for these installation methods. Below is a screenshot from the GitHub repository page for the kube-prometheus-stack chart:
For reference, the documentation recommends the following commands:
When you run these commands, you might see messages indicating that the repository already exists or displaying update status messages. For instance:
Copy
Ask AI
$ helm repo add prometheus-community https://prometheus-community.github.io/helm-charts"prometheus-community" already exists with the same configuration, skipping$ helm repo updateHang tight while we grab the latest from your chart repositories......Successfully got an update from the "prometheus-community" chart repositoryUpdate Complete. ⏰Happy Helming!⏰
After installing the chart, you will see output similar to:
Copy
Ask AI
$ helm install prometheus prometheus-community/kube-prometheus-stackNAME: prometheusLAST DEPLOYED: Mon Nov 21 13:22:39 2022NAMESPACE: defaultSTATUS: deployedREVISION: 1NOTES:kube-prometheus-stack has been installed. Check its status by running: kubectl --namespace default get pods -l "release=prometheus"Visit https://github.com/prometheus-operator/kube-prometheus for instructions on how to create & configure Alertmanager and Prometheus instances using the Operator.
If you encounter issues during installation, double-check your Helm version and repository configuration.
Each Helm chart allows you to override default configuration values. To explore configurable options for the kube-prometheus-stack chart, export the default configuration into a file:
Copy
Ask AI
$ helm show values prometheus-community/kube-prometheus-stack > values.yaml
Review the generated values.yaml file to see all the custom configuration options. Below is an excerpt that illustrates some of the configurable sections:
Copy
Ask AI
containers: []# Additional volumes on the output StatefulSet definition.volumes: []# Additional VolumeMounts on the output StatefulSet definition.volumeMounts: []## InitContainers allows injecting additional initContainers. This is meant to allow doing some changes## (permissions, directory tree modifications) on mounted volumes before starting Prometheus.initContainers: []## Priority class assigned to the Pods.priorityClassName: ""## PortName to use for ThanosRuler.portName: "web"## ExtraSecret can be used to store various data in an extra secret (e.g., hashed basic auth credentials).extraSecret: name: "" annotations: {} data: {}## Setting to true produces cleaner resource names, but requires a data migration due to persistent volume name changes.cleanPrometheusOperatorObjectNames: false
You have successfully learned how to install Helm, add the Prometheus Community repository, and deploy the kube-prometheus-stack chart on your Kubernetes cluster. In the upcoming lesson, we will dive deeper into the components deployed by this chart and explain the various Kubernetes resources created during the installation.Happy Helming!