- Create a Virtual Private Cloud (VPC)
- Add multiple subnets across Availability Zones
- Launch an EC2 instance into a specific subnet
- Clean up all resources
Prerequisites
- An AWS account with appropriate IAM permissions
- Basic familiarity with AWS Management Console
1. Create a VPC
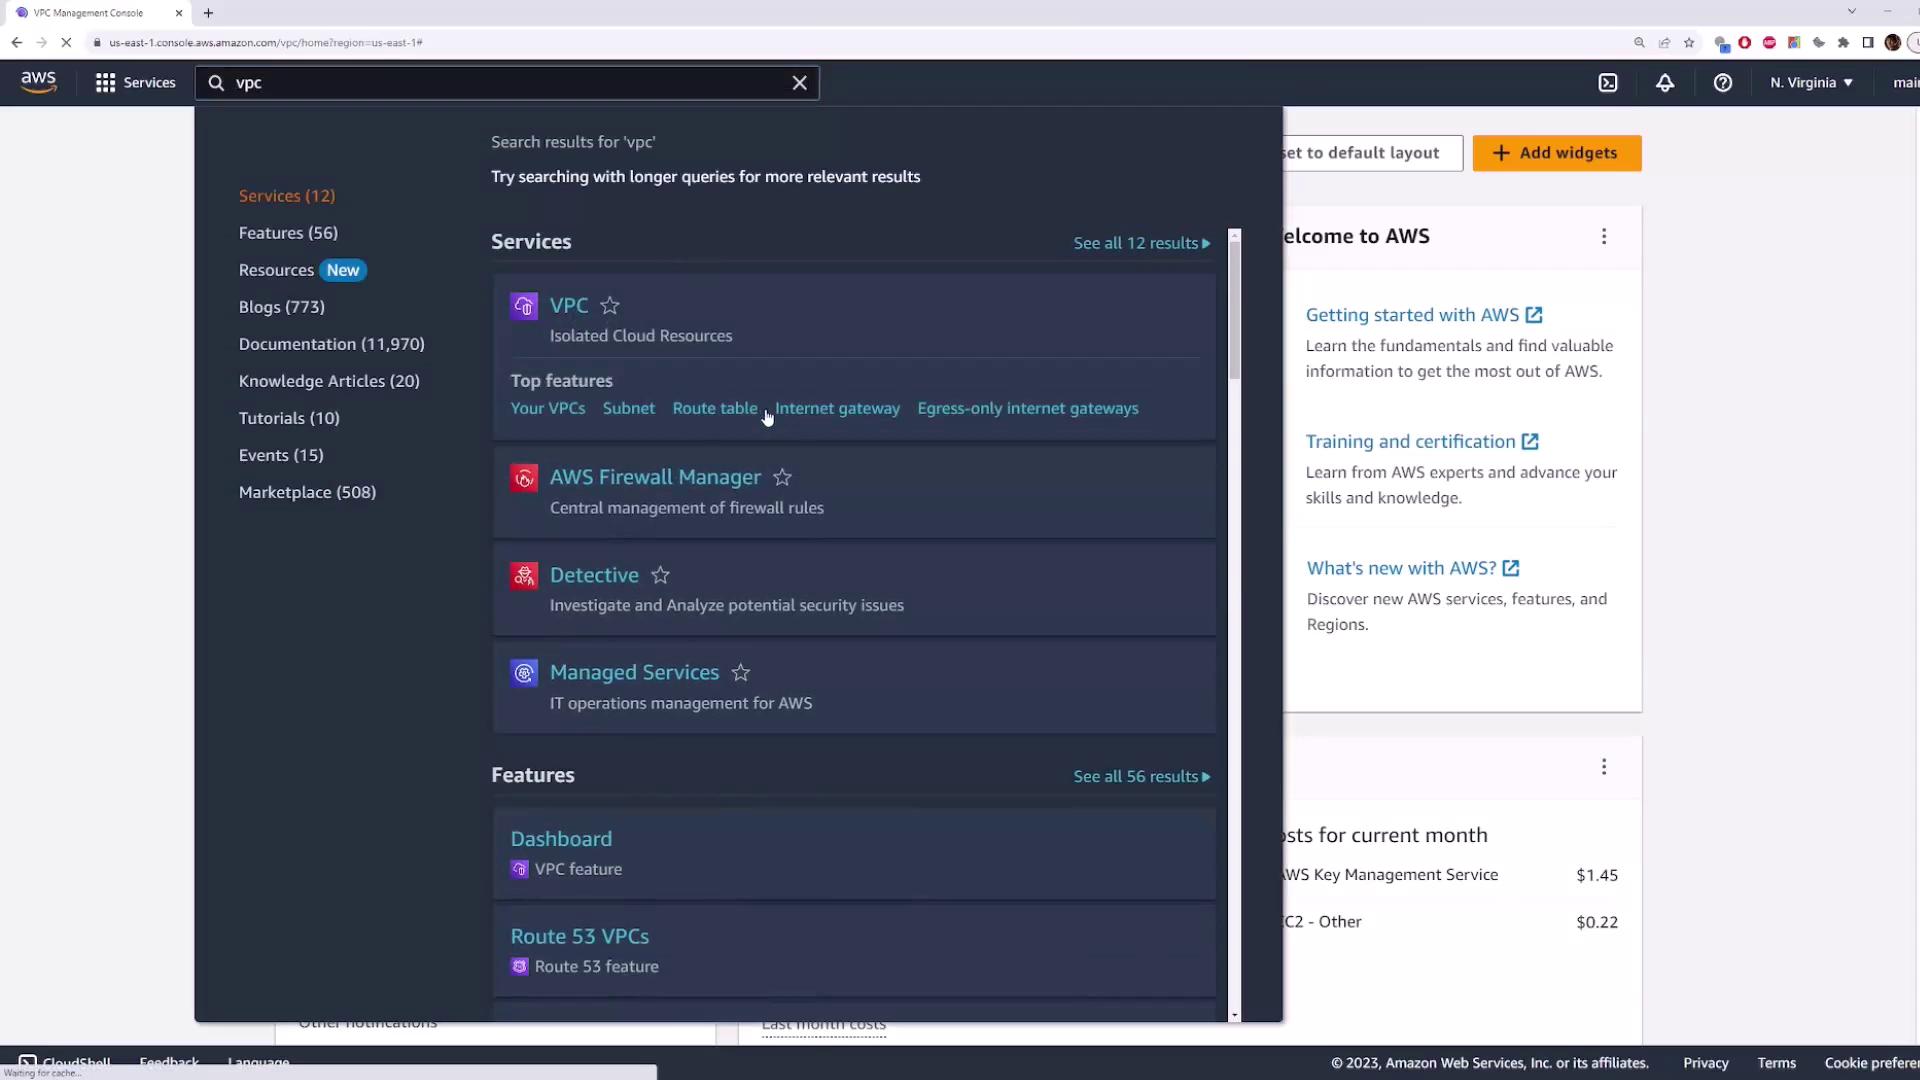
- Sign in to the AWS Management Console and search for VPC.
- In the VPC dashboard, click VPCs → Create VPC. Select VPC only and enter:
- Name tag:
demo-vpc - IPv4 CIDR block:
10.0.0.0/16 - IPv6 CIDR block: Enabled (Amazon provided)
- Name tag:

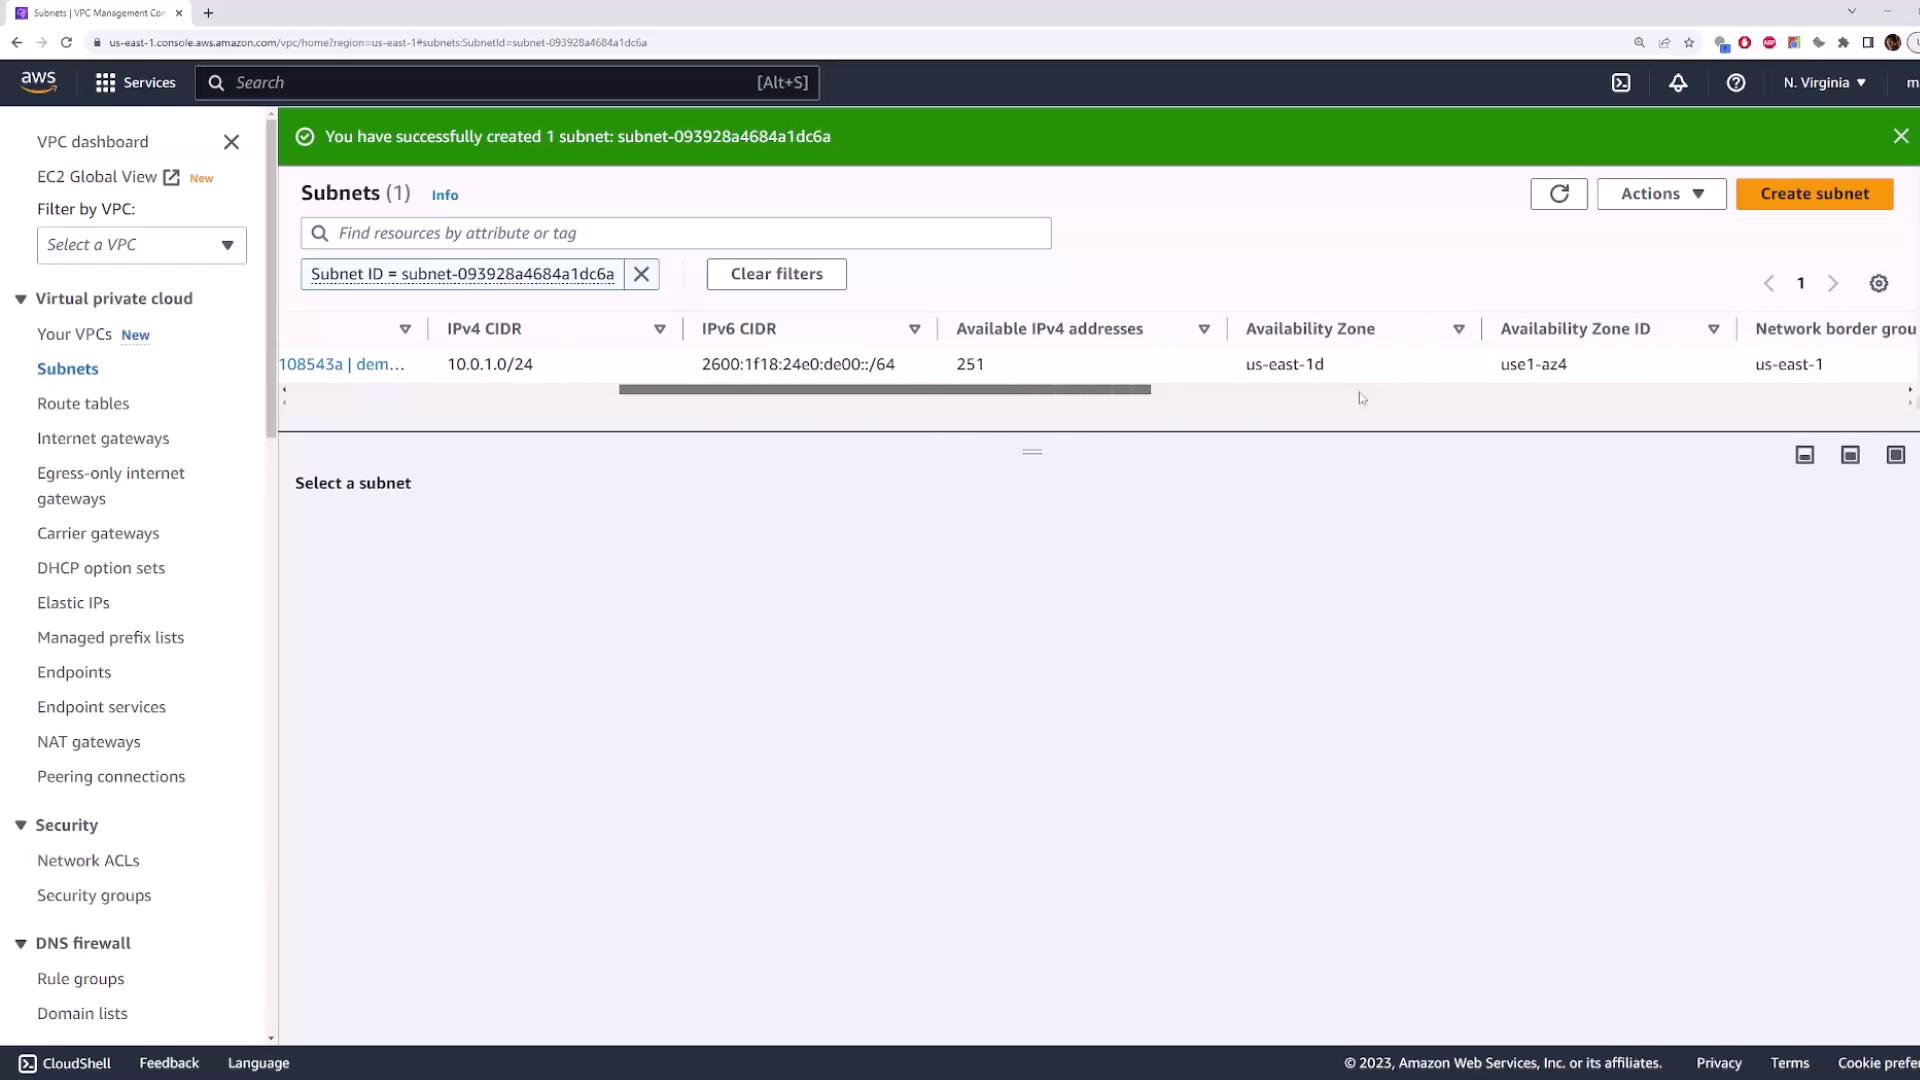
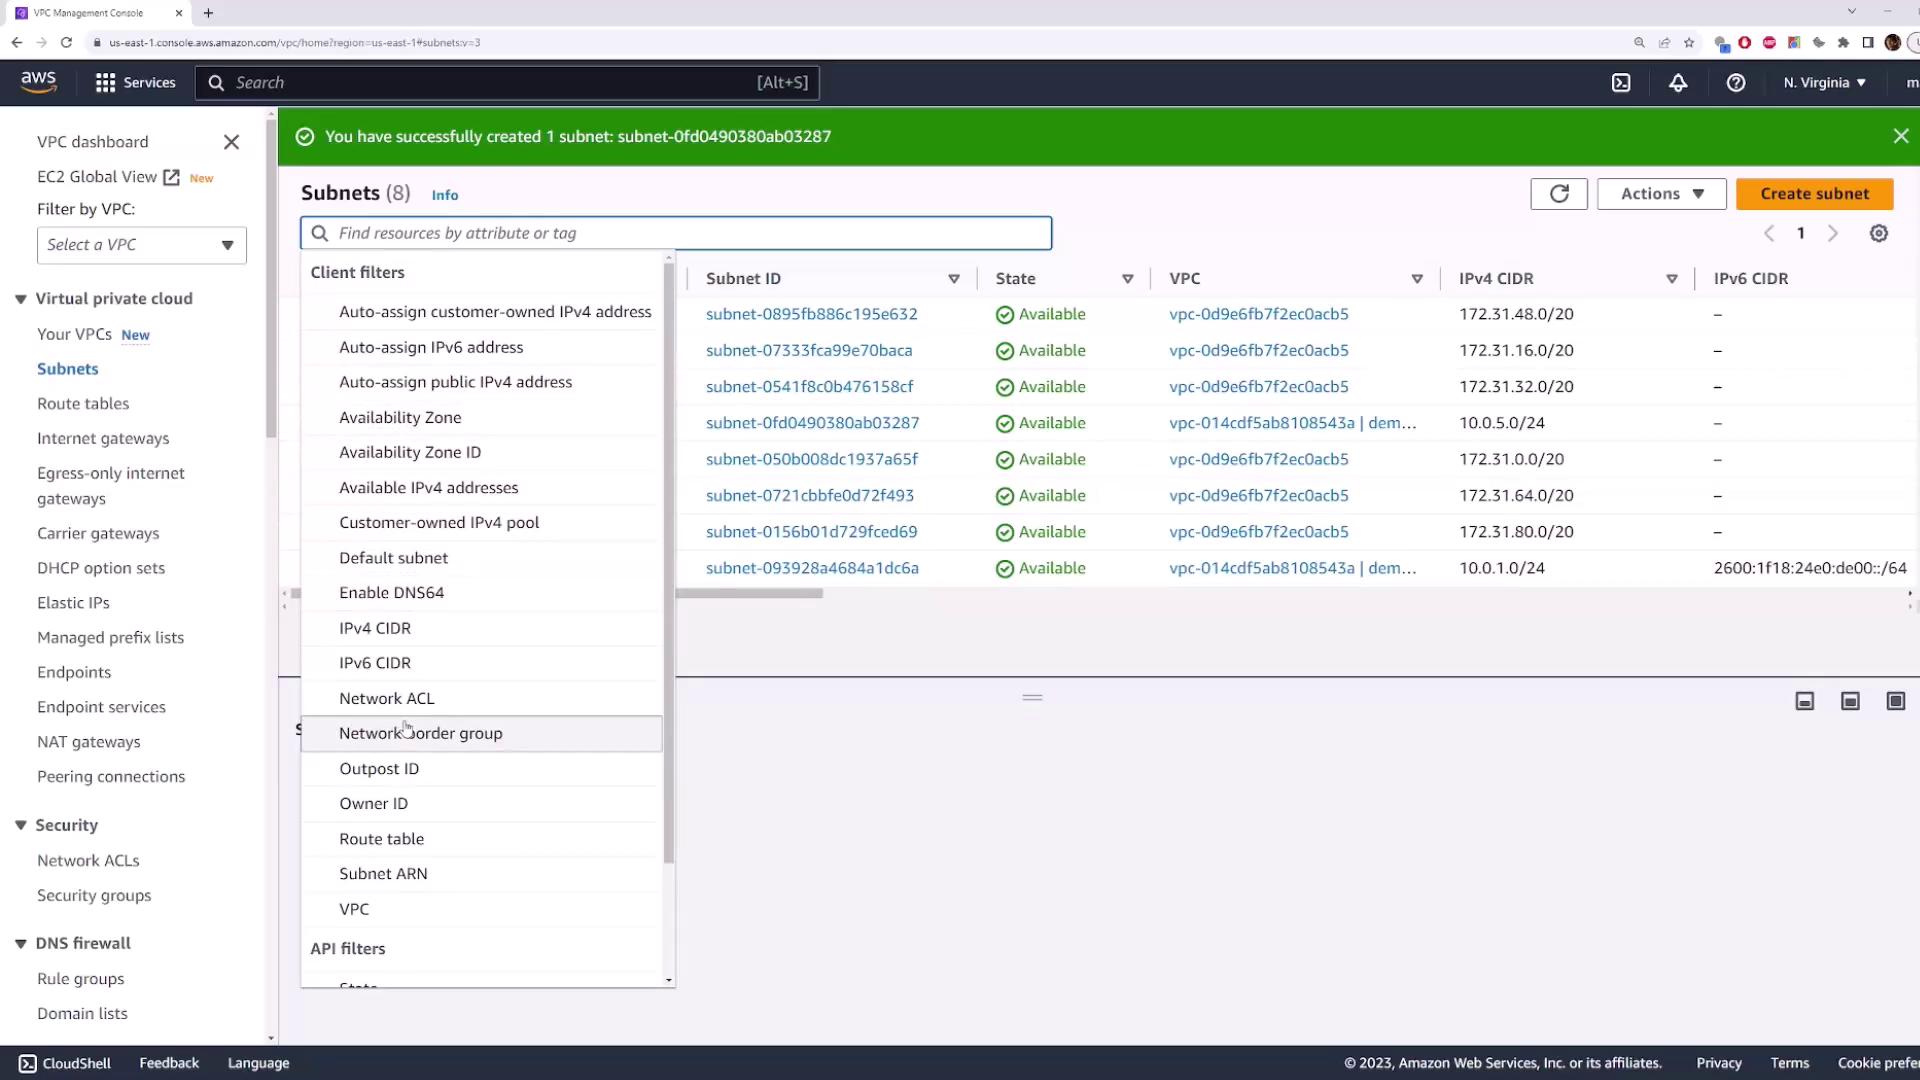
2. Add Subnets
Navigate to Subnets in the VPC console and click Create subnet. Configure two subnets as shown:| Subnet Name | Availability Zone | IPv4 CIDR |
|---|---|---|
| subnet-1 | us-east-1d | 10.0.1.0/24 |
| subnet-2 | us-east-1a | 10.0.5.0/24 |
Each subnet’s CIDR block must reside within the VPC’s
10.0.0.0/16 range. Entering an out-of-range block (e.g., 192.168.1.0/24) will produce an error.Create Subnet-1
- VPC:
demo-vpc - Name tag:
subnet-1 - Availability Zone:
us-east-1d - IPv4 CIDR block:
10.0.1.0/24
Create Subnet-2
Repeat the steps for the second subnet:- Name tag:
subnet-2 - Availability Zone:
us-east-1a - IPv4 CIDR block:
10.0.5.0/24
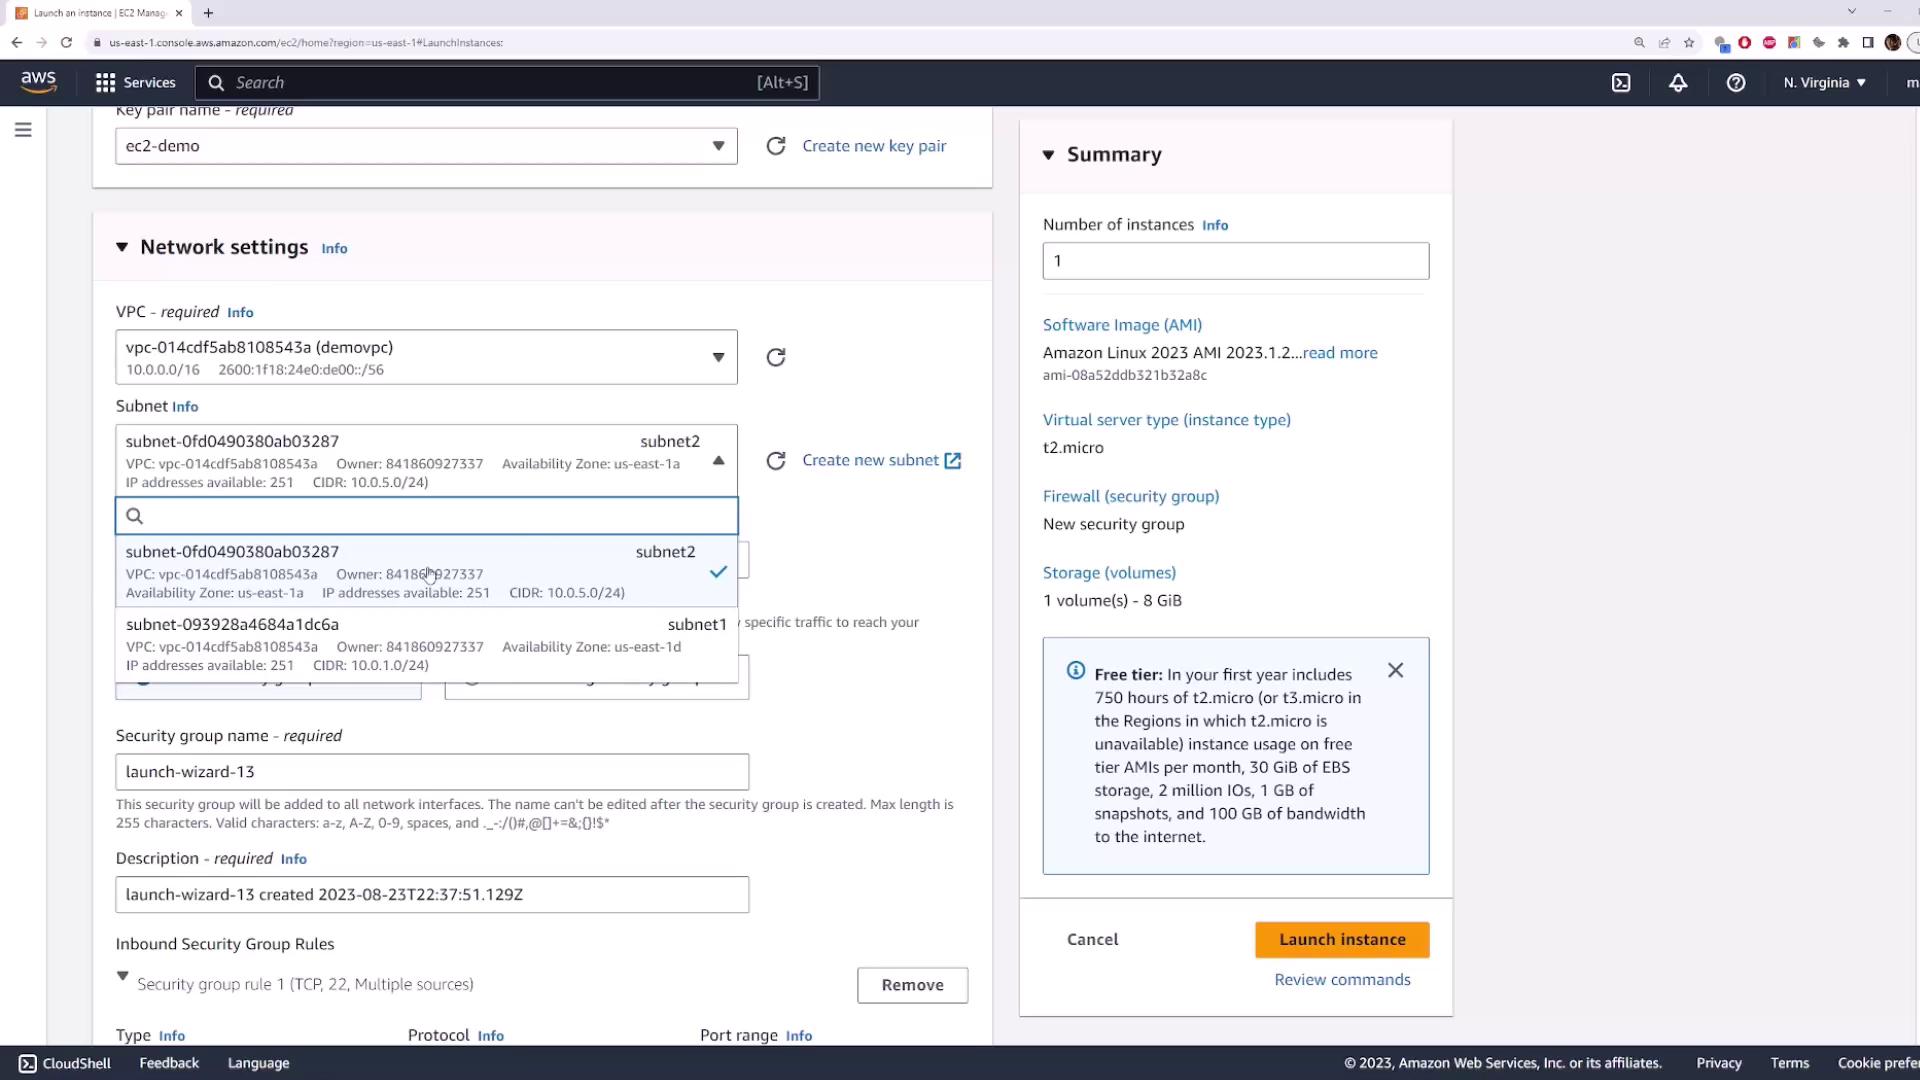
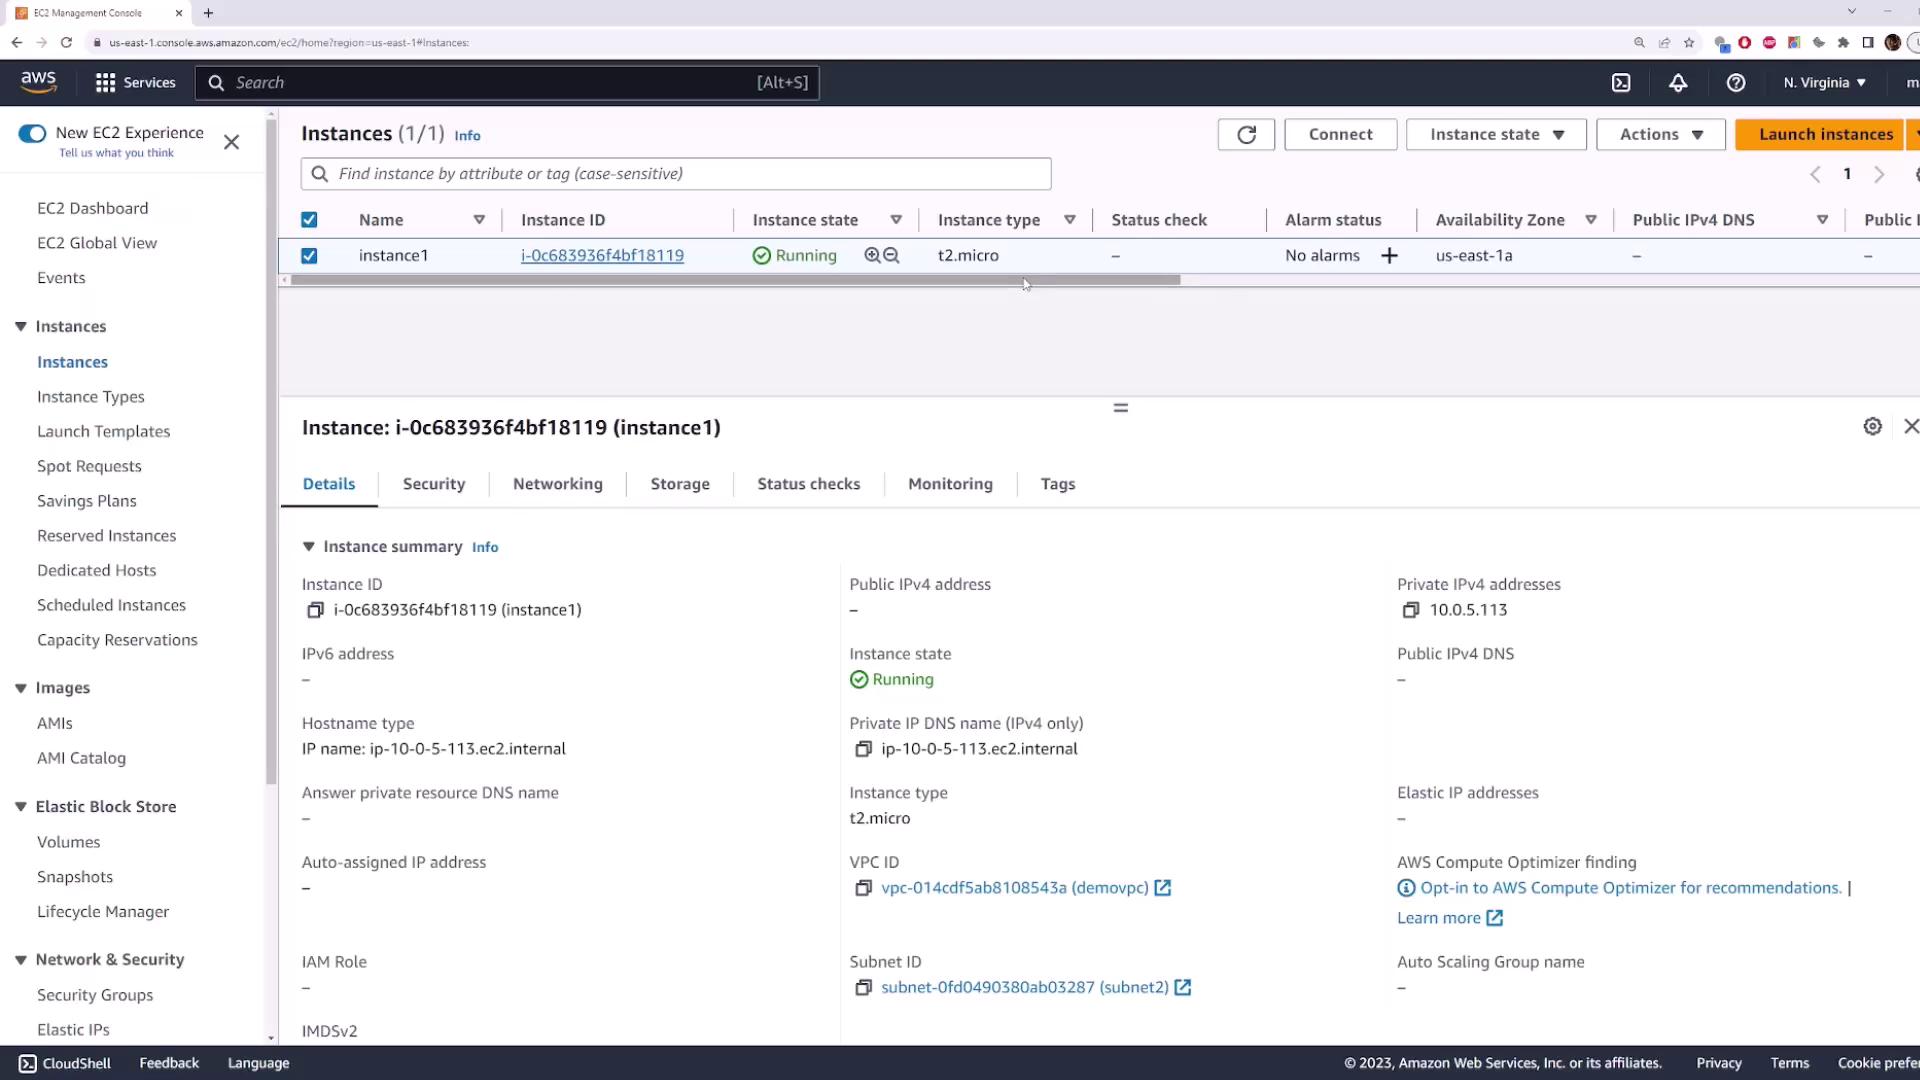
3. Launch an EC2 Instance
- Go to EC2 → Instances and select Launch instance.
-
Configure:
- Name tag:
instance-1 - AMI: Choose any Linux/Windows image
- Instance type: e.g.,
t2.micro - Key pair: Select an existing key pair
- Name tag:
-
Expand Network settings:
- VPC:
demo-vpc - Subnet:
subnet-2(us-east-1a, CIDR10.0.5.0/24) - Auto-assign Public IP: Enable if needed
- VPC:
- Choose a security group (default or custom) and click Launch instance.
10.0.5.xxx, confirming it’s in subnet-2.
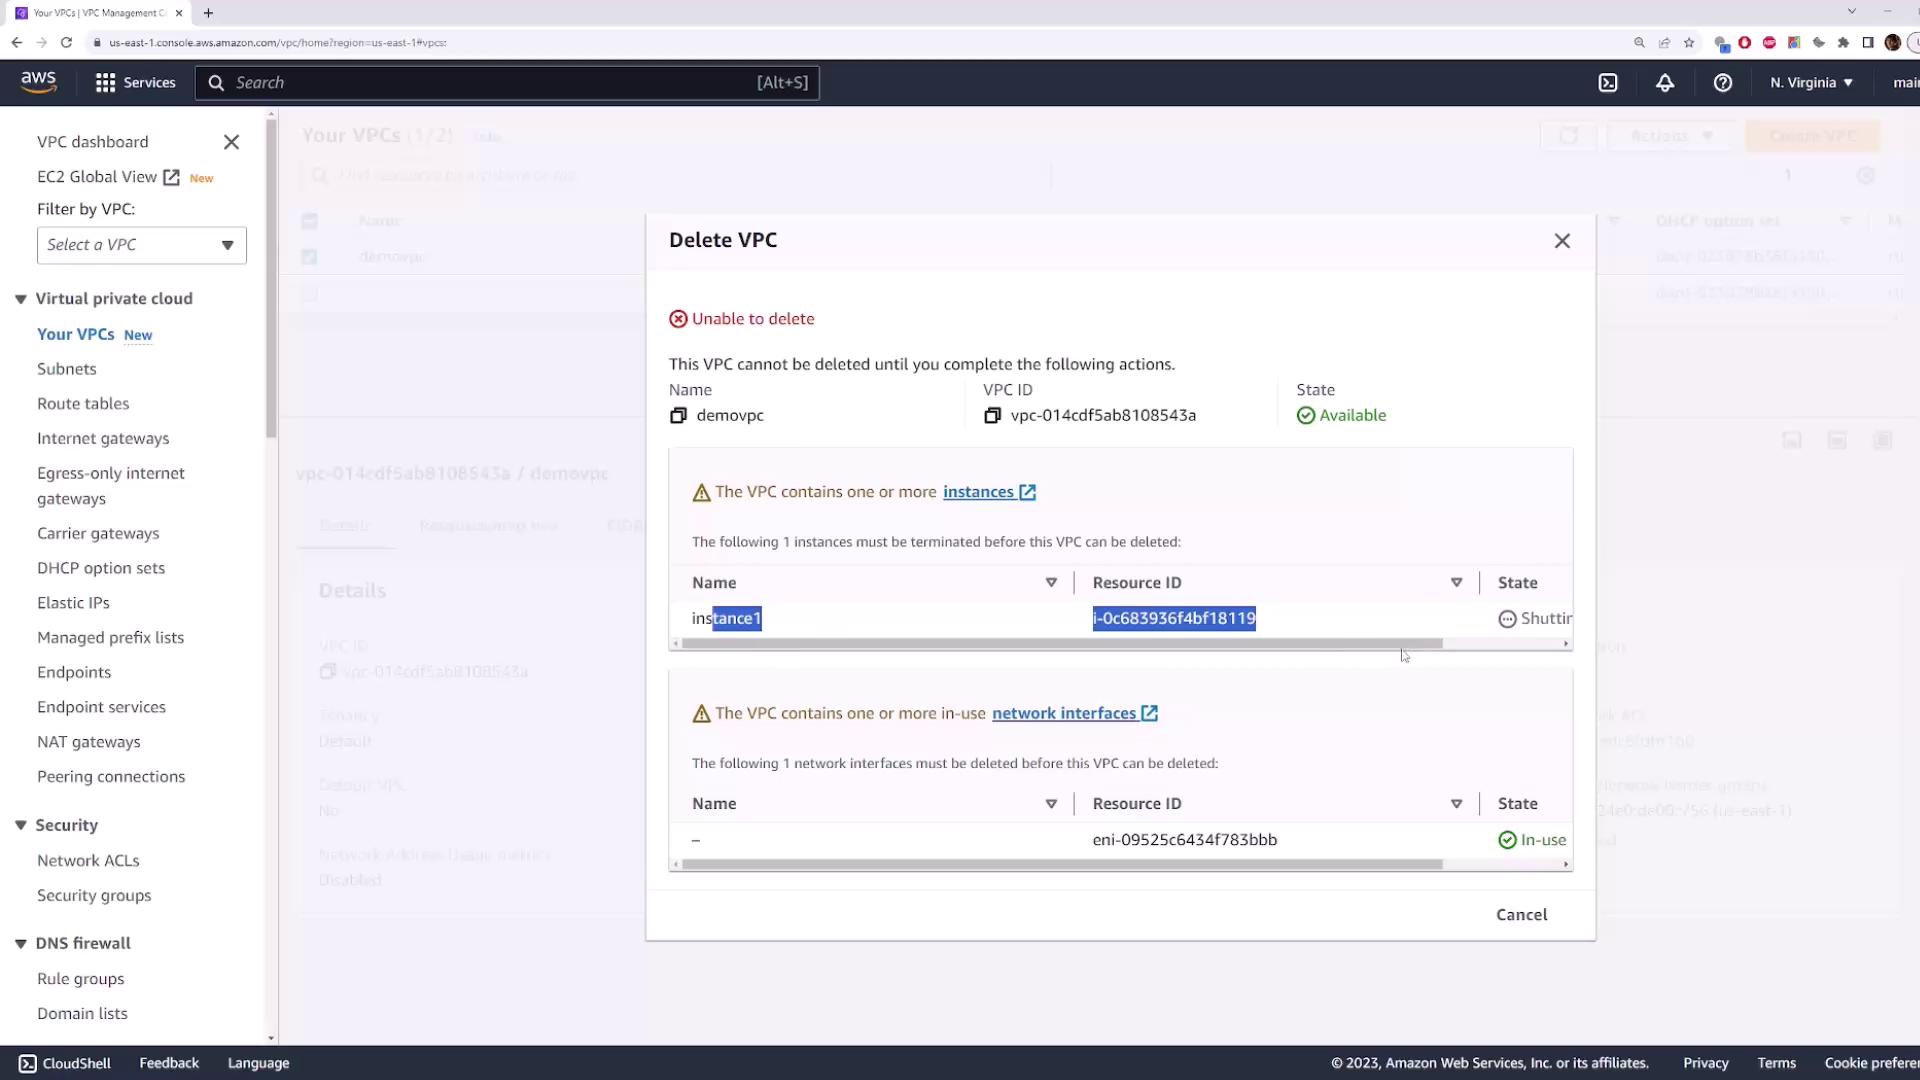
4. Cleanup Resources
- Terminate the EC2 instance (
instance-1). - Go to VPC → Your VPCs, select
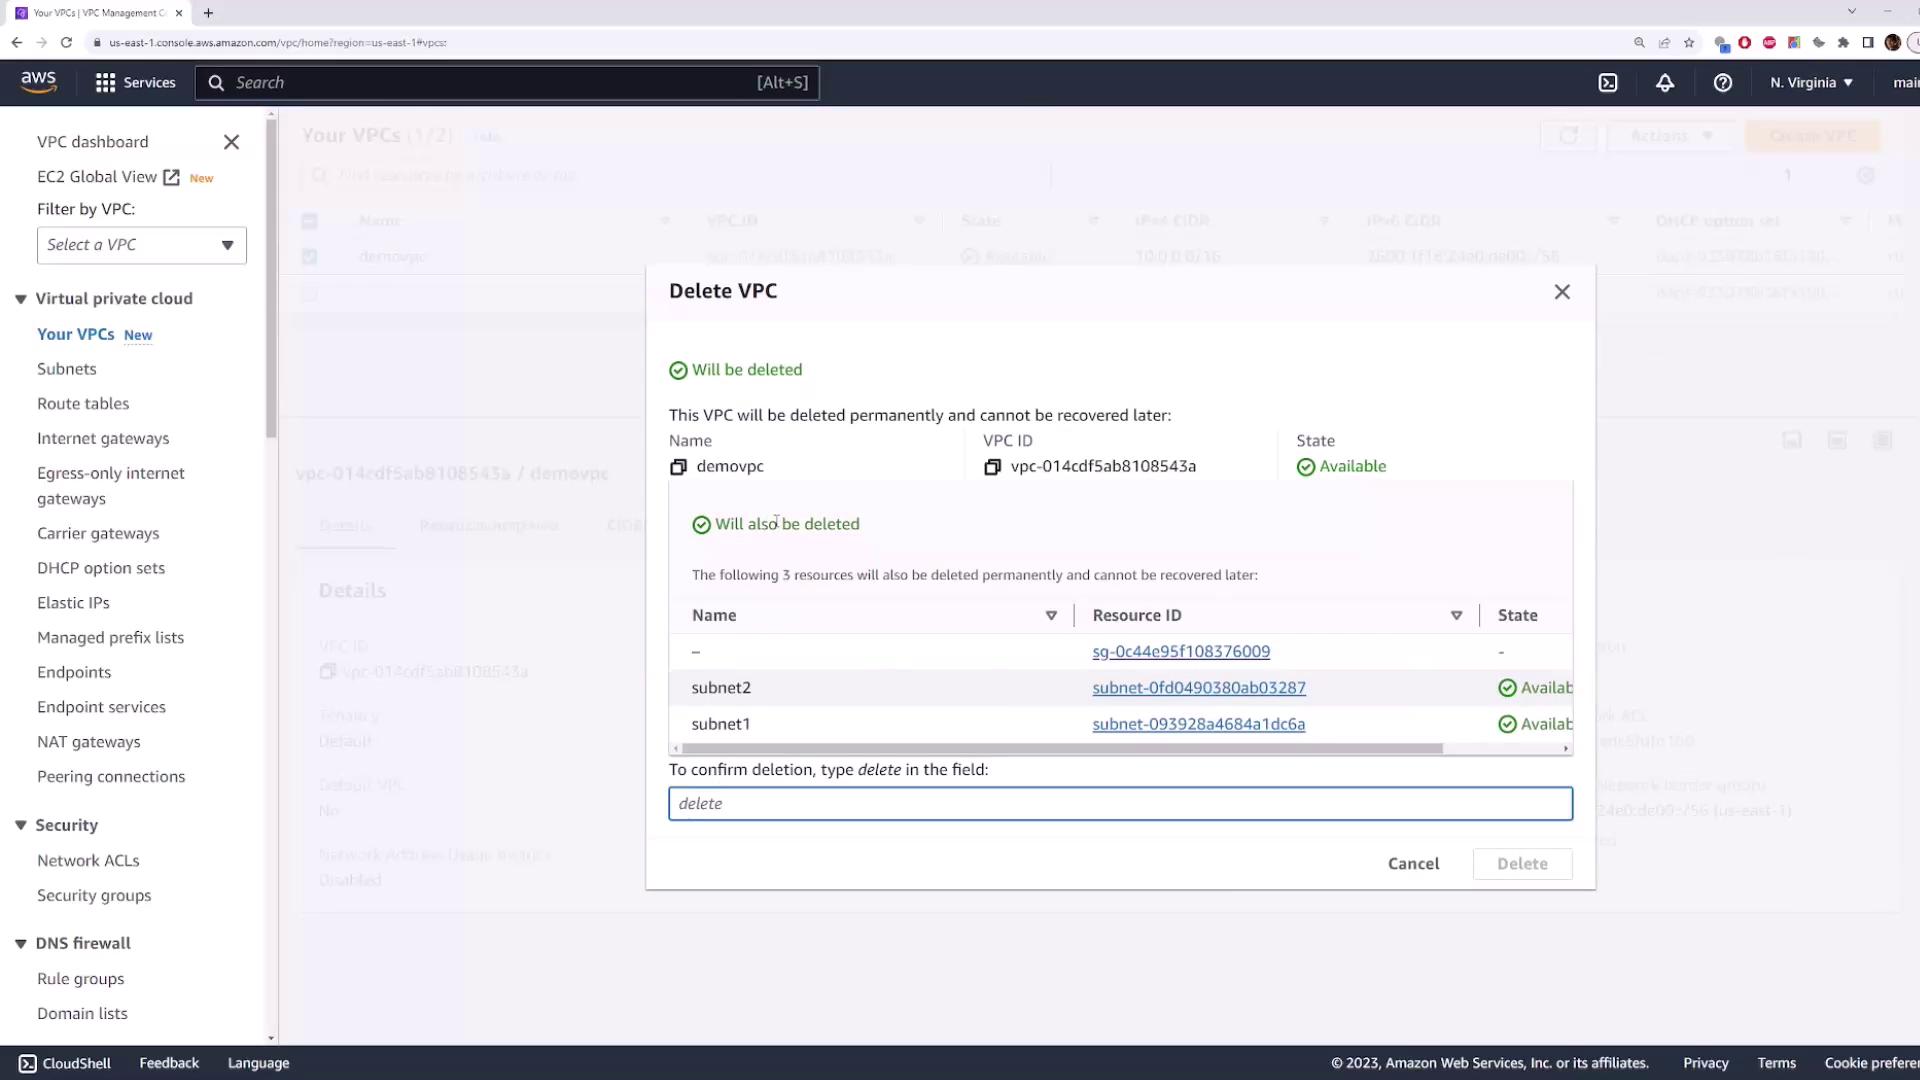
demo-vpc→ Actions → Delete VPC.
If you receive an error about existing resources (e.g., network interfaces), ensure the instance is fully terminated and retry deletion.
- Confirm by typing delete in the prompt. This also removes the associated subnets.