Why Use Elastic IPs?
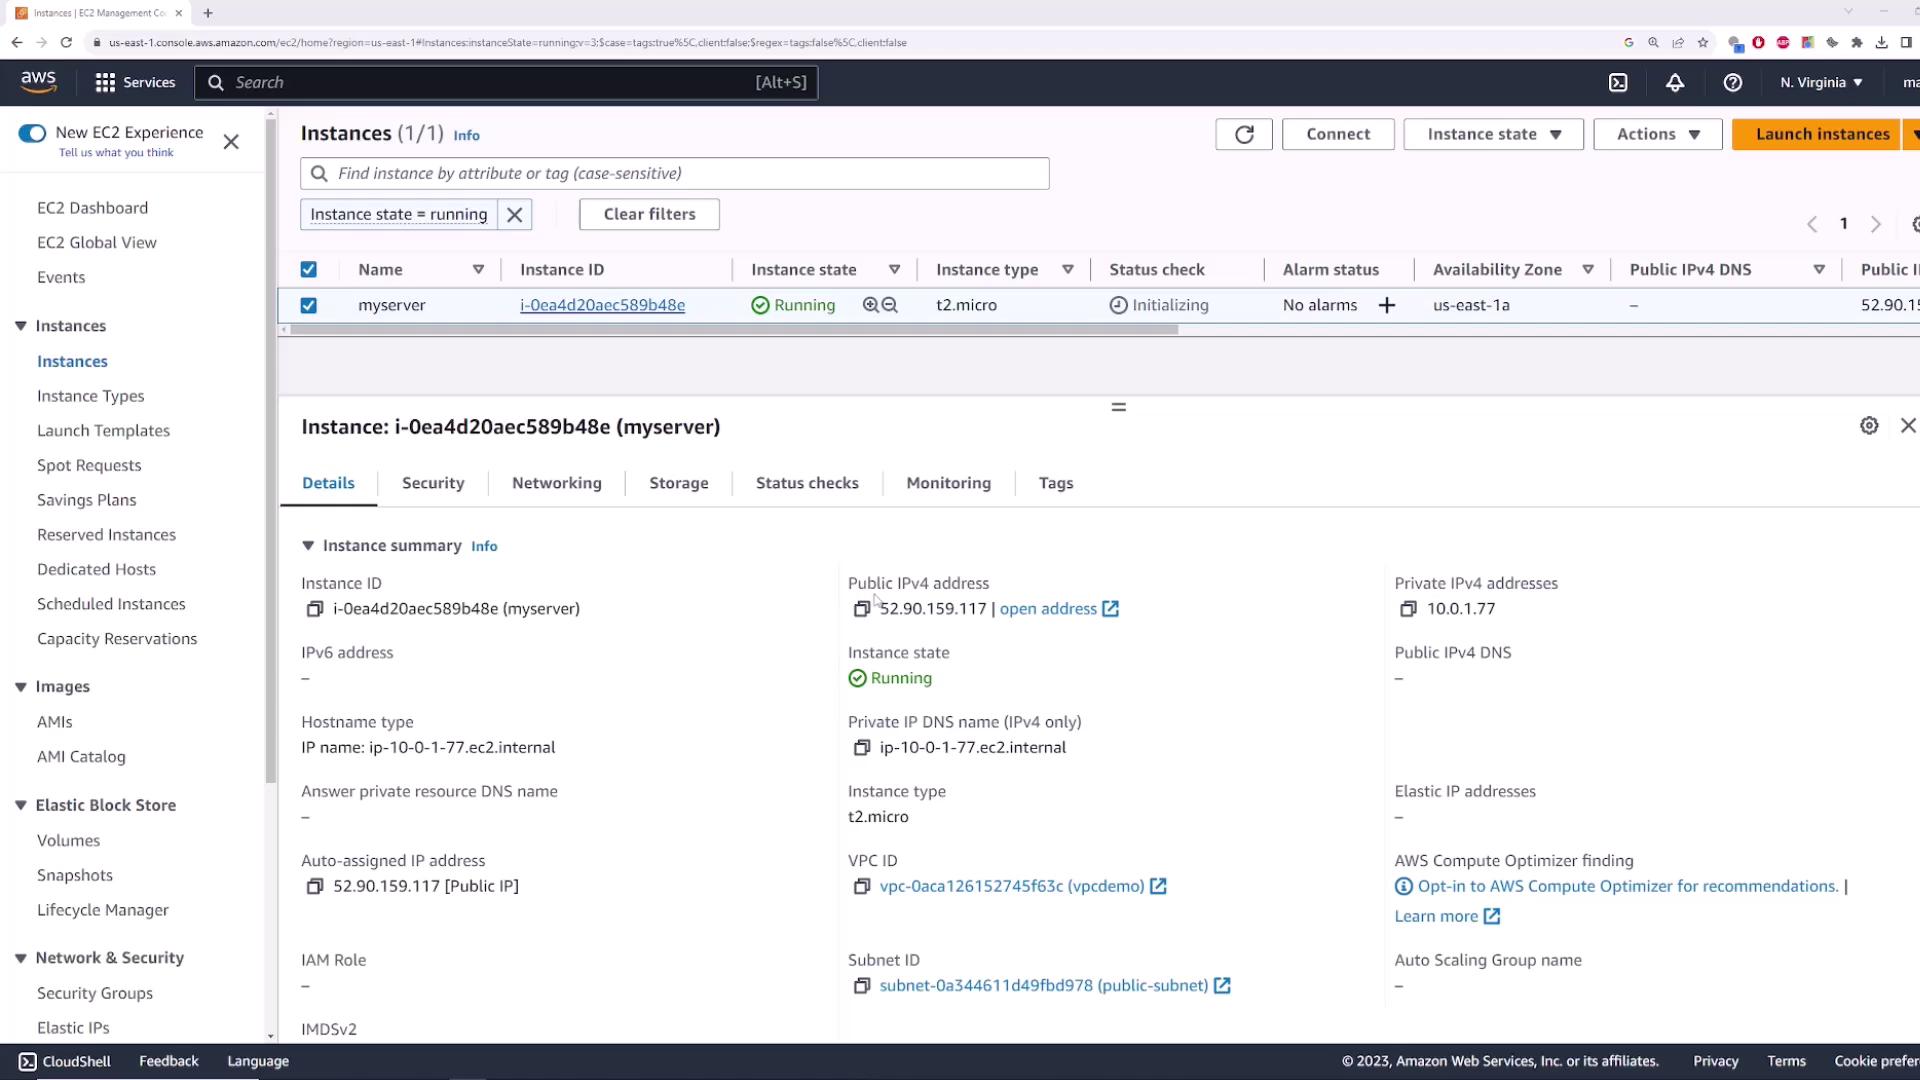
By default, EC2 instances in a public subnet receive a dynamic public IP that changes whenever you stop and start the instance. This can disrupt services or remote connections.- Launch an EC2 instance named myserver in your VPC’s public subnet (with an Internet Gateway attached).
- Note its current public IP (e.g.,
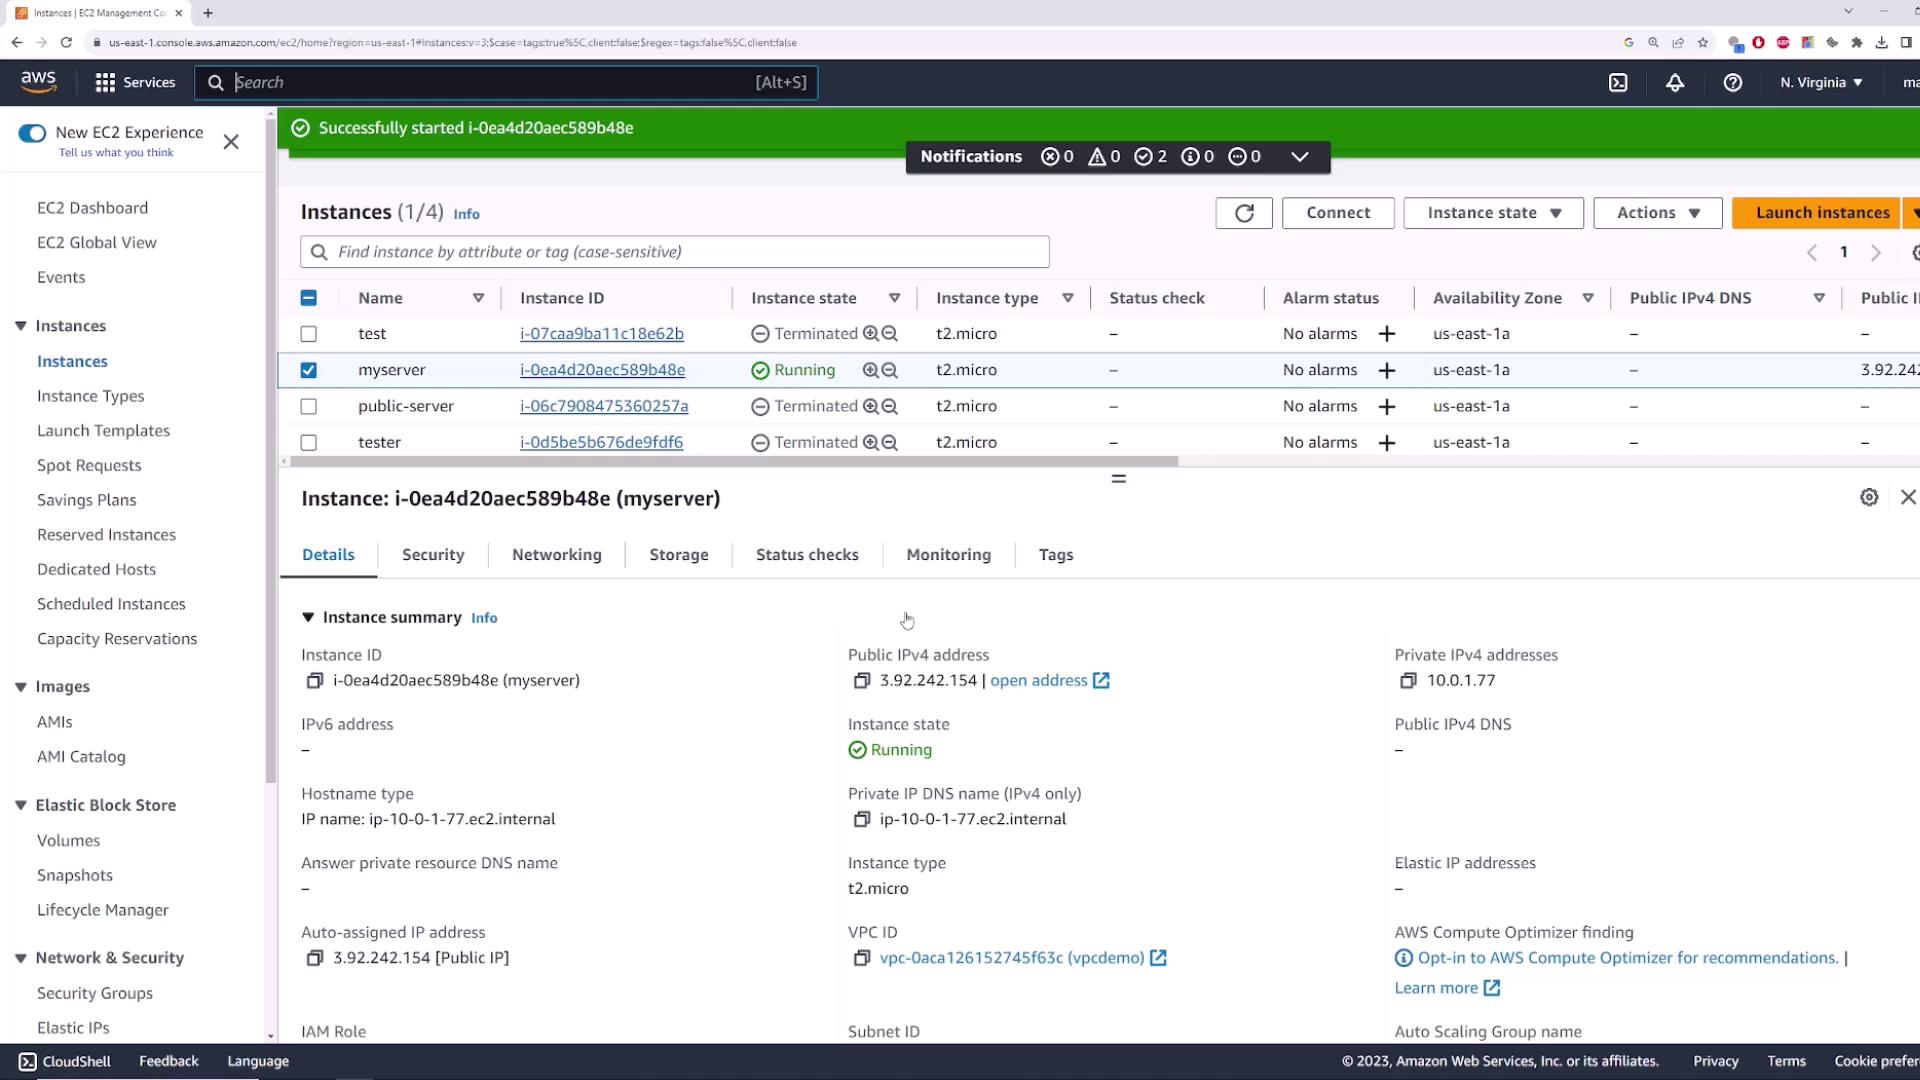
52.90.159.117). - Stop and then restart myserver via Instance state > Stop instance and Start instance.
- Observe that its public IP has changed:
| Public IP Type | Persistence | Cost | Use Case |
|---|---|---|---|
| Dynamic Public IP | Changes on stop/start | Free | Short-lived, test instances |
| Elastic IP (EIP) | Remains until released | Charged when unattached | Static endpoint for production |
Elastic IPs are free when associated with a running instance. AWS charges apply if you reserve an Elastic IP without attaching it.
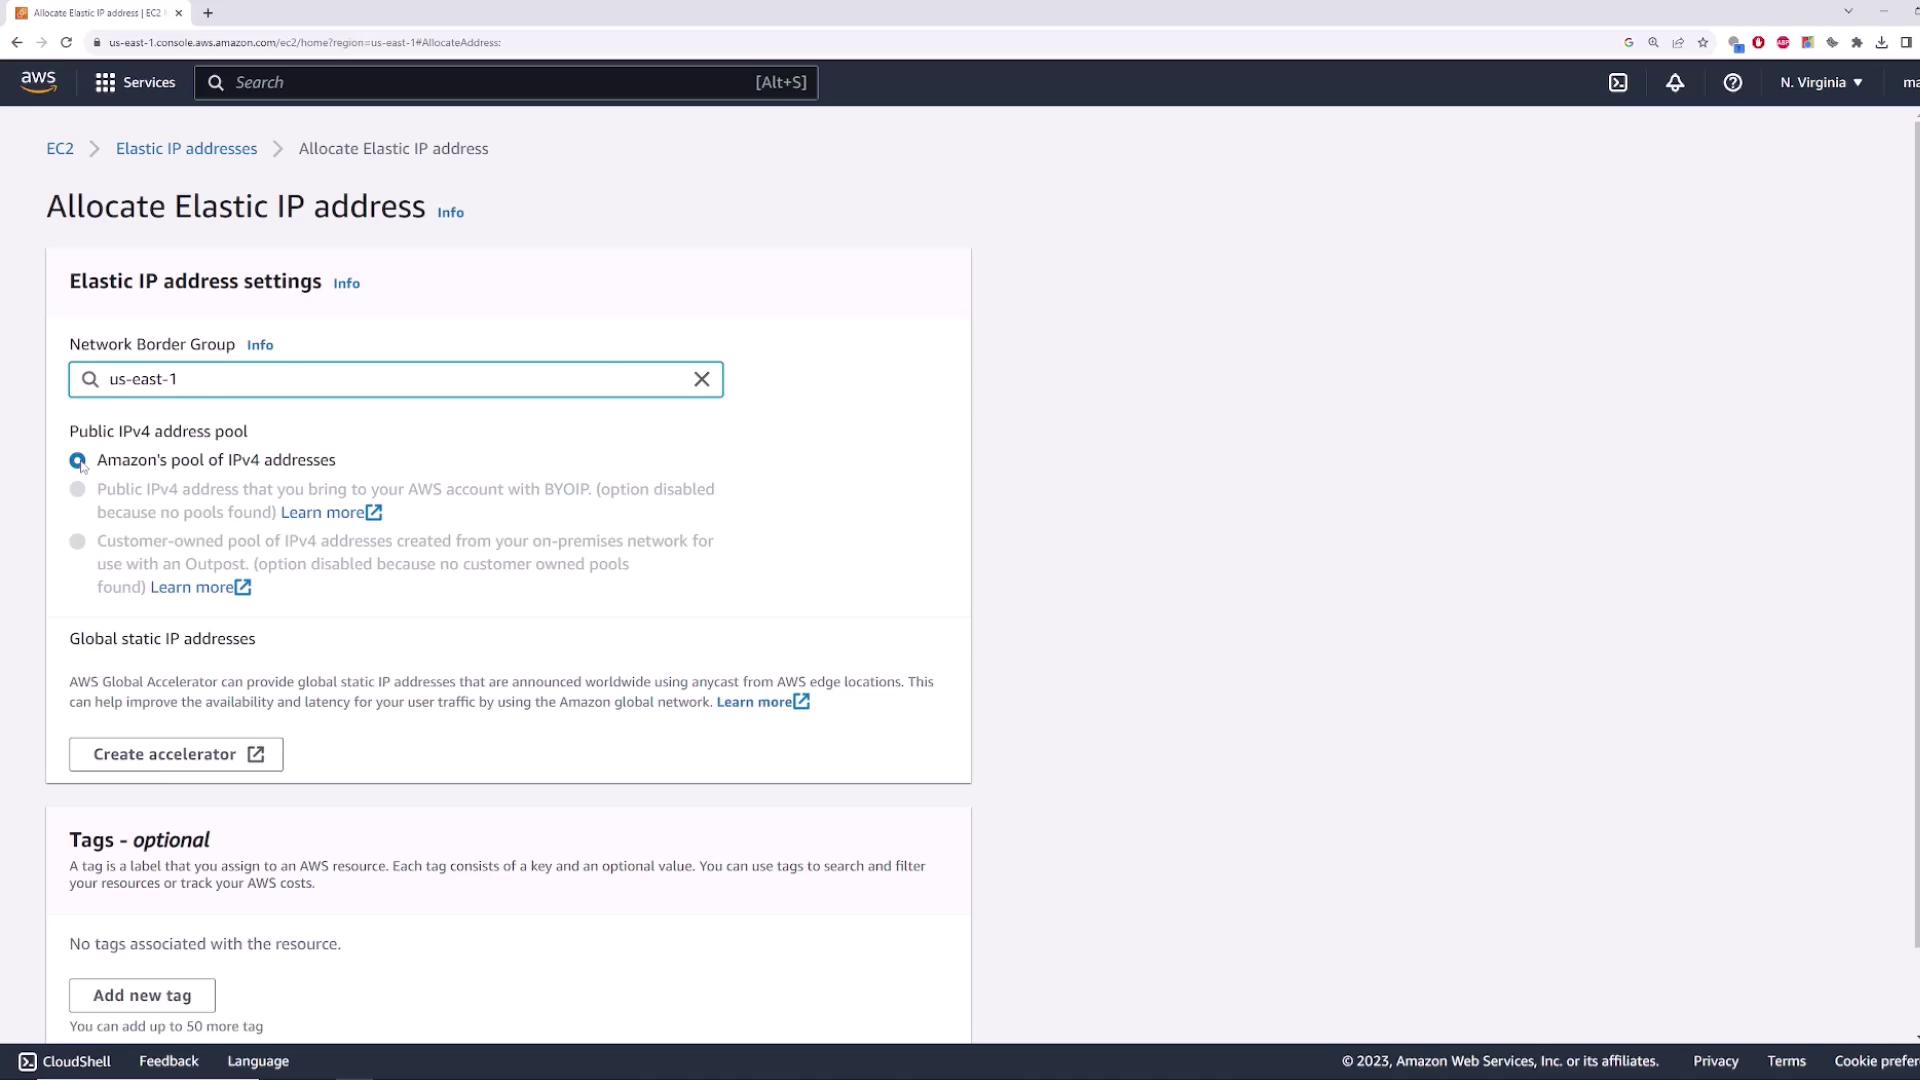
1. Allocating an Elastic IP
- In the EC2 console, select Elastic IPs.
- Click Allocate Elastic IP address.
- Accept the default settings (Amazon’s IPv4 pool) and click Allocate.
35.173.92.86):
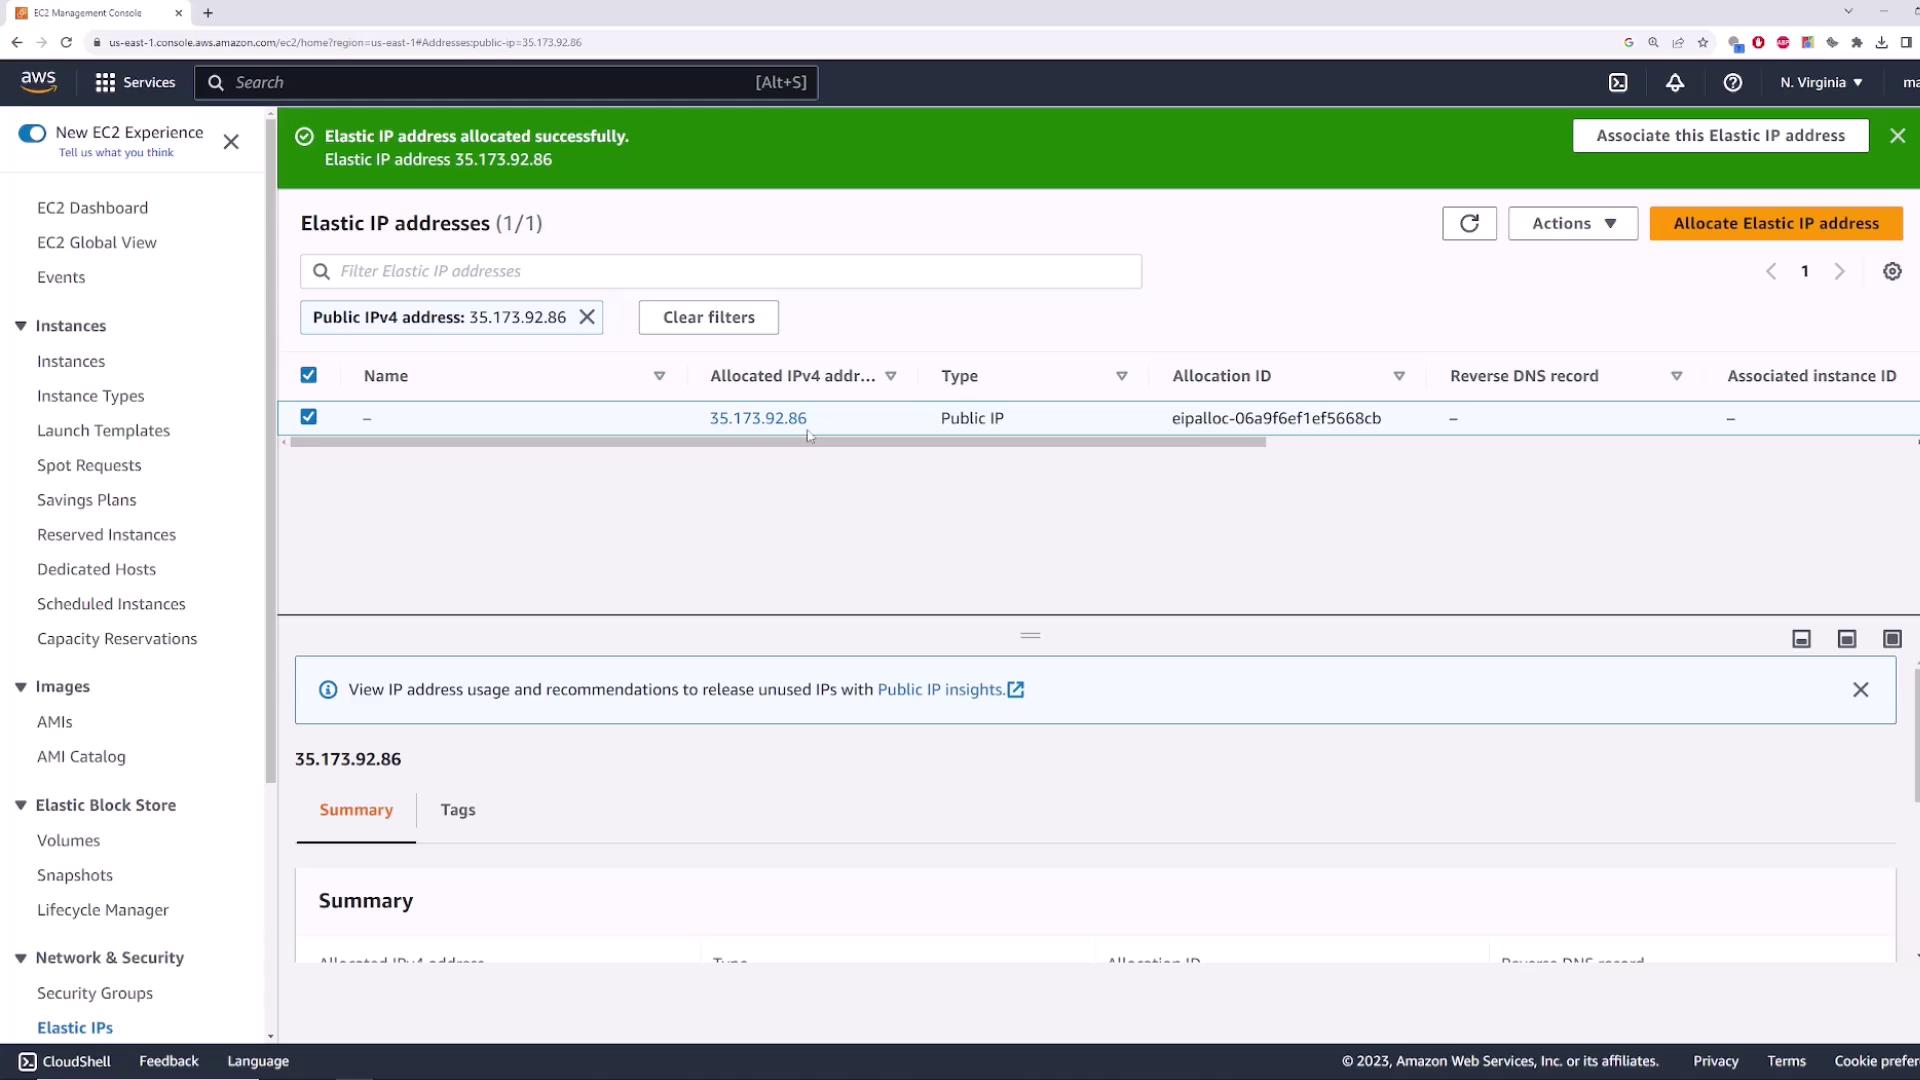
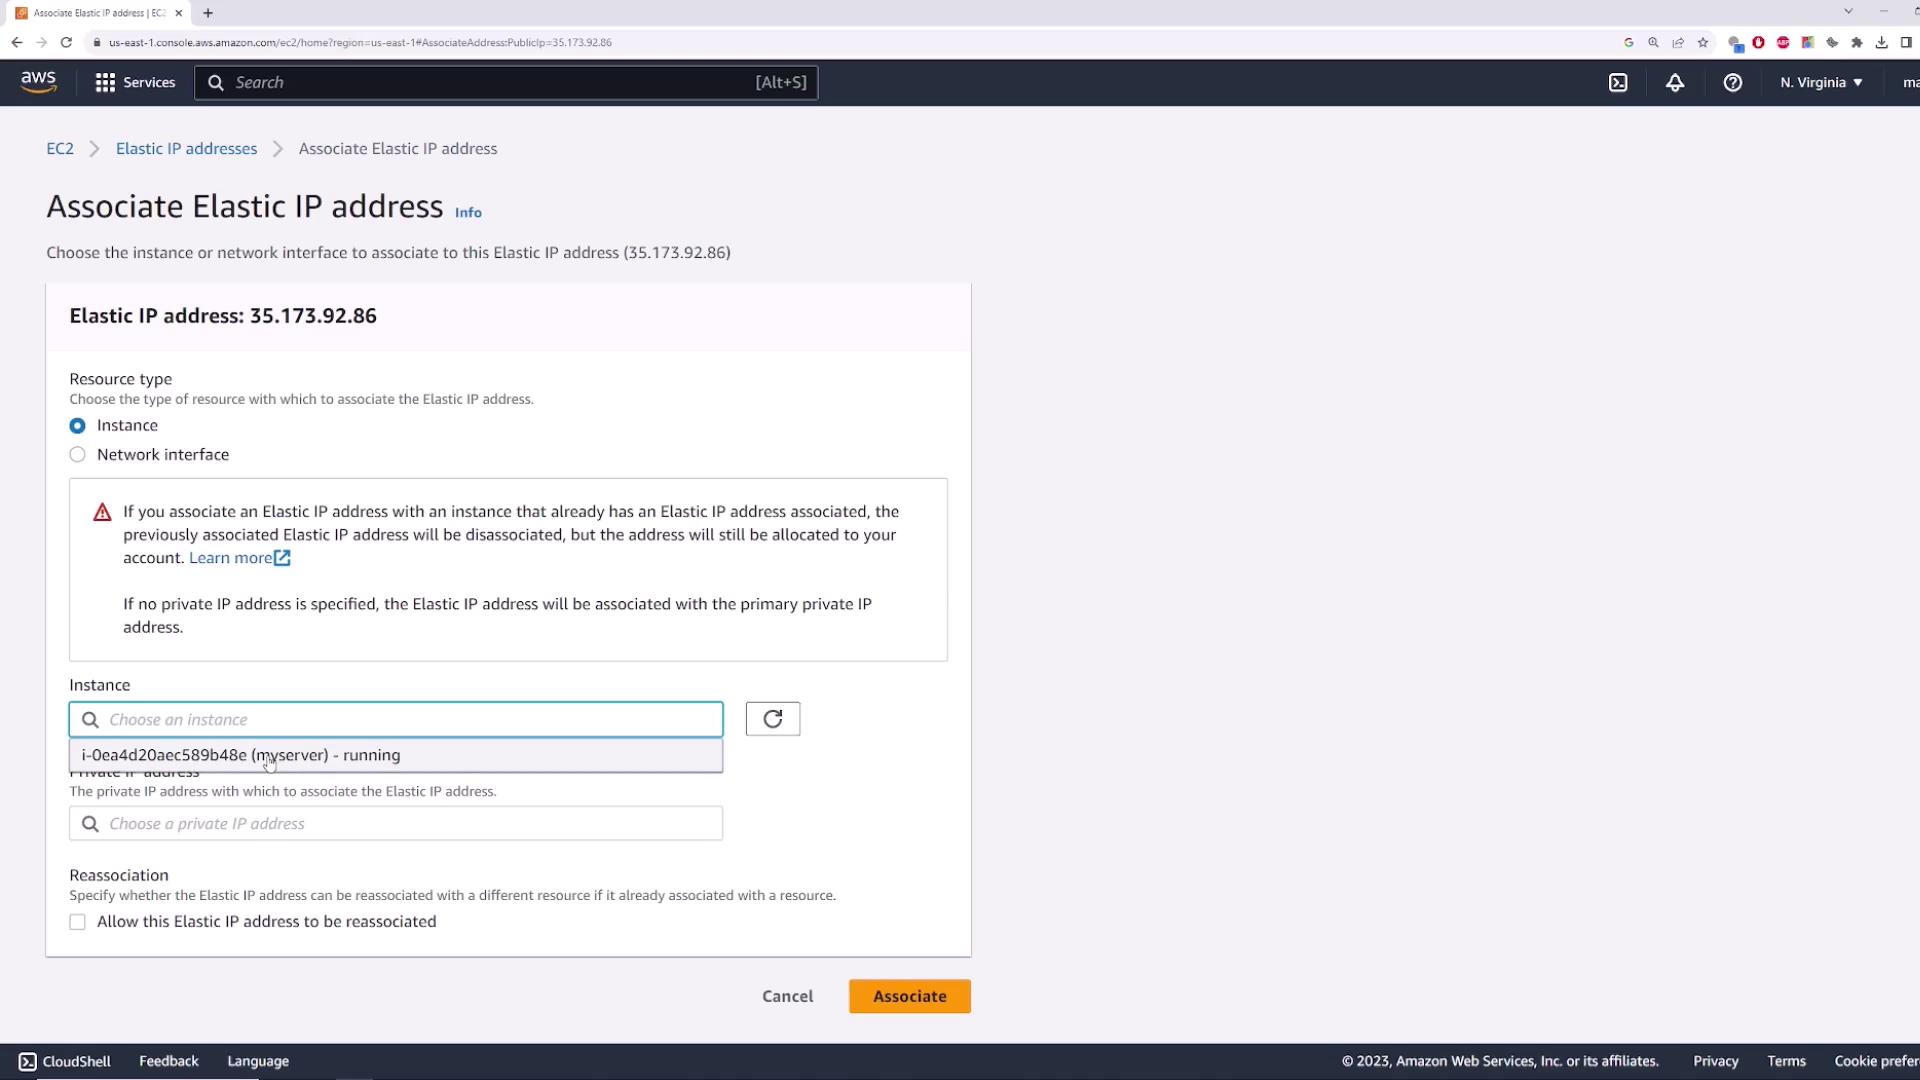
2. Associating the Elastic IP
- Select the allocated Elastic IP.
- Choose Actions > Associate Elastic IP address.
- For Resource type, pick Instance and select myserver.
- If applicable, choose the correct private IP, then click Associate.
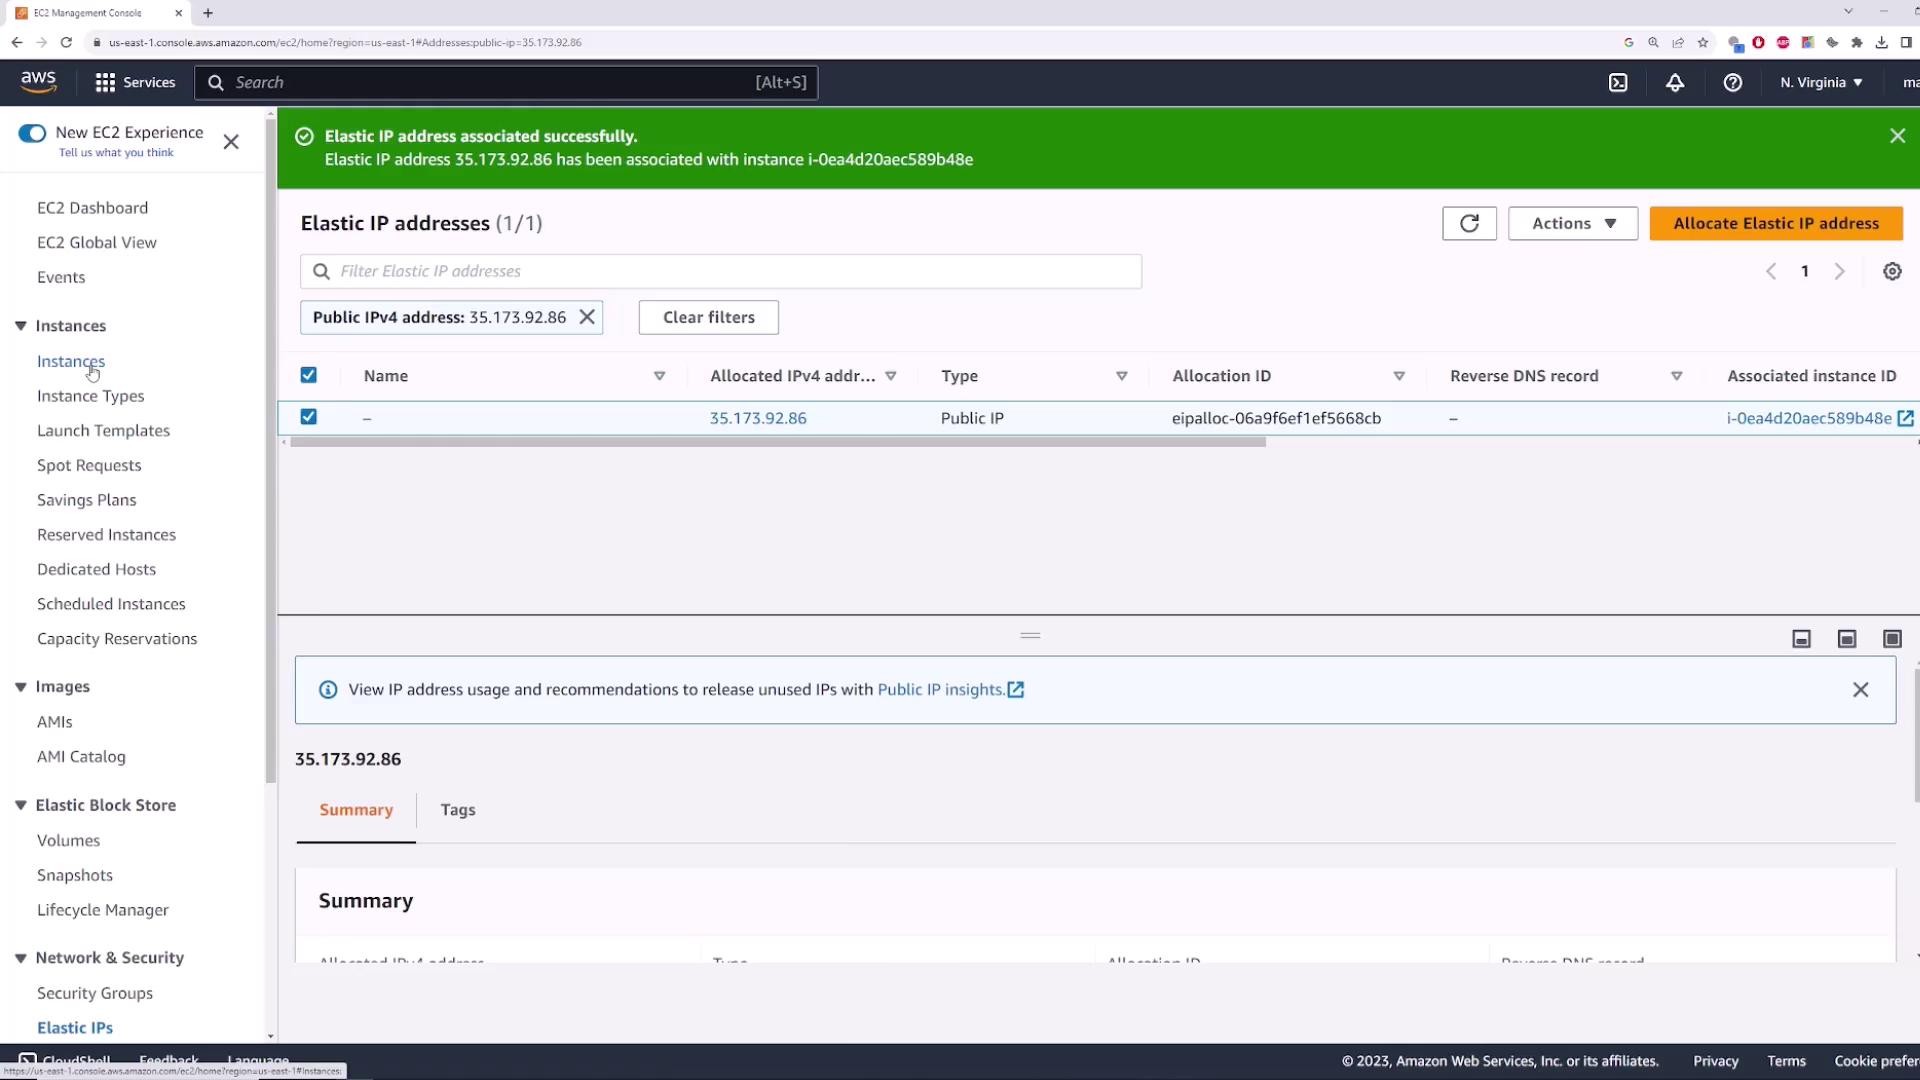
3. Verifying Reachability
Run a simple ping test from your local machine or CloudShell:35.173.92.86 remains unchanged—your Elastic IP stays attached throughout.
4. Cleaning Up (Optional)
To prevent unnecessary charges, release the Elastic IP when you’re done:- Select the Elastic IP, then Actions > Disassociate Elastic IP address.
- After it’s disassociated, choose Actions > Release Elastic IP address.
- Confirm to remove the reservation from your account.
Releasing an Elastic IP makes it available to other AWS customers. You cannot reclaim the same address once released.