Overview of VPC DNS Settings
When you create a custom VPC without modifying defaults, the VPC DNS settings look like this (an Internet Gateway is also attached by default):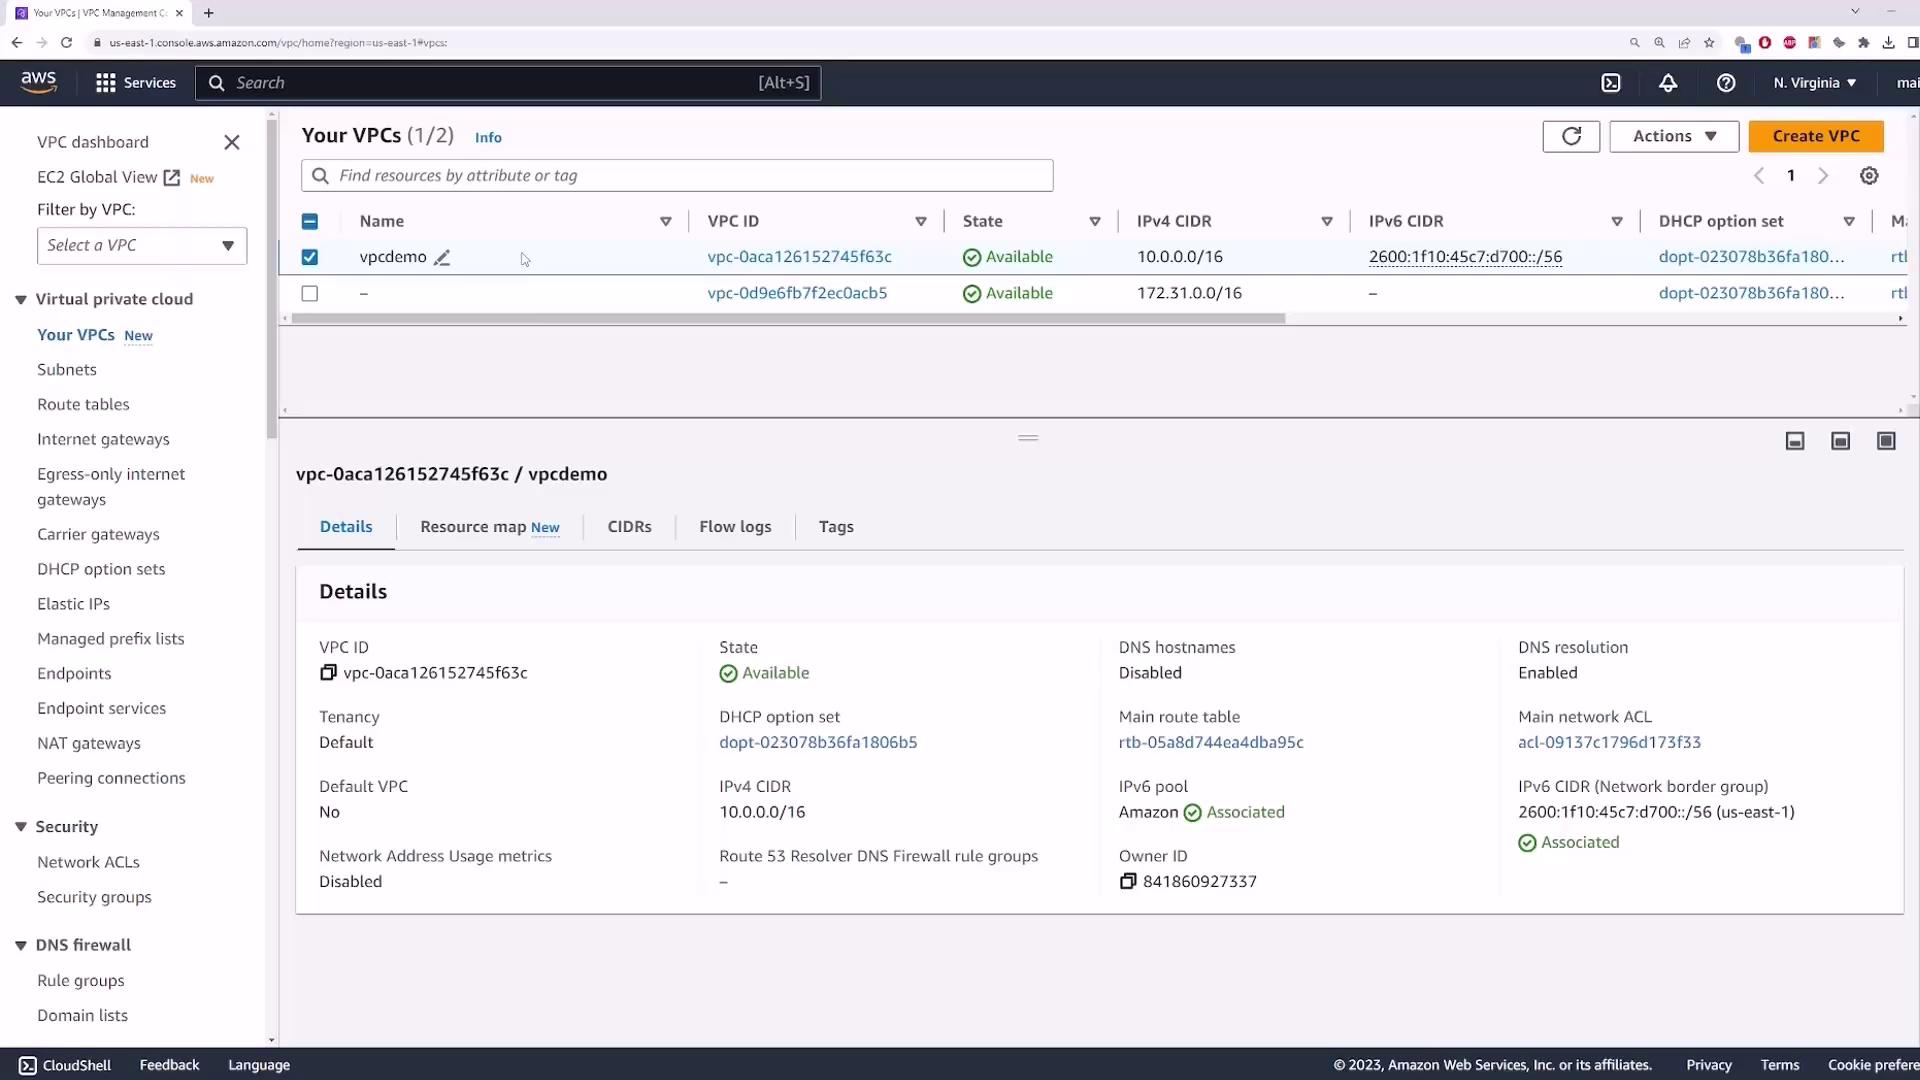
| Setting | Description | Default | Use Case |
|---|---|---|---|
| Enable DNS resolution | Allows instances to forward hostname lookups to the Amazon‐provided DNS server (10.0.0.2). | true | Required for any DNS-based name resolution inside the VPC. |
| Enable DNS hostnames | Assigns a public DNS hostname to instances that have a public IPv4 address. | false | Useful for mapping public IPs to friendly DNS names. |
The Amazon‐provided DNS server is always at the second IP address in the VPC CIDR block (for example, 10.0.0.2 in a 10.0.0.0/16 VPC).
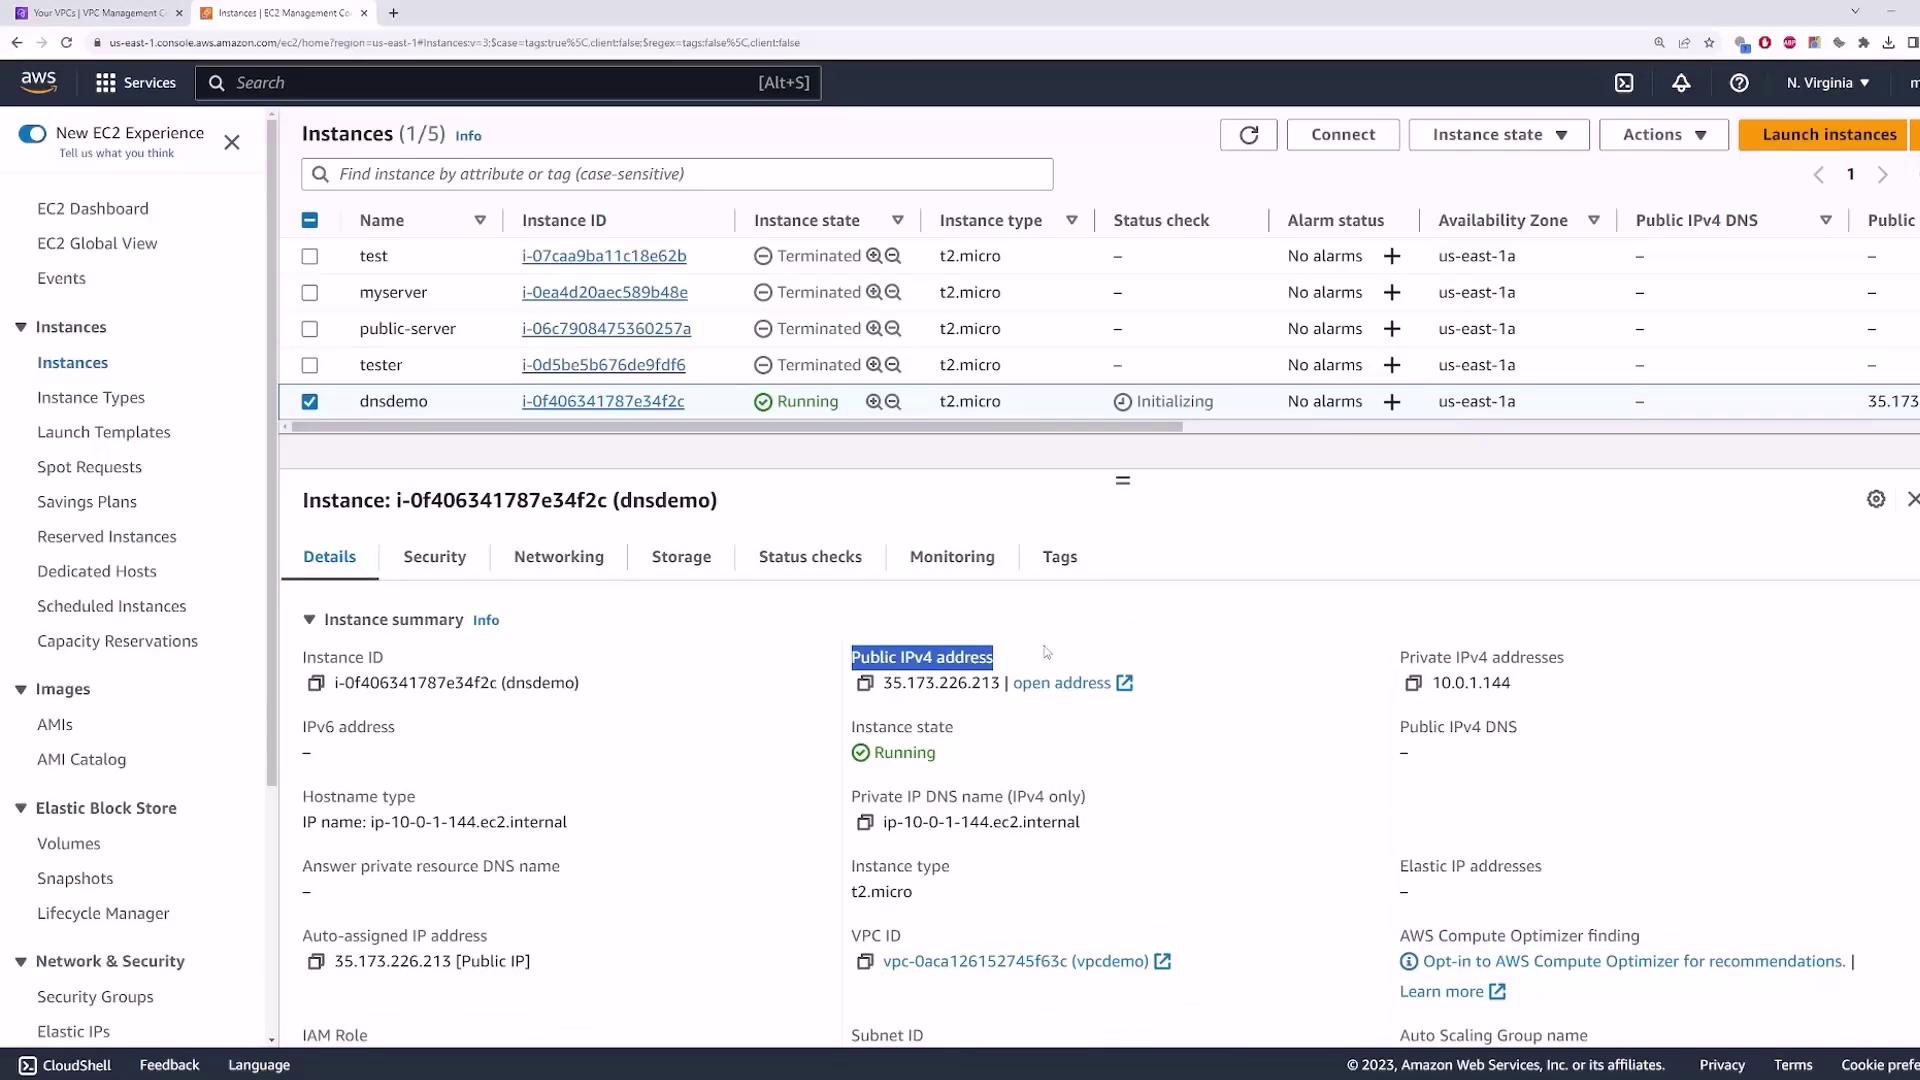
1. Enable DNS Hostnames
By default, Enable DNS hostnames is disabled. Launch an EC2 instance in this VPC with these settings:- AMI: Amazon Linux 2
- Instance type: t2.micro
- Key pair: your existing key
- Network: vpcdemo
- Auto-assign Public IP: Enabled
- Security group: allow SSH (port 22) and ICMP (All ICMP) from 0.0.0.0/0
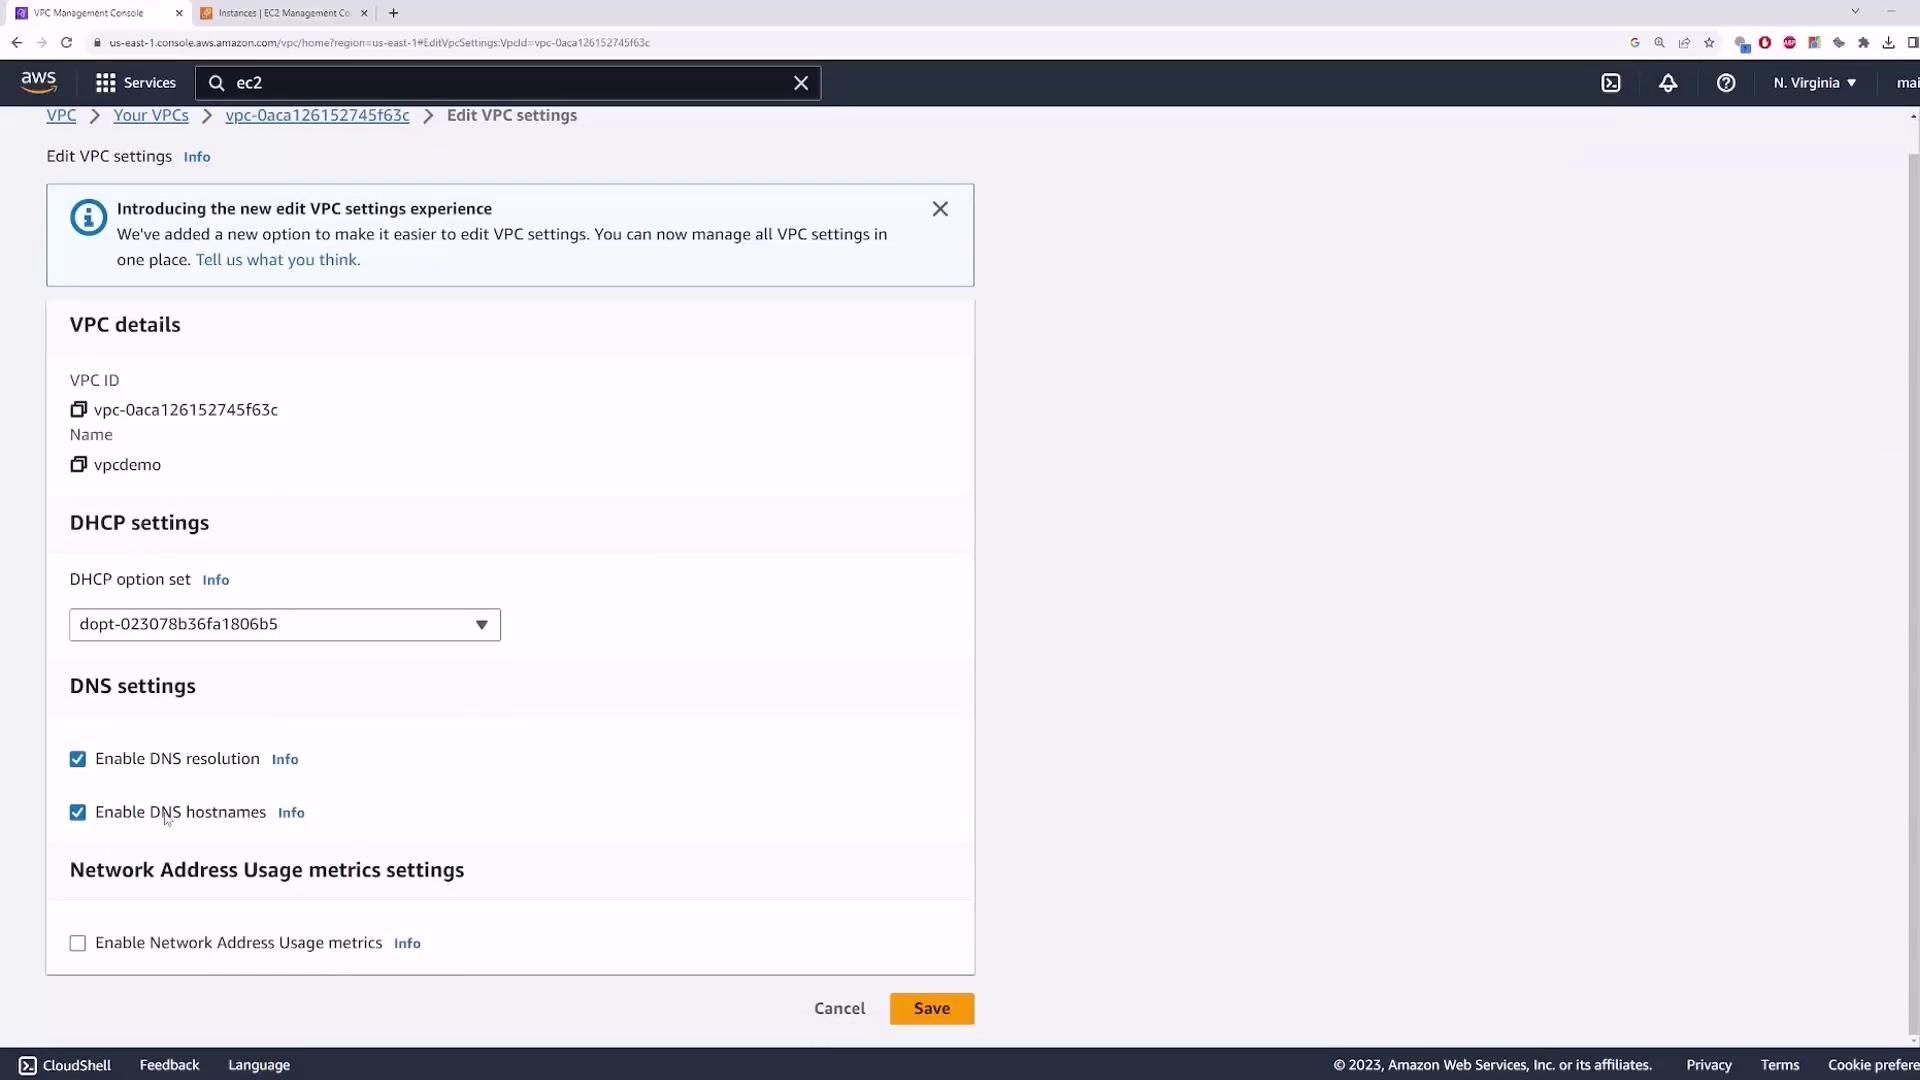
- Go to Actions → Edit VPC settings.
- Check Enable DNS hostnames and click Save.
- Refresh the EC2 Instances view.
2. Enable DNS Resolution
Next, verify Enable DNS resolution. SSH into your instance: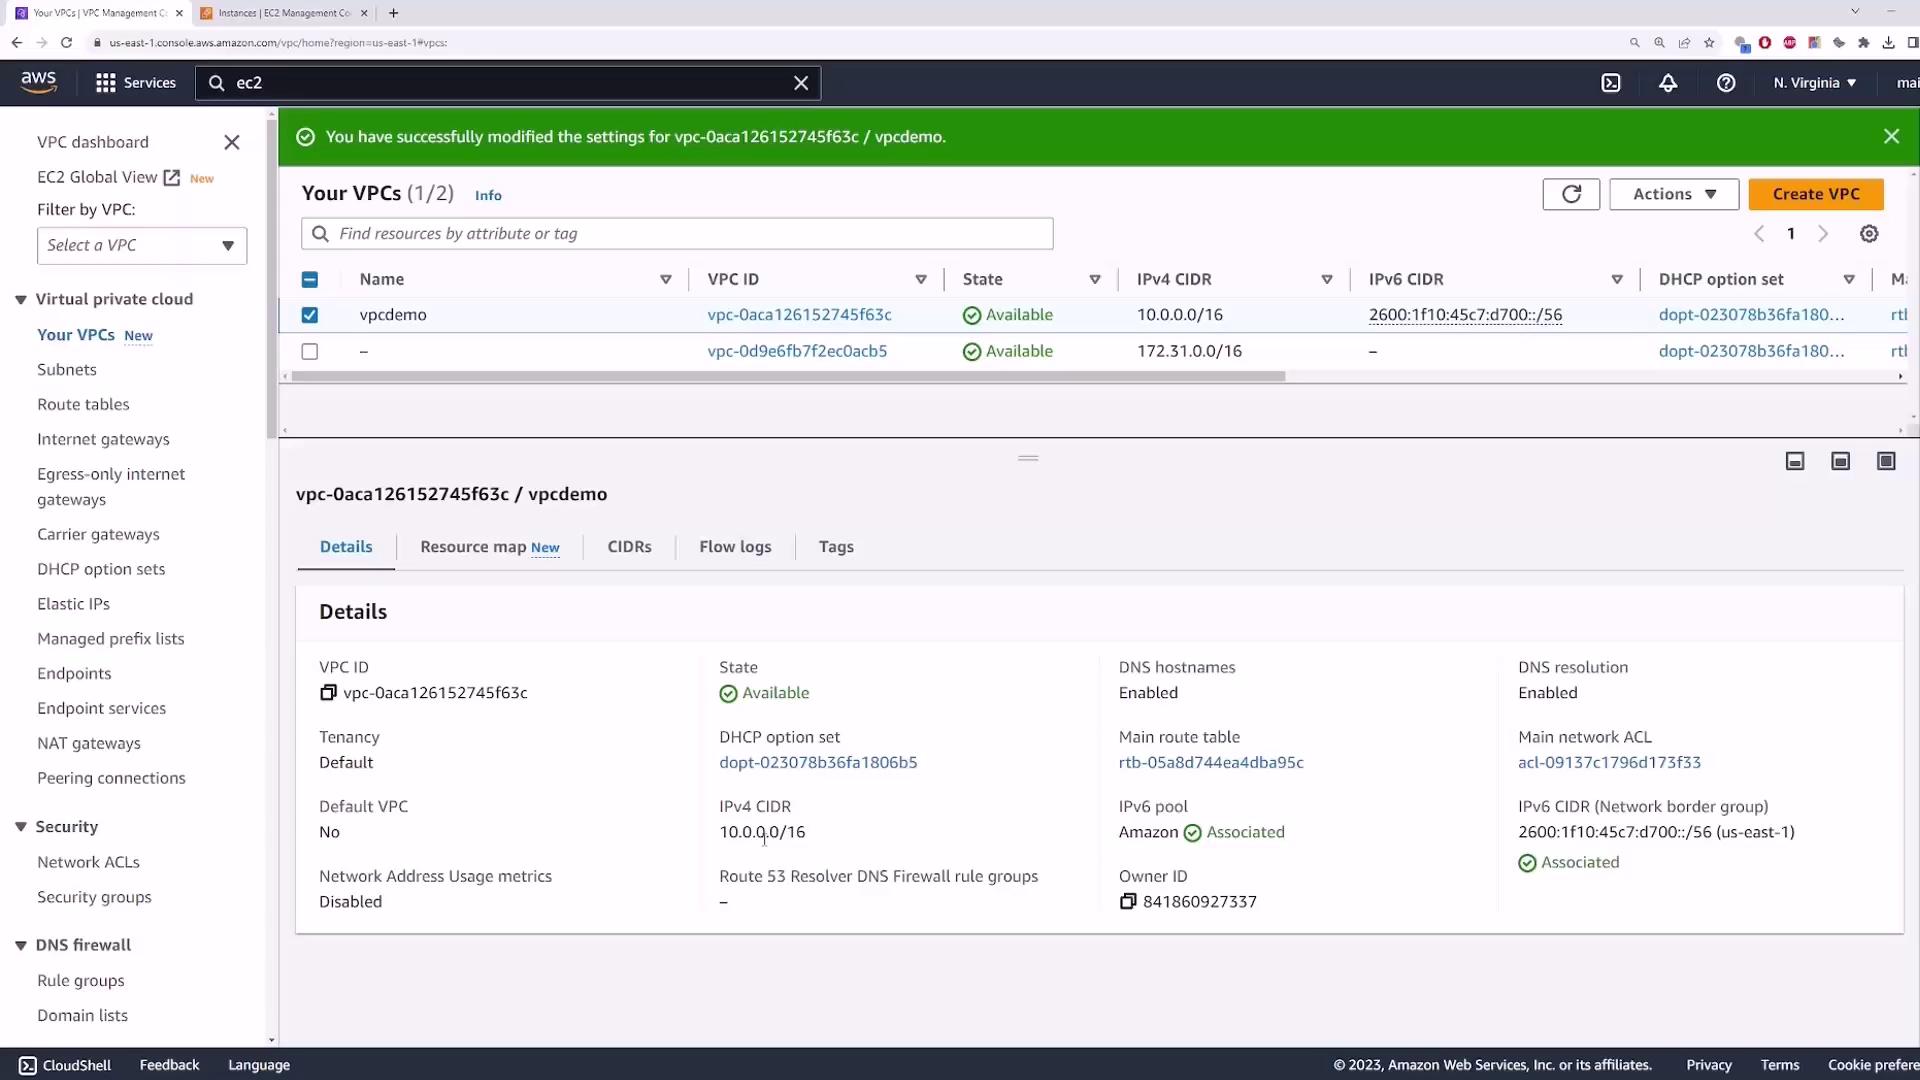
/etc/resolv.conf:
- In the VPC console, choose Actions → Edit VPC settings.
- Uncheck Enable DNS resolution and click Save.
- Back on your instance, try:
With DNS resolution disabled, instances cannot use the Amazon‐provided DNS server. You must configure an alternate DNS server (for example, 8.8.8.8) in your DHCP options or run your own DNS service within the VPC.