Application Overview
Our sample Flask application (app.py) manages tasks with basic operations. Below is an excerpt of the code:Creating the Dockerfile
To containerize the Flask application, create a Dockerfile that includes instructions for setting the base image, copying your source code, installing dependencies, exposing the necessary port, and starting the application. Below is an example Dockerfile for our Flask app:- Base Image: Uses a Python image based on Alpine Linux, tagged as version 3.12.0b3‑alpine3.18.
- Copying Code: Transfers your application source code into the container.
- Setting the Working Directory: Switches context to
/applicationfor subsequent commands. - Installing Dependencies: Copies
requirements.txtand installs the necessary Python packages. - Exposing Port 5000: Documents the port on which the container will listen.
- Running the Application: Executes the command to start the Flask application.
The
EXPOSE instruction is for documentation purposes only and does not publish the port. Use the -p flag to map container ports to the host, e.g., docker run -p 5000:5000 my-flask-app:v1.Selecting the Appropriate Base Image
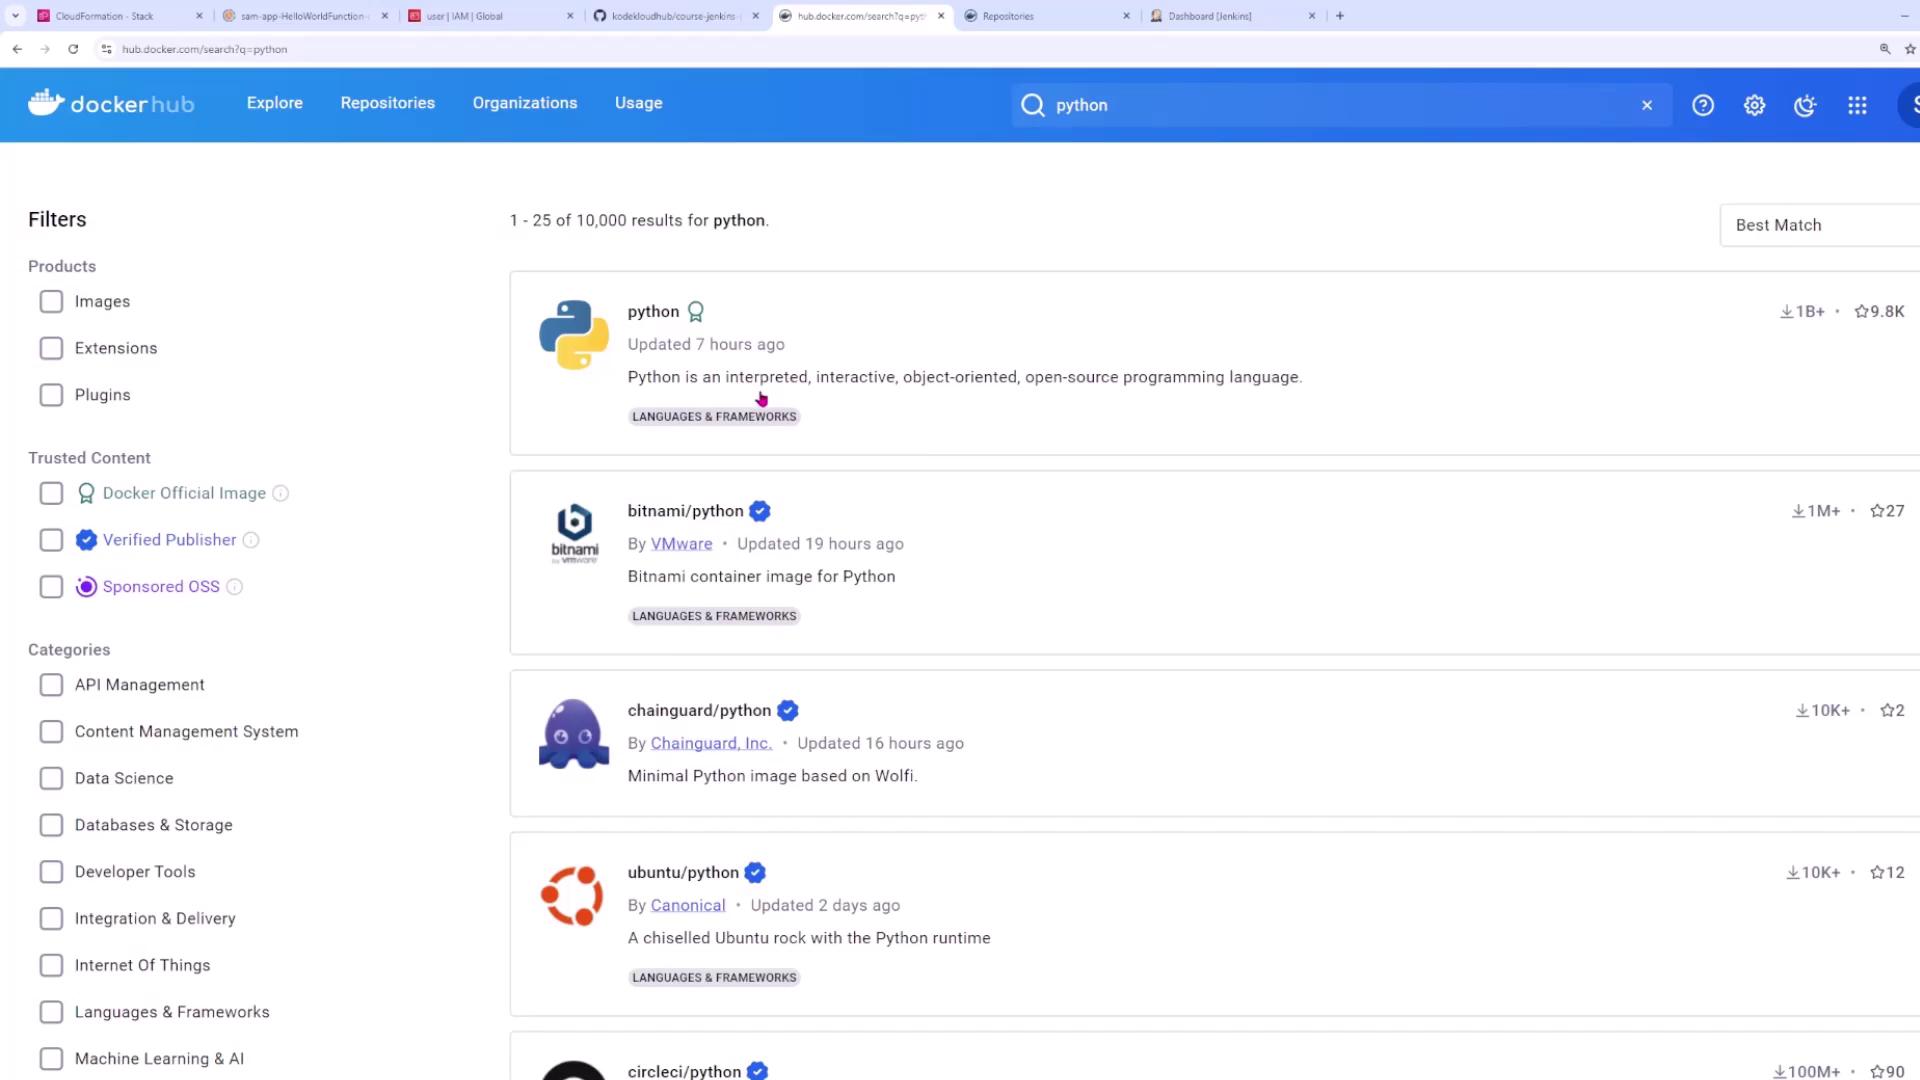
Since this application utilizes Python, we selected an Alpine-based Python image available on Docker Hub for its reduced size and efficiency. Searching for “python” on Docker Hub provides multiple options, including slim and Alpine variants.
Copying Application Files
The Dockerfile uses theCOPY command to add your application files and dependency file into the image. Here’s an illustrative snippet:
COPY command, allowing files to be added either to an absolute path or relative to the current working directory. Following these commands, the Dockerfile sets up the working directory, installs dependencies, exposes the application port, and defines the startup command.
Building the Docker Image
With your Dockerfile ready, build the image by running the following command from the directory containing your Dockerfile. The-t flag tags the image:
my-flask-app:v1.
Running the Container
After building the image, you can verify it by listing all Docker images:Pushing the Image to Docker Hub
After creating your Docker image, the next step is to push it to a repository like Docker Hub for easy deployment and team access.Logging in and Creating a Repository
First, log into Docker Hub using:Retagging and Pushing the Image
Docker Hub requires images to be tagged with the format: username/repository:tag. Retag your image using your Docker Hub username:Updating the Application and Creating New Versions
As your application evolves, update the code and, if necessary, adjust the Dockerfile instructions. Build a new version of the image with an updated tag. For example, after updating the application, rebuild the image as version three: Dockerfile remains unchanged:Additional Considerations
- Port Mapping: To publish a container port on the host, use the
-pflag withdocker run(e.g.,docker run -p 5000:5000 sanjeevkt720/jenkins-flask-app:v1). - Alternative Registries: While Docker Hub is widely used, repositories on AWS, Azure, and GCP also support similar tagging and push commands.
Resources
| Resource Type | Use Case | Example Command |
|---|---|---|
| Docker Build | Building a Docker image from your Dockerfile | docker build -t my-flask-app:v1 . |
| Docker Run | Running a container from the image | docker run -p 5000:5000 my-flask-app:v1 |
| Docker Push | Pushing your image to a repository | docker push sanjeevkt720/jenkins-flask-app:v1 |