In this guide, you’ll set up your own Backstage instance on a remote machine. All terminal sessions shown here run on that server. By the end, you’ll configure Backstage to be reachable via its IP address or a custom domain.
Prerequisites Before you begin, ensure you have:
A remote Linux server (Ubuntu, Debian, etc.)
SSH access with sudo privileges
Git installed
Firewall rules allowing ports 3000 (app) and 7007 (backend)
Backstage is a Node.js application. We recommend using NVM (Node Version Manager) to install and switch Node versions effortlessly.
# Quick preview: simple HTTP server example (server.mjs) import { createServer } from 'node:http' ; const server = createServer (( req, res ) = > { res.writeHead(200, { 'Content-Type': 'text/plain' } ); res.end( 'Hello World!\n' ); }); server.listen(3000, '127.0.0.1', () => { console.log( 'Listening on 127.0.0.1:3000' ); }); # Run with: node server.mjs
Using NVM lets you install multiple Node.js versions side by side and switch between them with nvm use <version>.
1. Install NVM and Node.js
Download and install NVM:
curl -o- https://raw.githubusercontent.com/nvm-sh/nvm/v0.39.3/install.sh | bash source ~/.bashrc
Install the latest LTS (e.g., v16) and set it as default:
nvm install --lts nvm alias default lts/ *
Confirm installation:
node --version # e.g., v16.20.2 npm --version # bundled npm version
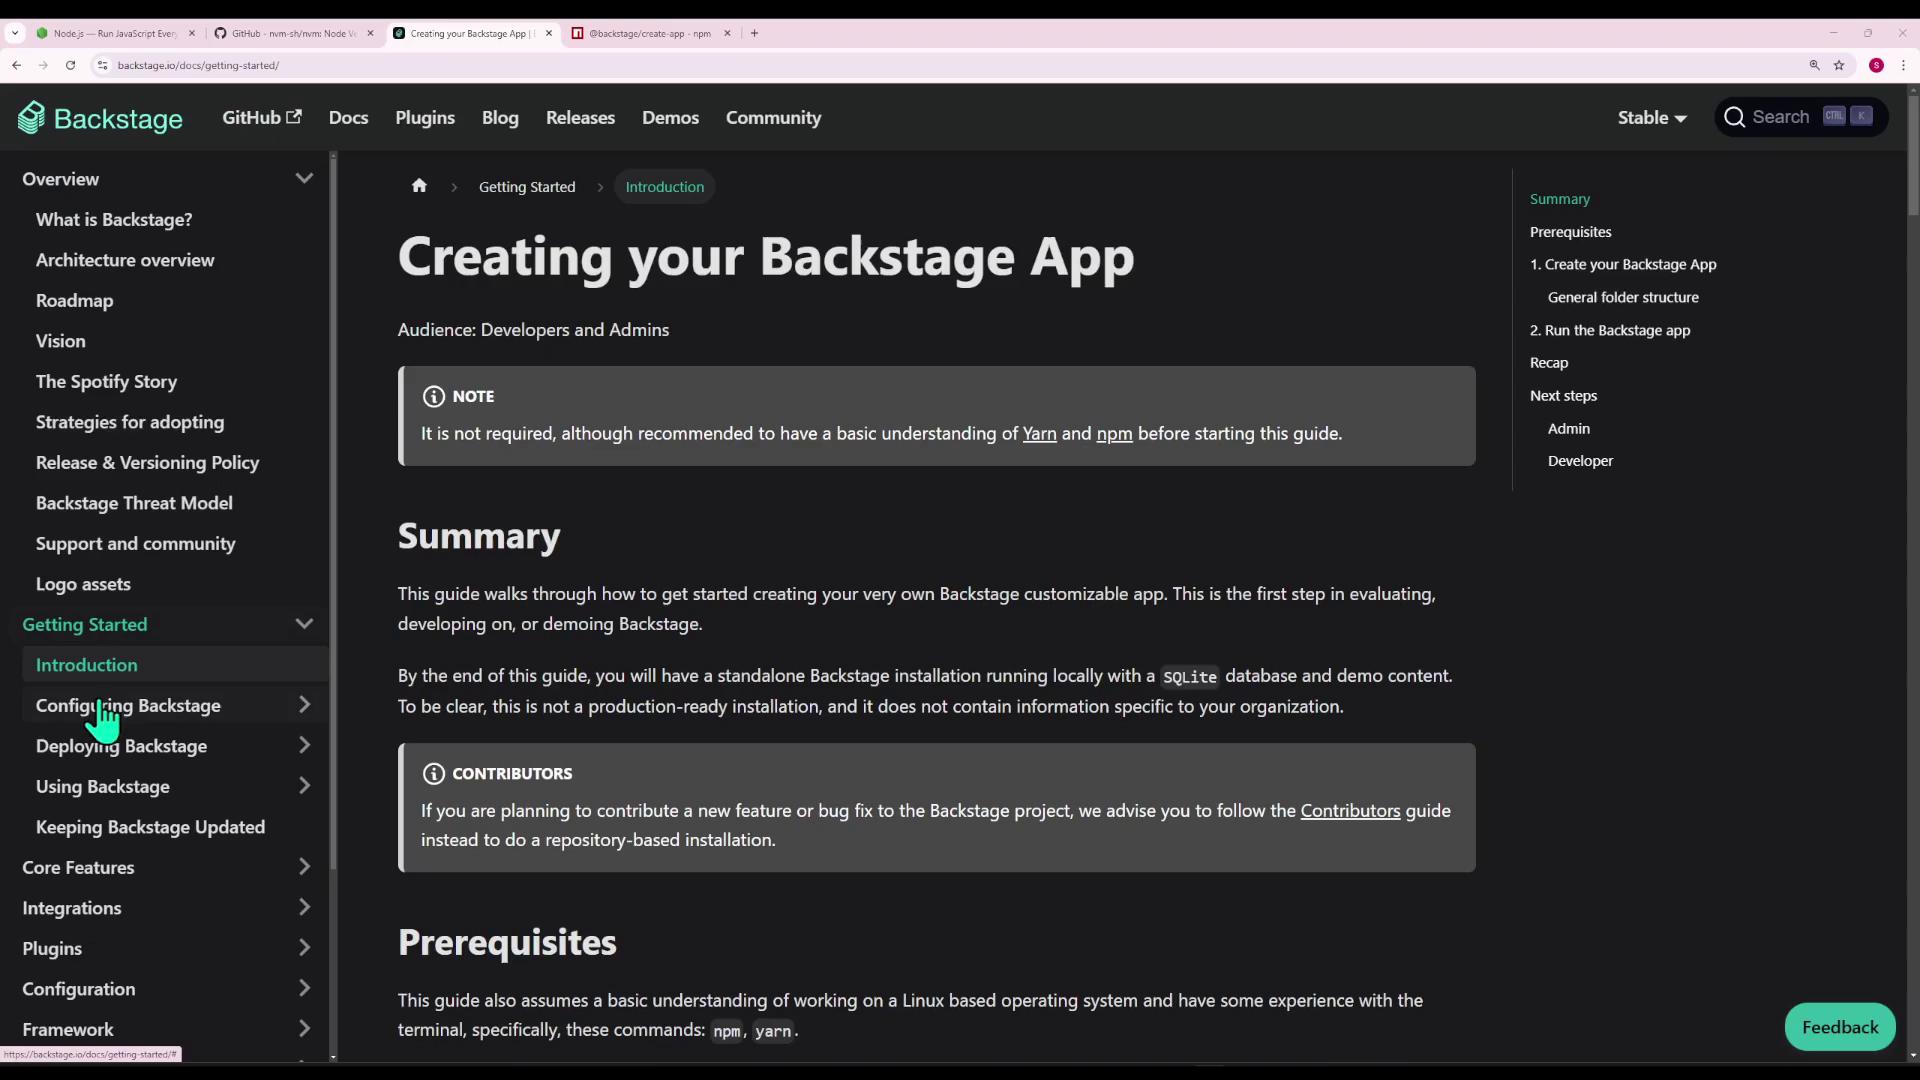
2. Scaffold Your Backstage App Follow the Backstage Getting Started → Introduction to generate your project.
npx @backstage/create-app@latest
You’ll see prompts like:
? Enter a name for the app [required] › my-backstage-app
This command creates a my-backstage-app directory and installs dependencies with Yarn.
3. Install Yarn (if missing) If you encounter yarn: not found, install Yarn globally:
npm install -g yarn yarn --version # e.g., 1.22.22
Then remove any partial scaffold and retry:
rm -rf my-backstage-app npx @backstage/create-app@latest
If you see errors about Node.js ≥18.12.0, switch versions:
nvm install 18 nvm use 18 npm install -g yarn npx @backstage/create-app@latest
4. Explore the Project Structure Navigate into your app and list its contents:
cd my-backstage-app ls # app-config.yaml node_modules package.json packages plugins ...
The repository uses Yarn workspaces:
Directory Purpose packages/app React front-end application packages/backend Node.js back-end services plugins/* Additional Backstage plugins
// package.json (root) { "scripts" : { "start" : "yarn workspace app start" , "start:backend" : "yarn workspace backend start" , "build:all" : "backstage-cli repo build --all" , "dev" : "backstage-cli repo start" }, "workspaces" : [ "packages/*" , "plugins/*" ], "devDependencies" : { "@backstage/cli" : "^0.29.5" , "typescript" : "~5.4.0" } }
4.1 Front-end Entry Point In packages/app/src/index.tsx:
import React from 'react' ; import ReactDOM from 'react-dom/client' ; import App from './App' ; ReactDOM . createRoot ( document . getElementById ( 'root' ) ! ) . render ( < App /> );
The <div id="root"></div> is defined in packages/app/public/index.html:
App.tsx initializes the UI:export default app . createRoot ( <> < AlertDisplay /> < OAuthRequestDialog /> < AppRouter > < Root > { routes } </ Root > </ AppRouter > </> , ) ;
Components and pages live under packages/app/src/components.
4.2 Back-end Structure Inside packages/backend, you’ll find:
src/ – source code for API endpointsDockerfile – optional containerizationpackage.json – runtime dependencies (e.g., pg, better-sqlite3, Backstage plugins)
Backstage settings use YAML. Edit app-config.yaml (or create .local.yaml / .production.yaml) to adjust URLs, CORS, and integrations:
backend : baseUrl : http://0.0.0.0:7007 listen : port : 7007 cors : origin : - '*' techdocs : builder : local generator : runIn : docker publisher : type : local
6. Run in Development Mode From the project root:
Expected output:
[app]: Project is running at: [app]: http://localhost:3000 [backend]: Listening on :7007
Open http://localhost:3000 in your browser.
7. Expose Backstage Externally On a remote server, localhost:3000 isn’t reachable directly. Verify the server is running:
<! DOCTYPE html > < html lang = "en" > ... </ html >
Make sure your app-config.yaml binds the UI to 0.0.0.0 (or your server’s public IP) so external clients can connect.
Additional steps—such as configuring a reverse proxy (Nginx, Apache) or setting up SSL certificates—are covered in Backstage Deployment Docs .
Links and References