README.md, and pushing changes back to GitHub. By the end, you’ll have a live repository ready for your GCP DevOps workflow.
Prerequisites
Ensure you have the following tools installed:| Tool | Purpose | Installation Guide |
|---|---|---|
| Git | Version control and repository cloning | Install Git |
| Visual Studio Code | Code editor with integrated terminal & extensions | Download VS Code |
You can use any code editor of your choice, but this guide uses VS Code for its built-in terminal and Markdown preview features.
1. Clone the GitHub Repository
-
Open your terminal and navigate to your workspace directory, for example:
-
On your GitHub repository page, click Code, copy the HTTPS URL, then run:
-
If the repo is empty, you’ll see:
An empty repo warning simply means no files are in the remote yet.
-
List the contents and enter the repository folder:
2. Open the Project in VS Code
Launch VS Code in the current directory:
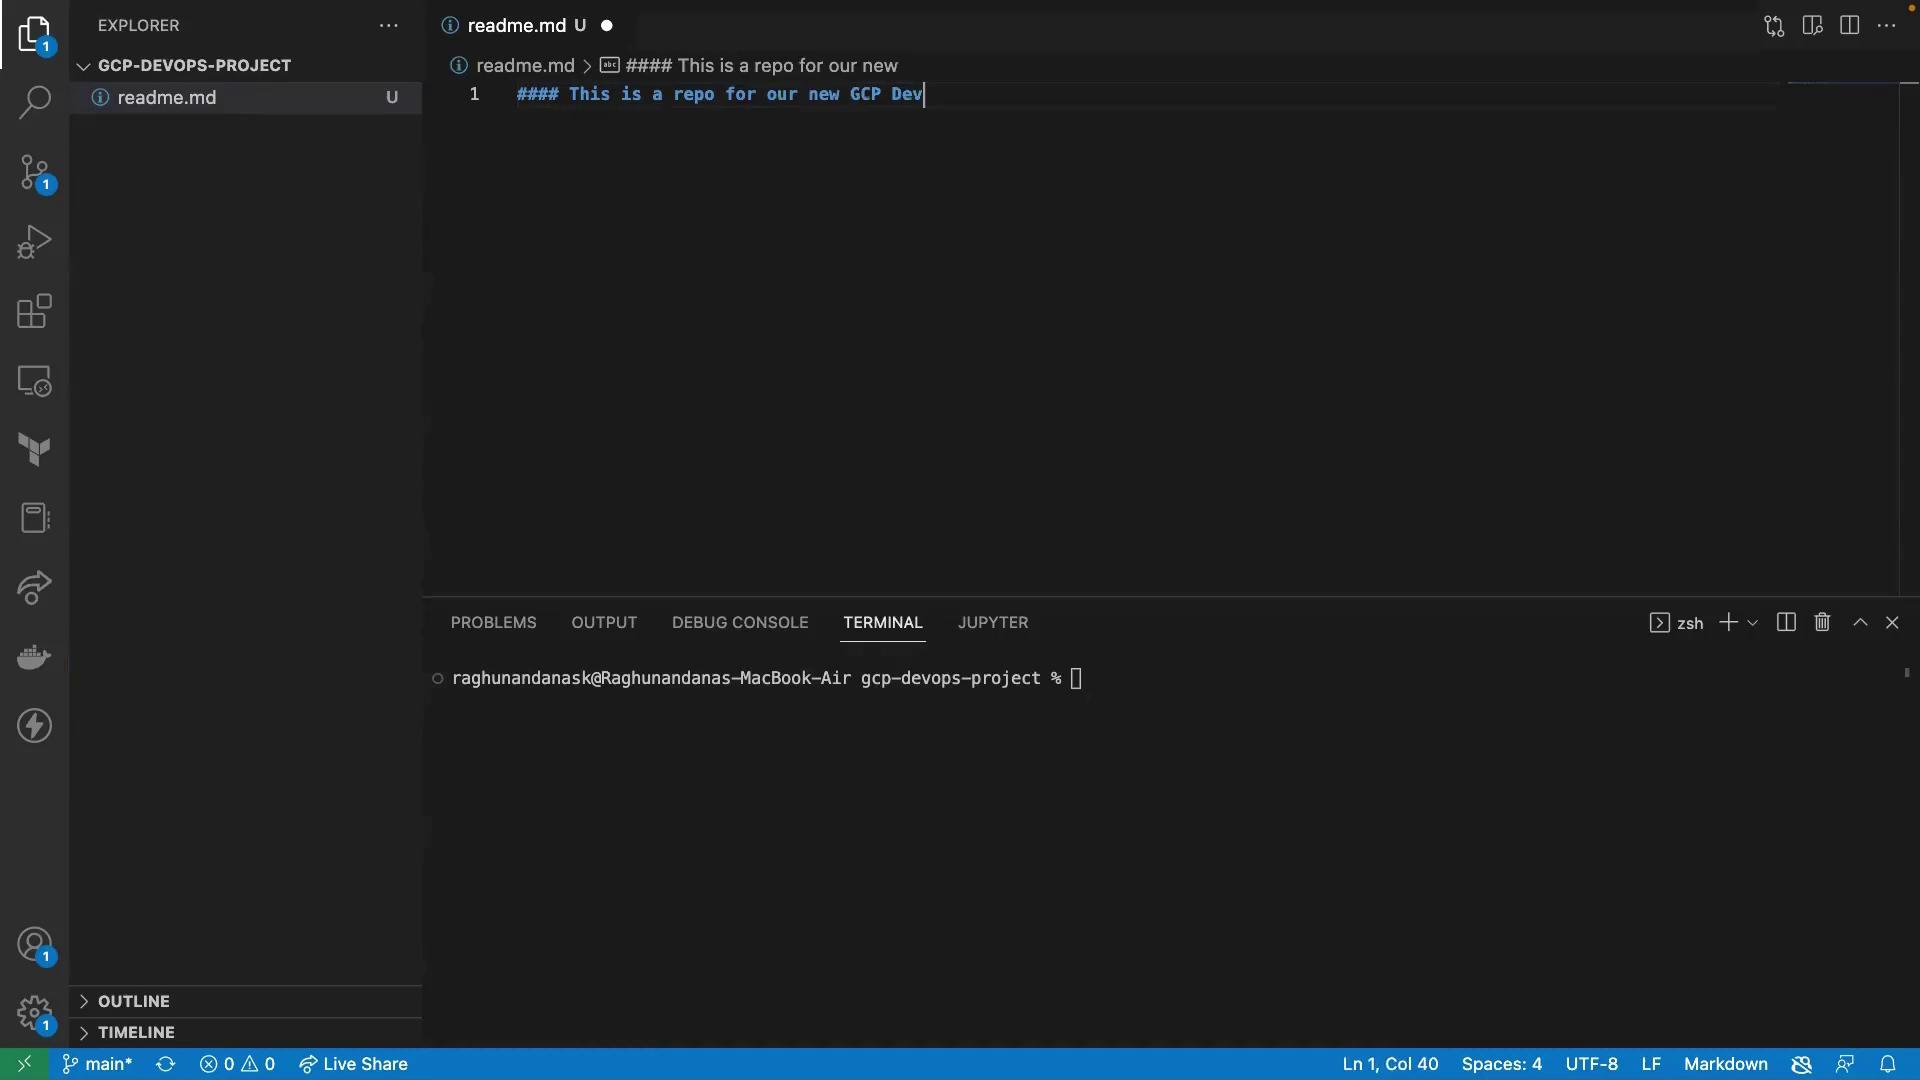
README.md file:
README.md and add:
3. Stage, Commit, and Push Changes
In the integrated terminal, run:4. Verify on GitHub
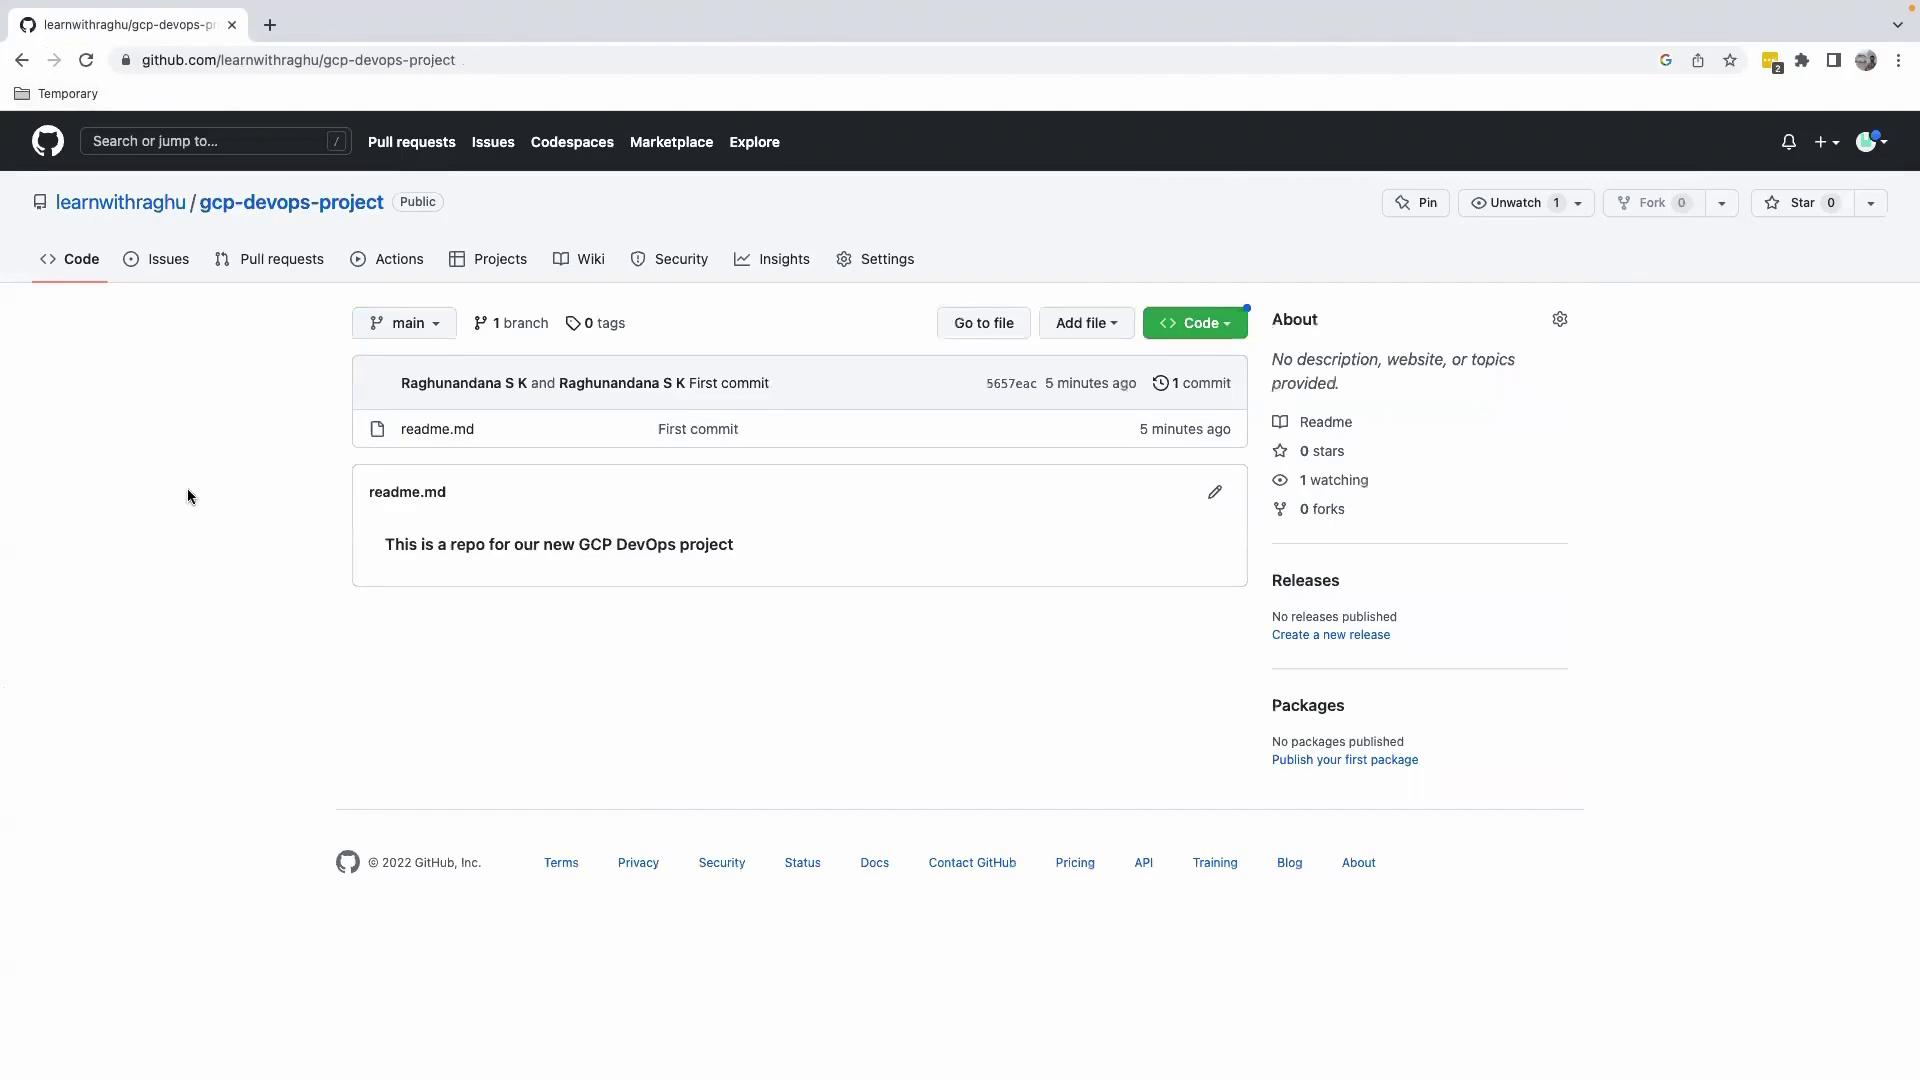
Refresh your repository page on GitHub. You’ll now see theREADME.md with your heading:
Summary
- Cloned the empty GitHub repository to your local machine.
- Opened and initialized the project in VS Code.
- Created and previewed a Markdown file.
- Committed and pushed changes back to GitHub.