This article introduces Vagrant, a tool that automates the deployment and configuration of virtual machines, simplifying repetitive tasks in managing complex environments.
In this lesson, we introduce the basics of Vagrant—a powerful tool designed to automate the deployment and configuration of virtual machines (VMs). In previous exercises, you manually set up VMs on VirtualBox by downloading images from osboxes.org, configuring networking (including host networks and port forwarding), and booting the VMs individually. These repetitive tasks are now simplified with Vagrant.Vagrant eliminates manual steps with a single command, “vagrant up,” which automatically downloads operating systems, creates networks, and configures port forwarding. This level of automation is especially beneficial when managing complex environments that involve multiple interconnected VMs.
Below is an example of the output when executing the “vagrant up” command. The output shows that Vagrant imports the base box, configures NAT networking, establishes port forwarding, boots the VM, and finalizes the setup process:
Copy
Ask AI
vagrant upBringing machine 'default' up with 'virtualbox' provider...==> default: Importing base box 'centos/7'...==> default: Matching MAC address for NAT networking...==> default: Checking if box 'centos/7' version '1905.1' is up to date...==> default: Setting the name of the VM: centos2_default_158695892002_53453==> default: Preparing network interfaces based on configuration...==> default: Adapter 1: nat==> default: Forwarding ports... default: 22 (guest) => 2200 (host) (adapter 1)==> default: Booting VM...==> default: Waiting for machine to boot. This may take a few minutes...==> default: Machine booted and ready!
For more detailed information and to download Vagrant for your operating system, visit Vagrant’s official site.
In this lesson, we will deploy a CentOS 7 box. In Vagrant, a “box” is a pre-packaged environment containing an OS image and configuration scripts. To set up a CentOS 7 environment, run:
Copy
Ask AI
vagrant init centos/7
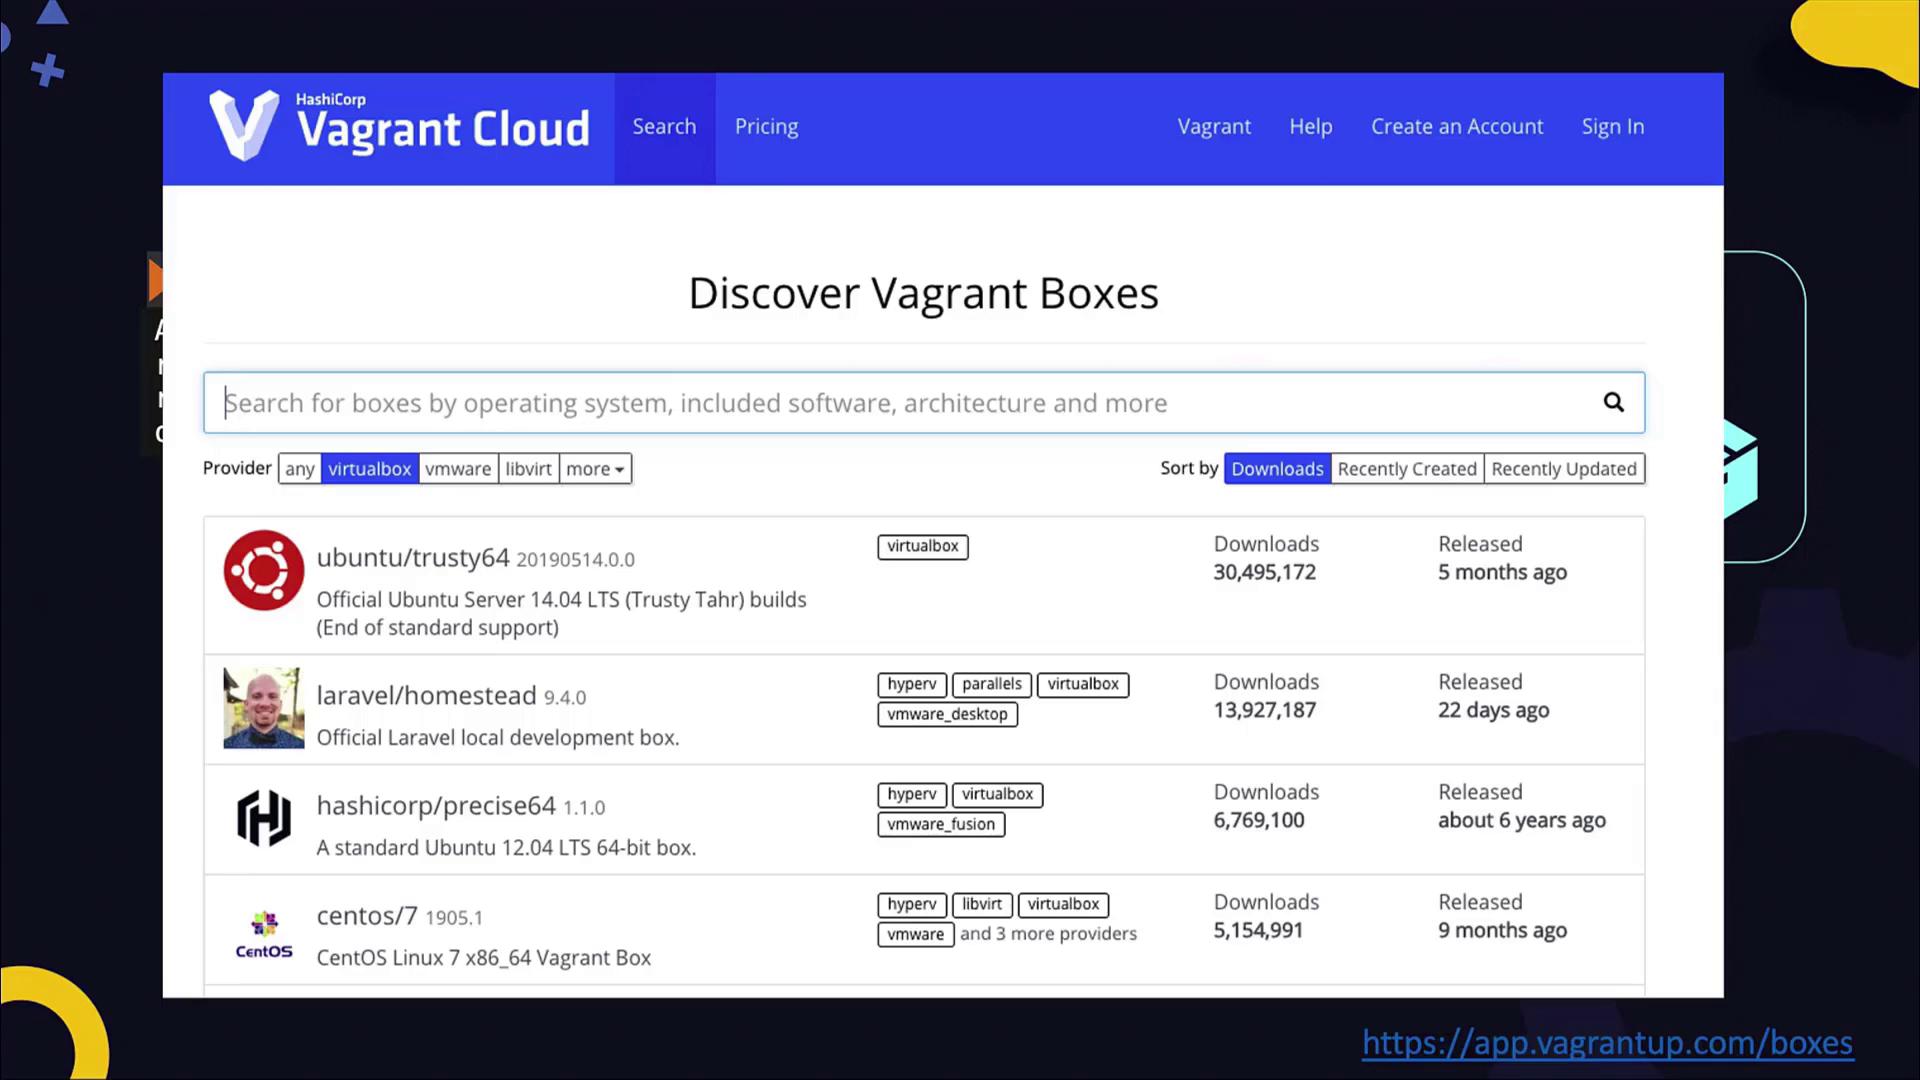
A comprehensive list of available Vagrant boxes can be explored at Vagrant Cloud. Simply search for your preferred box.
After running the vagrant init command, a Vagrantfile is created in your current directory. This file contains instructions for customizing your box settings. Once the file is ready, starting the VM is as simple as executing the vagrant up command. For instance:
Copy
Ask AI
vagrant init centos/7lsvagrant up
The output will resemble:
Copy
Ask AI
Bringing machine 'default' up with 'virtualbox' provider...==> default: Importing base box 'centos/7'...==> default: Matching MAC address for NAT networking...==> default: Checking if box 'centos/7' version '1905.1' is up to date...==> default: Setting the name of the VM: centos2_default_15868958982002_53453==> default: Preparing network interfaces based on configuration... default: Adapter 1: nat default: Forwarding ports...
Once your VM is up and running, Vagrant offers several commands to manage it. Running the vagrant command without any arguments displays all available options. For example:
Copy
Ask AI
vagrant
The help output includes:
Copy
Ask AI
Usage: vagrant [options] <command> [<args>] -v, --version Print the version and exit. -h, --help Print this help.Common commands: init Initializes a new Vagrant environment by creating a Vagrantfile up Starts and provisions the Vagrant environment suspend Suspends the machine resume Resumes a suspended Vagrant machine halt Stops the Vagrant machine destroy Stops and deletes all traces of the Vagrant machine status Outputs the status of the Vagrant machine reload Restarts the Vagrant machine and reloads the Vagrantfile configuration snapshot Manages snapshots: saving, restoring, etc.
You can suspend, resume, stop, or even take snapshots of your VM. To SSH into your VM, simply type:
Copy
Ask AI
vagrant ssh
Vagrant determines the correct port for SSH, using key-based authentication by default.
The Vagrantfile begins with a configuration block that defines the box image—in this lesson, CentOS 7. This file is highly customizable; you can modify it to include additional settings such as port forwarding, synced folders, resource allocation, and provisioning scripts.For example, to forward port 8080 on your host to port 80 on the guest, add the following configuration:
Additionally, you can sync a directory between your host and VM for simpler file transfers. To adjust CPU and memory settings for VirtualBox, include a provider block, and use a shell provisioner for running startup scripts. Here is a more comprehensive example of a customized Vagrantfile:
This configuration provisions a CentOS 7 VM with port forwarding, a synced folder, a 1024 MB memory allocation in VirtualBox, and a shell script that updates the system while installing the HTTP server.
Vagrant supports various providers beyond VirtualBox, including VMware Workstation, VMware Fusion, and Microsoft Hyper-V. Leveraging Vagrant’s multi-provider compatibility allows you to quickly deploy and share custom lab environments. Simply share the Vagrantfile with your peers to ensure they can recreate identical VM configurations.
Vagrant simplifies and accelerates the process of deploying and managing virtual machine environments. Its automation capabilities remove the repetitive tasks associated with manual VM creation, allowing you to focus on developing and testing your applications. Explore Vagrant to streamline your development workflow and build consistent lab environments effortlessly.Happy Vagrant-ing!