Learn the fundamentals of MySQL, including installation, configuration, basic commands, and user management for effective database management.
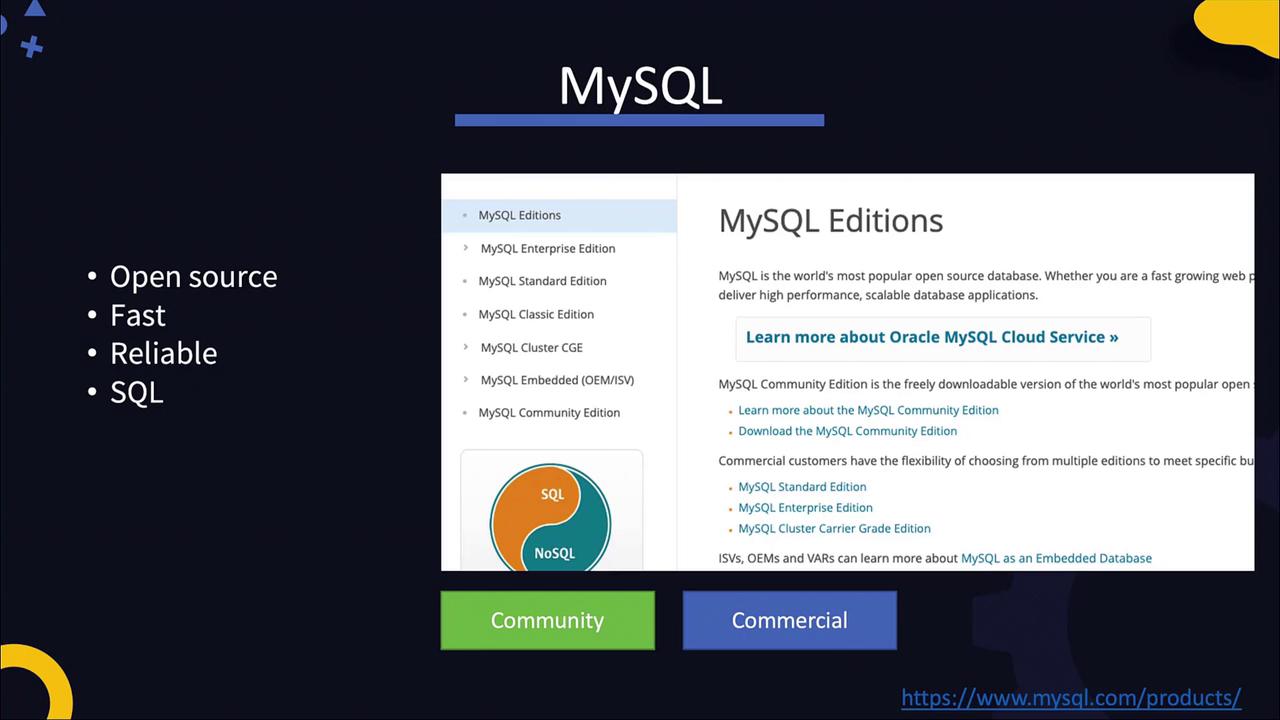
In this article, you will learn the fundamentals of MySQL, a popular open-source database renowned for its speed, reliability, and SQL-based data storage. We’ll walk through the installation process, initial configuration, connecting with the MySQL client, and executing basic commands and queries. MySQL is trusted by many high-profile websites, including Facebook, Google, and YouTube.There are two main editions of MySQL: the free Community Edition and a suite of commercial editions designed for enterprises.
To install MySQL on your system, follow these steps:
Download the RPM Package:
Retrieve the MySQL RPM package from the MySQL downloads page.
Install the Repository:
Install the repository using the RPM command. Then, install the MySQL server using the yum package manager.
Start the MySQL Service:
Once installed, MySQL is configured as a service. Start the server and check its status.
Execute the following commands in your terminal:
Copy
Ask AI
wget https://dev.mysql.com/get/mysql80-community-release-el7-3.noarch.rpmrpm -ivh mysql80-community-release-el7-3.noarch.rpmyum install mysql-serverservice mysqld startservice mysqld status
The expected output should indicate that the service is active. For example:
Copy
Ask AI
Redirecting to /bin/systemctl status mysqld.service● mysqld.service - MySQL Server Loaded: loaded (/usr/lib/systemd/system/mysqld.service; enabled; vendor preset: disabled) Active: active (running) since Thu 2020-03-19 17:57:44 UTC; 1min 12s ago Docs: man:mysqld(8) Process: 4135 ExecStartPre=/usr/bin/mysqld_pre_systemd (code=exited, status=0/SUCCESS) Main PID: 4211 (mysqld) Status: "Server is operational" Group: /system.slice/mysqld.service └─4211 /usr/sbin/mysqld
In production environments, ensure to create dedicated users and groups, and configure additional security settings. Always refer to the official documentation for advanced configurations.
MySQL logs, located at /var/log/mysqld.log, provide essential information about the server’s startup, version, and listening port (default is 3306). You can view the log by running:
Copy
Ask AI
cat /var/log/mysqld.log
A sample log excerpt might look like this:
Copy
Ask AI
2020-03-19T17:57:37.375709Z 0 [System] [MY-013169] [Server] /usr/sbin/mysqld (mysqld 8.0.19) initializing of server in progress as process 41622020-03-19T17:57:39.467035Z 5 [Note] A temporary password is generated for root@localhost: g/io%pFE77m2020-03-19T17:57:41.582829Z 0 [System] [MY-010161] [Server] /usr/sbin/mysqld (mysqld 8.0.19) starting as process 42112020-03-19T17:57:43.188267Z 0 [Warning] [MY-010068] [Server] CA certificate ca.pem is self signed.2020-03-19T17:57:44.021602Z 0 [System] [MY-010931] [Server] /usr/sbin/mysqld: ready for connections. Version: '8.0.19' socket: '/var/lib/mysql/mysql.sock' port: 3306 MySQL Community Server - GPL.2020-03-19T17:57:44.245102Z 0 [System] [MY-011323] [Server] X Plugin ready for connections. Socket: '/var/run/mysqld/mysqld.sock' bind-address: '::' port: 330602020-03-19T18:04:21.190127Z 8 [Warning] [MY-013360] [Server] Plugin sha256_password reported: 'sha256_password' is deprecated and will be removed in a future release. Please use caching_sha2_password instead
After installation, MySQL automatically generates a temporary root password logged in /var/log/mysqld.log. Use this password to connect via the MySQL client. For example:
Copy
Ask AI
mysql -u root -pg/io%pFE77m
Using a password directly on the command line can be insecure. Proceed with caution and consider using alternative methods to secure your credentials.
Once connected, you will see a welcome message similar to the following:
Copy
Ask AI
mysql: [Warning] Using a password on the command line interface can be insecure.Welcome to the MySQL monitor. Commands end with ; or \g.Your MySQL connection id is 11Server version: 8.0.19Type 'help;' or '\h' for help. Type '\c' to clear the current input statement.mysql>
Create a table named “persons” with columns for name, age, and location:
Copy
Ask AI
CREATE TABLE persons( Name VARCHAR(255), Age INT, Location VARCHAR(255));
Insert a record into the “persons” table:
Copy
Ask AI
INSERT INTO persons VALUES ("John Doe", 45, "New York");
View the data in the table:
Copy
Ask AI
SELECT * FROM persons;
Expected output:
Copy
Ask AI
+----------+-----+------------+| name | age | location |+----------+-----+------------+| John Doe | 45 | New York |+----------+-----+------------+1 row in set (0.00 sec)
Verify table creation within the “school” database:
Copy
Ask AI
SHOW TABLES;
Sample output:
Copy
Ask AI
+--------------------+| Tables_in_school |+--------------------+| persons |+--------------------+1 row in set (0.00 sec)
For security and best practices in production, avoid using the root account for application access. Instead, create additional users with restricted privileges.
To authorize the user with appropriate privileges, use the GRANT command. For example, to allow user “john” to run SELECT queries on the persons table in the “school” database:
Copy
Ask AI
GRANT SELECT ON school.persons TO 'john'@'%';
Grant multiple permissions in one command, such as SELECT and UPDATE on the persons table:
Copy
Ask AI
GRANT SELECT, UPDATE ON school.persons TO 'john'@'%';
To grant privileges on all tables within the “school” database:
Copy
Ask AI
GRANT SELECT, UPDATE ON school.* TO 'john'@'%';
Granting all privileges should be done carefully. Use:
Copy
Ask AI
GRANT ALL PRIVILEGES ON *.* TO 'john'@'%';
only when absolutely necessary.
To view the grants for a specific user:
Copy
Ask AI
SHOW GRANTS FOR 'john'@'localhost';
Sample output:
Copy
Ask AI
+------------------------------------------------+| Grants for john@localhost |+------------------------------------------------+| GRANT USAGE ON *.* TO 'john'@'localhost' || GRANT SELECT ON `school`.`persons` TO 'john'@'localhost' |+------------------------------------------------+2 rows in set (0.00 sec)
Practice these commands in your environment to build a solid foundation for managing MySQL databases and preparing for more advanced topics, such as integrating web servers with databases and implementing multi-tier application security.For further details, refer to the MySQL Documentation.