
1. Create a CodeCommit Repository
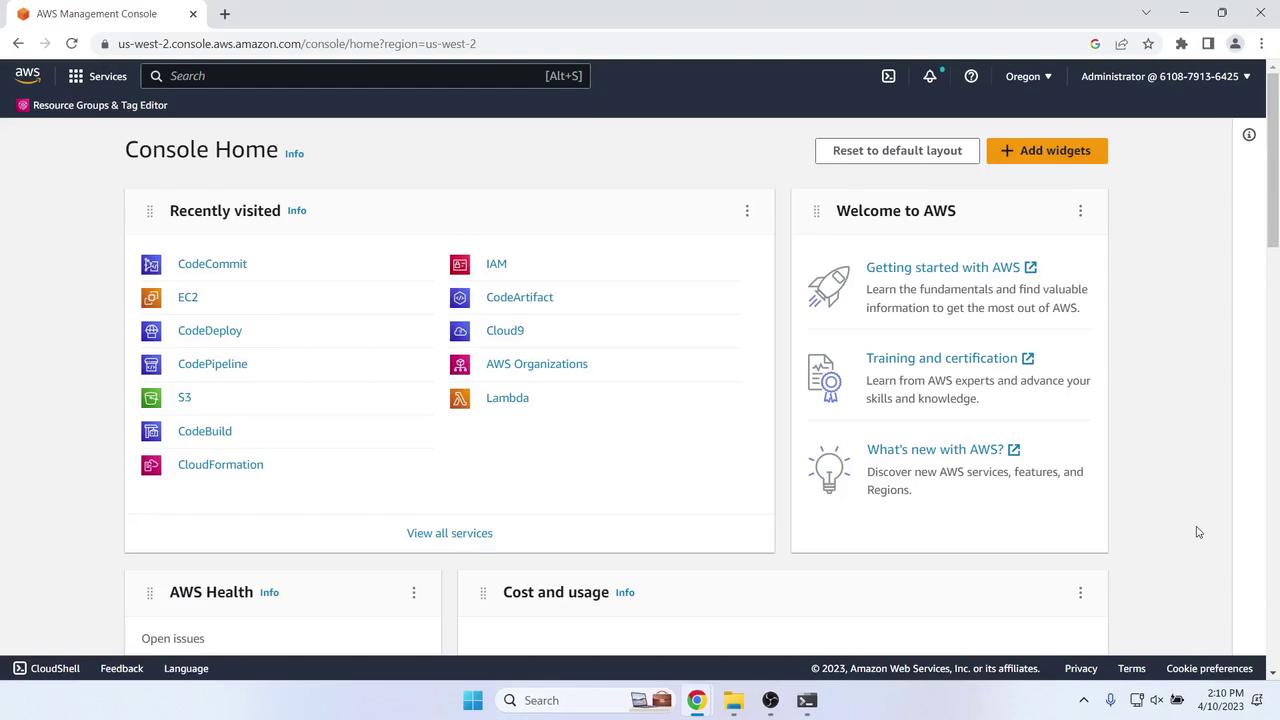
- Sign in to the AWS Management Console and open CodeCommit.
- Ensure your region is set (we’re using us-west-2).
Always match the region across CodeCommit, CodeDeploy, and EC2 to avoid cross-region issues.
- Click Create repository, name it MyDemoRepo, and confirm.


2. Clone the Repository Locally
On your laptop or workstation:3. Add the Sample Application
- Download the sample app ZIP from the AWS tutorial and extract its contents.
-
You should see:

-
Add, commit, and push:
- Verify the files in the AWS Console:

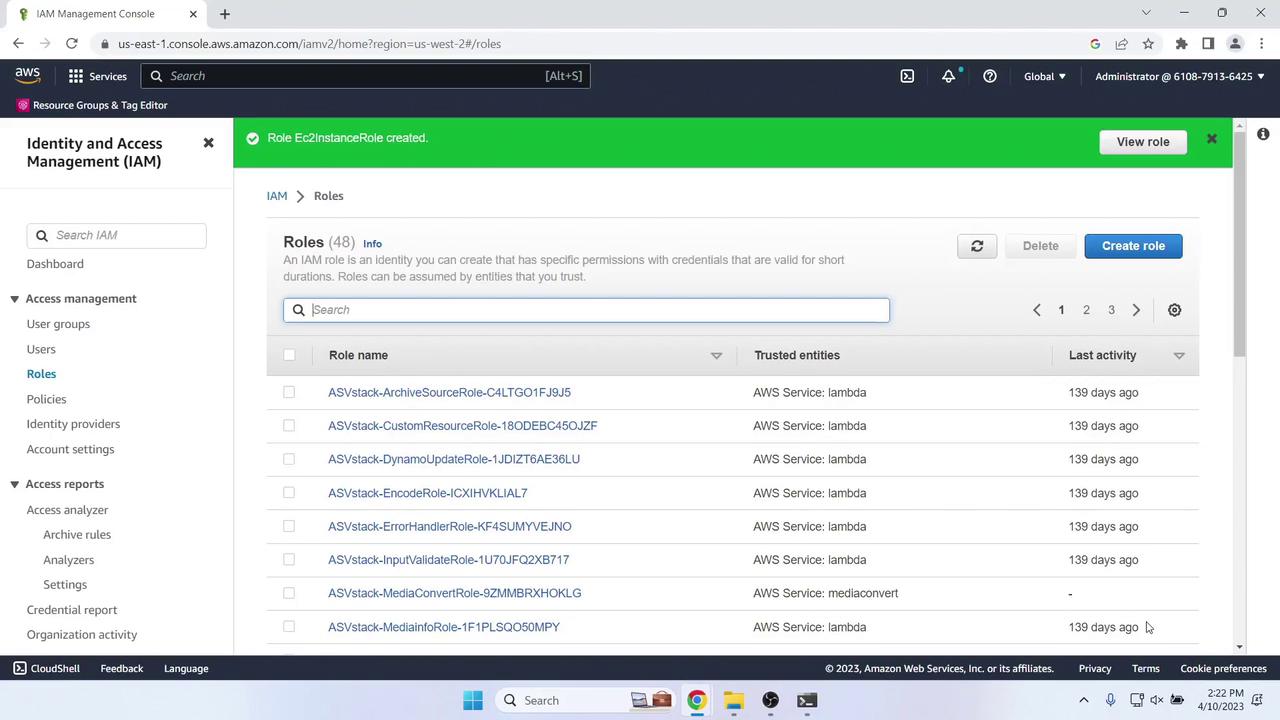
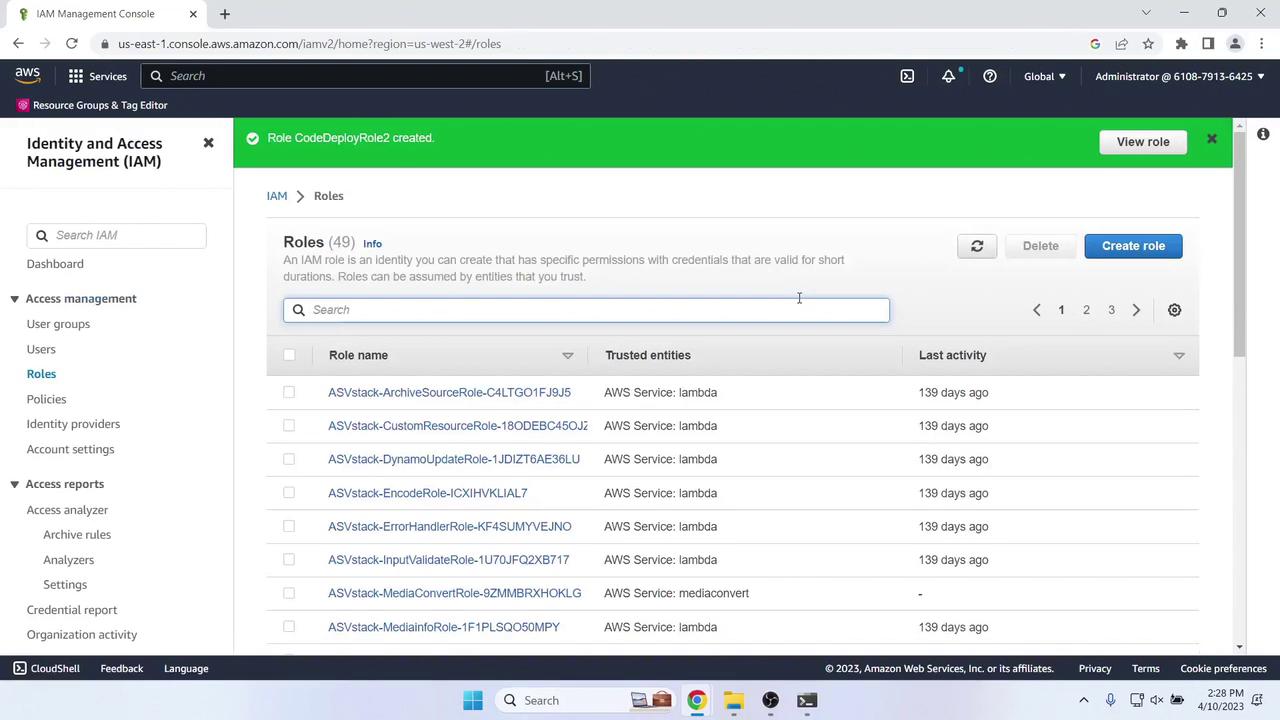
4. Create an IAM Role for EC2 (CodeDeploy Agent)
In the IAM console, go to Roles > Create role:- Trusted entity: AWS service → EC2
-
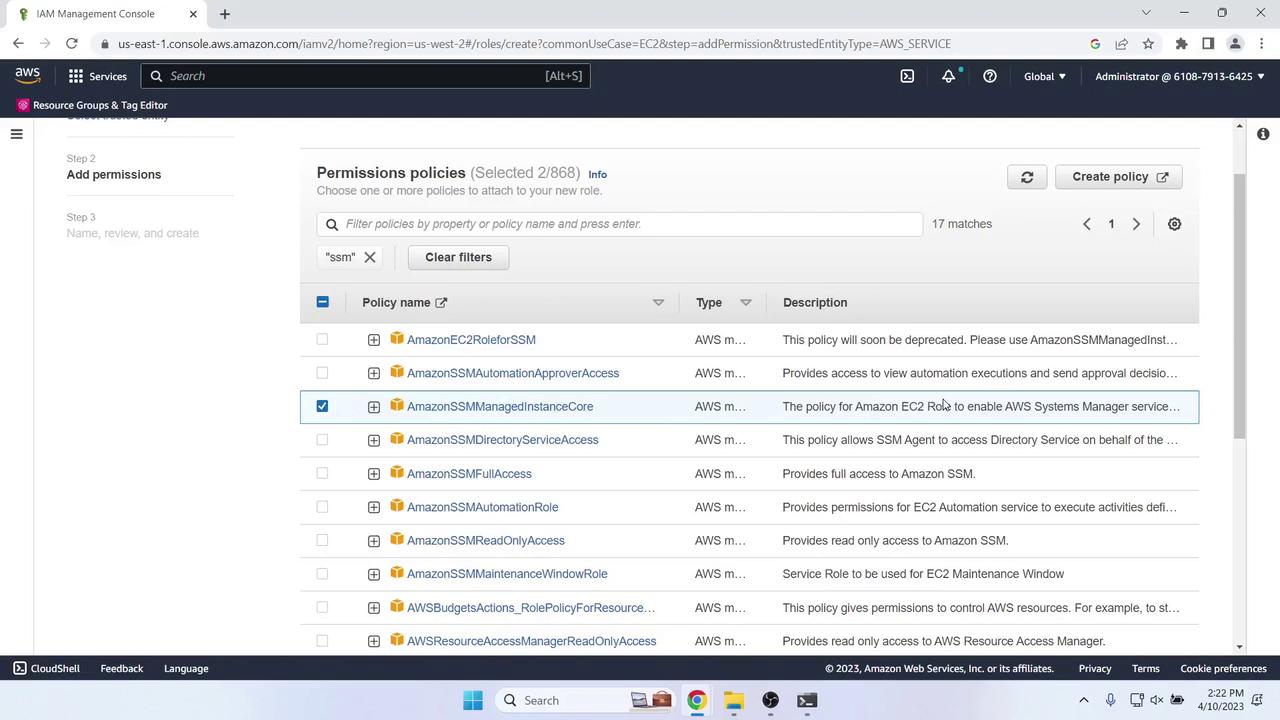
Attach policies:
Policy Name Purpose AmazonEC2RoleforAWSCodeDeploy Grants CodeDeploy agent permissions AmazonSSMManagedInstanceCore Allows AWS Systems Manager operations
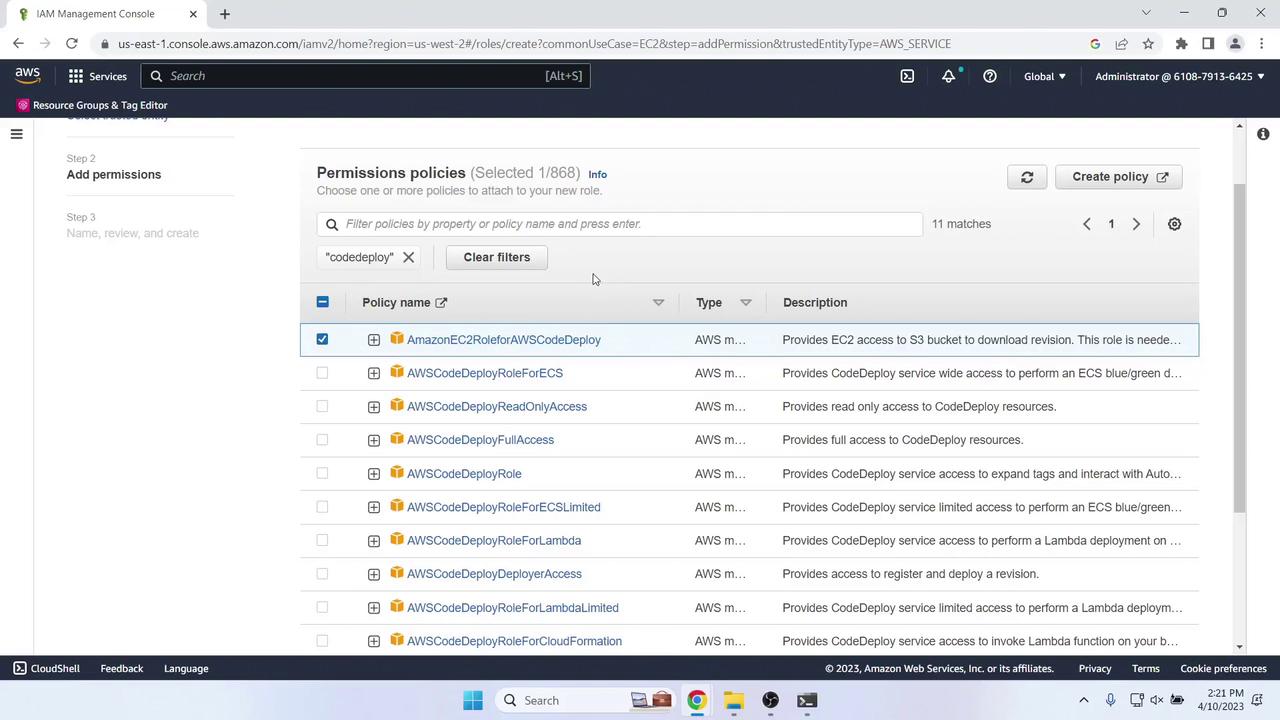
- Name the role EC2InstanceRole.
- Use this trust policy:
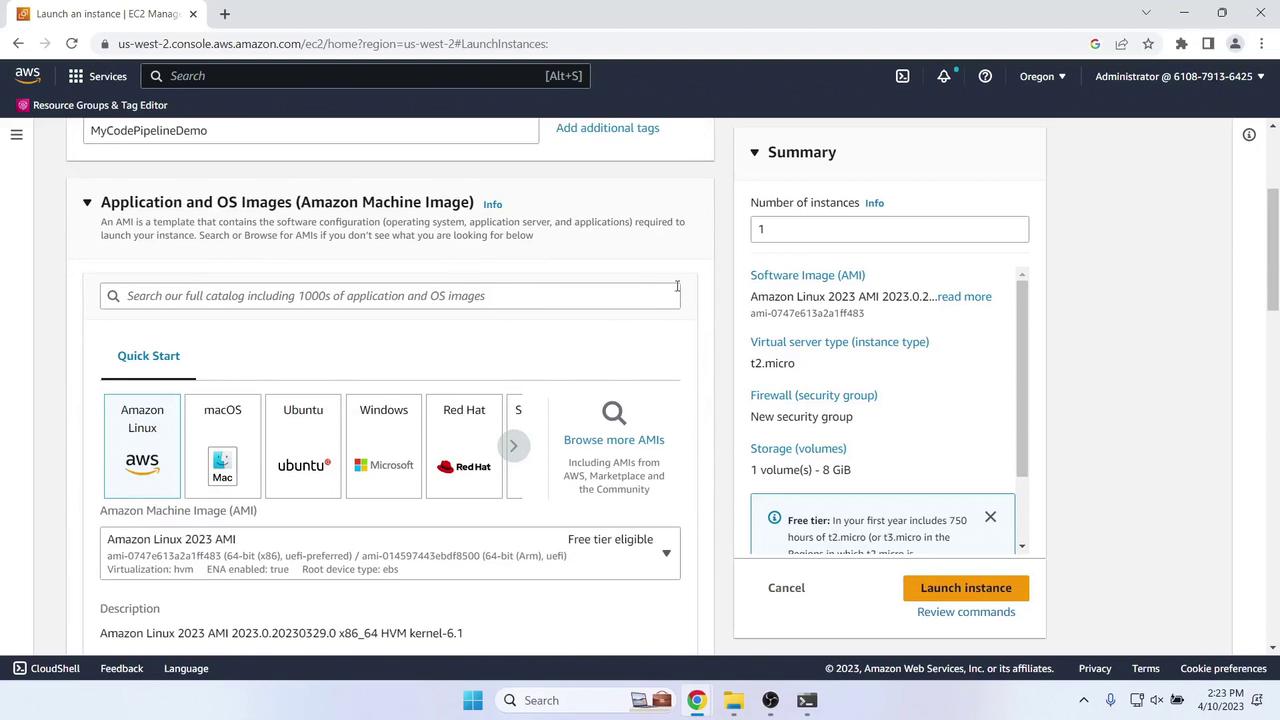
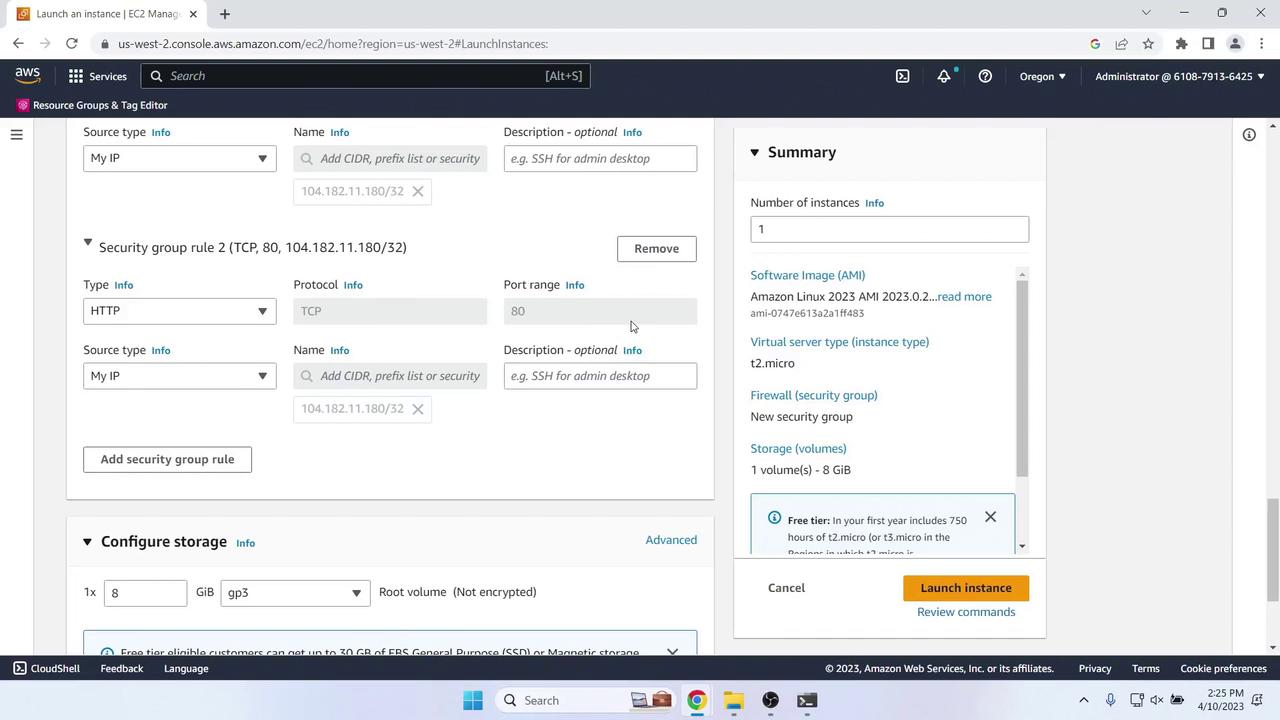
5. Launch an EC2 Instance
- In the EC2 console (same region), choose Launch Instance.
- Configure as follows:
- Name tag: MyCodePipelineDemo
- AMI: Amazon Linux 2 (Free Tier)
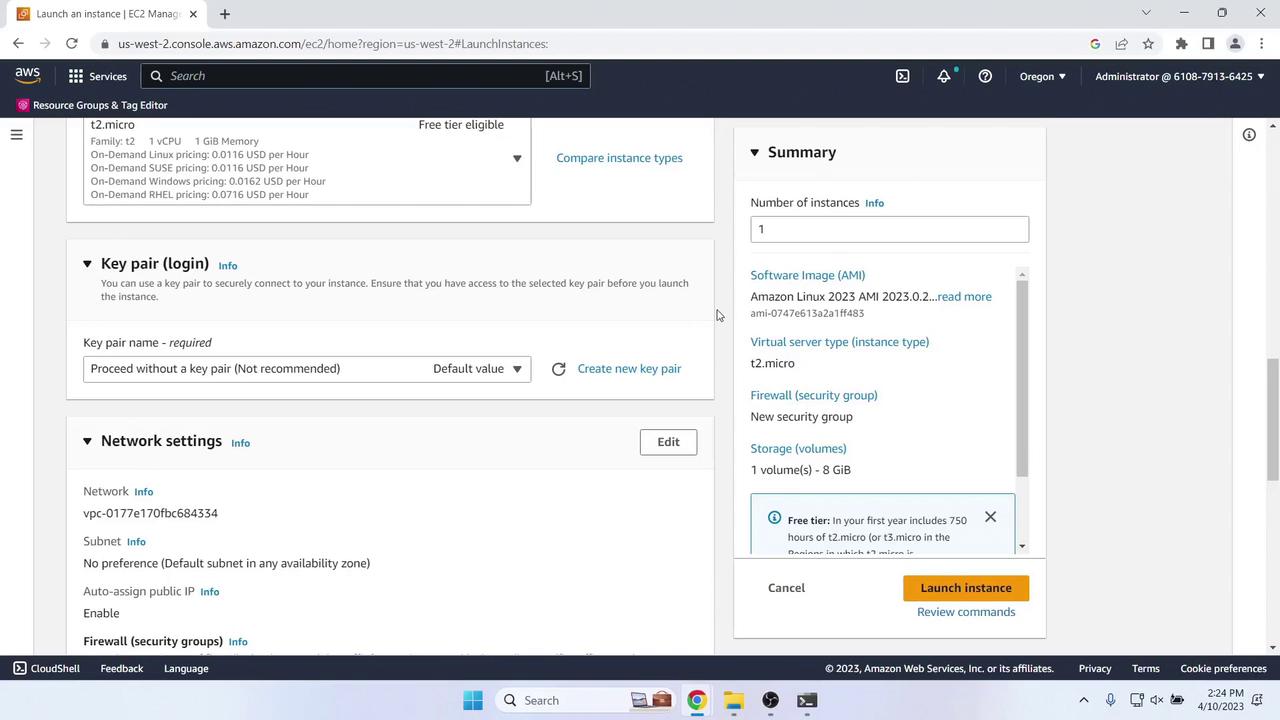
- Instance type: t2.micro (Free Tier)
- Key pair: Proceed without one (demo only)
- Network: Enable auto-assign Public IP
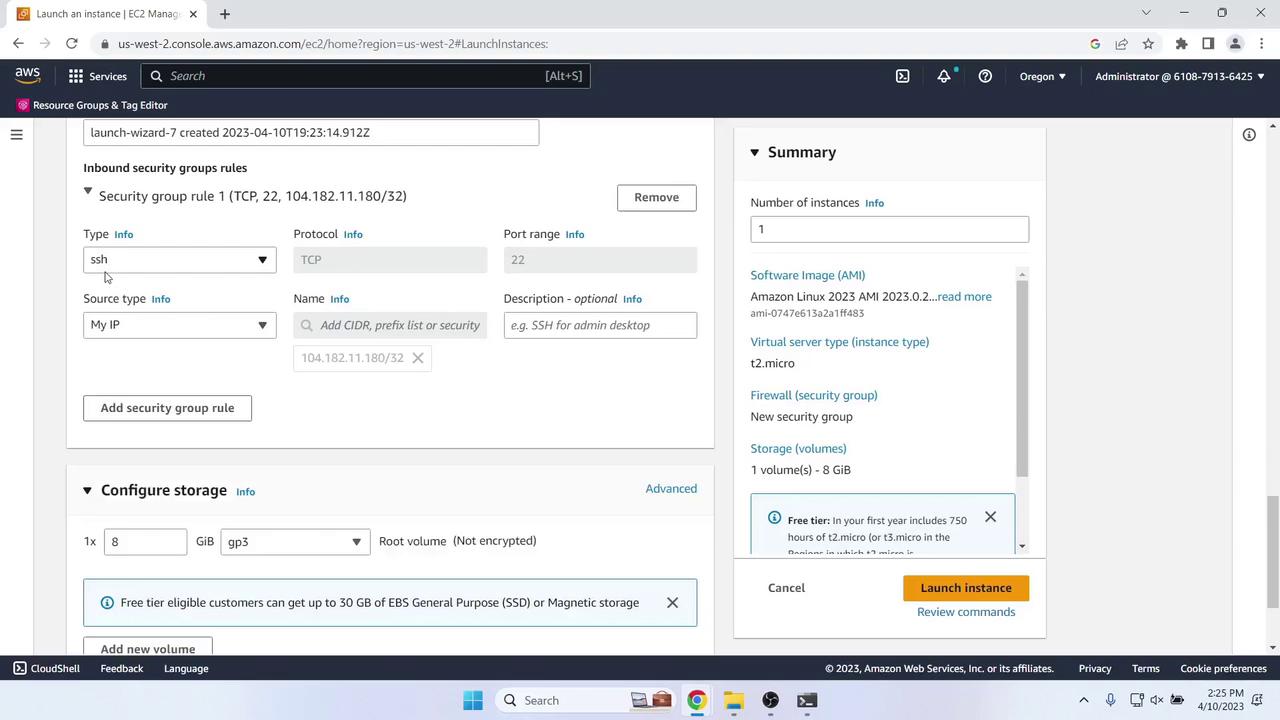
- Security group:
- SSH (port 22) from My IP
- HTTP (port 80) from My IP
6. Create a CodeDeploy Application & Deployment Group
6.1 Service Role for CodeDeploy
In IAM, choose Roles > Create role:- Trusted entity: AWS service → CodeDeploy
- Managed policy: AWSCodeDeployRole
- Role name: CodeDeployRole
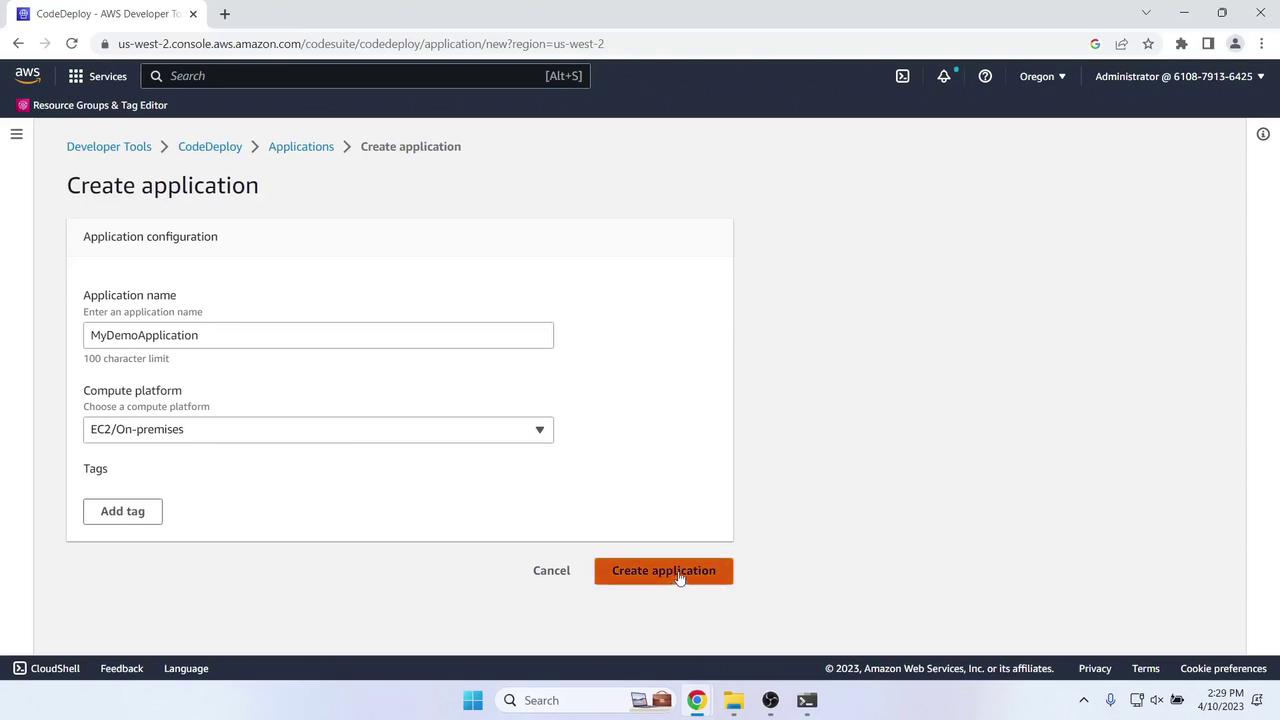
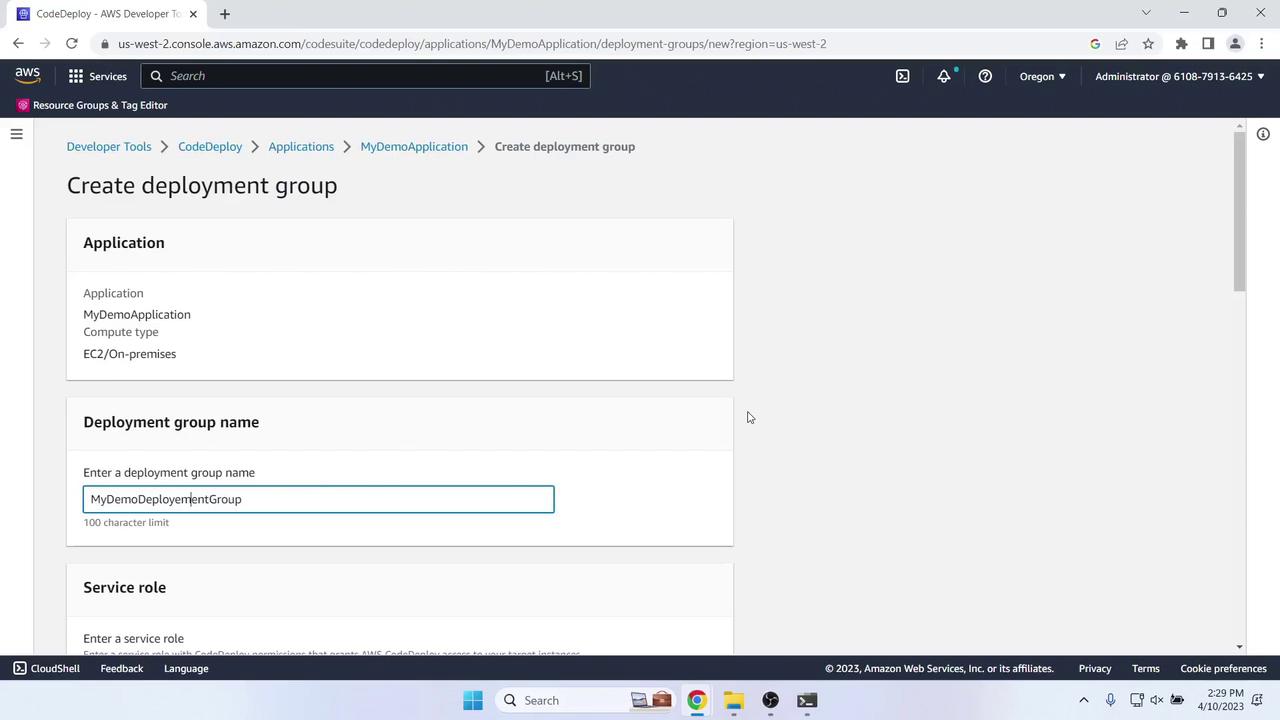
6.2 Application & Deployment Group
- Open CodeDeploy > Applications > Create application:
- Name: MyDemoApplication
- Compute platform: EC2/On-premises
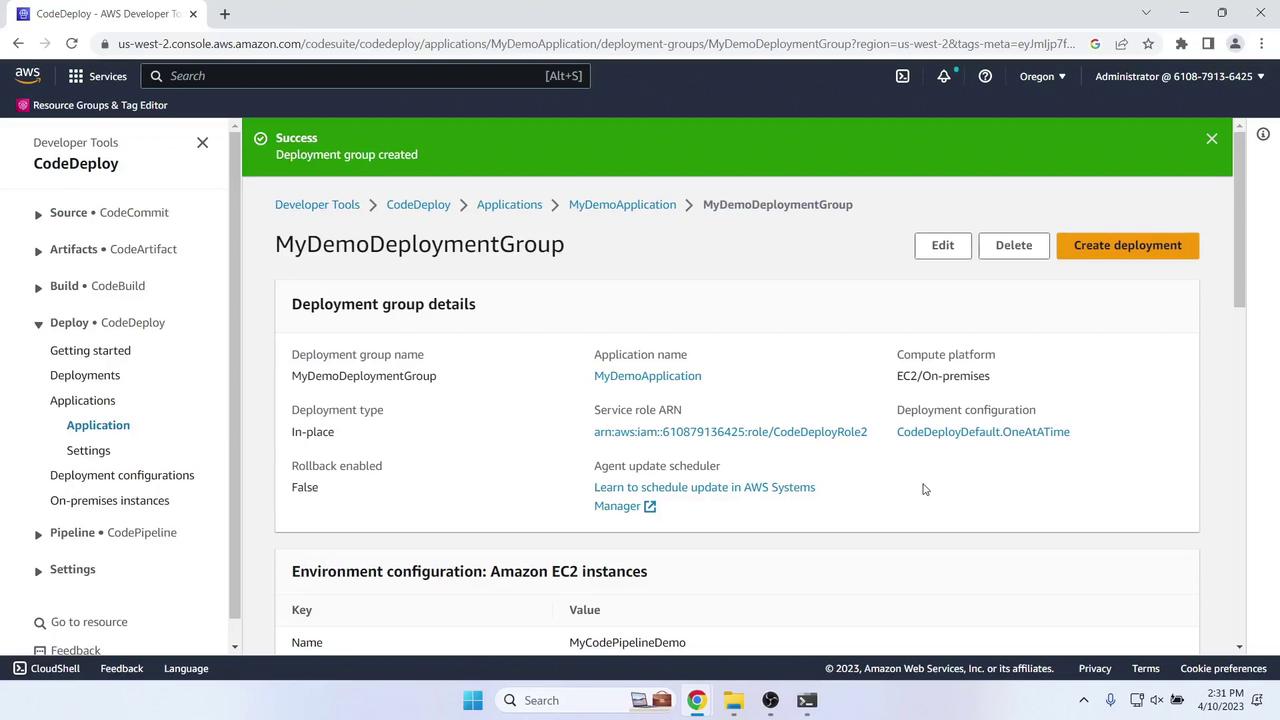
- Under Deployment groups, click Create deployment group:
- Name: MyDemoDeploymentGroup
- Service role: CodeDeployRole
- Deployment type: In-place
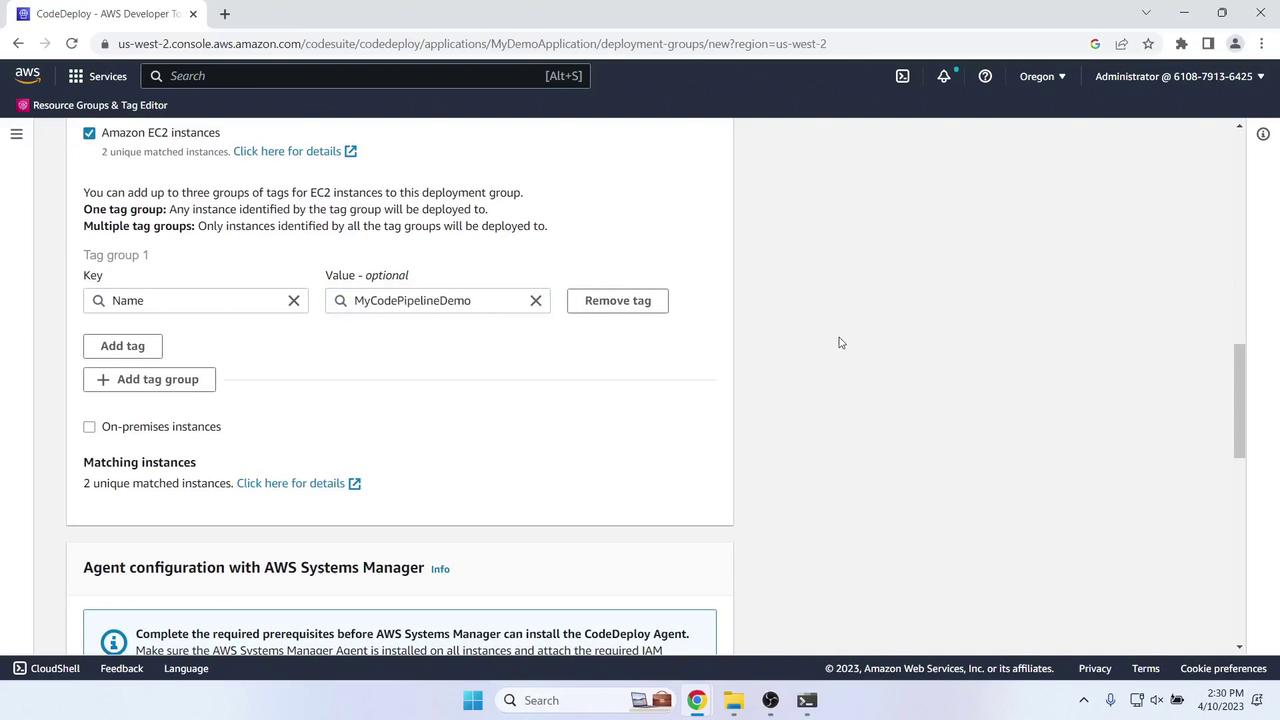
- Environment configuration: Tag instances
Name = MyCodePipelineDemo - Load balancing: Disabled
- Agent configuration: AWS Systems Manager
7. Create the CodePipeline
In CodePipeline, click Create pipeline and configure:- Pipeline name: MyFirstPipeline
- Service role: New service role

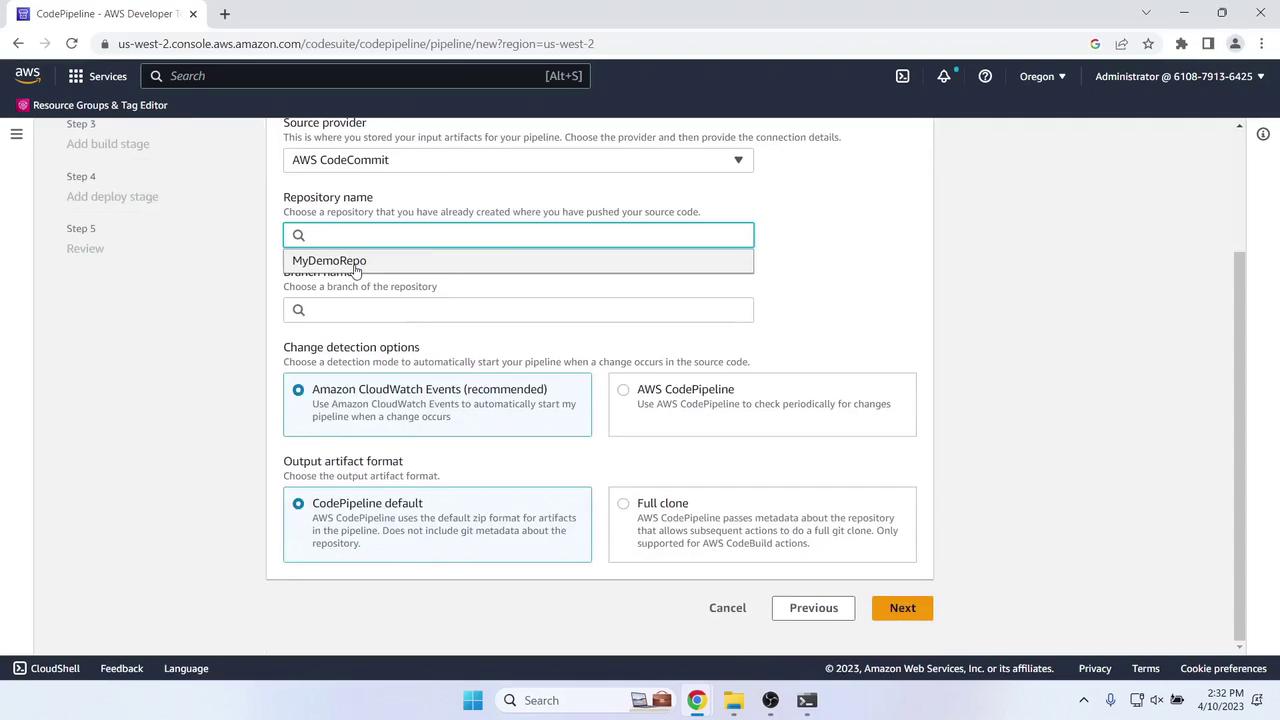
Source Stage
- Provider: AWS CodeCommit
- Repository name: MyDemoRepo
- Branch name: master
Skip Build
Choose Skip build stage.Deploy Stage
- Action provider: AWS CodeDeploy
- Region: US West (Oregon)
- Application name: MyDemoApplication
- Deployment group: MyDemoDeploymentGroup

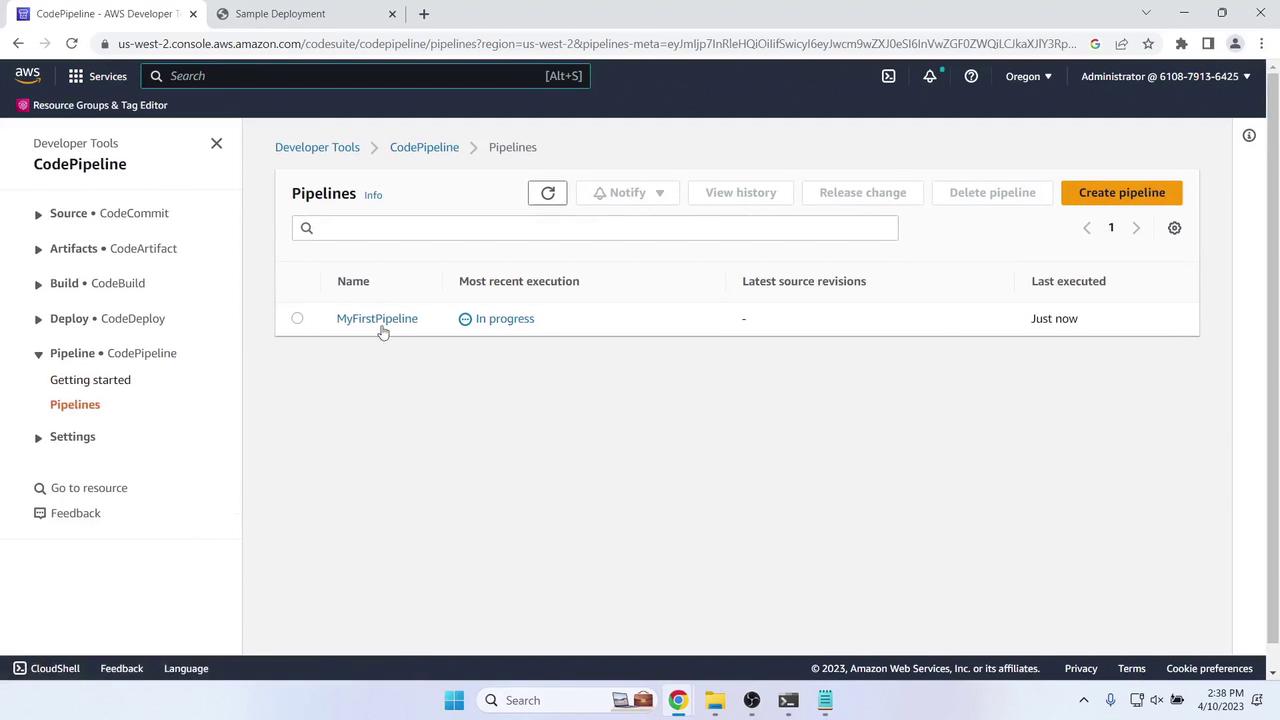
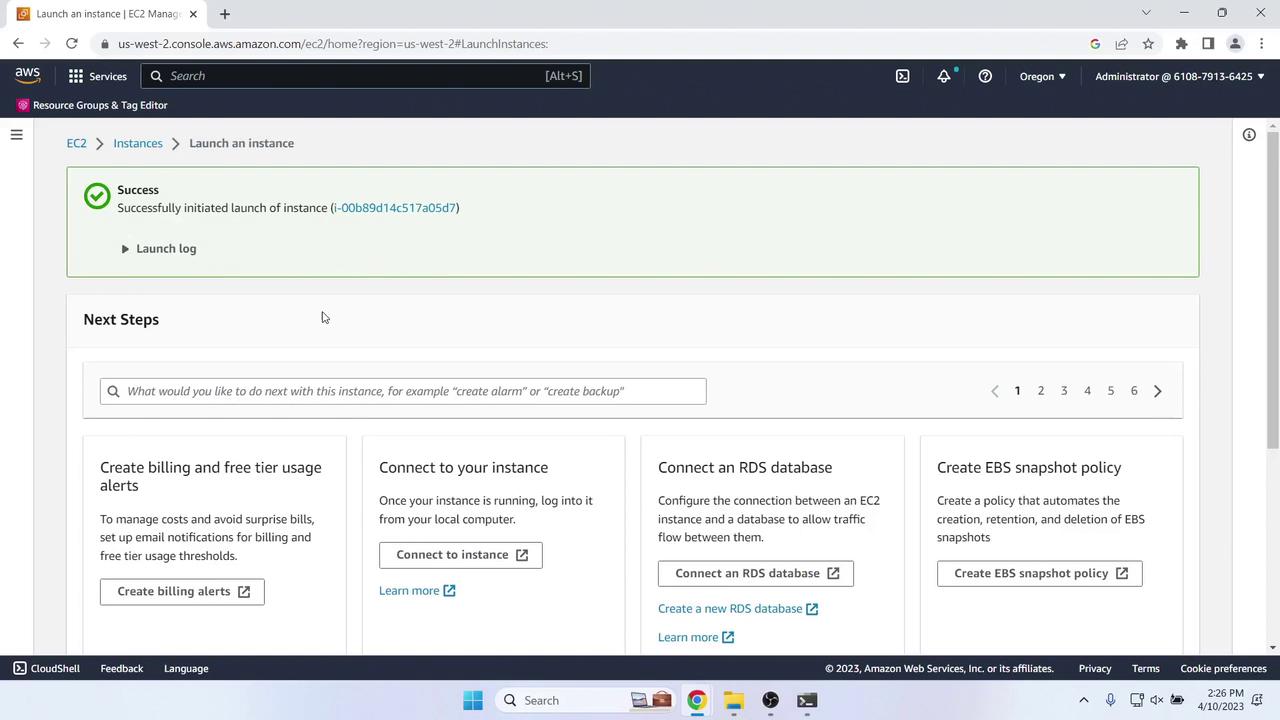
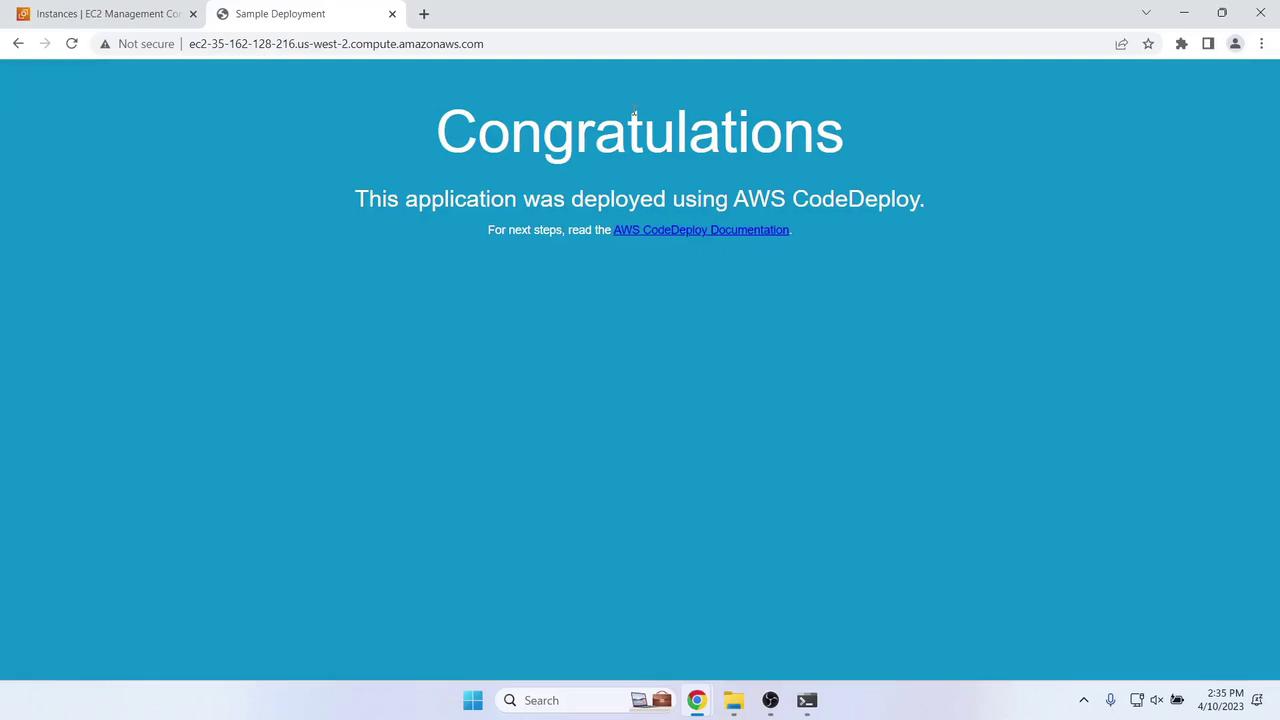
8. Verify the Initial Deployment
Once Source and Deploy stages complete, get the Public IPv4 DNS of your EC2 instance: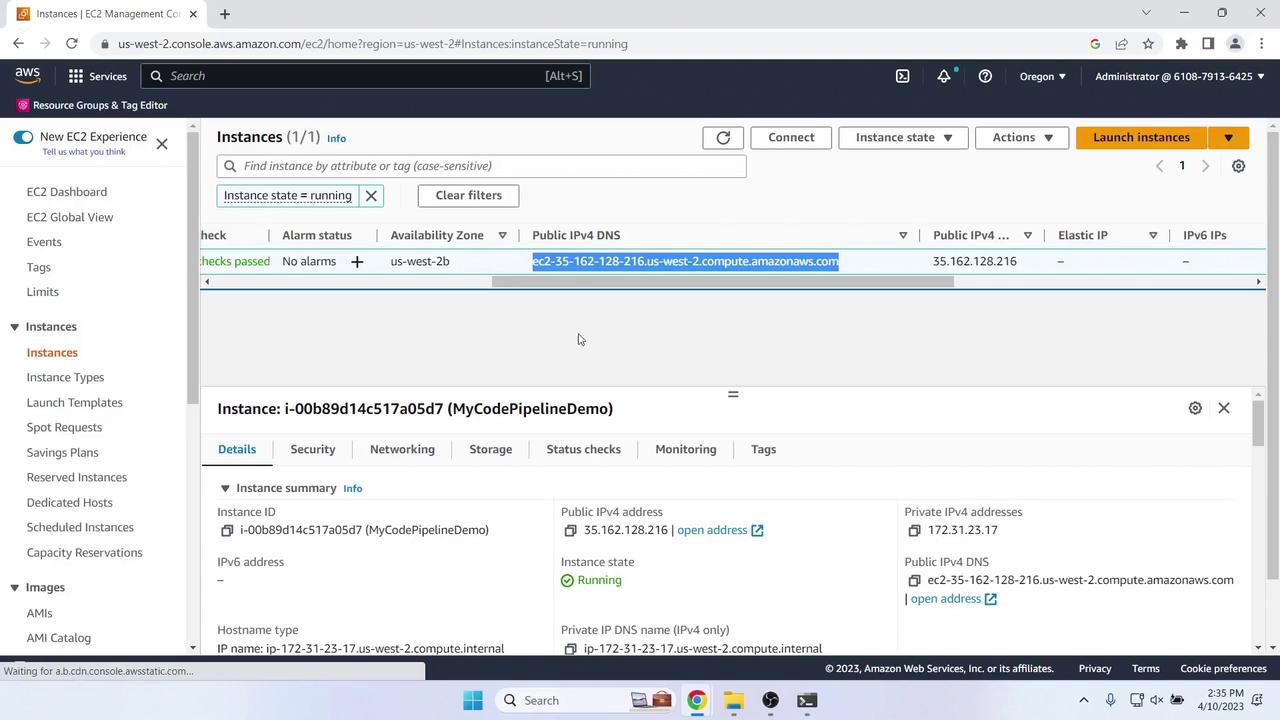
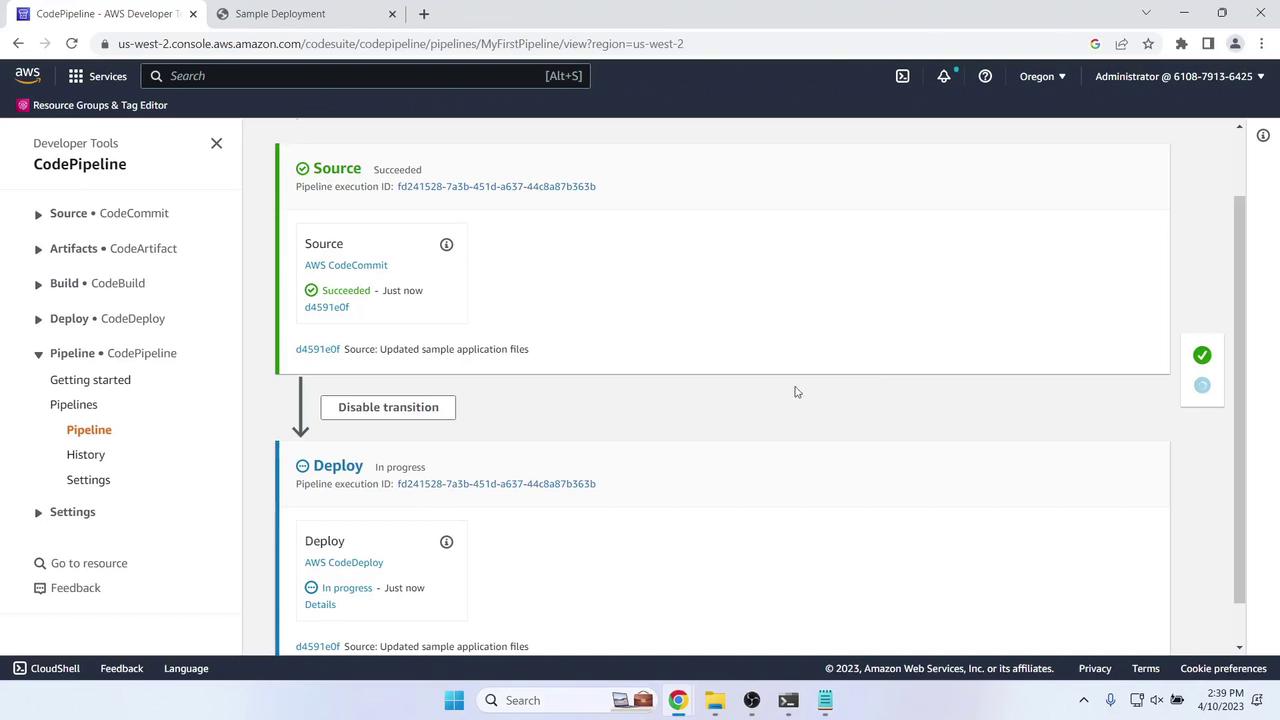
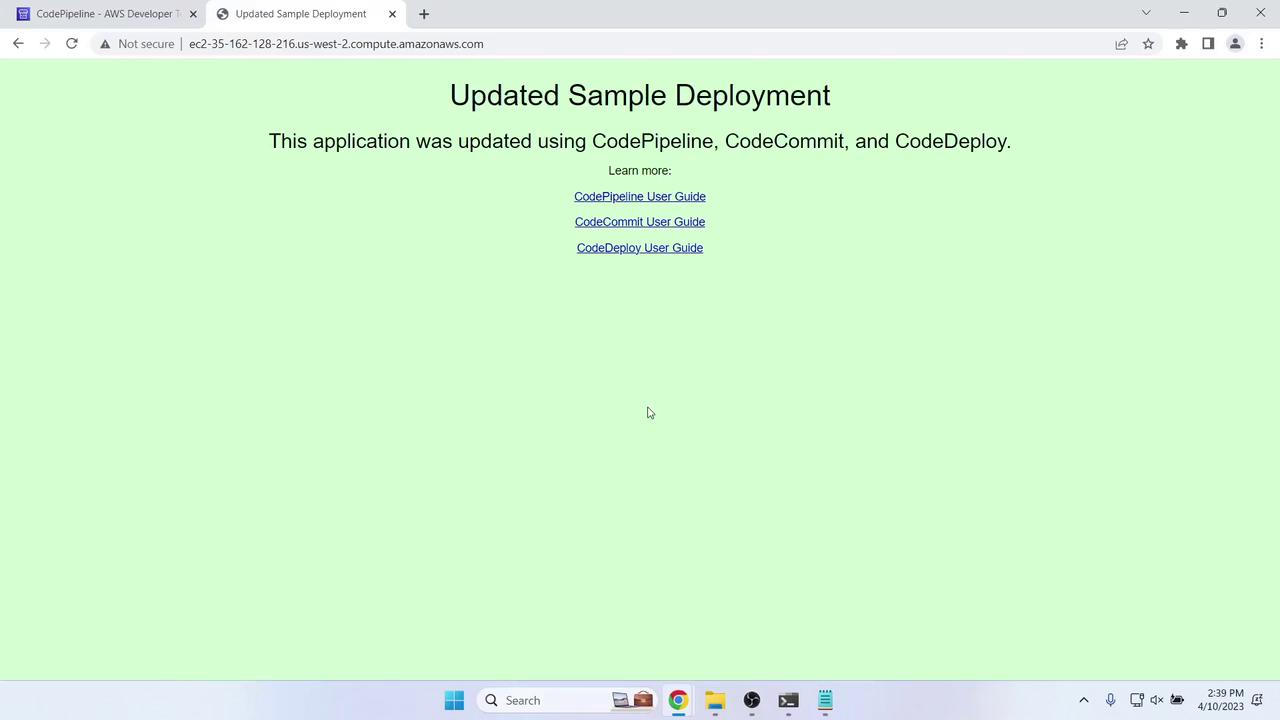
9. Update the Application and Redeploy
-
Modify
index.htmllocally. Example update: -
Commit and push:
Conclusion
You’ve successfully created and tested a two-stage AWS CodePipeline using CodeCommit and CodeDeploy. In this lesson you:- Set up and cloned a CodeCommit repository
- Added a sample web application
- Configured IAM roles for EC2 and CodeDeploy
- Launched an EC2 instance with the CodeDeploy agent
- Defined a CodeDeploy application and deployment group
- Built a Source → Deploy pipeline
- Verified initial deployment and automated updates