Overview

- Implement a simple Java utility and unit tests.
- Create a
buildspec.ymlto define build commands. - Provision two S3 buckets—one for source input, one for build output.
- Configure and run a CodeBuild project that pulls from S3, builds with Maven, and pushes artifacts back to S3.
You can follow along in your own AWS account. After completing the tutorial, remember to clean up any resources to avoid unexpected charges.
Prerequisites
- An AWS account with permissions for CodeBuild, S3, and IAM.
- AWS CLI or access to the AWS Management Console.
- Java 11 (Corretto) and Maven installed locally (for packaging).
Step 1: Create the Java Utility and Unit Tests
- In your project directory, create the
MessageUtilclass:
- Next, add a JUnit test for
MessageUtil:
Step 2: Define the Build Specification (buildspec.yml)
Create a file named buildspec.yml at the project root:
Build Phases at a Glance
| Phase | Description | Sample Command |
|---|---|---|
| install | Set up runtime environments | java: corretto11 |
| pre_build | Prepare dependencies or variables | echo "Preparing..." |
| build | Compile, test, and package the app | mvn install |
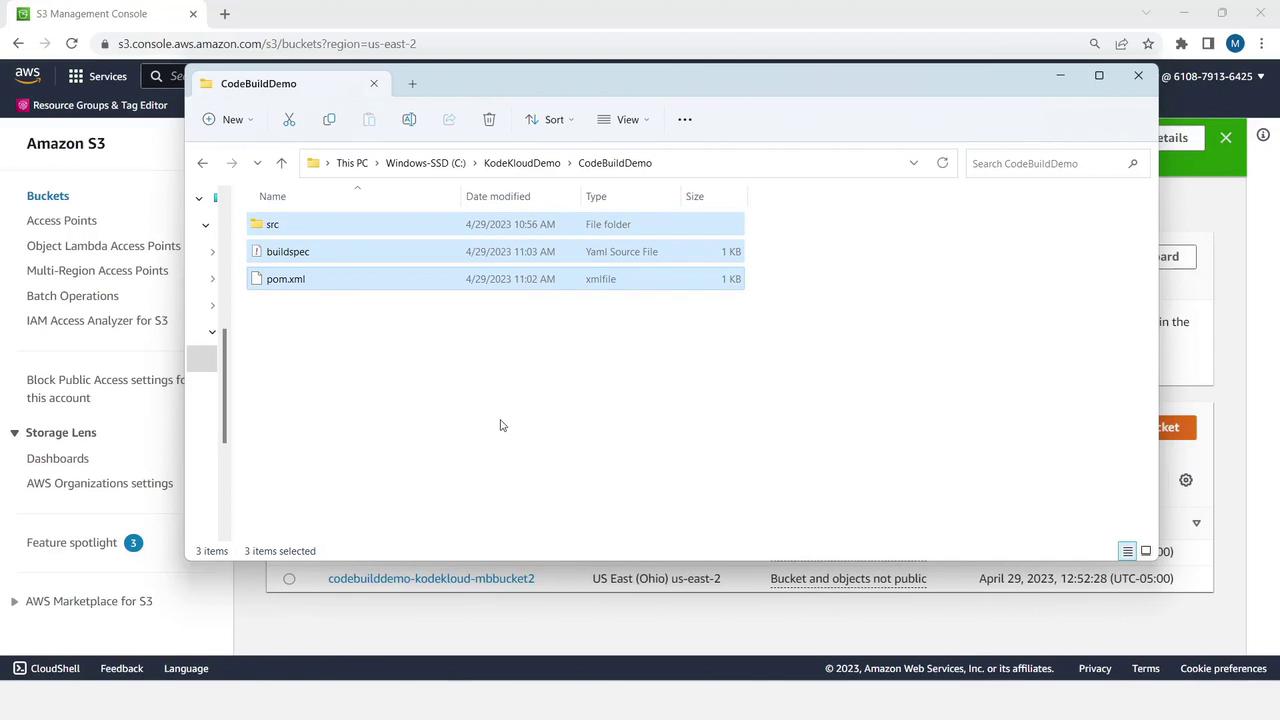
Step 3: Verify Directory Structure
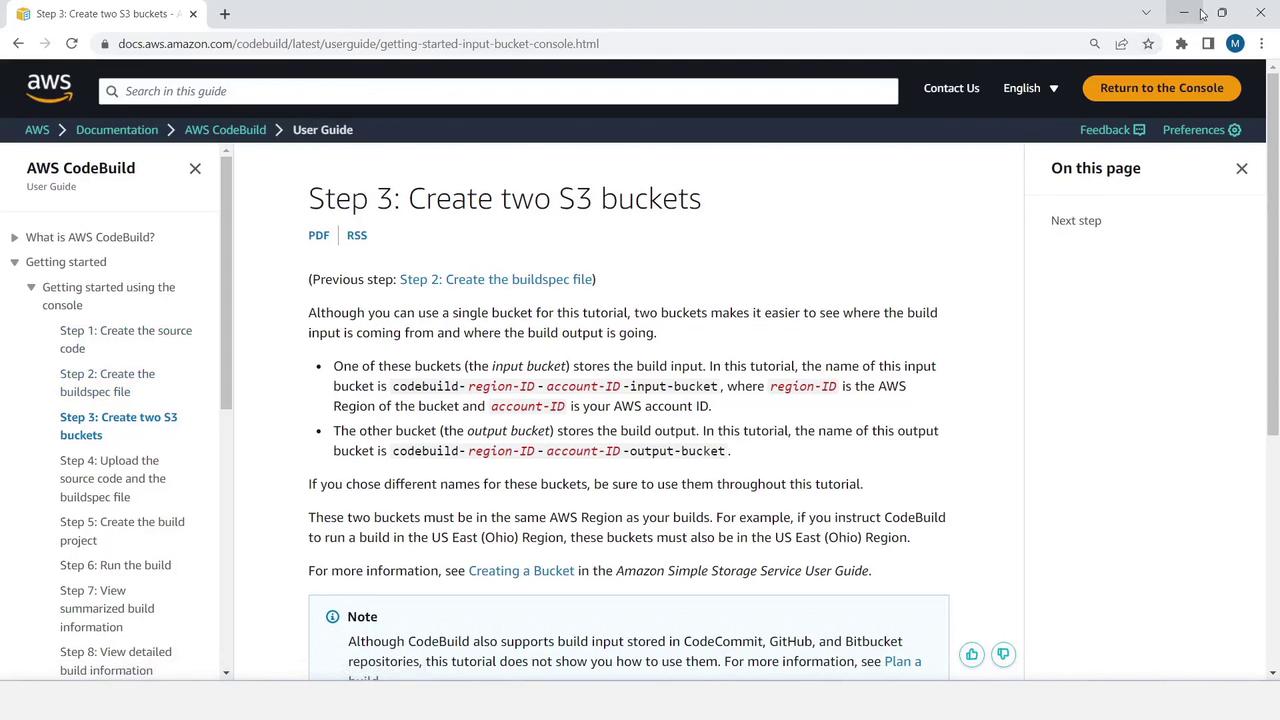
Ensure your project looks like this:Step 4: Create S3 Buckets for Source and Artifacts
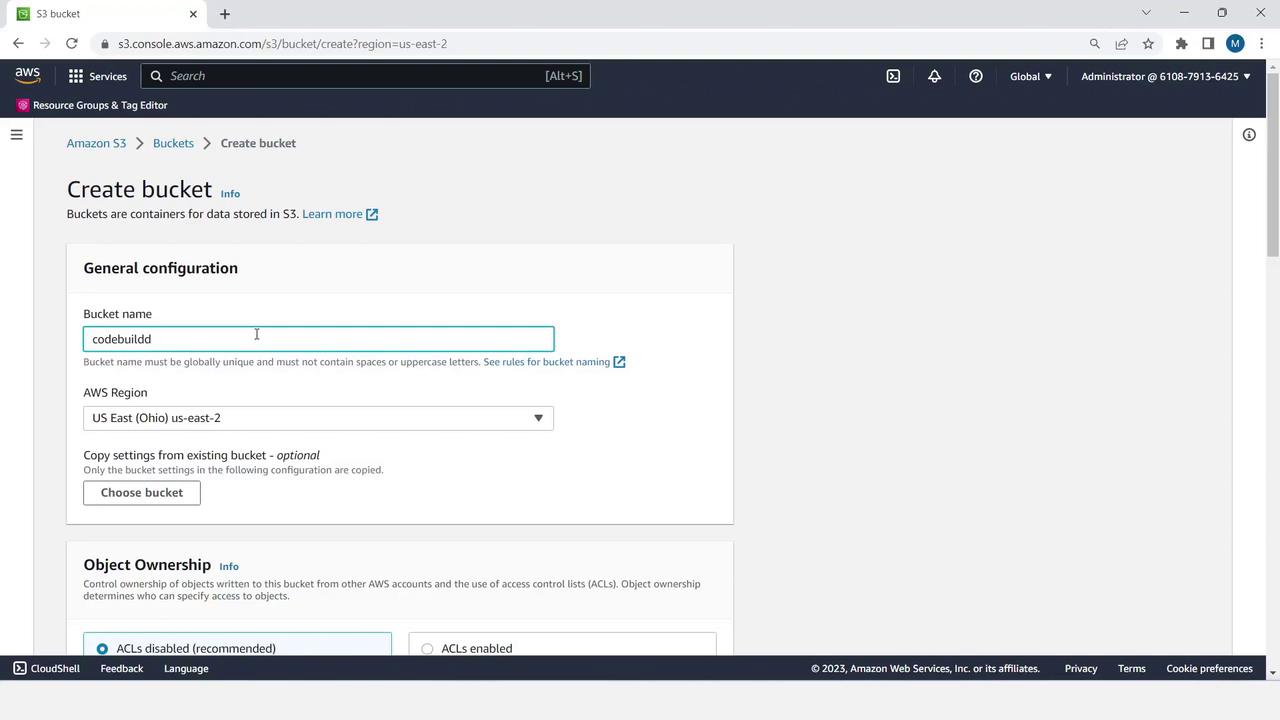
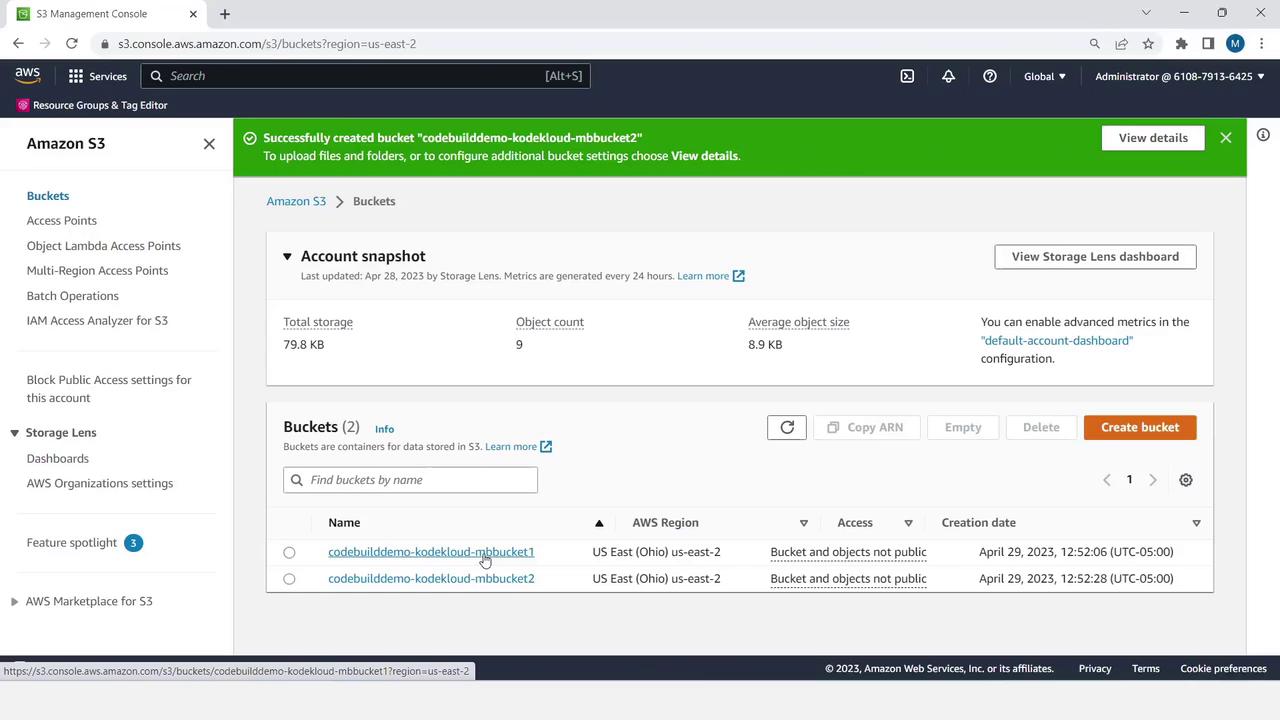
- In the AWS Console, navigate to S3 and click Create bucket.
S3 bucket names must be globally unique. Choose a naming convention (e.g.,
<yourname>-codebuild-source).- Enter a name like
codebuilddemo-kodekloud-mbbucket1and accept the defaults.
- Repeat to create a second bucket (e.g.,
codebuilddemo-kodekloud-mbbucket2).

Step 5: Package and Upload Your Source Code
- Zip your project files:
pom.xml,buildspec.yml, and thesrcdirectory.
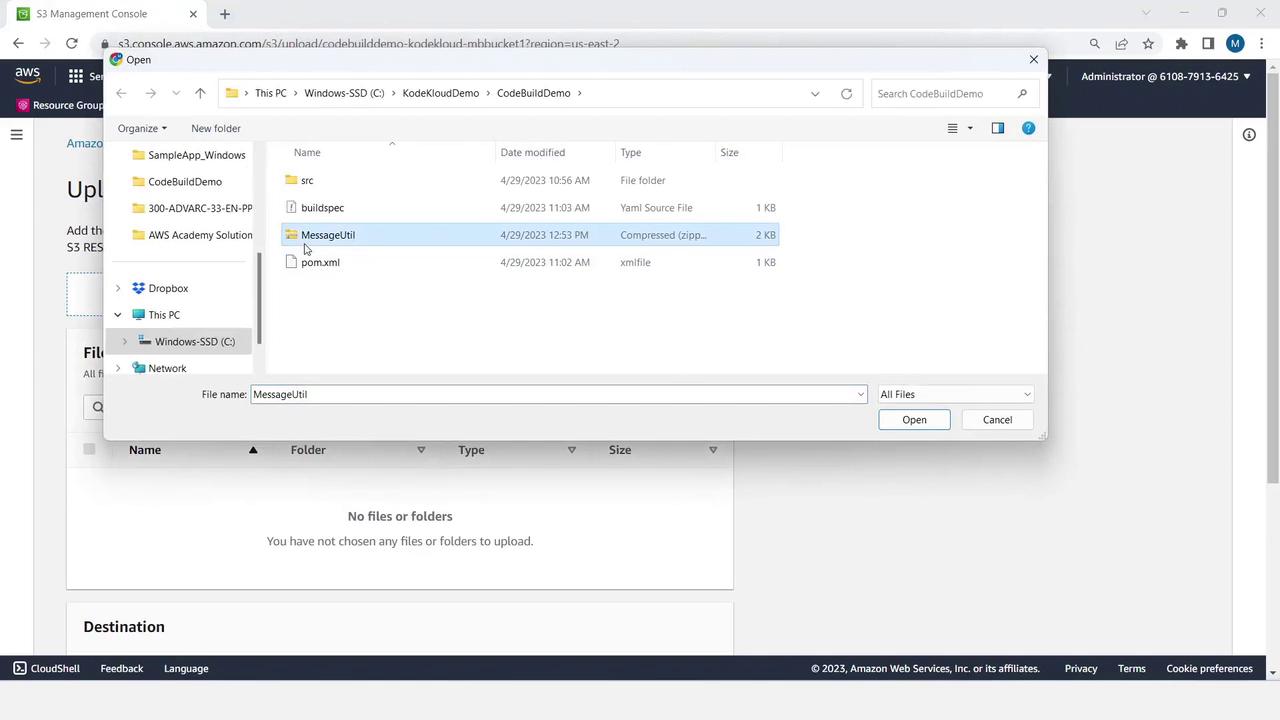
- Name the archive
MessageUtil.zipand upload it to your source bucket:
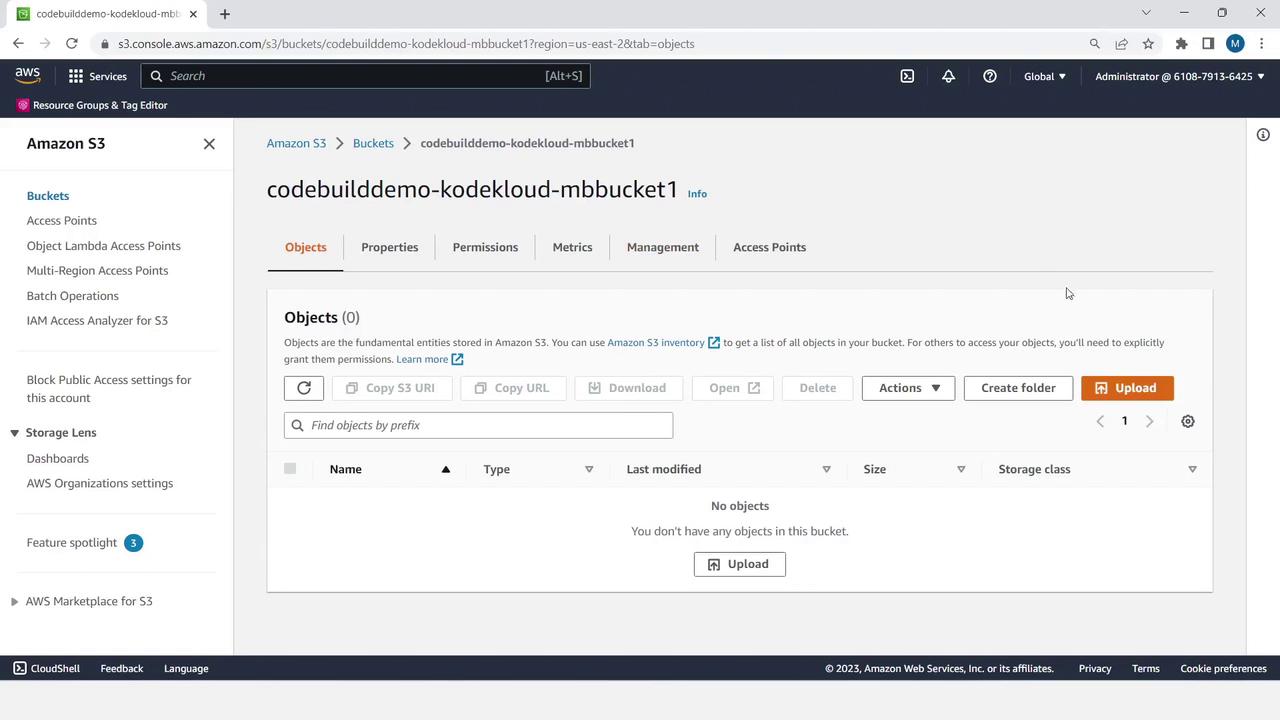
- Click the bucket, choose Upload, add
MessageUtil.zip, and complete the upload wizard.
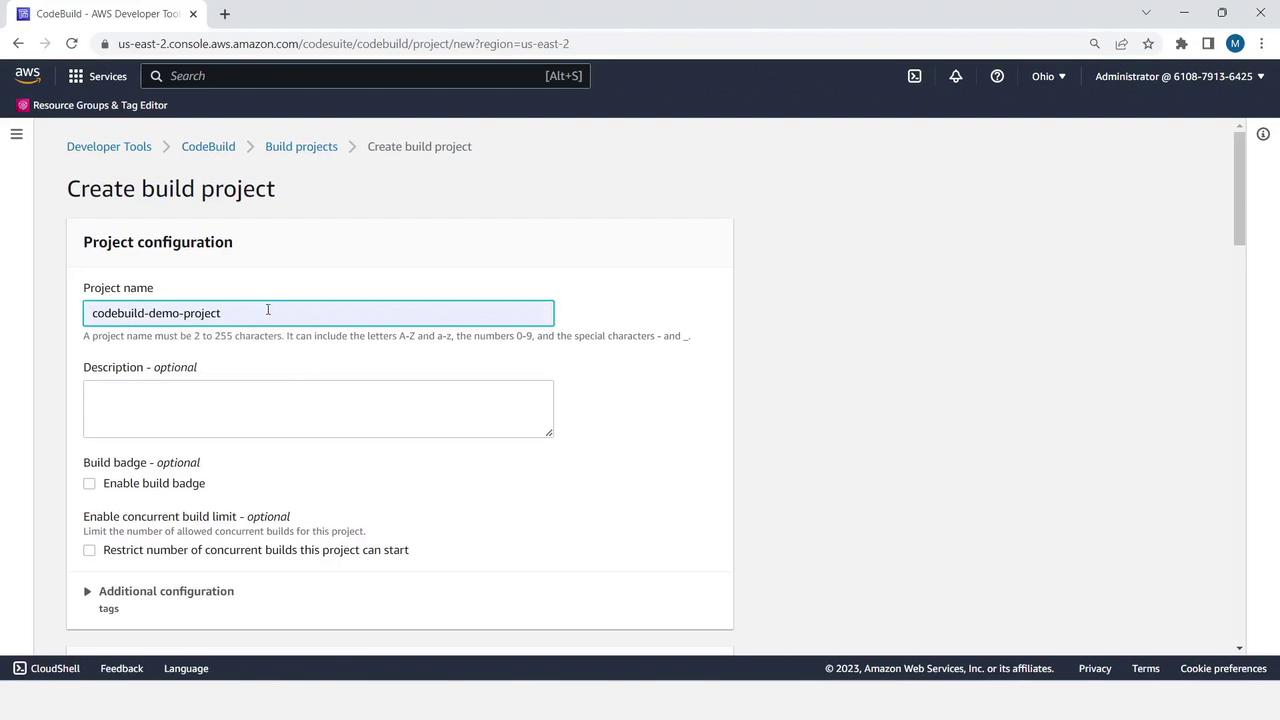
Step 6: Create and Configure the CodeBuild Project
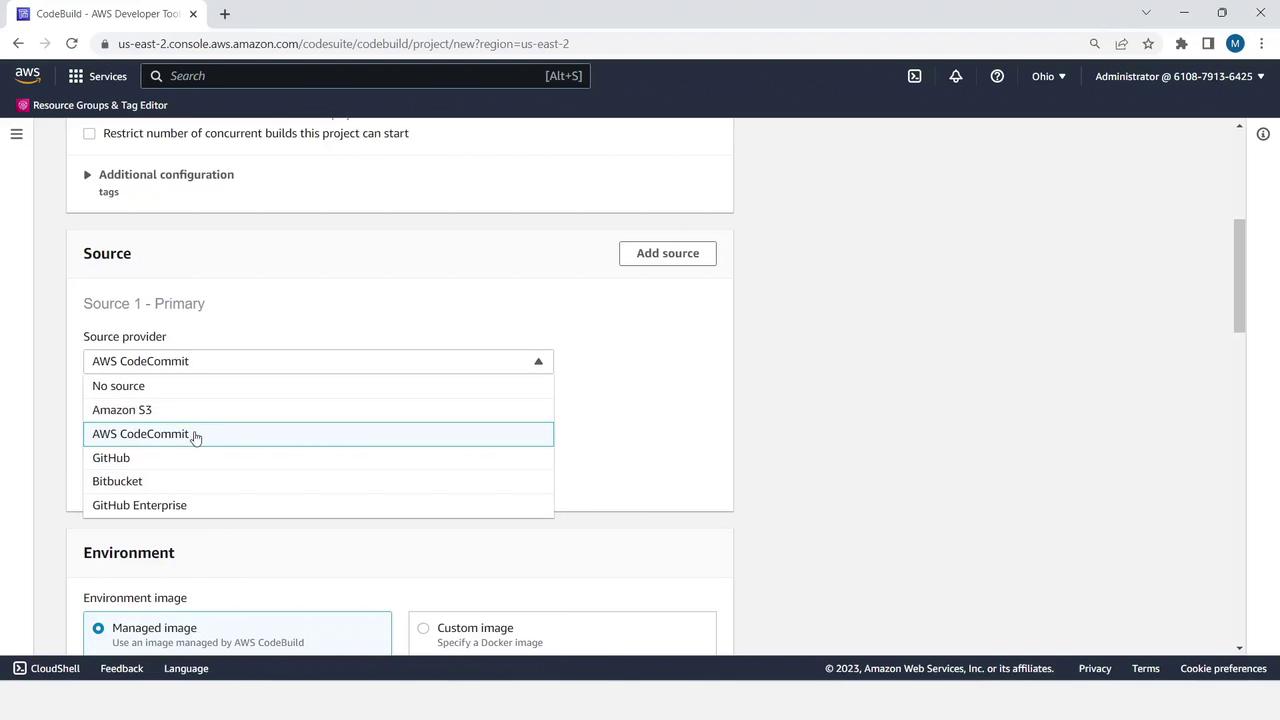
- In the AWS Console, open CodeBuild and click Create build project.
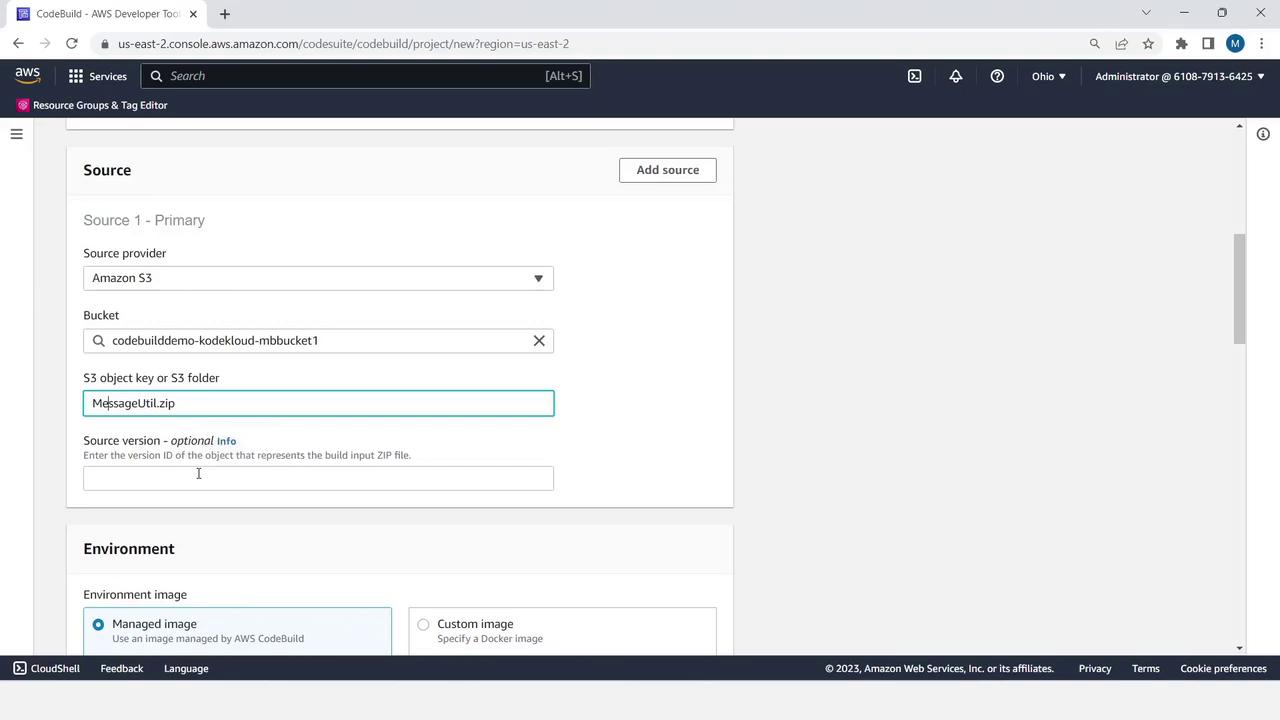
- Under Source, choose Amazon S3.
- Select your input bucket and set Object key to
MessageUtil.zip.
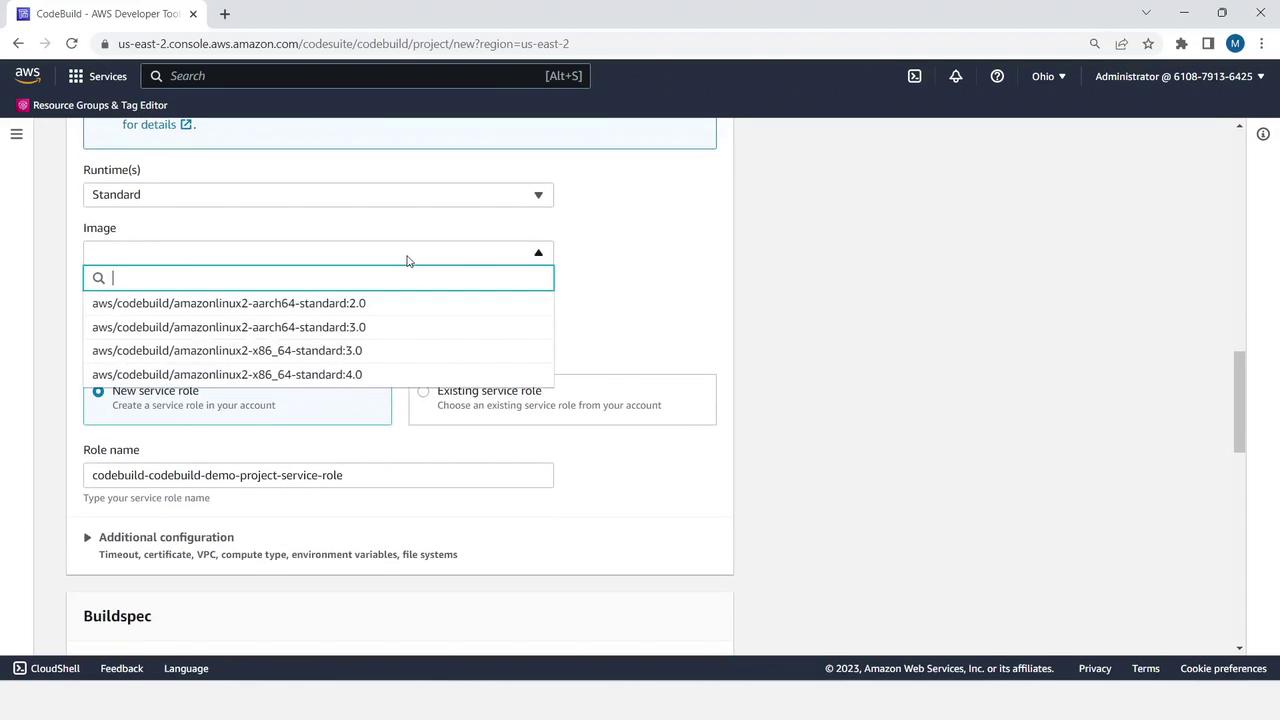
- Scroll to Environment:
- Managed image
- Operating system: Linux
- Runtime: Standard
- Image: x86_64 standard: 3.0
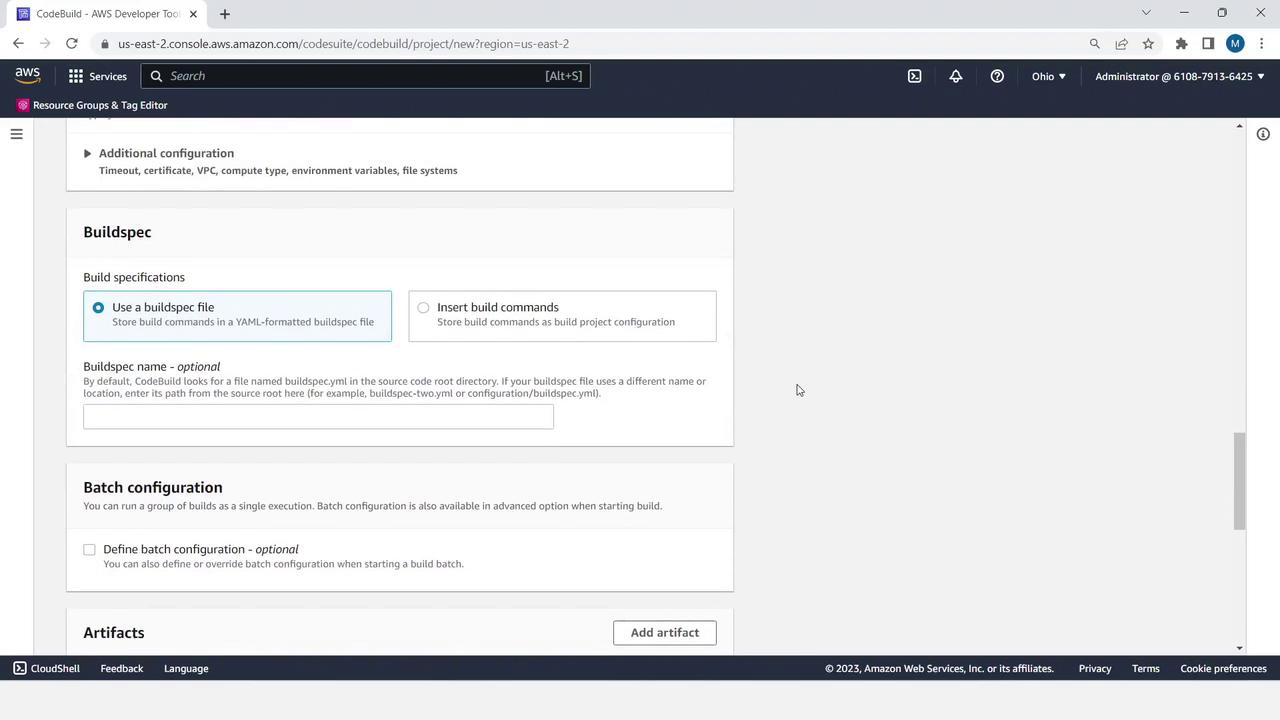
- Under Buildspec, choose Use a buildspec file.
- For Artifacts, select Amazon S3 and pick your output bucket.
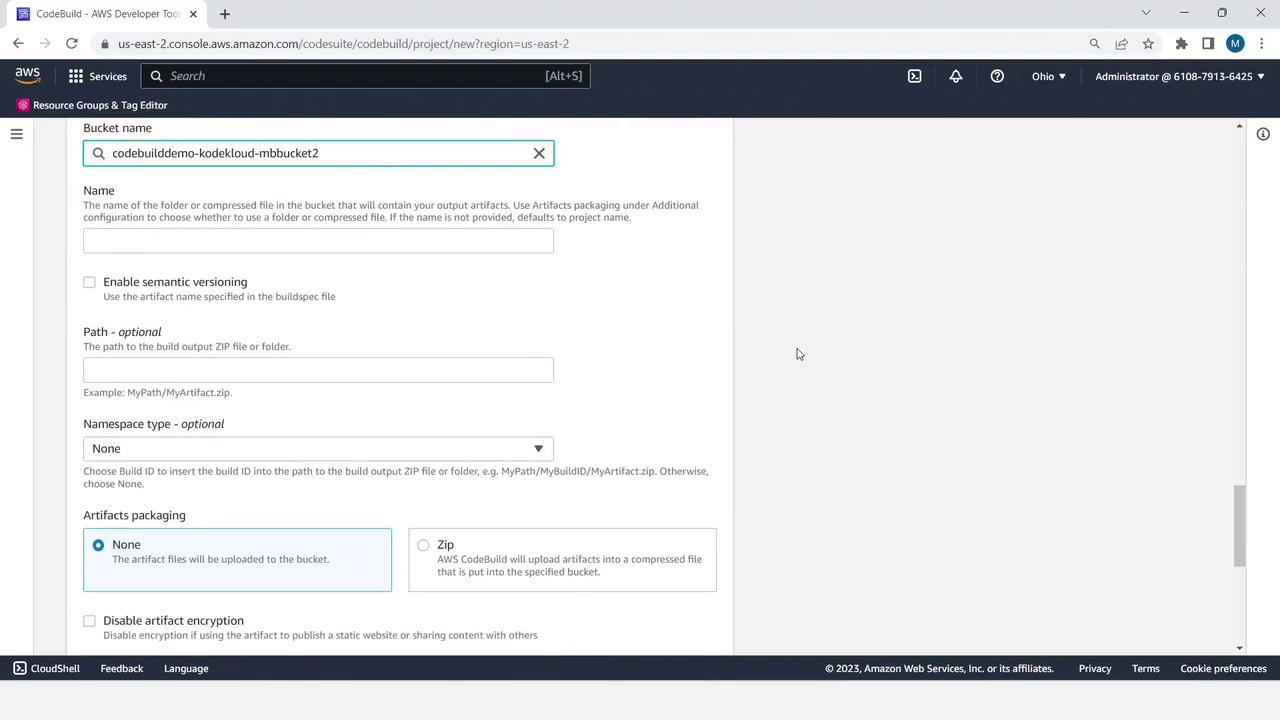
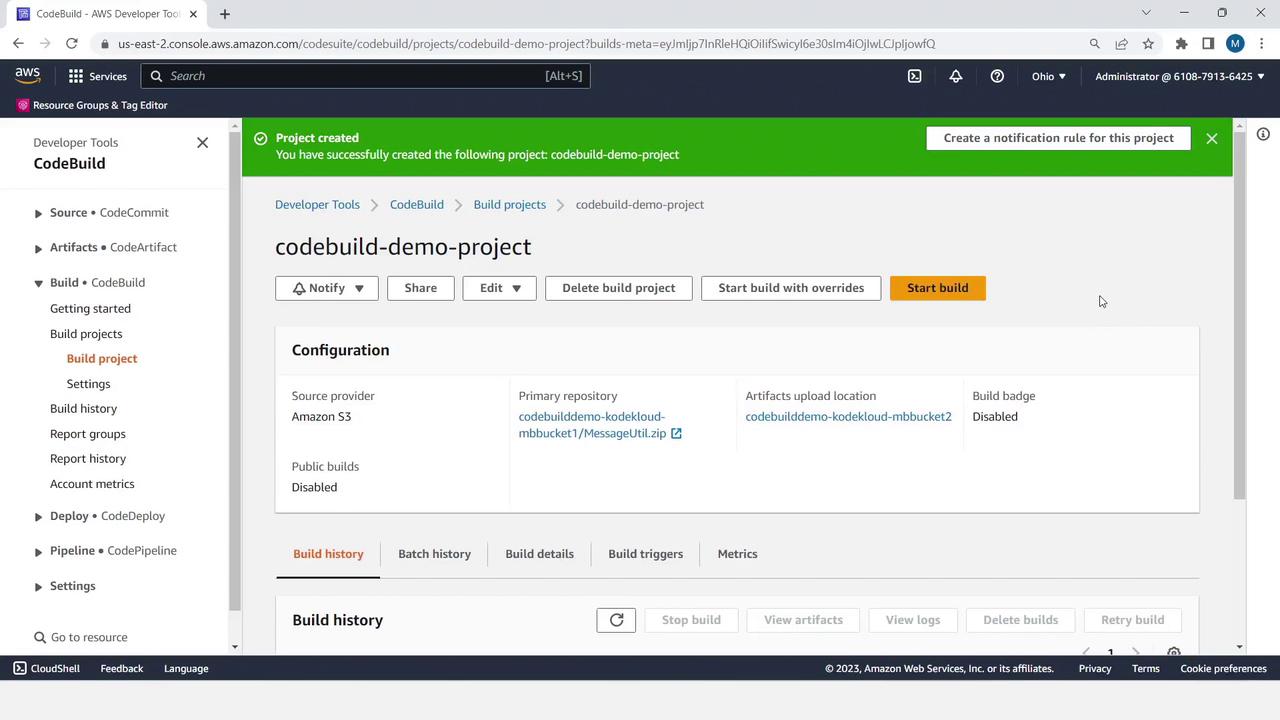
- Click Create build project to finalize.
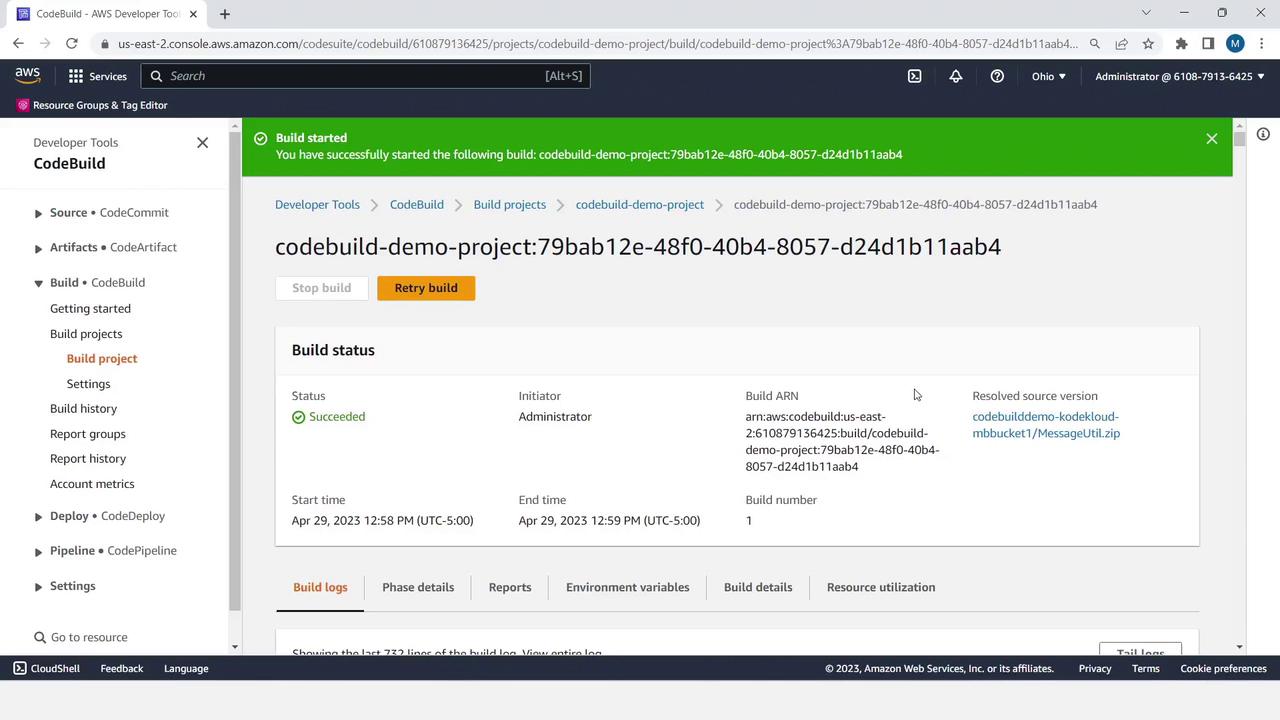
Step 7: Start the Build and Monitor Logs
- Select your newly created project and click Start build.
- Watch the real-time logs for each build phase:
- Upon completion, you’ll see Succeeded status and your JAR files in the output bucket.