- Connecting to your database
- Exploring tables and views
- Executing
SELECT,DELETE, andUPDATEqueries - Best practices for clause ordering
1. Connect with Azure Data Studio
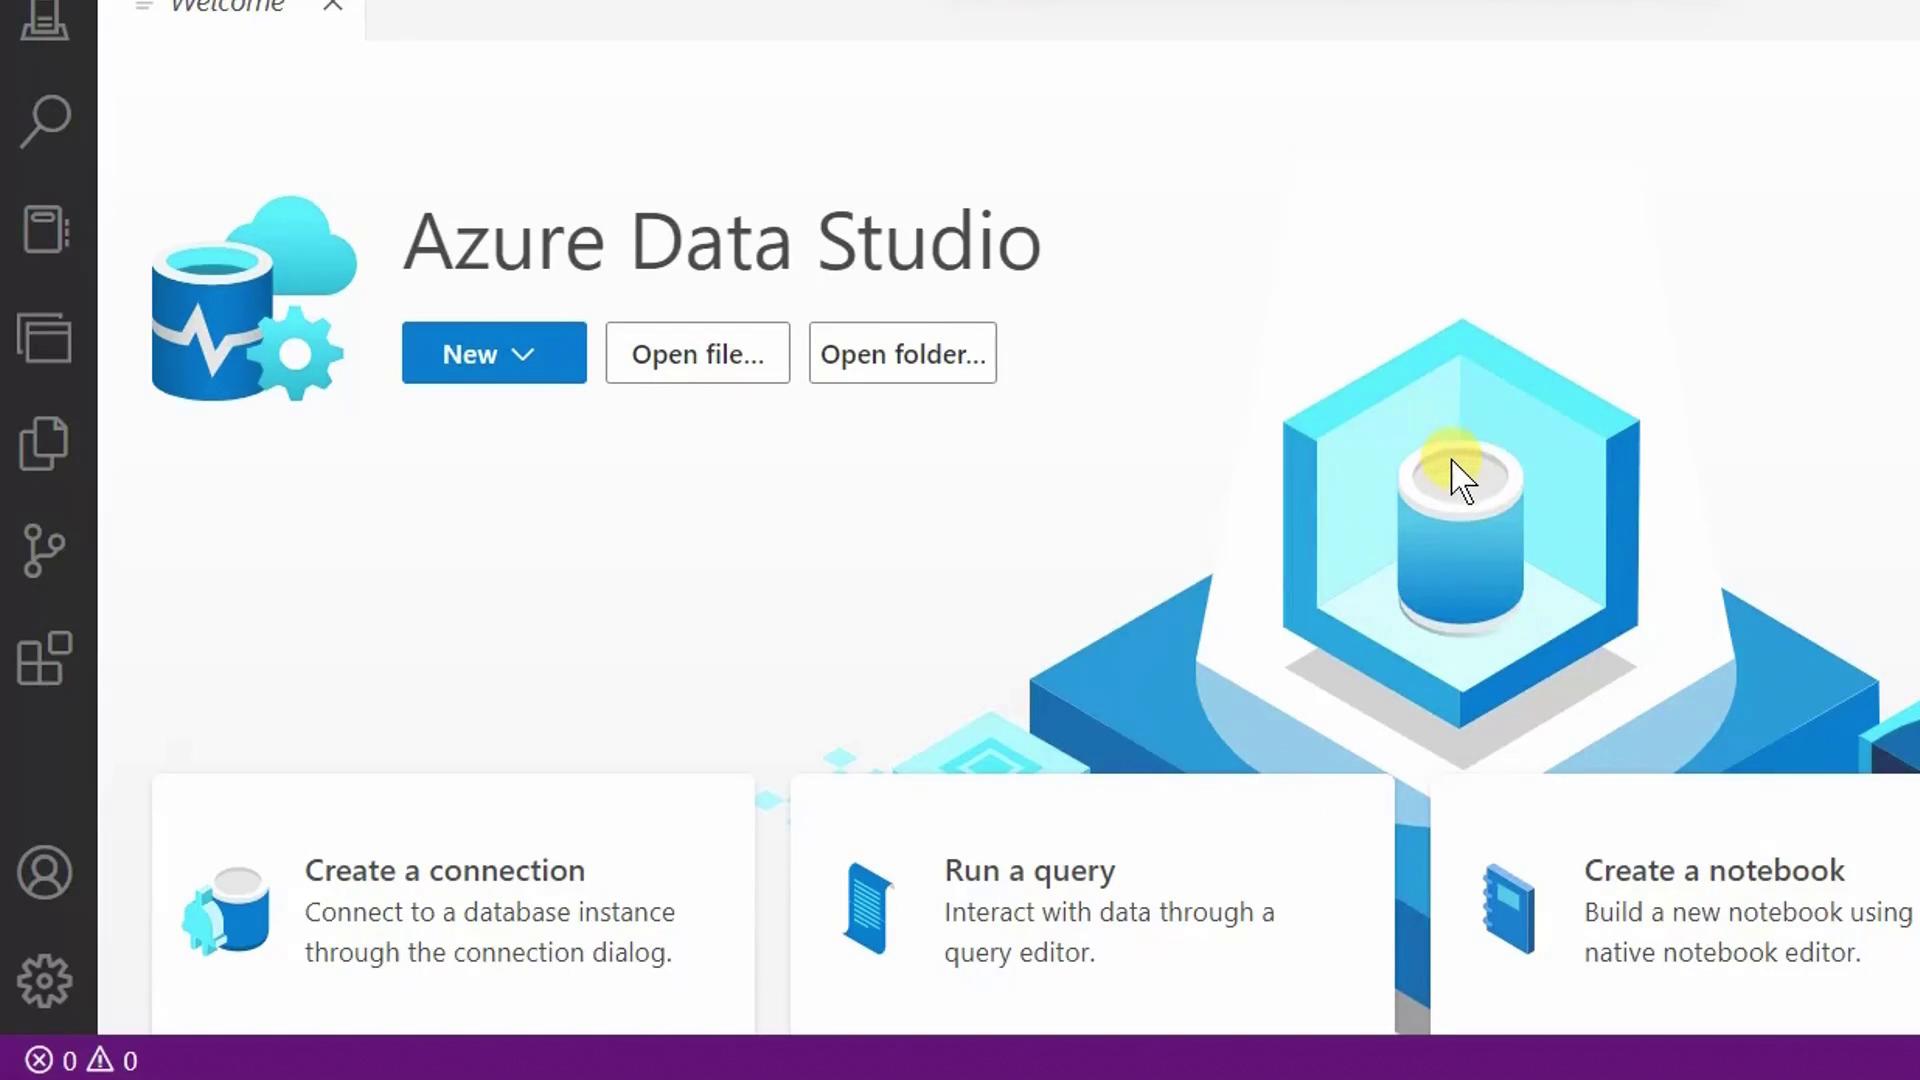
- In the Azure portal, open your Azure SQL Database resource and click Open Azure Data Studio.
- Azure Data Studio will launch and reconnect you to the last database you accessed.
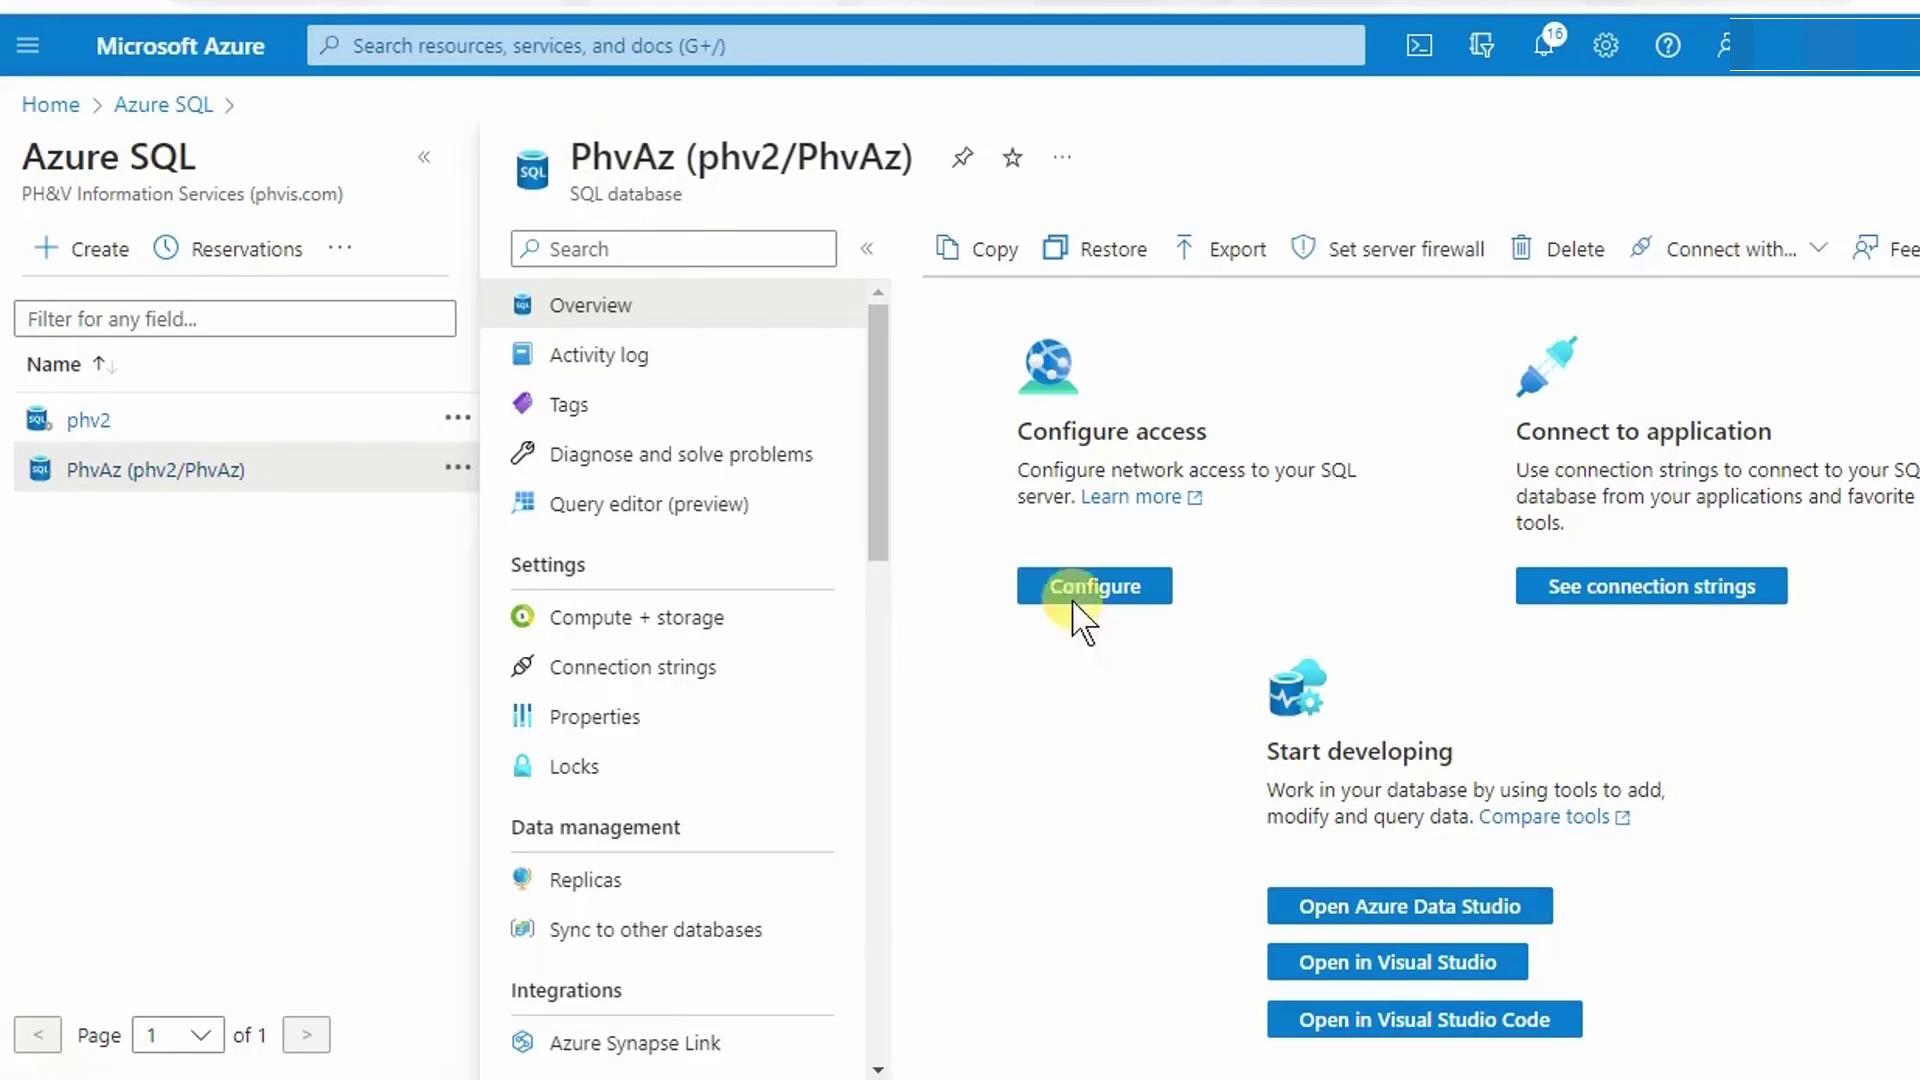
- When prompted, choose Launch since Azure Data Studio is already installed.
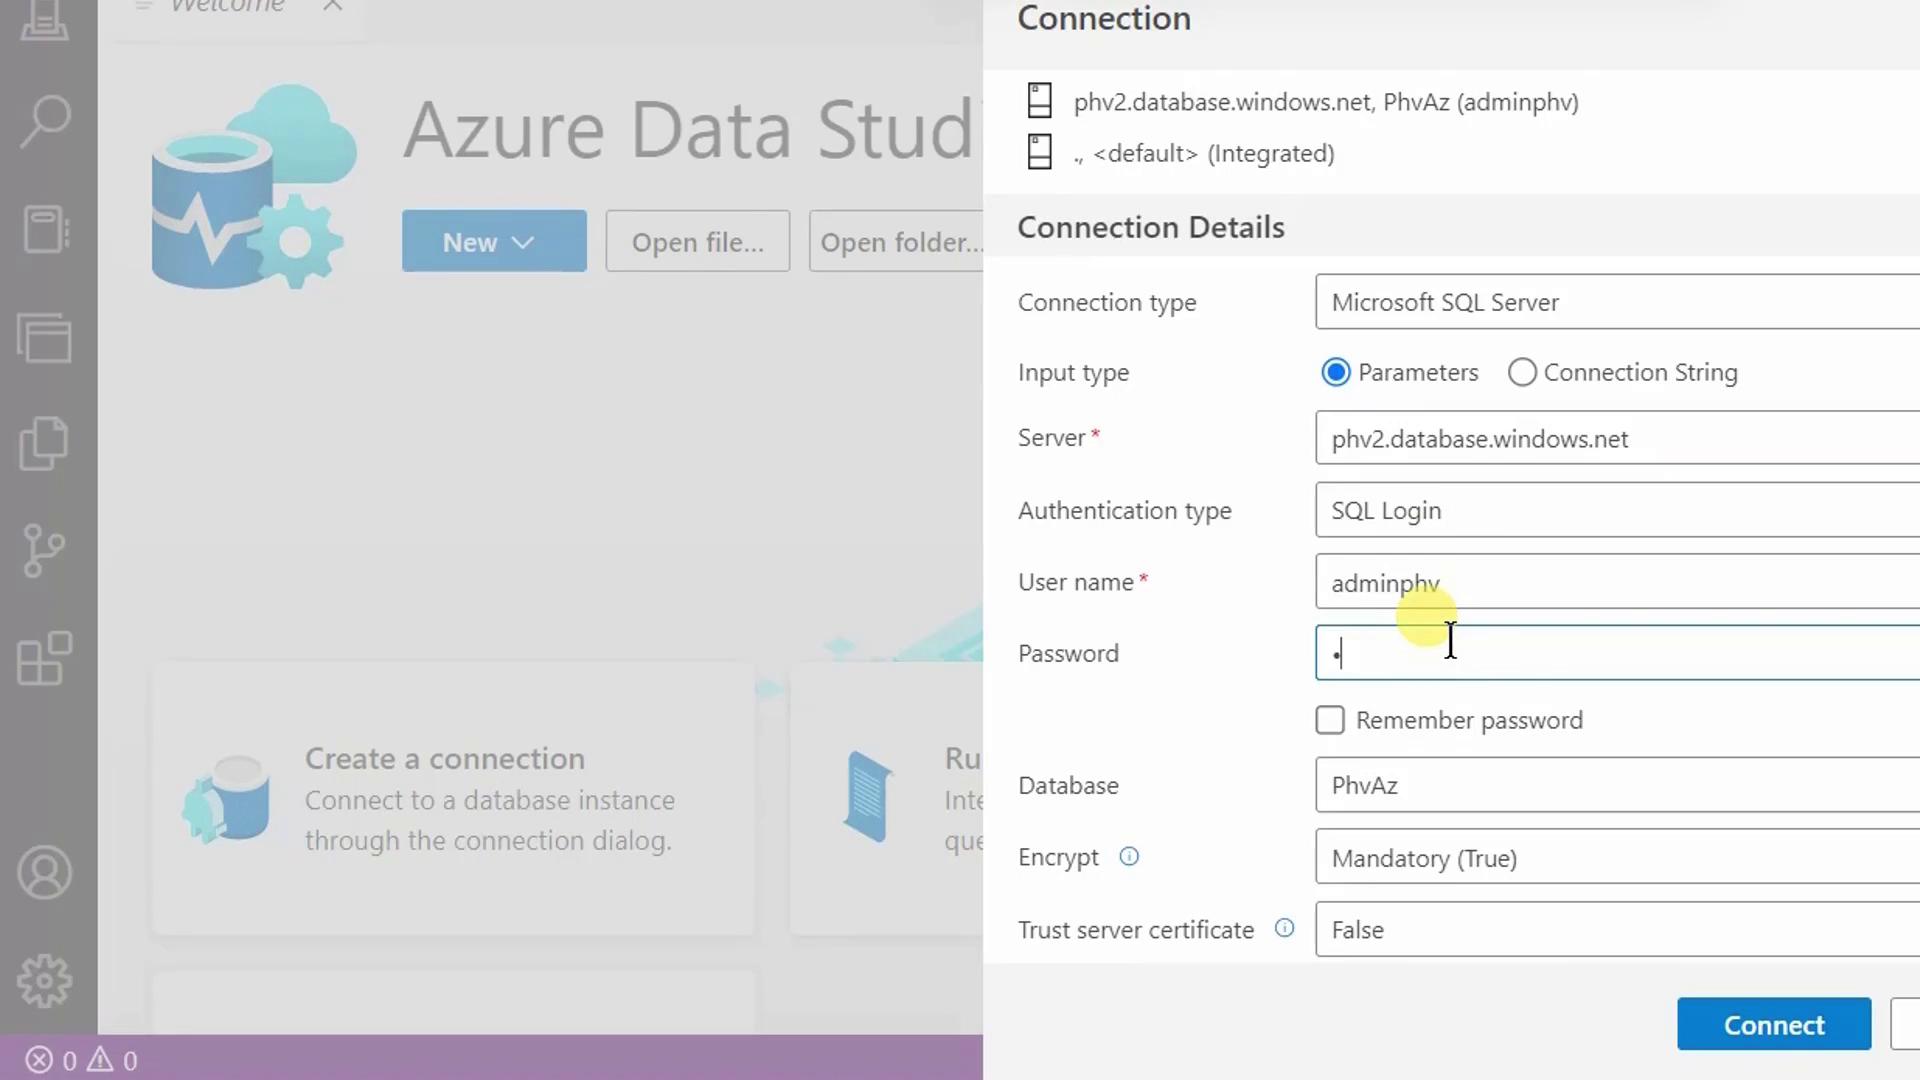
- Enter your server administrator login and password, then click Connect.
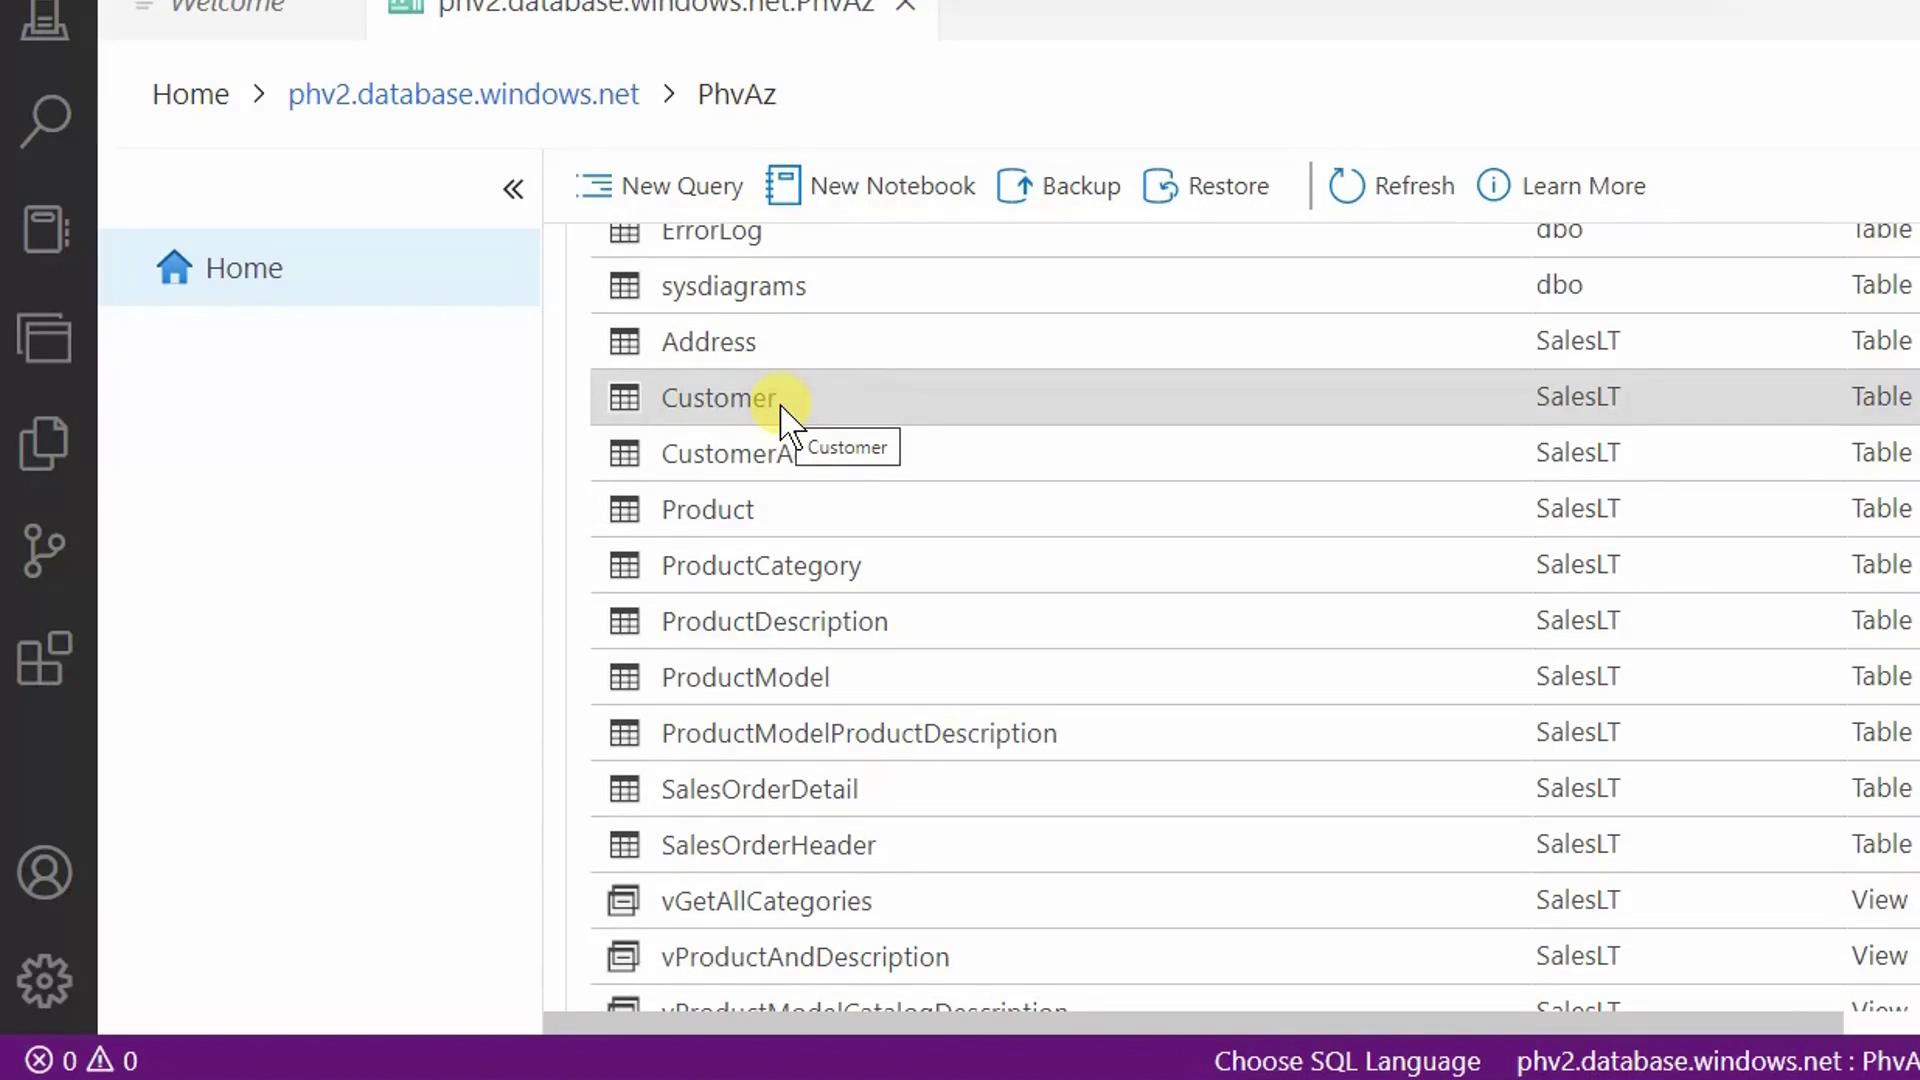
2. Explore Database Objects
Once connected, the Object Explorer displays your database’s schemas, tables, views, and more. Here’s a view of theSalesLT schema showing the Customer and Product tables.
3. Run SELECT Queries
Click New Query (or press Ctrl+N) to open a SQL editor. Then try these examples:3.1 Retrieve All Rows and Columns
3.2 Select Specific Columns
3.3 Sort Results
3.4 Filter with WHERE
Always place
Incorrect ordering will trigger a syntax error.
WHERE before ORDER BY.Incorrect ordering will trigger a syntax error.
Clause Order Reference
| Clause | Purpose |
|---|---|
| SELECT | Specify columns |
| FROM | Identify the table |
| WHERE | Filter rows |
| ORDER BY | Sort the result set |
4. Modify Data
4.1 Delete a Row
To remove Francis Adams (CustomerID = 491):
SELECT to verify:
Omitting the
Use
WHERE clause in a DELETE statement removes all rows.Use
BEGIN TRANSACTION and ROLLBACK for safety during testing.4.2 Update a Row
To correct Jay Adams (CustomerID = 544) to “Adamson”:
5. Summary
You’ve now:- Connected to Azure SQL Database with Azure Data Studio
- Explored schemas, tables, and views
- Run
SELECT,DELETE, andUPDATEstatements - Learned proper T-SQL clause ordering